After shooting with the new Olympus professional zoom for more than two weeks, I can finally write the complete review about its performance and ease-of-use in a real world situation. You may have already read different articles here on MirrorLessons and you’ve probably seen lots of images and other reviews on the internet about this lens. Some of the thoughts written in this article are already present in my comparison between this lens and the Lumix 35-100mm f/2.8.
If this is the first article you’re reading about this lens, I can tell you in advance that the 40-150mm is a great lens, perhaps one of the best MFT lenses I’ve had the pleasure to test. I used it for dance shows, day and low-light events, animals, portraits and other situations to discover how well it can serve the Micro Four Thirds system.


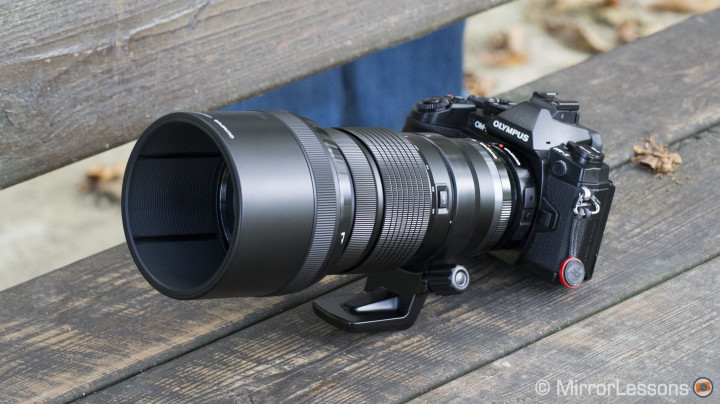
M.Zuiko Digital ED 40-150mm f/2.8 Pro Specs
- Focal length: 40-150mm
- Focal length (equiv. 35mm): 80-300mm
- Maximum aperture: 2.8
- Minimum aperture: 22
- Number of aperture blades: 9 Circular aperture diaphragm
- Angle of view: 30 ‑ 8.2°
- Closest focusing distance: 70cm
- Lens configuration: 16 elements / 10 groups
- Special elements: 1 high-refractive, 2 aspherical glass, 1 aspherical ED elements
- Lens surface coating: no
- Maximum image magnification: 0.21x (Micro Four Thirds) / 0.42x (35mm format)
- Optical Image Stabilizer: No
- Dimensions: 79.4mm Ø, 160mm
- Filter diamater: 72mm
- Weight: 760g (without tripod adapter), 880g (with tripod adapter)
Ergonomics and Design
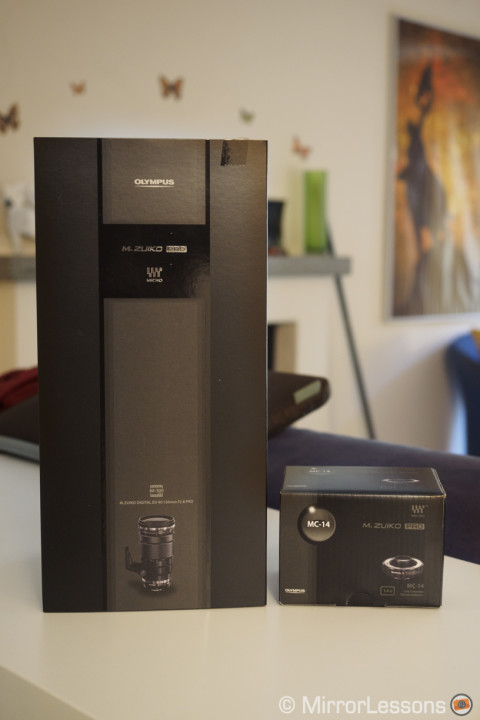
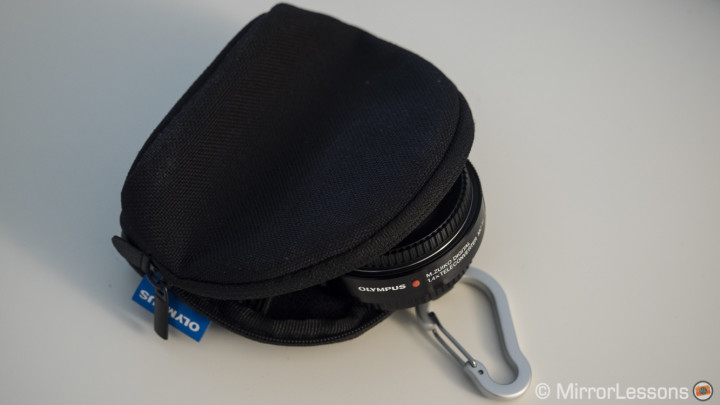
Our first impressions start with the packaging, which is surprisingly large and well-made. The lens comes with a hood, a tripod mount and a carrying bag. If you purchase it with the MC-14 teleconverter, it comes with a little pouch you can attach to the 40-150mm carrying bag. Users who own or have owned Zuiko SLR lenses in the past won’t find the same type of bag Olympus used to include in the boxes of its professional DSLR lenses. The LSC-1120 bag supplied with the M.Zuiko 40-150mm is made of soft tissue and resembles the traditional bag included with many lenses of this type. The LSH-1326 that was included with the Zuiko 35-100mm f/2 for example was a real lens bag with external pockets and a strap to carry it around.
Like the 12-40mm f/2.8, the second M4/3 “Pro” lens released by Olympus has been designed with professional photographers in mind. It features a strong and high-quality finish with an all-metal construction. It is splash, dust and freeze resistant, a true premium professional lens that is just as good as an equivalent DSLR Pro lens. It has a complete internal zoom mechanism so the length of the lens doesn’t change when zooming in or out.
The great build becomes especially noticeable when you start using the lens. First of all, the zoom and focus rings are both large, very smooth to turn and very precise to use. They are optimally placed on the lens body so that you can naturally reach one or the other with your hand. The focus ring is also great to use for manual focusing. Thanks to its clutch mechanism, you can instantaneously switch from auto to manual focus (like the 12-40mm f/2,8 and 12mm f/2). This features is very useful for shooting video. With stills, you might not find yourself using manual focus a lot because it can become difficult at the longest focal length, unless you are in an extreme low-light situation or using the lens in macro mode at its shortest focus distance. With video, while the AF works well on both Lumix and Olympus cameras, there are more situations where you might prefer to focus precisely with your hand, and to this end, the focus ring is very pleasant to use.
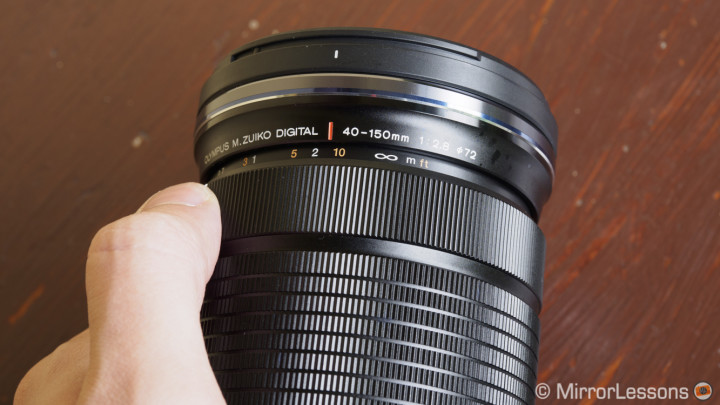
The lens also has a Function button on the side that your thumb can easily reach. There are many options you can assign to the button just as with every other function button on the OM-D E-M1 body.
The lens hood, which can make the lens look bigger than it actually is, has a smart mechanism–it retracts without the need to unmount and reverse it like on other lenses. All you need to do is slightly turn the dedicated ring on the hood and retract it. While it is a very sensible mechanism, when you take it out of your bag you might find the hood has extended of its own accord.
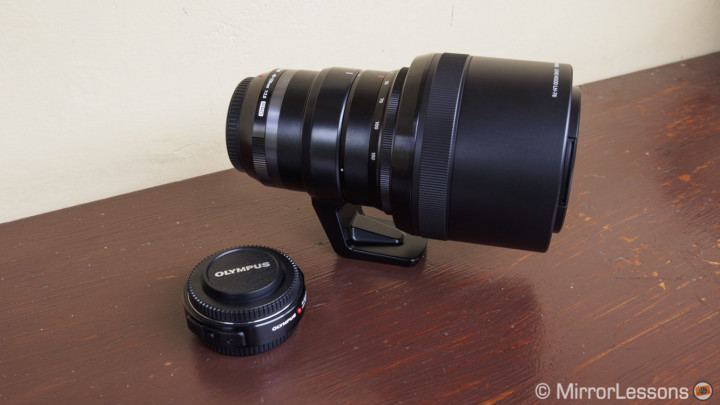
The lens weights about 760g without the tripod mount, which is heavier than the E-M1 or any other MFT camera. I decided to use it with the E-M1 without the HLD-7 battery grip, not only to keep the combo as small as possible but also to see how the extra weight and size would affect the usability of a system known to be more compact than this. After carrying it around every day for my daily work for two weeks, I can say that in the end that the weight and size don’t make a huge difference, as the lens still fits nicely inside my primary camera bag, the Lowerpro Event Messenger 150. Yes, the lens is big but still compact enough for the zoom range it covers.
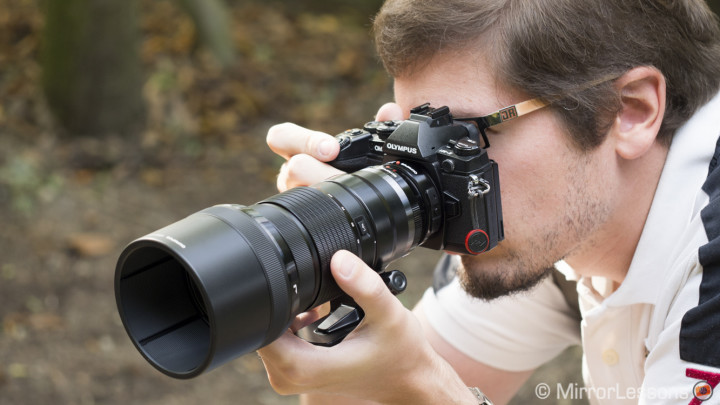
Actually, I find it quite comfortable to use because this kind of size gives you a better grip when shooting and it is easy to find a good balance when holding the camera and lens with both hands. You will appreciate it especially when shooting hand-held at 150mm or with the MC-14 teleconverter.
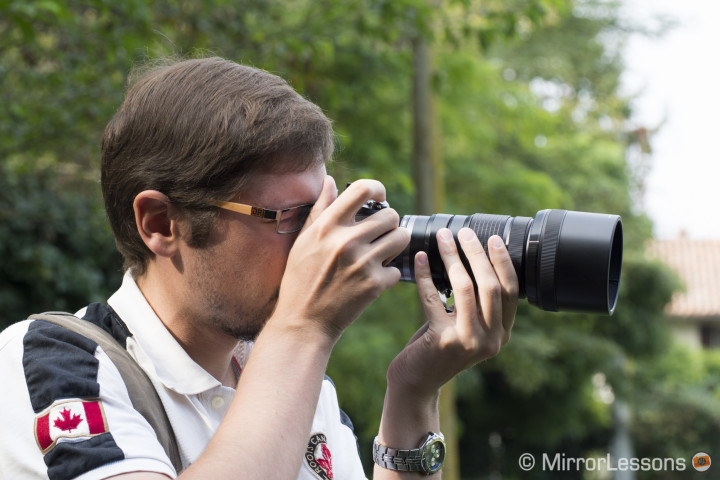
The only thing to mention is that the 40-150mm makes your kit less discreet. From a distance, it doesn’t look much different from a D7100 with a 70-200mm f/4, especially from the perspective of a non-photographer. But you get less weight and more reach, so there is a benefit if we want to compare it to a medium-sized DSLR kit. I actually wrote a specific article about this topic recently which you can read here.
Given the size of the 40-150mm, Olympus also includes a tripod ring mount to achieve a better balance when using a tripod. The mount can of course be removed (you will have to unmount the lens from the camera to remove it).
Finally, there is the MC-14 1.4x teleconverter, the first developed for MFT lenses. It is relatively flat (14.7mm) so using it won’t affect the size of your system. It features a very similar build quality to the lens with an all-metal finish. The front lens protrudes from the converter, a design that will limit its compatibility to the Olympus 40-150mm and upcoming 300mm f/4. It won’t work with other MFT telephoto lenses.

Image Quality
I’ll admit that I had trouble finding something wrong with the performance of this lens. I could easily keep this chapter very short and tell you that the M.Zuiko 40-150mm f/2.8 Pro produces stunning images with great sharpness (even at its fastest aperture), bokeh, micro contrast and colour rendition. It isn’t a premium lens primarily because of its build or its price, but because of the quality it can deliver.

Let’s start with the constant fast aperture of 2.8, which is certainly the main characteristic that will attract users in the first place. On a Micro Four Thirds camera, it becomes even more important because it is likely the aperture you will use 90% of the time to get more light and a shallow depth of field. On my Lumix 35-100mm f/2.8 I rarely use apertures like f/4 or 5.6, and the same went for the 40-150mm. So good performance at 2.8 is essential for a lens like this, starting with sharpness.
In the comparison with the Lumix lens, I did some basic test shots but I think that images taken in real situations, like the ones you’ll see below, are actually more interesting to share.
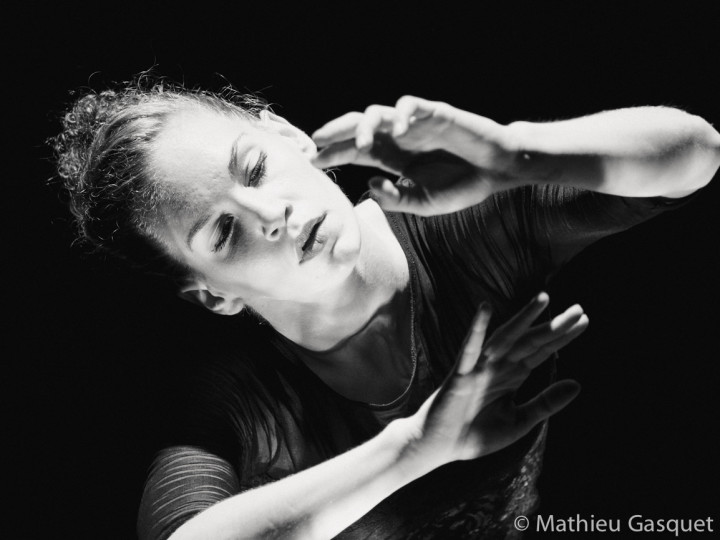


Of course when you use slower apertures, the sharpness slightly increases but I haven’t noticed a big difference overall. The lens is sharp all the way through the different apertures and the various focal lengths which means you will often if not always keep it at 2.8 except on really sunny days. The only aspects that can affect your sharpness at 2.8 are a slightly inaccurate focus or some shutter shock (more on this later).

With the MC-14, you lose one stop of light and the lens becomes a 56-210mm f/4. I sometimes got the feeling that the addition of the teleconverter makes the lens slightly soft at f/4, so I decided to compare the same subject taken with and without the MC-14. As you can see, it is a little soft with the teleconverter but the difference is minimal.
At f/4 with the teleconverter, the sharpness actually decreases a little bit more at the longest focal length (150mm + MC-14 = 210mm) when the lens has to focus on a distant subject.

With closer subjects of course the sharpness looks much better even at f/4. From 5.6 you start to see the same sharpness the lens delivers without the teleconverter and the results can be really good.


A zoom so versatile (80-300mm of equivalent focal length in 35mm format) can easily become a tool you always carry with you, especially for work. From events to wildlife, and from landscapes (yes I love landscapes with telephoto lens) to portraits, the 40-150mm is one of the only lenses you really need.
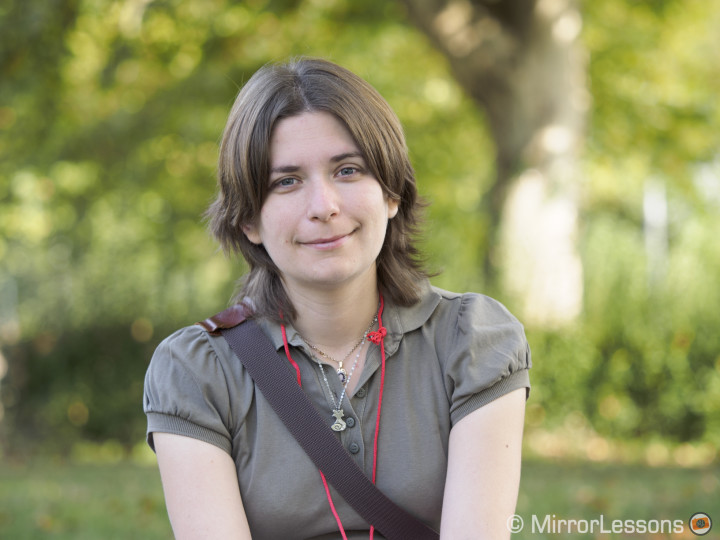
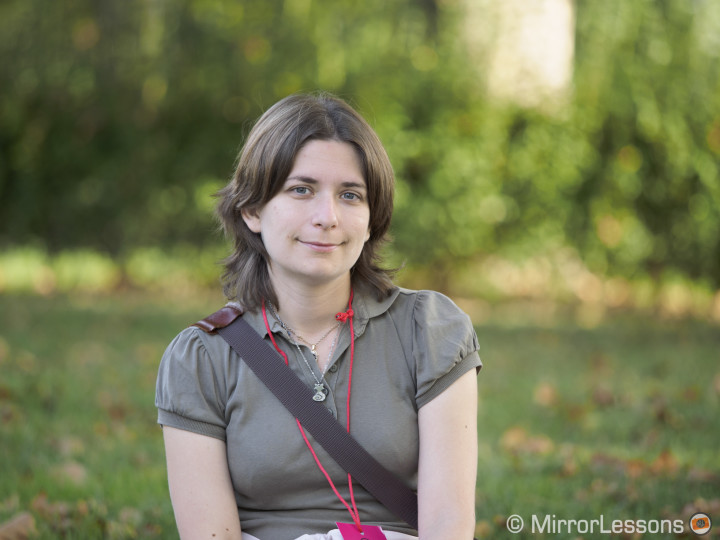
As for portraits, the out of focus rendering or bokeh is another crucial aspect. If you are mainly a portrait photographer who shoots with MFT cameras, I would still suggest that you use prime lenses like the 45mm f/1.8, 75mm f/1.8 or the superb Nocticron 42,5mm f/1.2. But for occasional portraits, the 40-150mm proves a very valid option. The bokeh is pleasant and uniform with rounded out of focus areas. You can also take advantage of the 150mm focal length as it gives you the possibility of a narrower angle of view which results in a more magnified out of focus area.


Another very interesting characteristic of this lens is the closest focussing distance of 70cm throughout the entire zoom range. As such, you can focus at 70cm even at 150mm or when using the MC-14, since the minimum focus distance isn’t altered by the teleconverter. This expands the versatility of this lens even more because it allows you to take near-macro shots.

The colour renditioning and micro contrasts are also very nice and there is no vignetting. The lens is capable of handling any type of light. The only thing from which it might suffer are purple flares if you have a direct light source like the midday sun in your frame. However these are specific and non-recurring situations with a lens like this.
Autofocus and performance
A lens like this is useful only if its autofocus is 100% reliable autofocus when paired with your camera of choice, and here again there is very little to complain about.
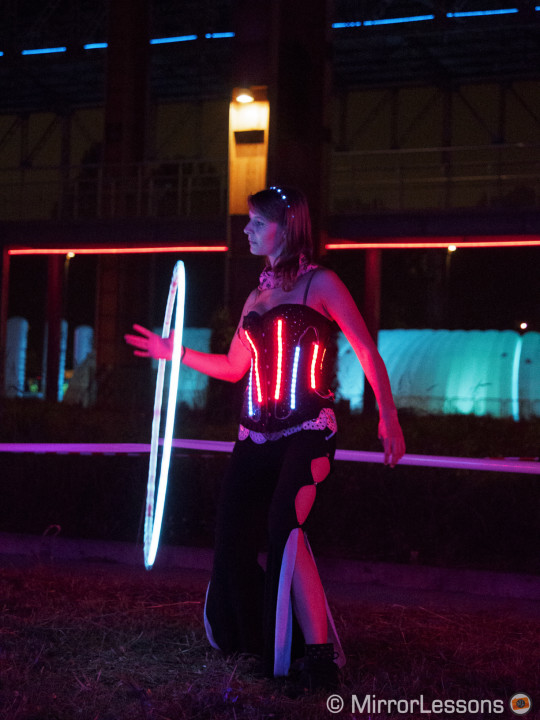
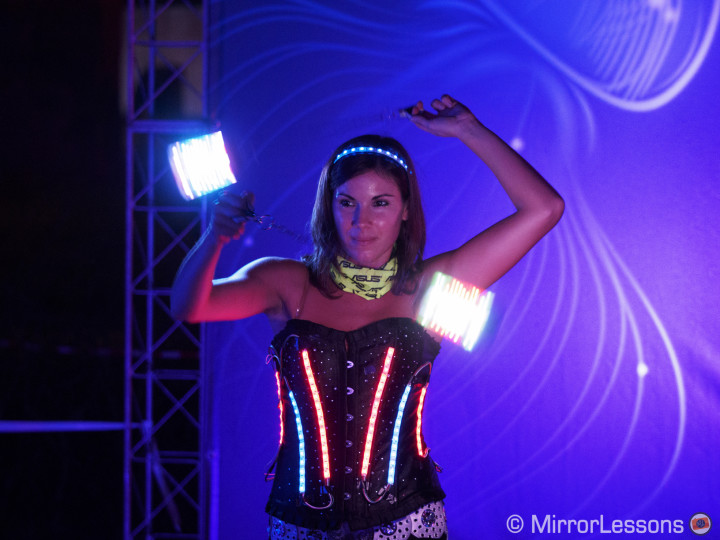
The 40-150mm has a new dual linear motor that makes it extremely silent. When I used it during a contemporary dance show that often had moments without music, I could only hear a little noise if I leaned my ear toward the lens. So, yes, it is silent.
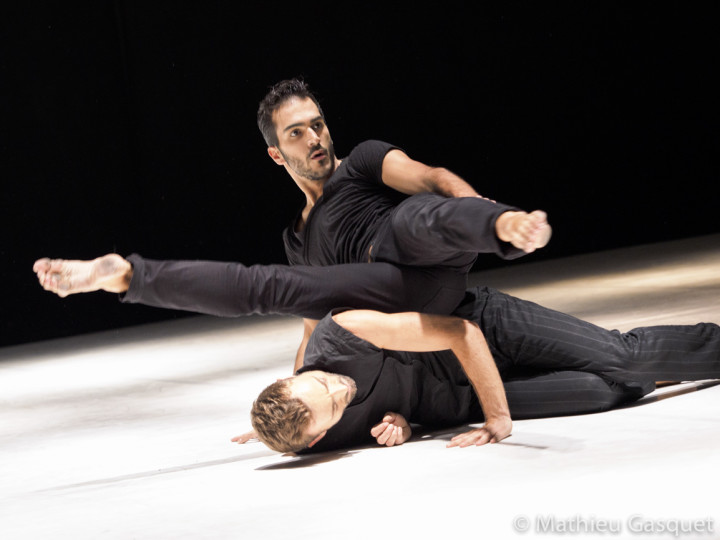
The autofocus is also very quick with the OM-D E-M1, among the quickest lenses I have used with this camera. It also delivers the same performance with the Panasonic GH4.
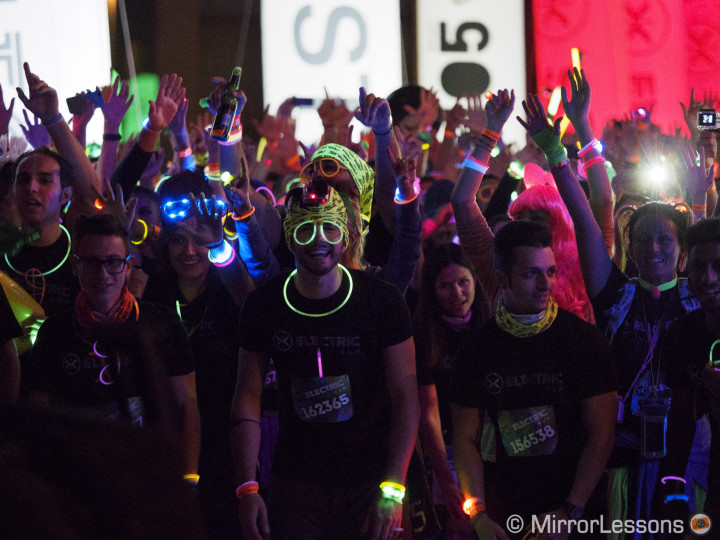
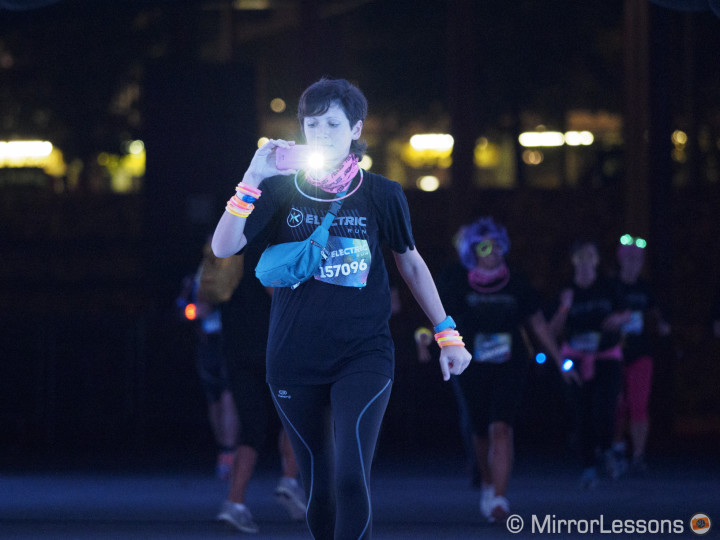
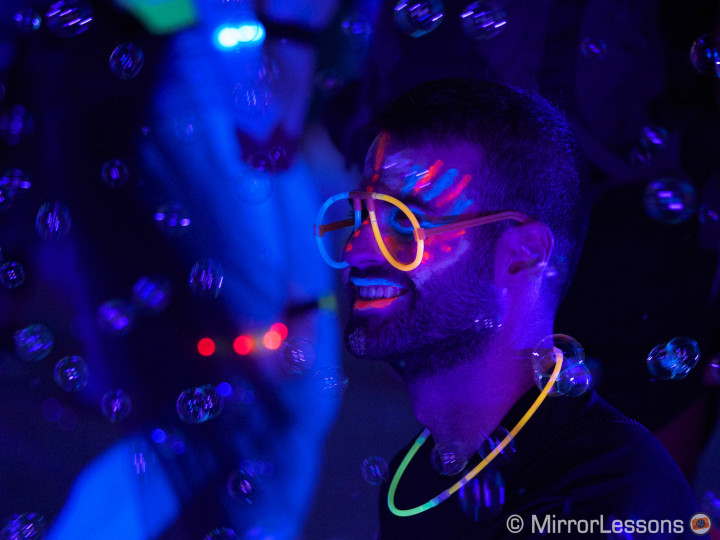
What surprised me was the performance of the E-M1/40-150 in low-light. Aside from dance show, I also decided to test the lens for the Electric Run 2014 where people participate in a non-competitive marathon at night wearing fluorescent and brightly-lit clothing. I was curious to see how the lens would behave in such a difficult situation where even other photographers with DSLR cameras were having a hard time. Surprisingly the camera and the lens worked really well and I only really found myself in trouble when the scene had a too little contrast or almost no light.
In AF-S, I didn’t have any particular problem with the smallest AF points on the E-M1. Overall the camera and lens reacted very quickly to every situation.


In AF-C, the lens worked better than expected and I manage to track the runners in areas where there was enough light to actually see something. Here the focus accuracy was less precise than in other situations but considering the overall light conditions, I have to say that the E-M1/40-150mm did a decent job. Of course not all the photos came out perfectly sharp–I had a throw-away rate of about 40% because the results were blurry.

The only limit I found with the lens was at its longest focal length, where the elements inside sometimes do that typical back and forth dance for scenes where you wouldn’t expect to have problems. In particular, it can happen in the presence of high contrast scenes between highlights and shadows, like an animal in bright daylight or backlit situation. This happens with and without the MC-14. In this case, the best fix is to zoom out a bit, focus, then zoom in again and maybe slightly vary the focus point if it does the same thing twice.
In low light, I also experienced the same behaviour where there simply wasn’t enough detail for the camera to focus or in a scene with specular highlights (but the latter is more related to the camera AF system). Below is another gallery of the Electric Run showing difficult situations that required a few attempts to get the focus right.
Regarding stabilisation, the 5-axis stabilisation of the E-M1 handled the bigger and heavier lens very well, and I managed to get acceptable results down to 1/3 of a second.
The only thing I noticed more than once is that the images can be more prone to shutter shock. This is actually the first time I’ve had some real shutter shock issues with an Olympus camera, though I know that many users have encountered this problem with other cameras, especially the Pen E-P5, in the past. But the good news is that there is a simple fix, which is to activate the Anti-Shock option in the menu (found in the E/EXP sub-menu). If you select the second 0 option, the camera will use an electronic first curtain instead of the default mechanical one to reduce any blur caused by the shutter impact.
I also recommend the use of a tripod in situations where you need to work with slow shutter speeds. Even though the 5-axis stabilisation works well, there might always be a couple of pictures that come out slightly blurry. Moreover, the effectiveness of the stabilisation is related to how well positioned and stable the photographer is. Most wildlife shooters use tripods for a reason, so I recommend that you do the same, especially with the MC-14, if you plan to do a lot of animal shooting.
Video use
This kind of zoom lens can also be a nice addition to a filmmaker’s bag, especially for nature and animals. The versatility of the focal range combined with the close focussing capabilities and the MC-14 is really interesting for video as well. Unfortunately the lens isn’t optically stabilised so with a Panasonic camera like the GH4, a good video tripod with a nice and fluid head becomes very important to bring home nice sharp footage.
I did a short video during my first days with the lens at the Racconigi Park. I shot with the GH4 in Cinema 4k at 24fps. At the time, my initial impressions about the autofocus on the Lumix camera were less positive as it seemed to have trouble in AF-C mode. After another series of test, I actually discovered that I had chosen the wrong setting on the camera and the camera hadn’t been updated to its latest firmware. So I can now confirm that the 40-150mm works really well in AF-S and AF-C on the GH4.
Conclusion
There isn’t much else to say in conclusion except that which I said at the start: the 40-150mm is a wonderful lens. Along with having great optical performance and a versatile zoom range, it is also an important step forward for a system that is becoming more and more mature and complete with solutions that can suit amateurs, enthusiasts and professional photographers.
The lens gives excellent results in terms of sharpness, bokeh and versatility. It is certainly the biggest lens for MFT but don’t be fooled by its appearance. It is actually not that big for what it delivers.
There is of course an interesting alternative for those who don’t need that extra 50mm reach and want a smaller lens that won’t unbalance the kit too much: the Lumix 35-100mm f/2.8. And this is another positive aspect about the new zoom: Olympus has released something different from everything else out there to bring the MFT system a step closer to completion.
 What I like about the M.Zuiko 40-150mm f/2.8 Pro:
- superb build
- great image quality even at f/2.8
- pleasant bokeh rendering
- minimum focussing distance of 70cm throughout the entire zoom range
 What I don’t like about the M.Zuiko 40-150mm f/2.8 Pro:
- autofocus can struggle at the longest focal length
- sharpness decrease slightly with the MC-14 at the fastest aperture
- its weight and size can cause some shutter shock (but easily fixed with the Anti Shock option in the menu)

