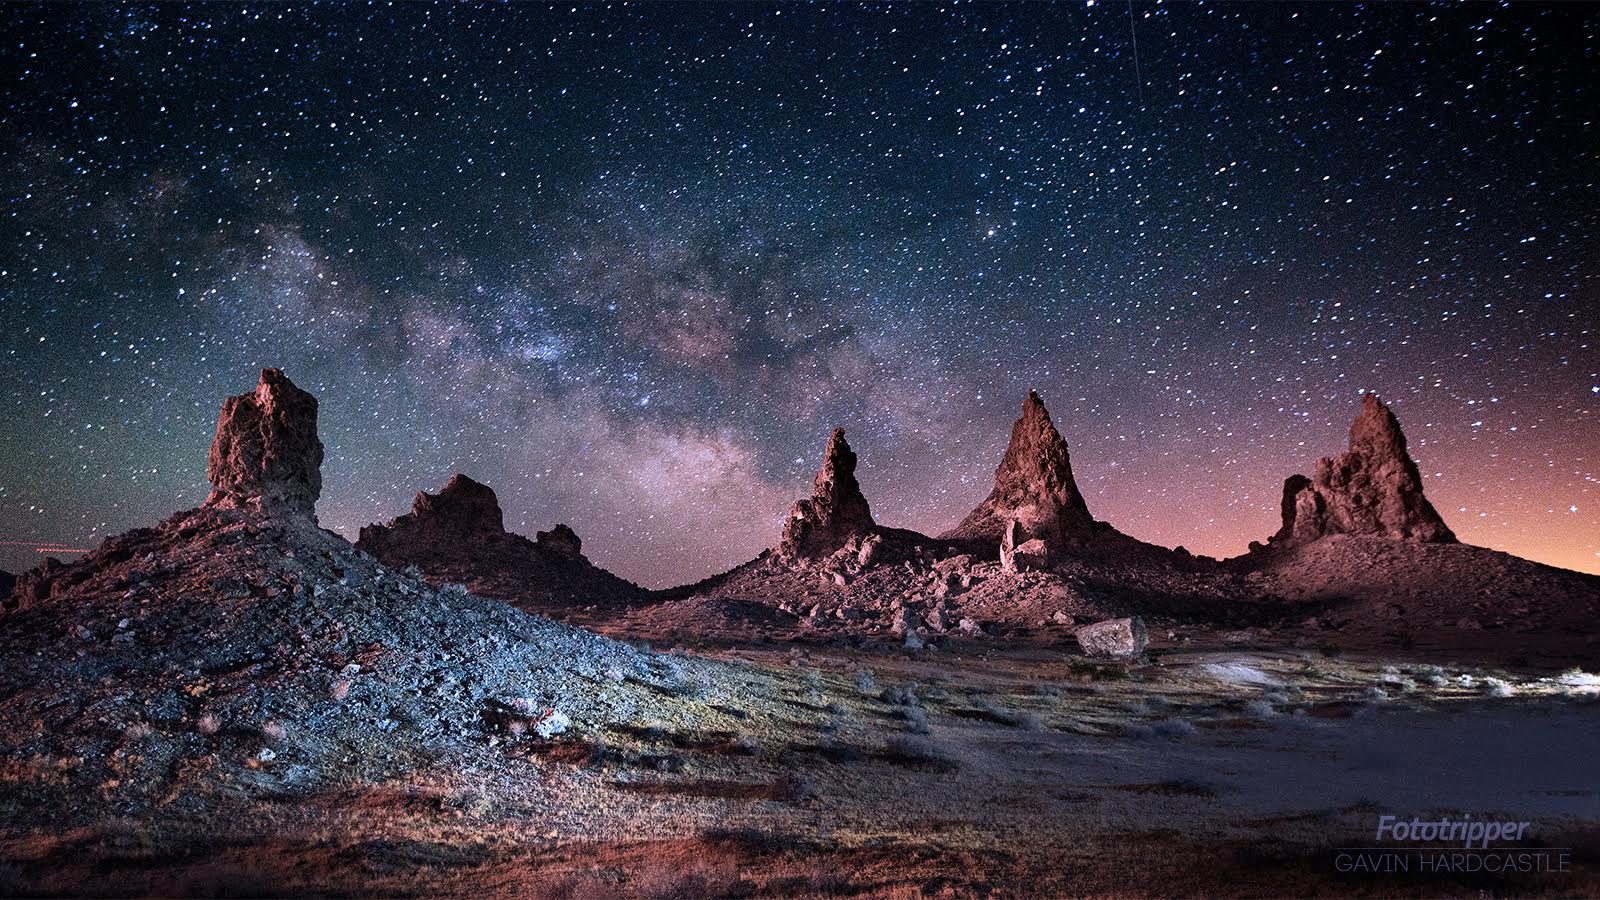
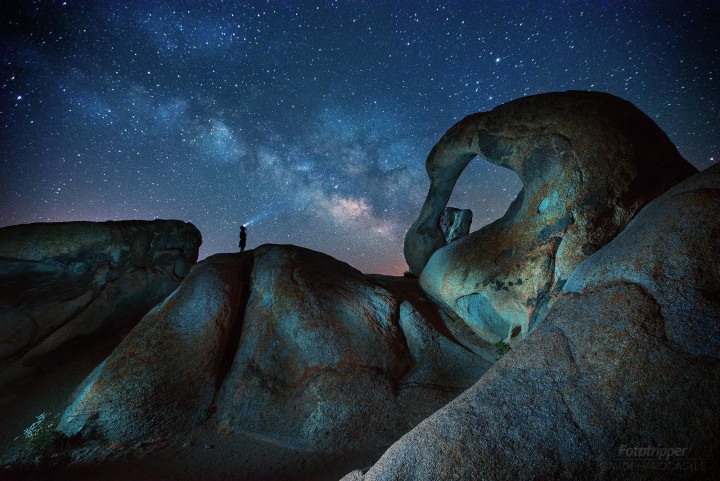
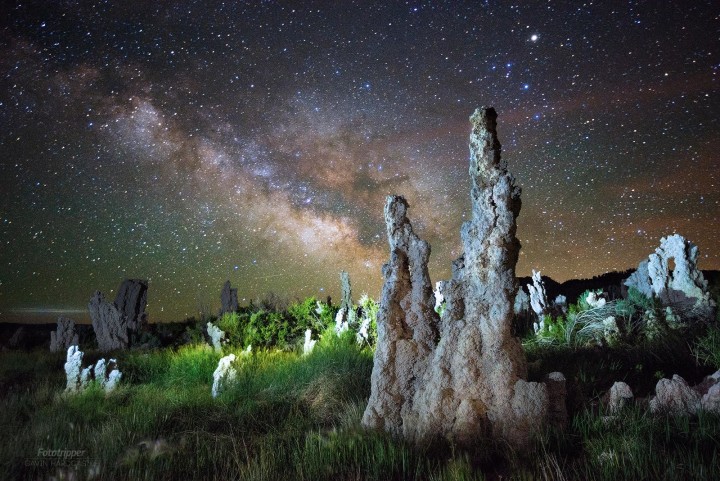
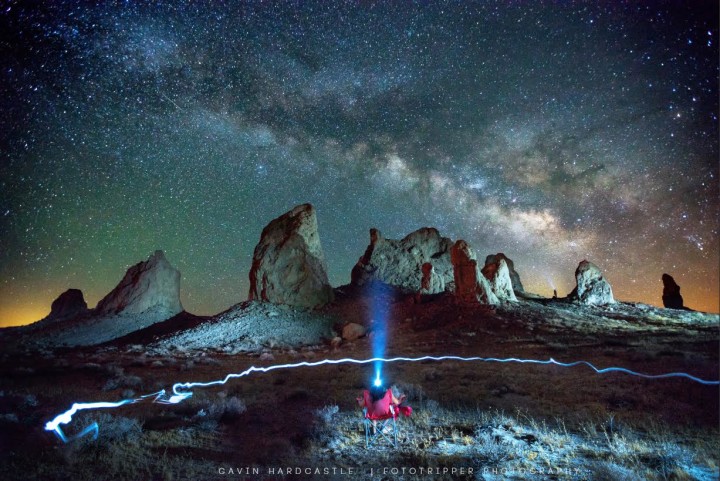
If you’ve ever tried light painting in your astrophotography, you’ve probably discovered how ugly and unnatural artificial light can often look. One of the questions I get asked most often is how I manage to get such clean and atmospheric light painting in Milky Way images.
Aside from using an awesome camera (in my case the Sony A7R), there is a certain method that I use to capture every part of my composition in a way that gives me maximum image quality and lots of control over light.
One Exposure vs. Multiple Exposures
If I want the absolute maximum image quality in my Milky Way light painting images, I’ll need to shoot multiple exposures each with different light painting techniques and then combine those in Photoshop. It’s possible to get a really beautiful Milky Way image in just one exposure but I’ll have to accept the noise and general lack of image quality.
I’ve found that a lot of astrophotography photo contests insist on having the shot made with just one exposure so it’s a good idea to aim for this as a standard.
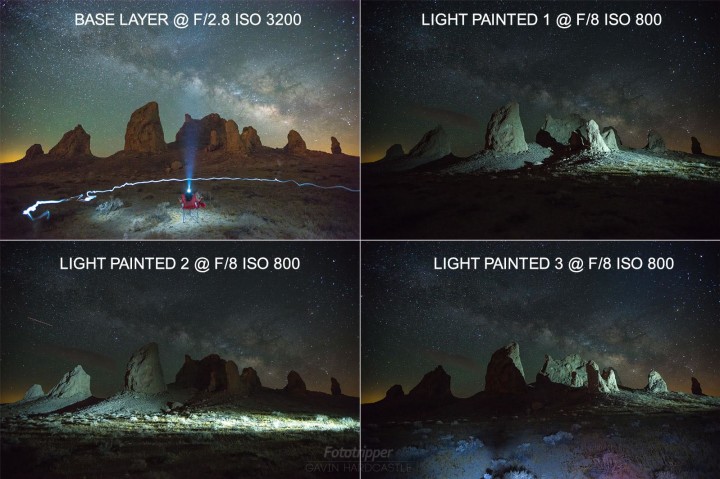
I’ll always shoot one exposure to create what I call my ‘Base Layer’. This is the one shot that I’m going to light paint as if I only had once chance to get it right.
I’ll then shoot additional exposures that are purely for my light painted foreground and nothing else. I combine those in Photoshop to get the perfect balance.
Shoot Your ‘Base Layer’ With ‘Bounced Light’
My ‘base layer’ will either be my finished shot if I plan on entering a strict photo contest or it’ll be my base layer onto which I can add additional light painted exposures to get maximum image quality.
When shooting I use my widest aperture (like f/2.8), focus on a star and take a 30″ exposure when it’s fully dark and the stars are really clear.
For the ‘base layer’ image I will rarely use direct light when light painting. Most often I’ll bounce my 300 lumen headlamp off another surface such as a wall, floor, tree, rock etc. The reason I bounce the light is because it becomes much softer and weaker and will balance better with the light I can see in the Milky Way. Bounced light that I can barely see with the naked eye will be extremely bright to the cameras sensor when set to ISO 3200.
I find that if I point my headlamp directly up into the air above my head and then angle it down ever so slightly, the scene before me will be gently illuminated by that soft light at a low angle.
I’ll also hold the headlamp behind my back and slowly pan it from side to side. If my foreground objects are fairly close and not too large (like a medium sized tree) this creates a lovely soft light from a very low angle.
During a 30″ exposure, that soft light can look very pleasing in the final image.
Shoot Your Additional ‘Light Painted’ Exposures
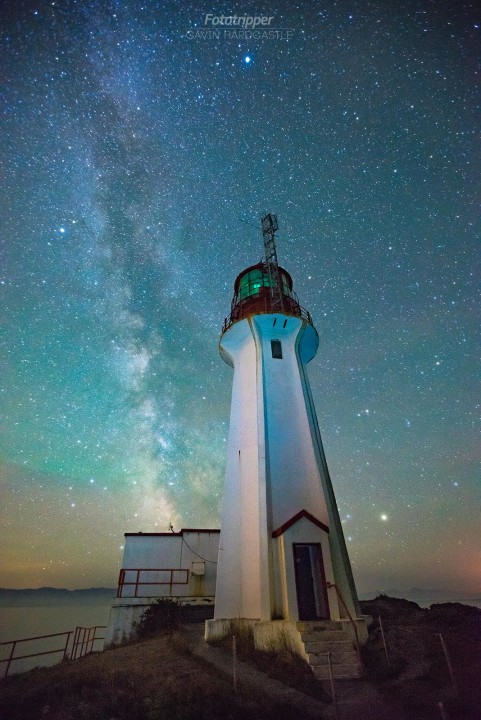
If I’ve decided that I really can’t get the perfect shot with just one exposure I’ll have to shoot additional ‘light painted’ exposures. This is where the magic happens. I’ve shot my ‘base layer’ and it looks great but the foreground is really noisy and there’s only so much of that I can clean up with noise reduction. So here’s how I get around that.
Without moving the camera in any way, I change my ISO to 800 and my aperture to f/8. I don’t change any other setting.
I now shoot another 30″ exposure while shining my light directly at one small part of my composition. I don’t try to light paint the whole scene, I just focus my beam on one area. This will result in an image that is mostly completely black but with a nicely illuminated area where I directed my beam.
I then repeat this process several times until I’ve lit all of the important surfaces in my composition and have an exposure for each.
Post Processing Milky Way Images
For the base layer, I’ll always use one of ‘Gavin’s Milky Way Lightroom Presets‘ to get the right colour hue, noise reduction, sharpening and basic enhancements that make that base layer pop.
To combine the additional exposures where I light painted each area of the composition, I’ll process those with the exact same Lightroom preset but this time I’ll remove the noise reduction. I then open all of my processed images in Photoshop and layer all of the ‘light painted shots on top of the ‘base layer’.
Once all of the images are placed on top of the ‘base layer’ I’ll then change the layer Blend Mode to ‘Lighten’ and BAM! I can now see all of my images combined.
To get the perfect blend of ‘base layer’ and ‘light painted’ layers I’ll use Photoshops ‘Brightness / Contrast’ tool to darken the ‘light painted’ layers so that they blend more naturally with the base layer. I don’t change the opacity of the ‘light painted’ layers because that will just reveal the noisy dark areas of the ‘base layer’ underneath – and I hate noise.
With just a few quick tweaks the image is ready to be exported as a TIFF or JPEG and shared with the world.
Give it a Try
It takes a little bit of practice to get it right but once you’ve done it a couple of times you’ll get better very quickly.
Additional Shooting Tips
- Use a Tripod
- Shoot in Tungsten/Incandescent White Balance
- Focus on a star using ‘Live View’
- Use a blue light headlamp that has around 300 lumens or more
- Turn off ‘Long Exposure Noise Reduction’
- Don’t move your camera or tripod between shots
If I’ve missed anything please feel free to post your questions and I’ll be happy to answer.
Gavin Hardcastle is a fine art photographer, writer and instructor from BC, Canada. Become a better photographer today with his free photography guides and photography tutorials. You can learn from Gavin directly at his global photography workshops in some of the worlds most spectacular locations. Upgrade your post processing skills with his online video tutorials for Photoshop and Lightroom.
