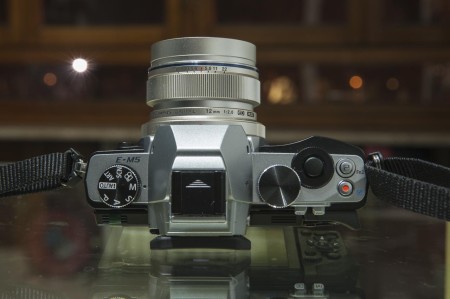
Update: the complete review of the OM-D E-M5 is online!
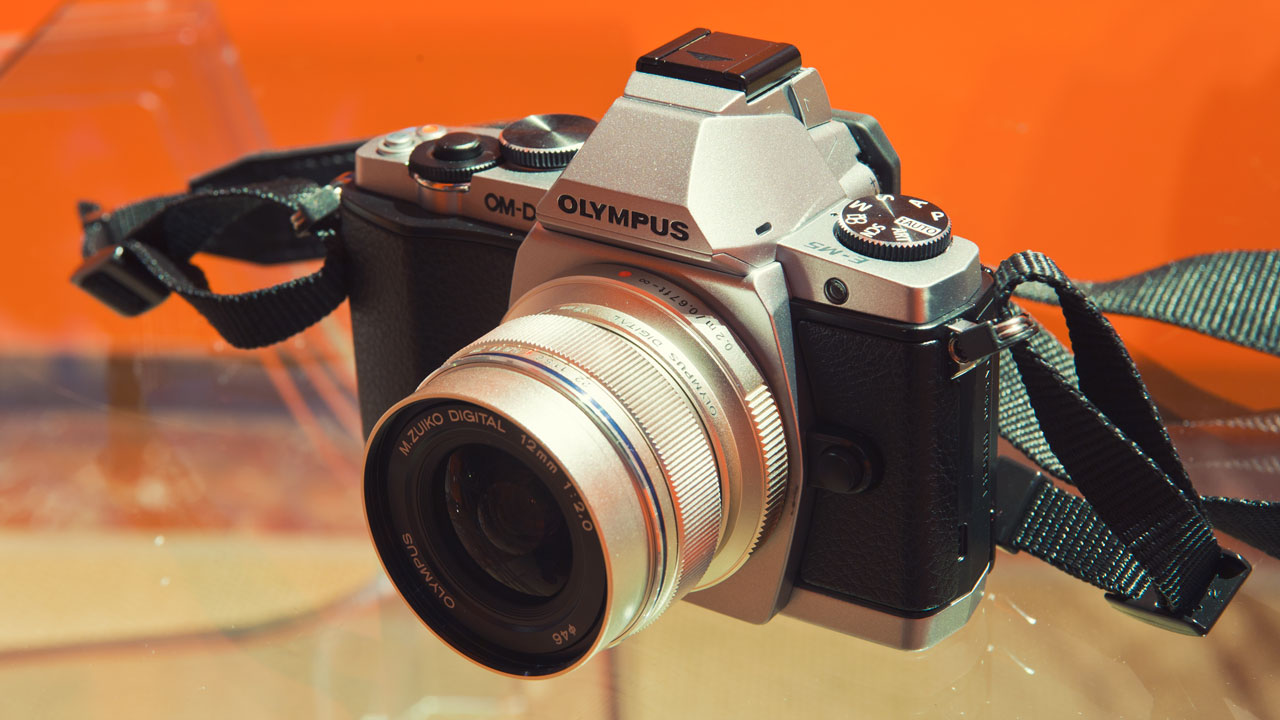
Here we are – our first review is finally online, and what better choice for a first review than the queen of all mirrorless cameras, the Olympus OM-D E-M5. This is not a complete review, as I have just started using the camera, and there are still many test shots I’d like to take in real-life situations. However, after a couple of days of shooting, I can finally share my initial thoughts about this camera with you. So, let’s get started!
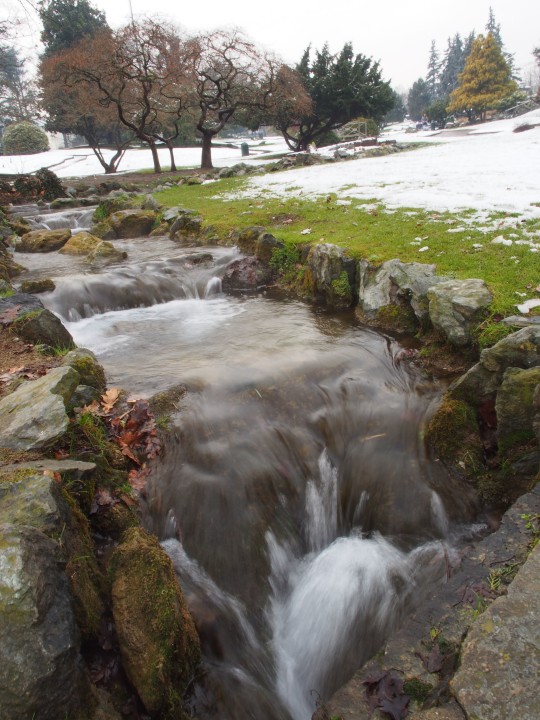
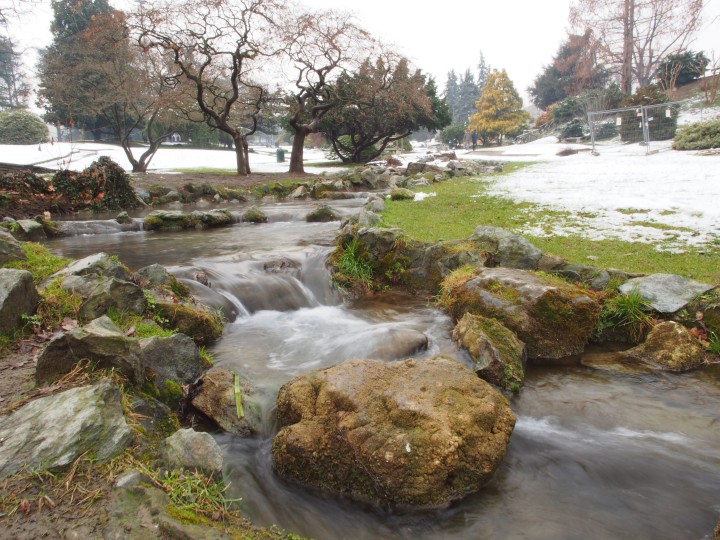
N.B.: for optimal navigation and image loading, all the pictures posted in this review have been reduced in file size while maintaining the original 16.1 megapixel resolution. They have all been converted from the raw version using Olympus Viewer 2 software and without post processing unless specified otherwise.
Out of the box: Hands-on
That unique feeling of holding a new camera for the first time is very important.
You have yet to learn how to use it properly and understand all the options and built-in features, but that first feeling is often, if not always, the first indication as to whether something is right or wrong with the camera.
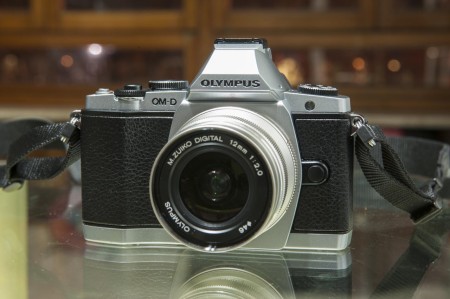
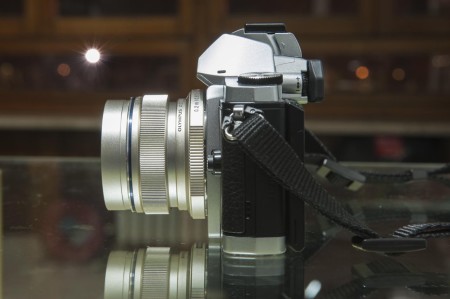
As a professional photographer, I’m used to working with hefty DSLRs and heavy lenses. As such, I was very curious to see how I would adapt to the smaller body of the E-M5. I have to say that first contact was very positive. Holding the camera feels natural and comfortable, even though an optional grip would be more agreeable for those with rather large hands and fingers such as myself. The camera feels solid and robust as do the dials and buttons, save a few which I don’t want to push too hard because they appear more fragile.
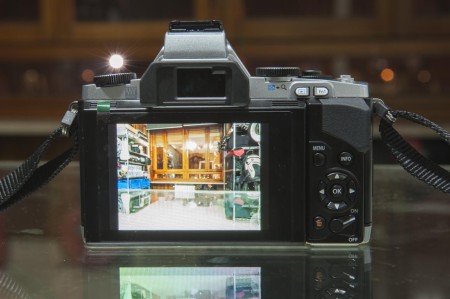
The brightness and detail of both the LCD screen and the EVF (electronic viewfinder) left me with a positive impression. Being used to the optical viewfinder of a DSLR, I was afraid I would need some time to adapt to using the electronic version, but within the matter of a few shots, I quickly became used to it thanks to its high definition (1,440,000 pixels, while the LCD monitor has approximately 610,000 dots). The LCD is orientable, which is very useful for high-angle photos. For more detail regarding the look and feel of the camera, check out the video below presented by my partner Heather.
Image Quality
I must admit that I am very impressed by this camera so far. As I said before, I haven’t had the time to fully test it yet , but I really like what I have shot over the past few days. I only used two lenses, the Olympus Zuiko 12mm f/2 and the 45mm f/1.8. Both are very good lenses, and I will review them separately later on. I always shot in manual mode or aperture priority. A quick summary of the specs of the Olympus OM-D E-M5:
- micro four thirds 16.1 megapixels live mos sensor
- 200 – 25600 ISO sensitivity
- 5 axis image stabilisation
- autofocus with image contrast detection system and 35 focusing points
- water and dust proof
- 9 fps on continuous shooting with single AF mode
The first thing that really surprised me are the JPEGs that come straight out of the camera.
Normally, I only shoot RAW files with my Nikon D700, and I never really considered JPEGs as a feasible alternative, even though Nikon’s JPEGs are good. I have always preferred the quality of RAW files and the adjustments in post-production you can make with them. However, I was curious to see what the E-M5 was capable of, so I set the camera to shoot RAW + JPEG (fine) to draw a quick comparison and blimey, those JPEGS are some of the most beautiful I’ve ever seen. Most of them are usable even without working the RAW files. Of course, shooting RAW has its advantages, the most important being that picture compression is far better than the JPEG version. However, with the E-M5, I feel that, for the first time, I could choose to shoot only in JPEG format without worrying too much about the resulting quality.
Click to view the Original JPGs from the SD card:
Picture 1, Picture 2, Picture 3, Picture 4
Click here to download the original ORF (raw) files.
The second thing that strikes me is high ISO performance.
In low light situations, you can easily work up to 6400 ISO without a shade of doubt, and 12800 ISO is usable, maintaining an impressive amount of rich detail (check picture n.10 and 14). I didn’t touch the in-camera noise reduction though I know it can be changed. In the full review, I will be sure to make some comparisons. 25600 ISO, which is the maximum, shows a lot of grain as I had predicted, but if you are in a desperate situation, this ISO will still allow you to take a decent shot.
If you wanna see more pictures, check out our in depth high ISO test at the National Cinema Museum in Turin!
Click to view the Original JPGs from the SD card:
Picture 5, Picture 6, Picture 7, Picture 8,
Picture 9, Picture 10, Picture 11, Picture 12,
Click here to download some original ORF (raw) files.
The third thing that surprised me is colour reproduction.
The colours are very natural yet powerful. I tried both the Normal and Vivid profiles. The second provides more saturation without exaggeration. It retains a natural look I find very nice to look at. This feature surprised me both in indoor and outdoor situations with varying light sources. Colour rendition works well in every kind of circumstance. In picture 18, I tried to see how the tramway colors would turn out on a very cloudy/dark day, and I’m satisfied with its rendition.
Dynamic range was another aspect I was very curious about, as I remembered that the first micro four thirds sensors weren’t good especially at handling highlights. The E-M5 sensor seems promising, considering also that the micro four thirds sensor is two times smaller than a full-frame sensor. It seems to handle both shadows and highlights very well, but I will have to get back to you on that when I have performed more tests.
Performance
Another point that pleased me is that this camera is fast! The continuous shooting mode gives you a speed of 9 fps when AF single mode is selected. We are talking professional DSLR performance here. Below are some quick shots (sorry for the horrible light conditions – it was a rainy, snowy and dark day) – I’m still planning to do a winter sports shoot next week with the camera, so I will be able to fully test it then.
So far, I am not impressed by the autofocus: it isn’t the worst I’ve seen but it isn’t 100% accurate. That being said, I want to perform some extra tests before assigning judgement, as I didn’t really dig into the menu to try all the available options. Plus, I mostly used it with the 45mm f/1.8, which, as a portrait lens, probably doesn’t have the fastest AF. I will give the autofocus a second fair chance in my winter sports shoot. The stabilisation works really well: I took some handheld photos at a very slow shutter speed (6, 10) and none of them came out blurry. Truly impressive.
Conclusion
As I said, my initial impression is more than positive. The menu of the camera is intuitive. Pressing the OK button gives you all the main settings like ISO, AF, white balance, and so on, and you can easily and quickly change these settings. The only button I miss is the ISO one I’m used to having on my Nikon D700. The camera has two Fn (function) buttons: the second gives you rapid access to main settings such as white balance and speed. I have yet to verify whether I can configure it to provide the ISO settings at the touch of a button. The playback button and Fn1 button are a little bit hard to push, but that’s maybe because I have big hands.
The only true con I have found so far is that, when the camera goes into stand-by mode, reactivation of the LCD screen and viewfinder is a bit sluggish. If I suddenly see something I want to shoot quickly, press the shutter release button halfway to activate the camera, and bring it to my eye, I still have to wait half a second more before I am able to see the scene through the viewfinder. Such a defect could cause me to miss a number of great shots. As I am posting this hands-on review, I am currently doing more field testing with the camera. The full review will be up very soon.
