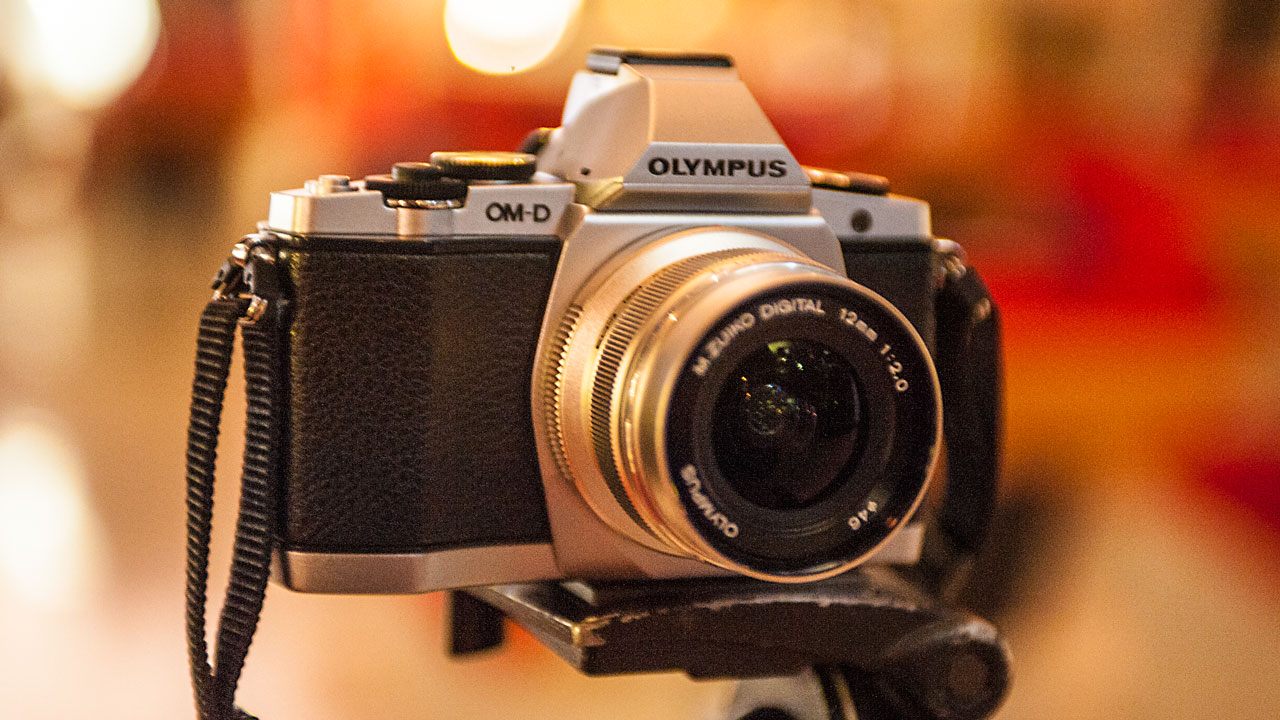
Update: the complete review of the OM-D E-M5 is online!
One of the first things I check when testing a new camera is the ISO sensitivity. Good low-light performance is something I need for my job as one of the two official photographers at the National Cinema Museum in Turin, Italy. It is a wonderful museum but it is often challenging to photograph due to the dim lighting conditions. Of course, the dusky ambiance is fascinating from a visitor’s point of view, but it is not easy for a photographer to recreate. My work mainly involves event reportage and interior photography within the museum and other venues.
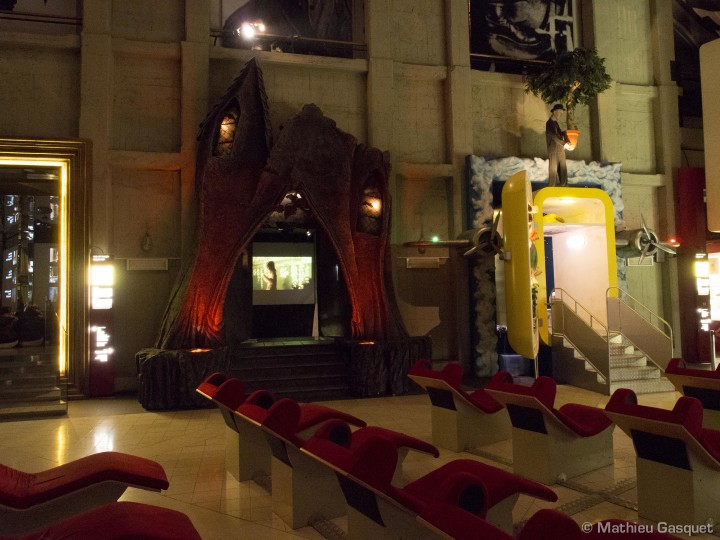
The standard procedure for taking professional shots inside the museum would involve putting the camera on a tripod, setting the ISO sensitivity to the minimal value (200 ISO), closing the aperture to around f/8 or f/11, and setting a slow shutter speed to compensate. Being the best way to achieve both sharpness and quality in a picture, this is what I normally do. However, since tripods and I don’t really get along, I prefer holding my camera and taking the shot right away. With this in mind, I thought it would be nice to test the high ISO sensitivity of the OM-D E-M5 in an environment I know very well and see if I was actually able to bring some good pictures home – and when I say “good pictures,” I mean even from a professional point of view. My objective was to keep a relatively closed aperture (between f/4 and f/5.6) to ensure good sharpness while compensating with ISO and a slow shutter speed to test the internal stabilisation of the camera.
Challenging enough? Let’s let the pictures be the judge!
Note: all the pictures below have been converted into JPGs from RAW (ORF) files using Adobe Lightroom 4. The lens used is the M.Zuiko 12mm f/2.0. I set the colour profile to vivid and the noise filter to standard.
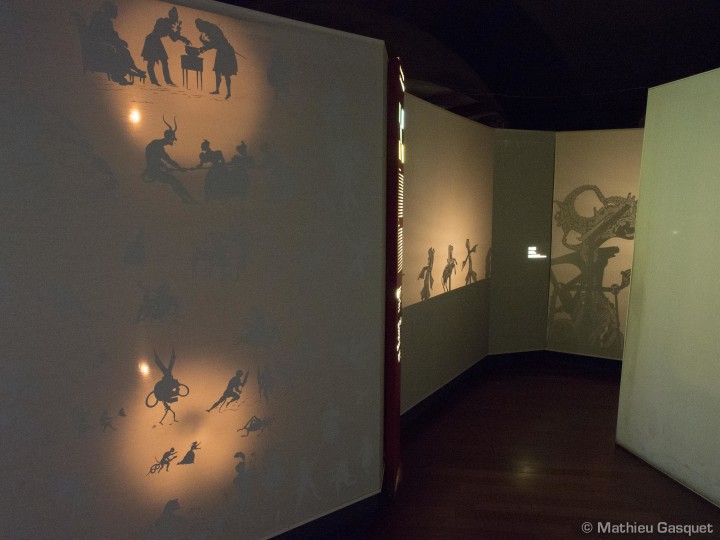
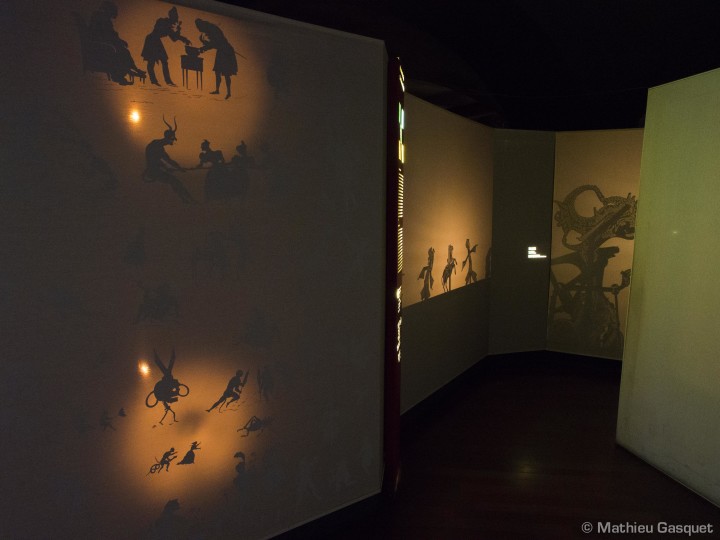
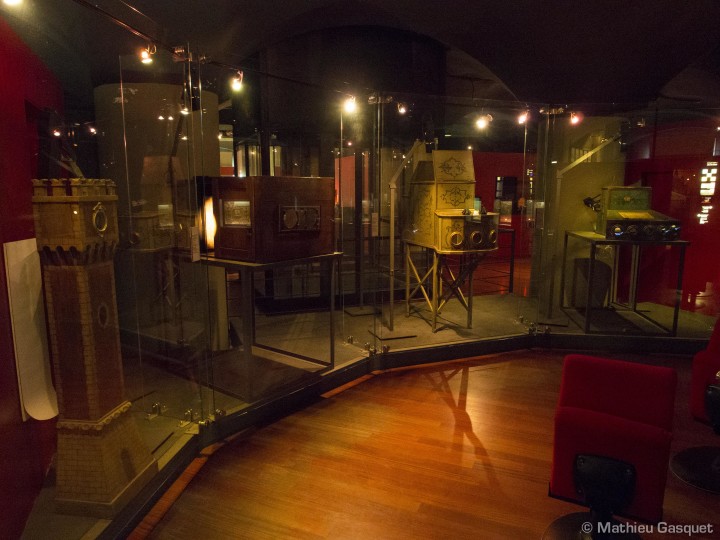
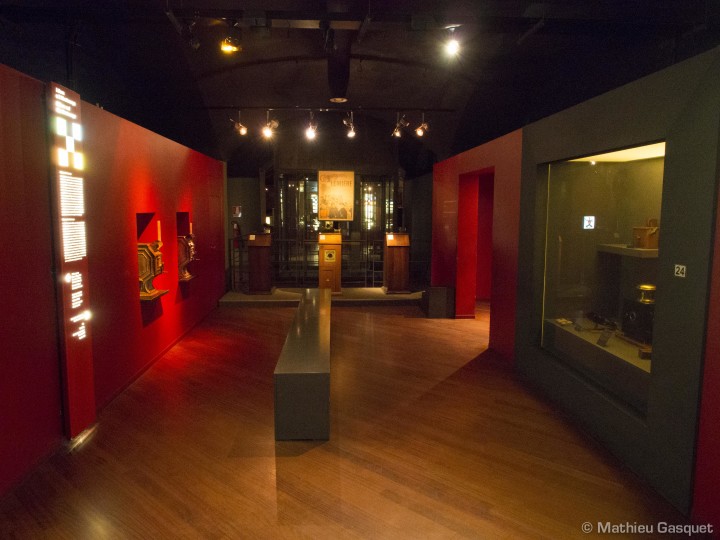
The visit starts with the Shadow Theatre Room, which is one of the darkest. The only lights are those which randomly illuminate the black silhouettes on the walls. I was curious to see how much detail the camera was able retain in the shadows. I noticed that the grain was clearly visible zooming at 100%, but the details all remain dishtinguable. Picture n.1 doesn’t show the atmosphere of the room at its best, so I developed the RAW to add more contrast and saturation. Despite the 6400, the RAW file still offers some potential in post-processing, but as expected, you may encounter some limitations in tonal transition, especially if you export the file as a JPG afterwards. In Picture no. 2, you will observe a red shadow around the two light sources on the left wall: it is very marked compared to the original file. I tried to export it as a TIFF file, and it is perfect (click here to see it).
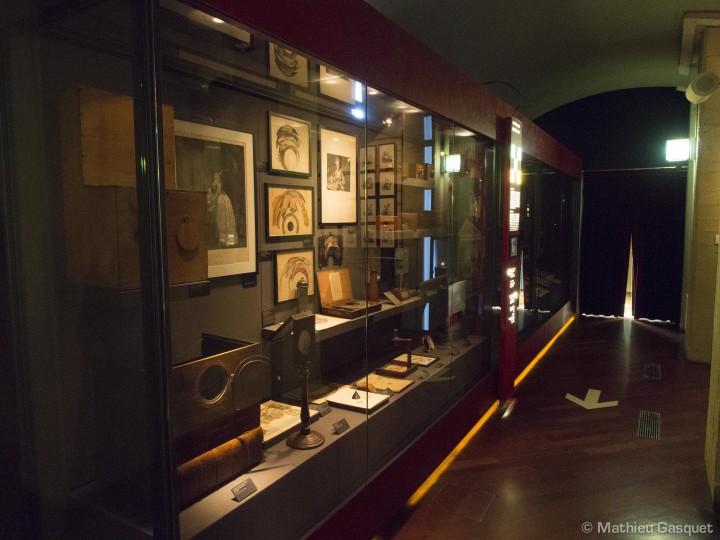
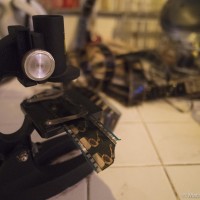
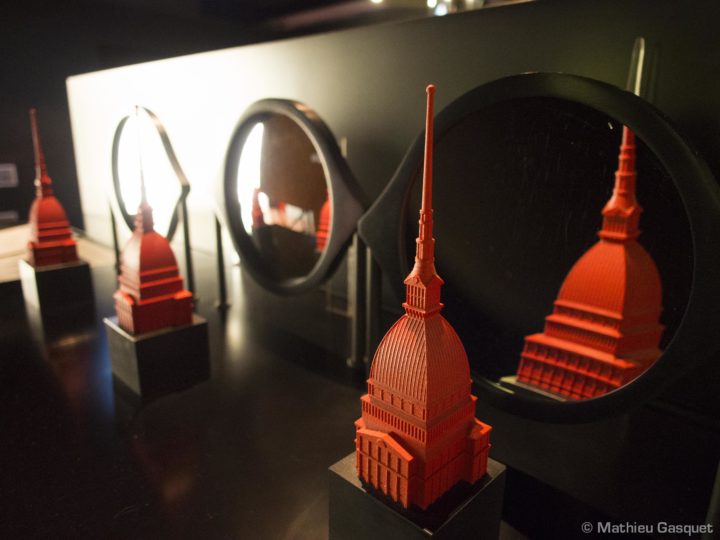
In the next room, there are different optical experiments – a good opportunity to capture some unique details of the museum. Picture n.3 below shows a miniature of the Mole Antonelliana, the building that harbors the Cinema Museum. It shows that 3200 ISO is perfectly usable. There is very little grain overall and I would go as far to say that it has a very pleasant effect. In this example, I used the lens at f/2.0 to capture a more artistic shot with a shallow depth of field. The Olympus M.Zuiko 12mm is a great lens on my opinion and I will review it later on.
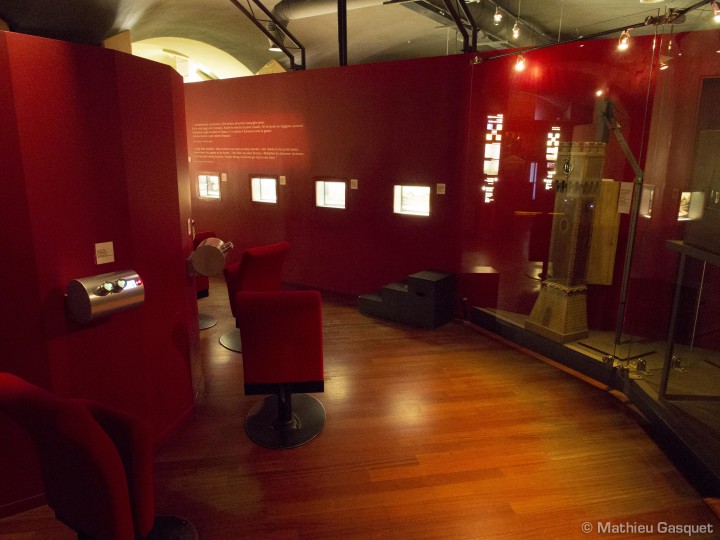
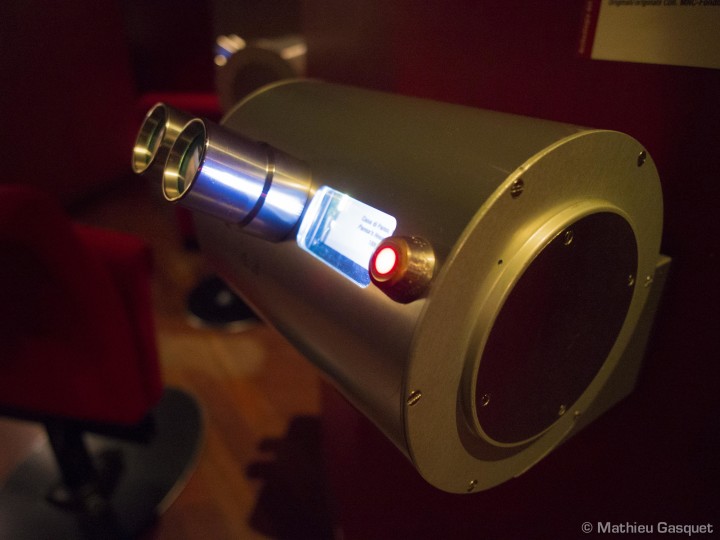
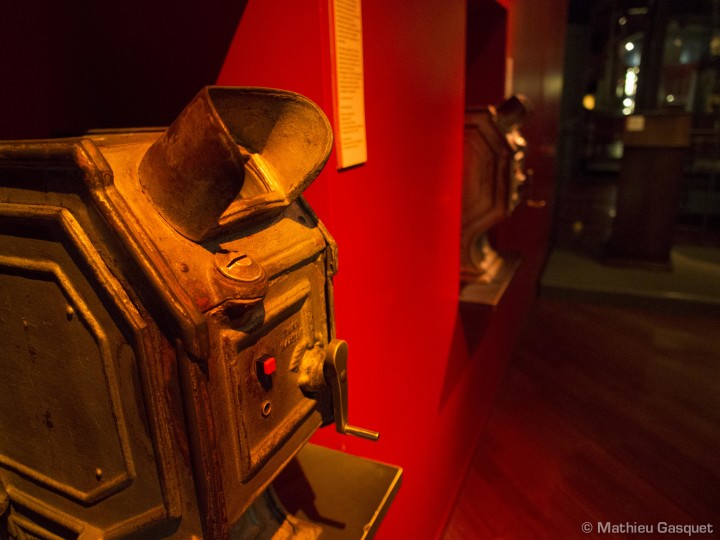
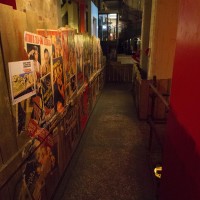
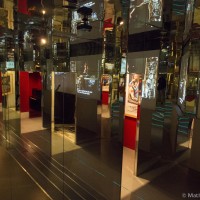
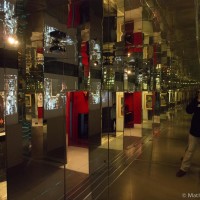
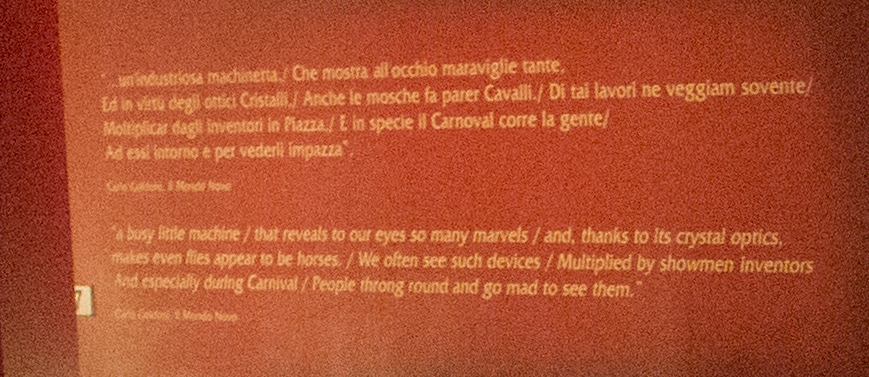
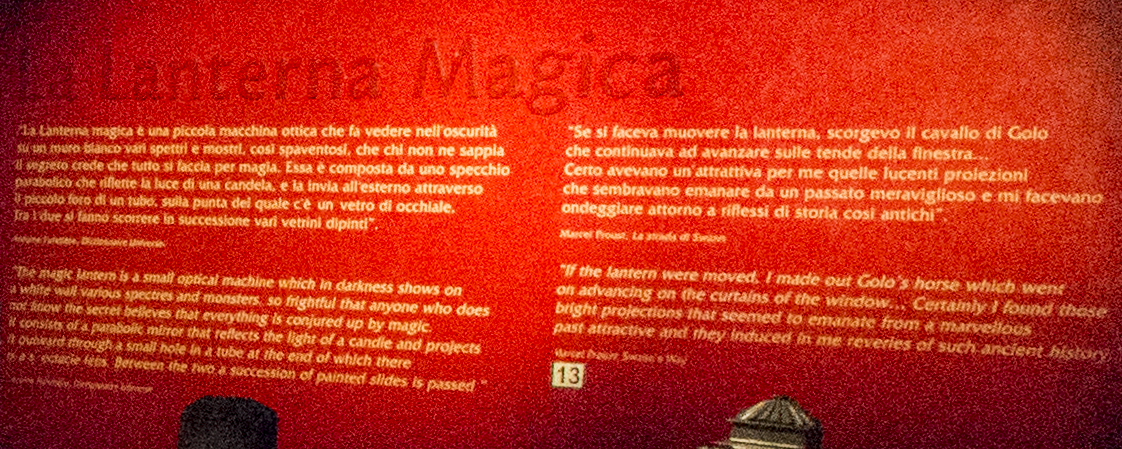
In the stereoscope room, the red colour is dominant and that’s where I really start to see the potential of this camera. I really like how the E-M5 handles the colour red, something I often saw as a limit in other camera, such as my Nikon D700. The red in those pictures is truly powerful and has a very good tone. The details in the writing on the wall remain readable when zooming in at 100%, so even at 6400 ISO, the details remain rich.
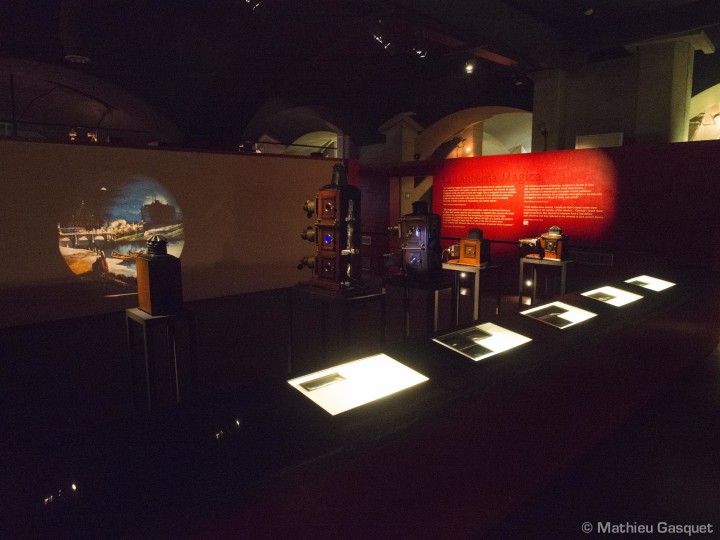
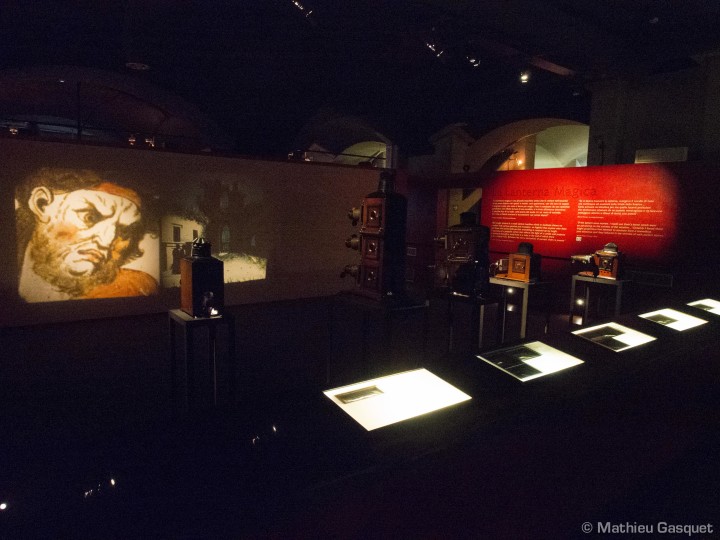
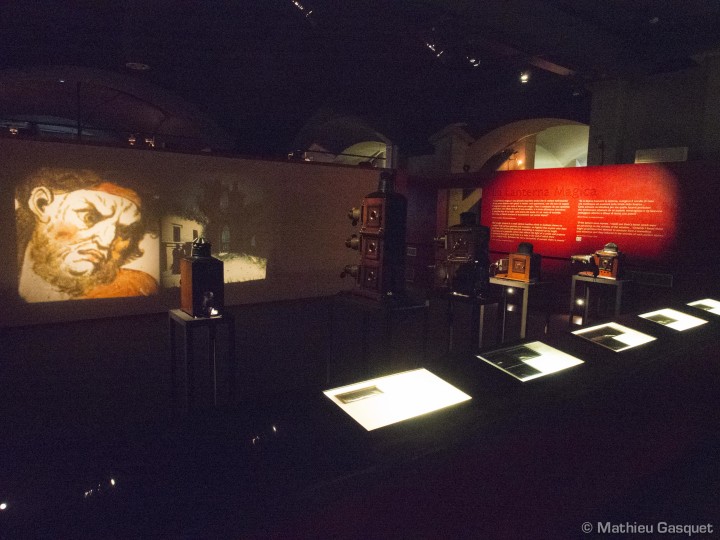
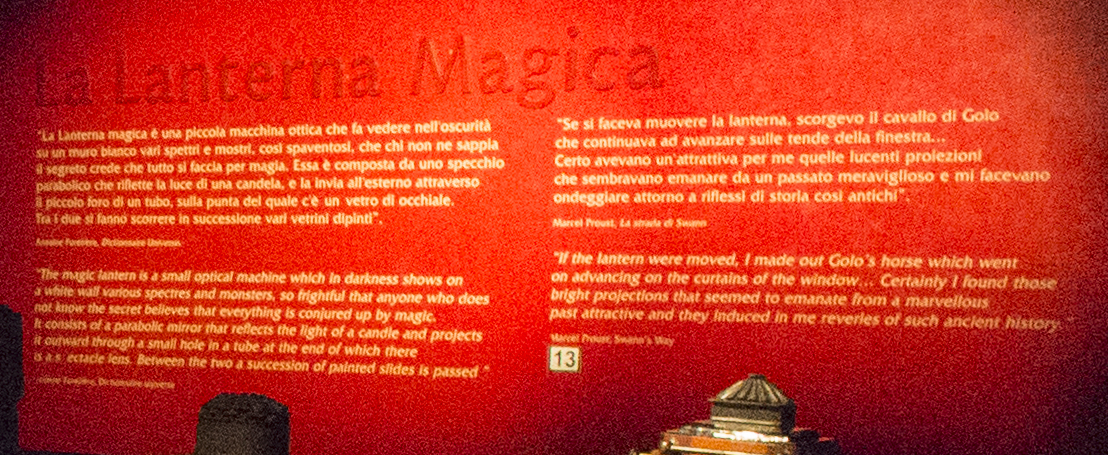
The Magic Lantern room is one of the darkest of the entire museum. I was surprised to see the detail in the shadows of the picture at 6400 ISO, even when I opened them a little bit while post-processing the RAW file. The next picture is taken at 12800 ISO. This is where you start to see the camera’s limits. In post-processing, if you open the shadows too much, the grain is excessively visible. This being said, I don’t find these 12800 ISO images bad at all when compared to those of other cameras. Again, upon observing the 100% crop on the wall, you’ll notice that the writing remains clear and readable.
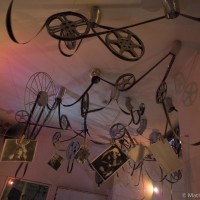
The following are other pictures taken at 6400 ISO which show the great potential of the sensor at that sensitivity.
Arriving at the Temple Hall, I decided to make an impossible comparison.
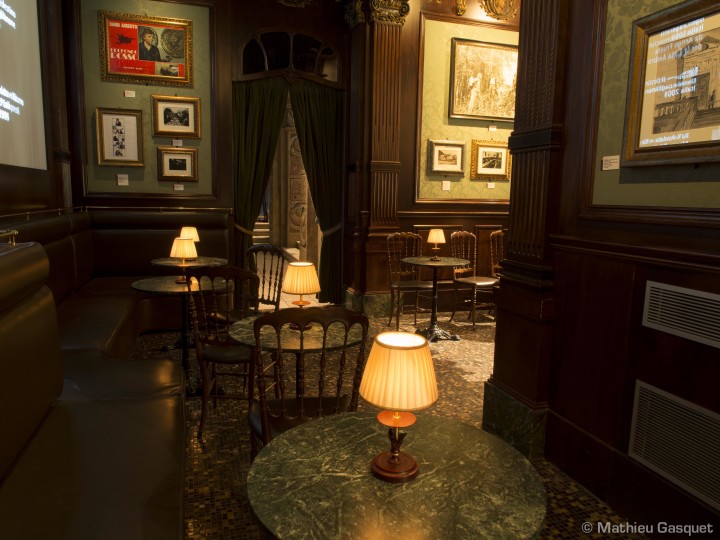
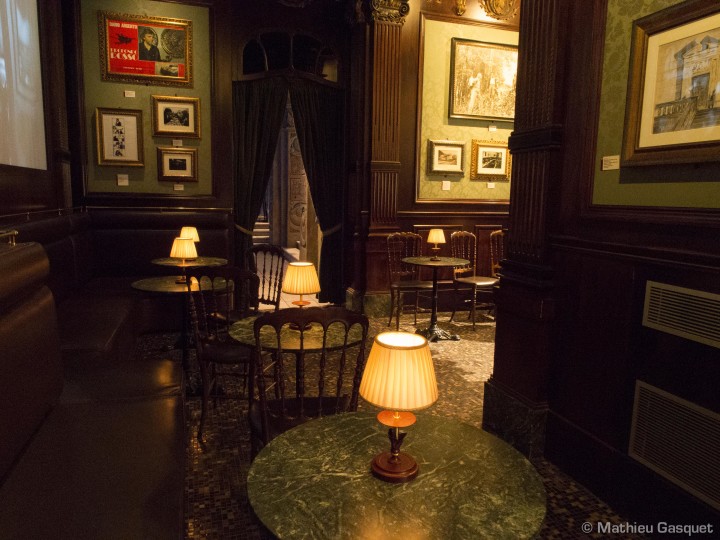
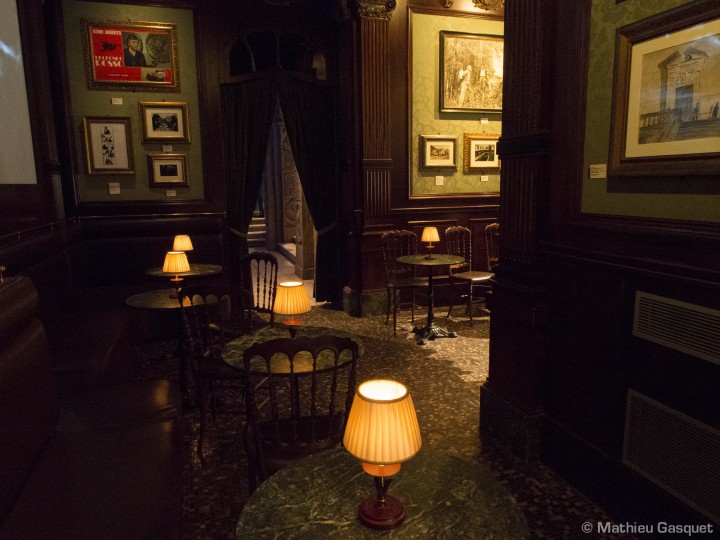
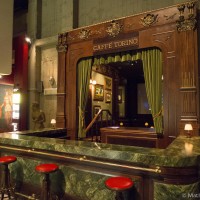
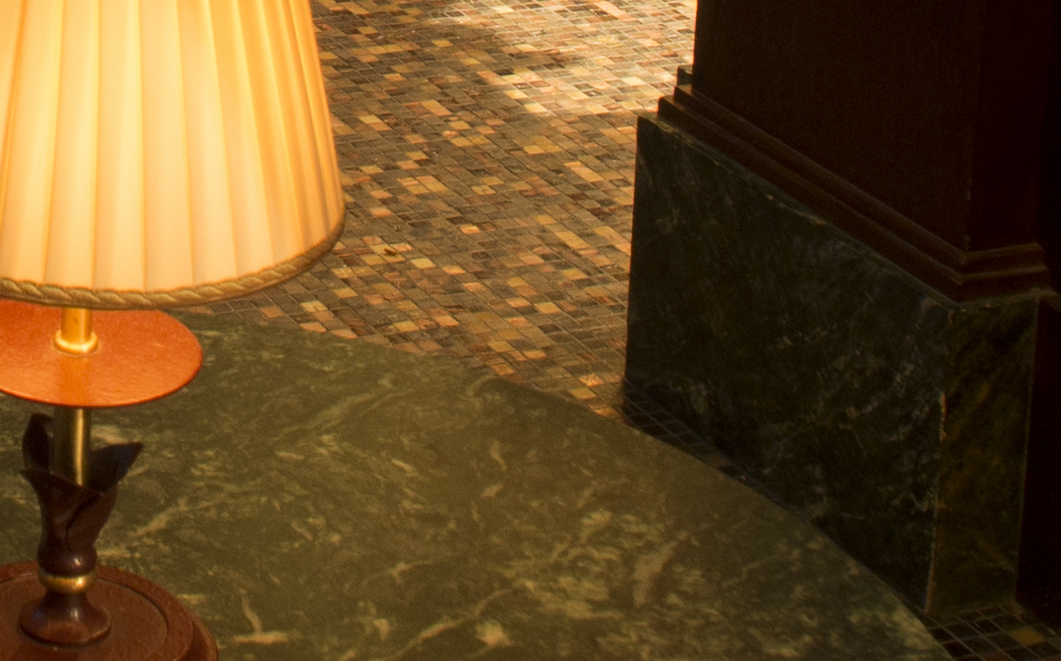
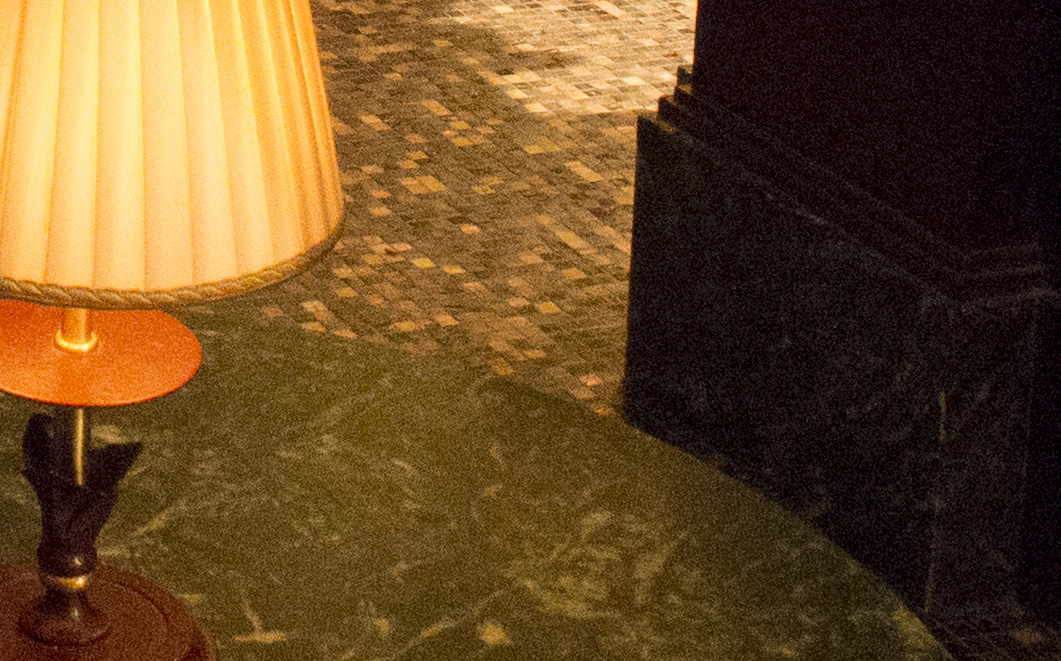
I put my camera on a tripod and shot the same scene at 200 ISO and 6400 ISO. Of course, the picture at 200 ISO is clearer, especially in the details, but I had to use 100% magnification to really notice the difference. You can see a big difference in the image quality of the marble base column and the marble table in the two 100% crop comparisons. With printing, that difference would become even more evident. Of course, it doesn’t make sense to take a picture at 6400 ISO with a camera on a tripod, but I really wanted to conduct this comparison in the exact spot, and I must repeat that I find the high ISO of this camera very pleasant, and the loss of detail, acceptable. Picture n.17 is the same scene captured hand-held. I slightly changed the shutter speed but maintained the same ISO and aperture. This example shows the great image stabilization of the Olympus OM-D E-M5.
Below is another comparison between a tripod shot and hand-held shot.
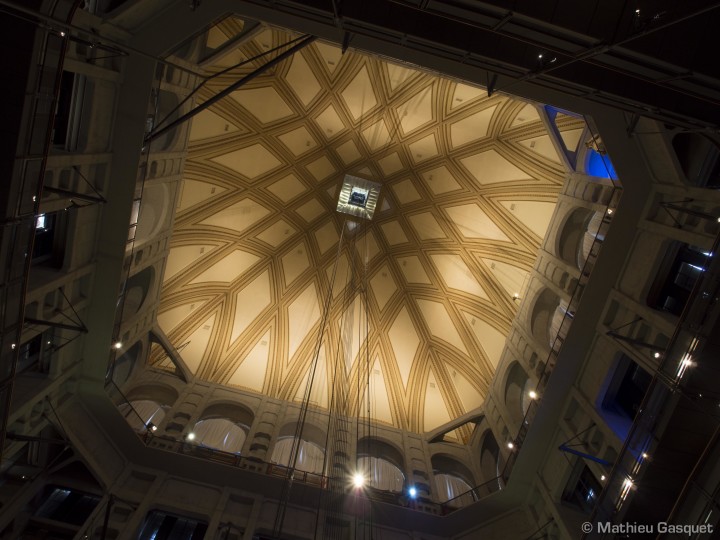
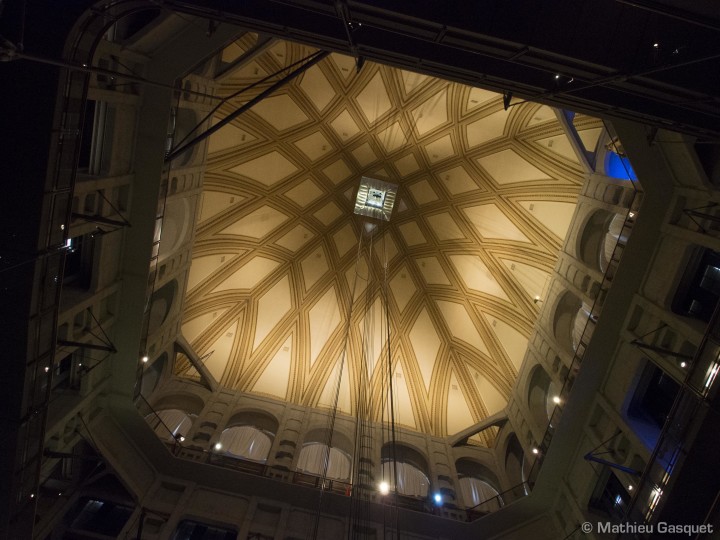
Here is another comparison between 6400 ISO and 12800 ISO. As with any other camera, the balance between light and shadow in a scene can affect the perception of the grain on the picture. In this case, there are fewer shadows and a lot of mid-tones, and that’s generally where the grain becomes more visible. I find the picture at 12800 ISO in this case less attractive.
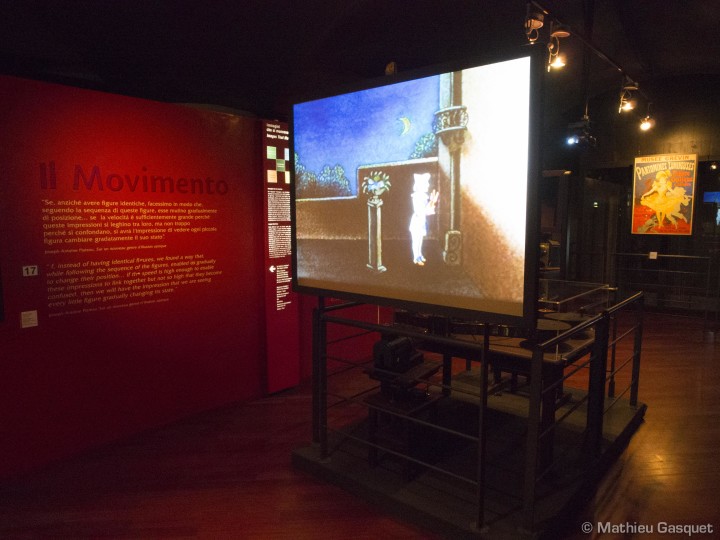
Below is another series at 3200 ISO…
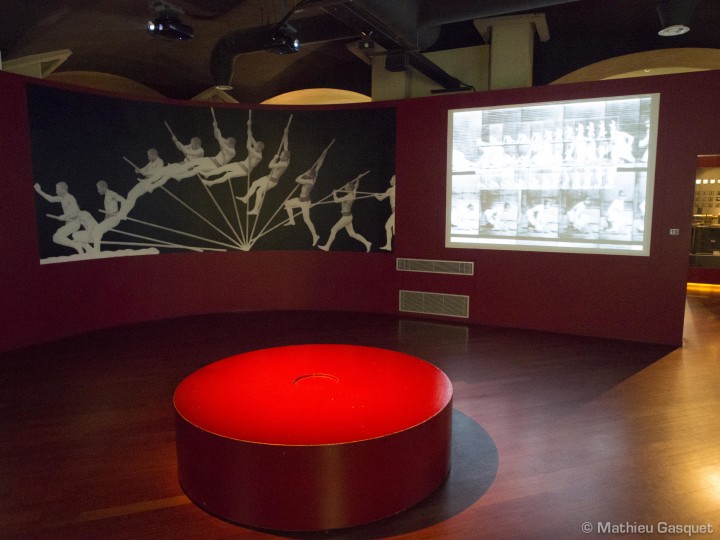
…and 6400 ISO. I am very impressed by picture n.26. The unique lighting conditions are probably helping, but it is very clear and sharp. To give you an idea of the quality, 6400 ISO on the OM-D EM-5 looks like 1600 ISO on my Nikon D700. I don’t want to put my Nikon down, as it is an old full-frame camera which has been a good companion to me over the years, but since it is the DSLR I’ve used the most to date, it feels natural to draw a comparison.
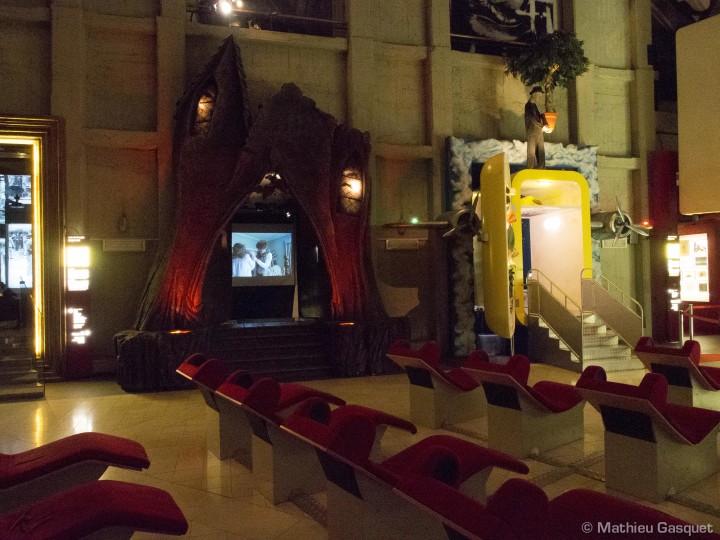
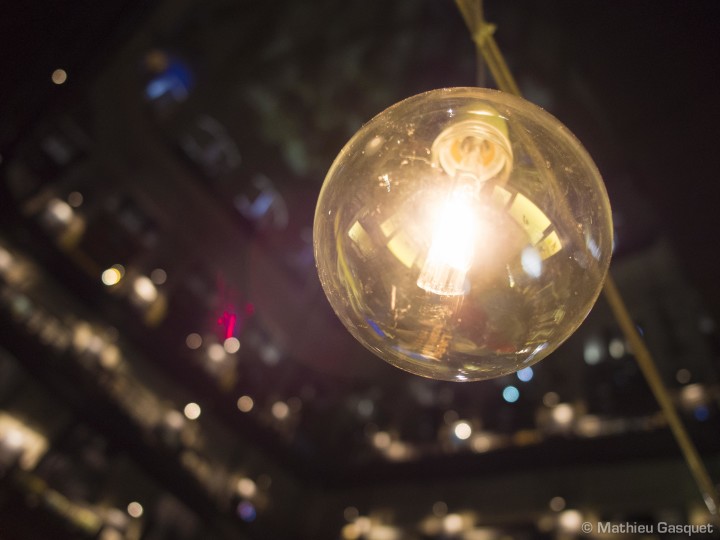
The last picture was taken at f/2.0 and 1600 ISO – the only shot I took under 3200 ISO.
Conclusion
I haven’t tested every camera out there and I’m sure that the Olympus OM-D E-M5 wouldn’t upstage the latest generation DSLRs such as the Canon 5D mk III or the Nikon D4, but for what it’s worth, I am really surprised by the capacities of this camera. Considering the fact that its sensor is smaller than APS-C and Full Frame sensors, Olympus has done a great job here. I love the grain – it isn’t too invasive and doesn’t look ugly. Even some shots at 12800 ISO are usable. From a professional point of view, I feel some of theses shots are perfectly usable if large-scale printing isn’t required, especially at 3200 and 6400 ISO. This doesn’t mean that from now on I will be leaving my tripod at home.
Quality comes first and I have to provide my clients with the best possible shot, period. But knowing that I can count on the sensitivity of the E-M5 no matter the light conditions is certainly a big advantage. I would love to know what you think of these shots. If you have an Olympus OM-D E-M5 or any other mirrorless camera with good high ISO sensitivity, we invite you to send some shots over to us and we will publish them (with a backlink to your website, Flickr or other account) in a special gallery dedicated to high ISO pictures.
Copyright Notice: the pictures in this article have been published with the permission of the Italian National Cinema Museum and are property of the Museum and Mathieu Gasquet. They cannot be used or shared in any way without the expressed permission of the author and owner.
