UPDATE: our in-depth review of the GH3 for video is online!
I’ll be honest, I have always followed the GH series more for its video capabilities than for its photographic features. The GH1 and especially the GH2 were two of the only serious alternatives to Canon DSLRs in the filmmaking industry – that is, until 2012 when Nikon and Sony entered the competition.
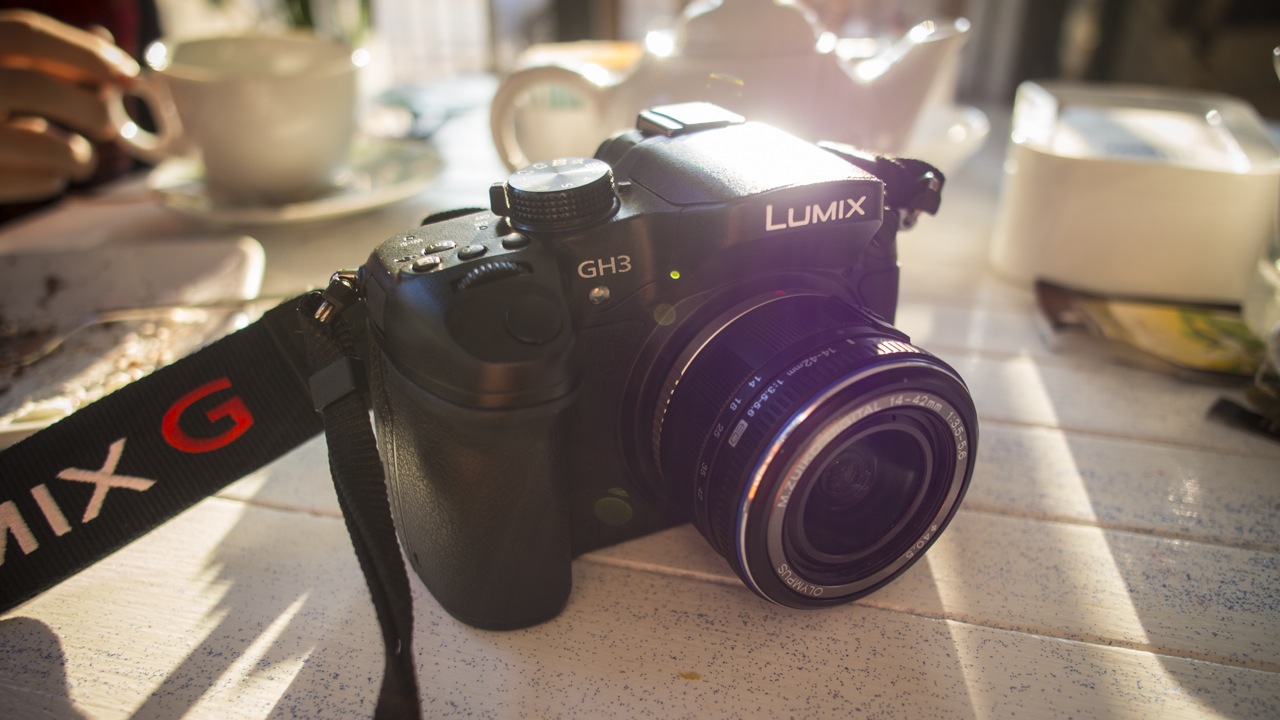
I have never tested the GH1 or GH2 for photography, so I thought it was time to remediate by taking a deep look at the Panasonic Lumix GH3, which is the latest and most advanced mirrorless camera Panasonic has ever designed.
[toc heading_levels=”3″]
DMC GH3 tech specs
- Type: Digital Single Lens Mirrorless Camera
- Image Sensor Size: 17.3 x 13.0 mm
- Image Sensor Type: Live MOS Sensor
- Lens Mount: Micro Four Thirds mount
- Camera Effective Pixels: 16.05 Megapixels
- Record still image in JPEG (DCF, Exif 2.3), RAW (12 bit) and MPO (When attaching 3D lens to Micro Four Thirds System standard)
- Record Motion Image in AVCHD 2.0, MPEG4-AVC (H.264) and (MOV, MP4)
- Record Motion Image in Full HD up to 60p for NTSC and 50p for PAL, up to 72 mbps (ALL-Intra mov only)
- Recording Media: SD, SDHC, SDXC Memory Card (Compatible with UHS-I standard SDHC / SDXC Memory Cards)
- OLED Live View Finder (1,744K dots equivalent) with a Field of View of approx. 100%
- OLED monitor with static touch control 3.0 inch (7.5 cm) / 3:2 Aspect / Wide-viewing angle Pixels 614K dots
- FOCUS Type: Contrast AF system
- AF Mode Face detection / AF Tracking / 23-area-focusing / 1-area-focusing / Pinpoint
- ISO Sensitivity: from 200 to 12800 (expandable to ISO125 and ISO 25600)
- Number of Recordable Images: 18 (When there are RAW files with a particular speed)
- Unlimited consecutive shooting (When there are no RAW files, depending on memory card size, battery power, picture size, and compression)
- Built-in Flash
- Slow and Fast Motion 40% / 48% / 80% (Records 0.4 times, 0.48 times, 0.8 times slower)
160% / 200% / 300% (Records 1.6 times, 2.0 times, 3.0 times faster) - (1,920 x 1,080, 24p, 24Mbps in MOV, MP4, AVCHD)
- Wi-Fi mode
- Interface: USB 2.0, HDMI mini TypeC, Audio/Video Output Monaural Type
- External Microphone Input φ3.5mm
- Headphone Output φ3.5mm
- Internal Stereo Microphone
- Dimensions (W x H x D) 132.9 x 93.4 x 82.0 mm / 5.23 x 3.68 x 3.23 inch
- Weight Approx. 550 g / 19.40 oz (SD card, Battery, Body)
Out of the Box: Design, Ergonomics and Functionality
Panasonic did a really good job when designing the body of this camera. It feels just right in your hand. Watch the video below for a detailed overview of the design and ergonomics of the camera. Pardon my foreign accent – I did my best!
As I mentioned in the video, there are two things you want to pay attention to: the built-in flash and the SD card door.
The first time I opened the flash, it took several attempts to close it. At first, I thought it was broken, but with patience and a great deal of care, I finally managed to close it. It only happened to me that one time but it is worth mentioning.
As for the SD card door, it tends to open sometimes while working with the camera. In fact, it has happened to me more than once. This is the only real flaw in the camera’s build.
The LCD screen is bright and has good contrast, but I don’t like how it reproduces color shades. The viewfinder is another weakness I found in this camera. The OLED screen within the viewfinder is fine, but the glass isn’t very well-made and the far edges of the screen appear blurry and distorted which can be annoying.
The camera has the usual standard interfaces such as HDMI and USB. It also has a microphone input and a headphone output which is a nice addition for videomakers. I was surprised to see a Flash Synchro Socket. Panasonic really seems to have thought of everything.
Image Quality, Part 1: Colors & Dynamic Range
Now that I’ve spoken about my initial feelings regarding this camera, it is time to analyse what’s inside and let the photographs talk!
Last week, I was in Milan for work and I took the GH3 with me, hoping to find some free time to take some pictures downtown. I had the chance on a Thursday morning and luckily for me, it was a beautiful day. I set the profile to standard and worked in manual mode. I had two lenses with me, the Olympus M.Zuiko 12mm and 45mm f/1.8, which, as micro four-thirds lenses, can be mounted directly onto the GH3.
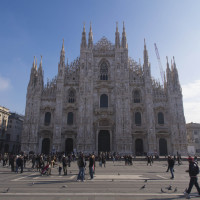
I took a walk from my hotel to the Piazza del Duomo, where the famous cathedral stands. I tried to snap some shots with various colours in the scene to see how the camera would reproduce them. Looking at the JPG directly issued from the SD card, I must say that colours look quite natural.
N.B.: the pictures below have been converted from the raw files without post processing.
Original JPG file
Original JPG file
Original JPG file
Original JPG file
Original JPG file
Original JPG file
Original JPG file
Original JPG file
Original JPG file
You can download some of these photos in their original RW2 (RAW) format here.
I also wanted to test the dynamic range of the camera so I tried taking some shots with high contrast between the highlights and shadows to see how the sensor would react. I set the iDynamic setting of the camera to high. Then I post processed them a little in Lightroom to reveal the dark and light zones. The results are very good, and I must say that the shadows are also very well preserved in the JPG on camera.
Original JPG file
Original JPG file
Original JPG file
Original JPG file
You can download some of these photos in their original RW2 (RAW) format here.
If you look at the photos below, you’ll notice the sumptuosity of the Cathedral in Piazza del Duomo. It is no wonder that it is one of the most famous cathedrals in the world. I then walked into the Galleria Vittorio Emanuele, which is one of my favourite spots in the city. I post-processed these images a little bit in Lightroom, adding some vibrance to the colours and playing slightly with the highlights and shadows. As for the last photo, I converted it to black and white and increased the contrast by modifying the exposure, shadows and contrast.
I didn’t noticed any trace of moiré or aliasing, which proves that the low-pass filter is very effective and maintains a good overall sharpness.
Image Quality, Part 2: ISO test
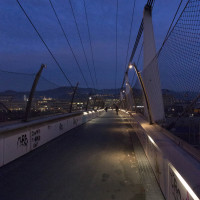
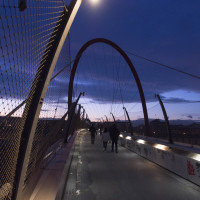
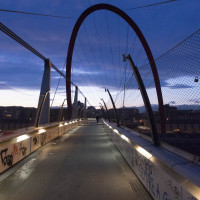
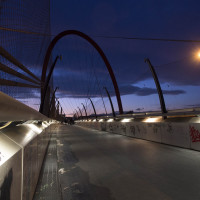
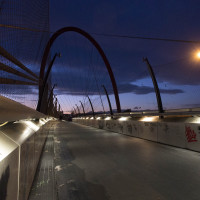
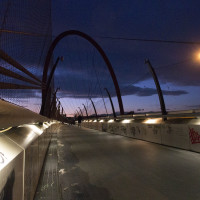
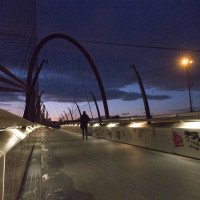
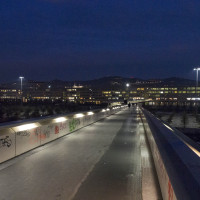
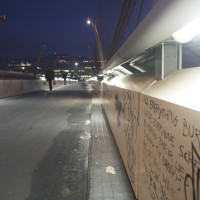
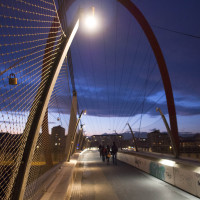
My next challenge was to test the performance of the camera at high ISO. I didn’t have time in Milan to do a proper test, so back in Turin I went on the Olympic Arc bridge a mere 5 minute walk from my office. Unfortunately, they don’t illuminate the arc anymore, which is a shame because the effect at night is stunning.
Anyway, the backdrop was more than fine for the purpose of this experiment, so I started to take some shots at different ISO levels to see the difference.
1600 is clean enough. You really start to notice noise at 3200 ISO and especially at 6400 ISO.
Below is a comparison between the same spot taken at 1600, 3200, 6400 and 12800 ISO.
Original JPG file
Original JPG file
Original JPG file
Original JPG file
As you can see, 6400 remains useable while at 12800 noise starts to become invasive.
You can download some of these photos in their original RW2 (RAW) format here.
The bridge connects Galimberti square to the Lingotto Area. Whereas it was once a Fiat factory, it is now a modern conglomerate of shopping malls, offices and convention centres.
Along the bridge, you can find some locks of love. The trend of leaving locks on bridges in Italy originally started at Milvio bridge in Rome, but the idea soon spread to other cities all over the country.
Below are the final two shots I took when night had almost completely blanketed the city.
One of the most advertised new features on the GH3 is the Venus engine with noise reduction. You can set the noise reduction inside the profile picture settings. Below you’ll find a quick test in my office at 6400 ISO with the NR set to 0, +5 and -5. The NR applies only to JPGs.
Original JPG file
Original JPG file
Original JPG file
The NR isn’t bad but it makes the picture much softer if set to maximum. You can find a good balance by trying different values but in my opinion, it isn’t a fundamental feature of the camera, as you can gain more precision working on the RAW file in a editing software.
Autofocus / Speed
The GH3 can shoot at 6fps, which is a very good speed but doesn’t rival the 9fps speed of the Olympus OM-D E-M5. However, if you aren’t planning to do intensive sports shooting sessions, 6fps is more than enough.
The autofocus is very fast and I found the area selection very intelligent. If you press the shutter button halfway down to place an area in focus and subsequently reposition the camera to compose your picture, the camera rarely loses track of the zone your want in focus. I have to say that the speed and effectiveness of this function is something that really surprised me.
For examples, see the picture below taken at f/2 with the 12mm. I found that the focus was precisely where I wanted it.
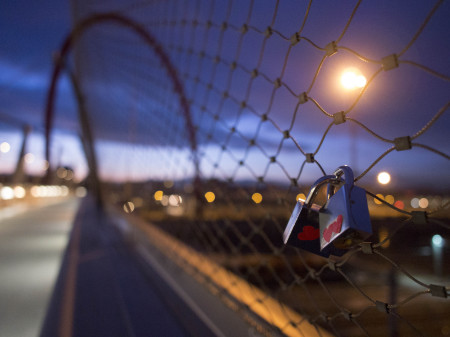
The camera has the three usual focus modes: AFS for a still subject, AFC for a subject that is in constant movement and of course manual focusing. There is a fourth mode that you can choose instead of AFS called AFF, which means Auto Focus Flexible. It is meant for moving subjects whose movements you cannot predict, such as children or pets. AFS (or AFF), AFC and MF can be quickly changed thanks to the dedicated lever that you can reach very easily with your thumb.
The Focus Area covers up to 23 points. The GH3 also has a face detection mode with which it can automatically detect a person’s face and keep the focus and exposure on it, no matter where it is in the photo. Of course, there is the Tracking Mode where the camera will not only adjust the focus on a moving subject but also the exposure.
A nice option that I like is the Pinpoint option where you can precisely set your desired focus point. The image can also be enlarged to be even more precise. Of course, this operation is easy if your have your camera on a tripod or pointed at a very still subject.
I didn’t have the time to perform an in-depth test of the autofocus yet and I apologize. If I get the chance in the near future, I will update this article.
Wi-Fi
The GH3 has Wi-Fi capabilities built into it. No optional accessories needed, which is a very welcome feature. You can connect the camera wirelessly to a smart phone, tablet, TV or PC and choose different options. But this wi-fi has two faces: it connects very easily to a smartphone or tablet, but it is another story if you try to connect it to a personal computer, especially a Mac. Actually, I didn’t succeed in connecting the GH3 to my Macbook Pro. I googled the issue and apparently it is a very common problem and a solution for Mac doesn’t exist if not with complicated workarounds, like having a Windows computer connected to the same network. It is really a shame as it works smoothly on my iPad.
Some things you can do are playback the pictures you have on a memory card, or transfer them to your device. The connection between the GH3 and the tablet is very easy: the GH3 will give you the name of its network and password. Once you have this information, all you have to do is connect to it as you would with any other wireless device, launch the Lumix link free app, and that’s it. I must admit that it is very well done and fun to use as well.
Motion Pictures
The video capabilities of the Panasonic GH3 is one the key features of this camera. Panasonic listened to many user reviews and added a lot of functions that were missing before, such as manual audio control and a headphone jack for listening to what you are recording. The recording settings are also very vast: you can choose between three different video codecs: AVCHD, mp4 and mov. The last one includes the new ALL-I format which records at 72mbps. It is a significant improvement on the traditional 24mpbs with AVCHD. I won’t talk much about the video features in this article, as I am planning to write up a separate review that specifically deals with the video features of the GH3.
In the meantime, you can watch a quick video test below, shot at night to test the low light performance of the camera, and read some additional information about it in my previous article here.
Other features worth mentioning
The GH3 is full of features – some very interesting, some fun and others that are just there to fill the menu.
Heather already wrote about some of the artistic modes, in which the camera automatically generates JPGs with a preset look. There are many looks to choose from, but outside of having fun, there isn’t really a practical purpose for them. Again, you can achieve far better results with your photo editing software. Below are some pictures taken in the Italian alps using the artistic modes.
Olympus M. 12mm f/2.0
Olympus M. 12mm f/2.0
Olympus M. 12mm f/2.0
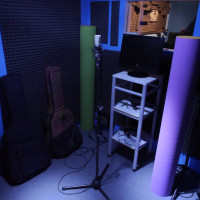
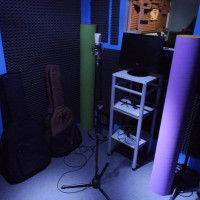
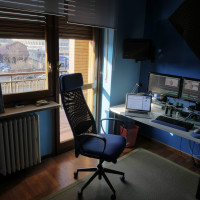
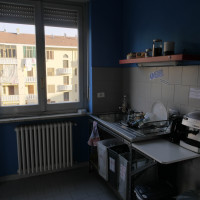
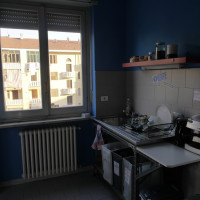
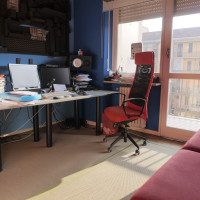
The camera also has an HDR function that will only work with JPGs. (You need to select ‘JPG only’ in the photo settings as it won’t work if RAW is selected). I tested it rapidly in my office and the results aren’t bad, especially considering that I shot hand held and the camera automatically aligns them. What the camera actually does is underexpose the highlighted zones. You can notice it in the windows in the comparison below (the kitchen and the second office room). On the HDR pictures, you have fewer overexposed details outside the window. The camera takes three pictures in a burst changing the shutter speed (you can choose 1, 2 or 3 EV steps) but, at the risk of sounding repetitive, you can achieve better results by using the bracketing function, shooting RAW and then merging them in post-production.
The camera has an electronic shutter option if you want the camera to shoot quietly or to avoid extra micro-shakes if you are taking a picture hand-held at a slow shutter speed.
Another fun feature worth mentioning is the multiple exposure feature, that allows you to merge various pictures in a single shot. It works with both JPG and raw files. The camera can merge up to four pictures. The exposure can be set automatically or manually.
Conclusion
 What I like about the DMC-GH3
- Great body design, it feels just right in your hand. Period.
- All the buttons are in the right place
- Easy navigation in the menu
- Water/dust proof
- Very effective autofocus
- Very good image quality
- Professional motion picture features
- Wi-fi works like a charm with smartphone/tablet
 What I don’t like about the DMC-GH3
- The SD card door looks very fragile
- Bad viewfinder, the edges are distorted
- Wi-fi becomes a pain when you try to connect the camera to a PC. Almost impossible on a Mac computer.
- I would have expected a better ISO perfomance (maybe it’s just me being very demanding)
The Panasonic GH3 is a very powerful camera. It includes many features and options which are suitable for every genre of photography. It is fun and very comfortable to use. Its strongest point in my opinion is the Motion Picture, and that’s why I want to test it separately. From a strick still image point of view, I’ll be honest with you – I am not particularly impressed. Reading other reviews, it seems that image quality has been drastically increased from the previous model, but I personally find the images very “digital”. I cannot explain it in a technical way; it is more of a personal feeling. Conversely, I much prefer the color rendition of the Olympus EM5, for example. That being said, the quality of the pictures is still there and the camera offers many options, making it one of the most complete cameras I’ve ever tried. The battery life is very good, and there are all the accessories you could ever need such as the vertical battery grip, flash units and so on. There is a vast range of lenses available, both from Panasonic Lumix and Olympus as they share the same Micro Four Thirds mount. I cannot think of a single weak point worth mentioning. And that’s not a bad thing at all!
