Update: Check out our x20 full review, homemade macro test, Photoshow gallery, and high ISO test.
Spring has sprung here in Turin, and for the first time in a long while, the Alps were clearly visible from the city centre. Since this industrial Italian city is located in a valley, smog and mist often shroud the mountains from sight, but every now and then, the winds carry it away, leaving us with a view that makes the Torinese (and foreigners like me) burst with pride.
After work, I took a stroll up to Monte dei Cappucini, one of the best places to photograph not only the mountains but the city itself. The panoramic view extends as far as Mt. Viso to the left, carries on past the Mole Antonelliana in the heart of the city, and finishes at the basilica Superga on the far right.
Given the fine weather and clear skies, I went ahead and tested some of the functions found in the Advanced Mode of the Fujifilm x20.
The Motion Panorama mode seemed like an obvious first choice. To use this mode, simply switch the mode dial to Adv., press the Menu/OK button, and select Motion Panorama 360. Then, press the shutter button halfway down to choose your angle (120-360 degrees) or the direction in which you want to pan. Panning is as simple as pie – all you have to do is steadily sweep, keeping the white arrow centred on the horizontal yellow line all the while. The result is an impressive and accurate panoramic representation of your scene. Zooming in on the image, I did not observe any anomalies, such as overlapping or poor stitching, though the colours weren’t quite as vivid as I had hoped.
Below I have posted the two 120 degree panoramic JPG images taken with the x20, both untouched in post-processing.


My next goal was to test the various Advanced Filters on the x20. The filters aren’t as varied as some other cameras such as the GH3, but there are plenty to keep the artistic spirit happy.
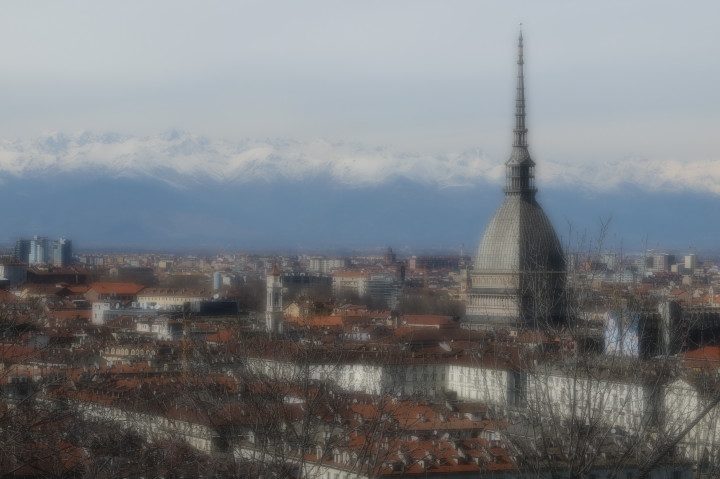
Using the Mole Antonelliana as my subject, I tested out the following filters: toy camera, miniature, pop color, dynamic tone, soft focus, and partial colour for green.
The toy camera filter, as you can see, creates shaded borders (or vignette), giving your photo a vintage appearance. It isn’t too far removed from Instagram!

Miniature blurs the top and bottom of your photo, placing the focus on the centre of the image and creating a diorama effect. If there isn’t much going on at the top or bottom of your composition, it could be a fun option.

Pop color will make even the dullest of photos look bright and vivid thanks to the extra boost of contrast and saturation. I found it did a good job of accentuating the red rooftops of the apartment buildings in Turin without going overboard.

Dynamic tone, on the other hand, is a step too intense. It uses dynamically-modulated tone reproduction to accentuate colours, detail, highlights and shadows. This filter is designed more for entertainment purposes than for serious photography.

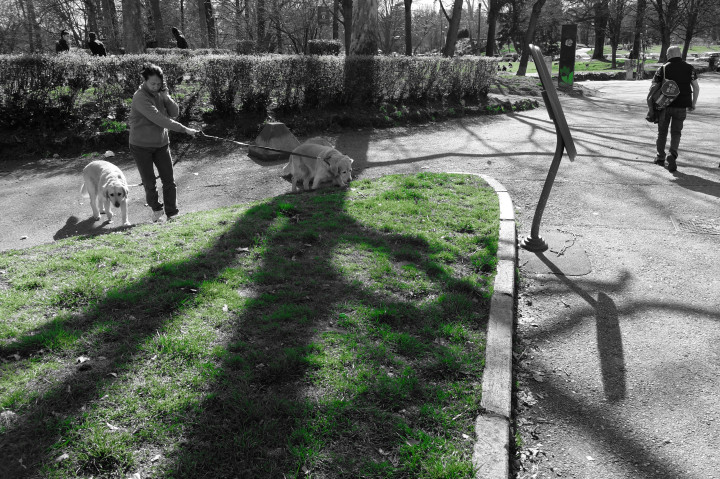
Soft focus left me unenthusiastic as it didn’t seem to contribute anything to the photograph, while partial colour, which I later tested in Valentino Park, seemed to do a good job of picking out and accentuating a specific colour, leaving the rest monotone. I only tested it for the colour green as I was conveniently surrounded by shoots of newly grown grass (hooray!), but I am sure that the effect is just as good for the other colours.


To sum up, the Fujifilm x20 has a handful of fun and attractive modes and filters in its Advanced Mode. The best by far is the Motion Panorama mode, for its ease-of-use and quality, but the additional filters are entertaining as well. Another thumbs-up for the Fuji x20!
Like the Fujifilm x20? Then check out our articles about its Macro Mode and our first impressions!
