One of the great advantages of modern and digital photography is the ability to shoot RAW files. They are the digital version of film and give you the possibility to “develop” them as you would film, with the advantages of doing so faster than ever. Almost every brand has its own proprietary RAW format, but they all perform in the same way.
My favourite software for processing RAW files is Adobe Lightroom mainly for its speed. Lightroom is the perfect way to catalog, organize, convert and process your photographs, and it accepts all kinds of file formats (raw, jpg, psd, tiff etc.).
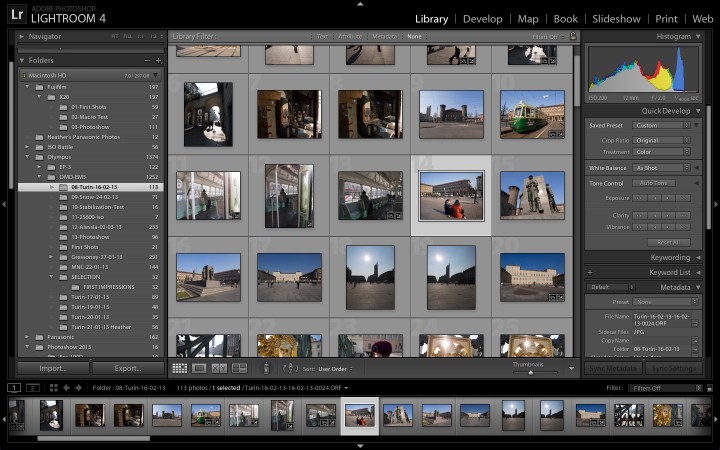
The only limit, if we can call it that, is that Lightroom applies a standard Adobe profile to your RAW files. The result is that, instead of seeing your pictures with the original colors rendered by the camera, you see them with an Adobe “emulation” which is very different. A good way to see the difference is to open the RAW file with Lightroom and the corresponding JPG version (if you shot RAW+JPG) with any other software. The same thing happens if you open your RAW file with Photoshop.
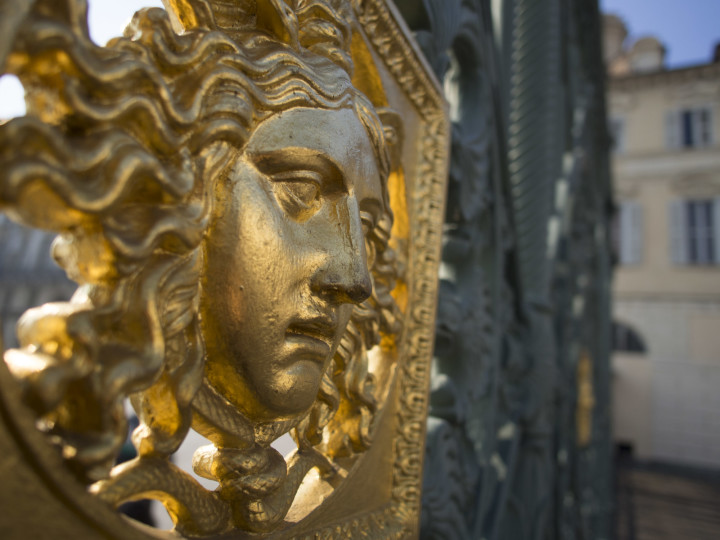
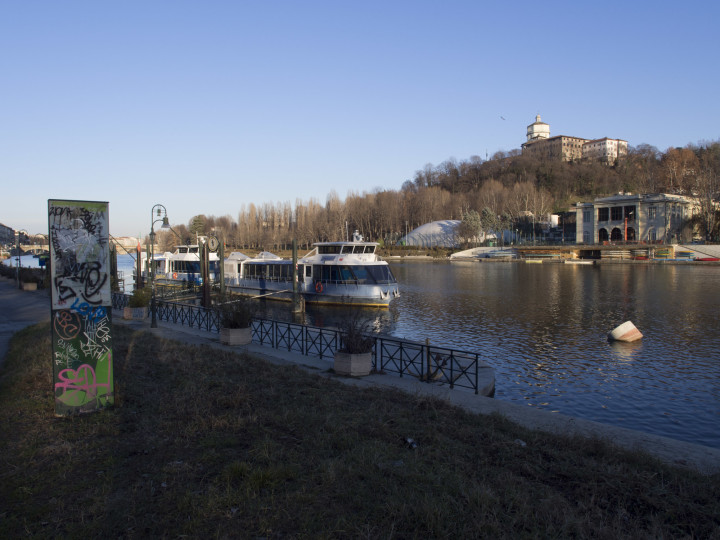
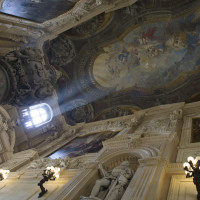
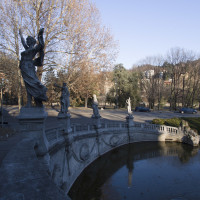
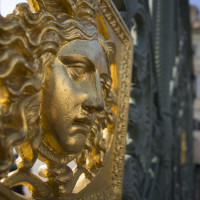
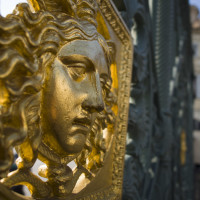
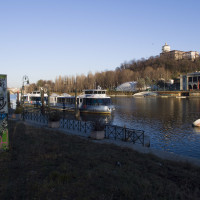
See an example above: move your mouse over the picture to reveal the original color rendered by the camera (in this example an Olympus OM-D E-M5).

You can also compared them by opening the gallery above (works better if you are on a tablet).
Now, this difference isn’t a big issue for the following reasons: RAW files are meant to be processed. You can change the colour, temperature, exposure, shadows, highlights, and so on. However, many people, including myself, would like to process the file starting from its original colour and contrast, as the camera saw it, instead of starting from an Adobe preset that often doesn’t correspond to the original colors. To do this, there are a few solutions. Let’s see them briefly.
- You can use your camera brand picture viewer software, usually available as a free download from the official website or included in your camera package. My experience with this solution has been negative so far. Why? Because these software programs are usually very slow. I tried several (Nikon View NX, Olympus Picture Viewer 2, etc.) and it took me four times longer to work with it. Also, these software programs are way more limited than Lightroom in terms of adjustments you can perform.
- For Nikon and Canon, you can find some presets made by users that will give you a more accurate colour rendition.
- You can try to recreate the camera profile yourself and then save it. Adobe provides a DNG Profile Editor that lets you edit camera profiles, but it is intended for advanced users.
Or… You can use a custom camera profile called Huelight Color Fidelity that emulates the colour profile of your camera.
Quoting the website:
“Color Fidelity camera profiles offer an alternative to the standard camera profiles shipped with Adobe Photoshop and Lightroom products. They will improve the color rendering and skin tone rendition of your images, whilst also balancing the individual color channels giving you a more natural image to work with.”
There are many profiles available for each brand and model. You can find the complete list on the official website. They cost $10 each but in my opinion they are worth the price. I purchased one for my Olympus OM-D E-M5 and I really like the original EM5 colours. Until I downloaded Color Fidelity, I had to see the JPGs to appreciate the colours, while with Lightroom I had to start from scratch. With the Huelight camera profile, I can easily and quickly render the original colours of my RAW file and then make adjustments as I please.
All the Huelight profiles come in three versions:
- Standard: Ideal for general photography and for product shots where colour accuracy is required.
- Low : Ideal for portraits or a scene that requires lower contrast.
- High: High contrast curve and added saturation. It is ideal for landscape photography.
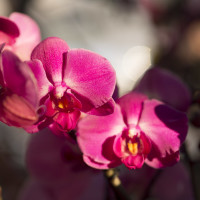
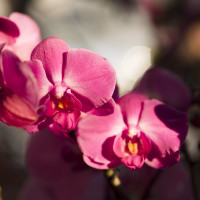
Some examples: Adobe standard profile vs Huelight standard profile

Adobe standard profile vs Huelight High profile

Below is another good example: the deafult profile applied by Lightroom added too much saturation and the picture loses some detail on the flowers. The Huelight High profile renders colour better without any loss of detail.
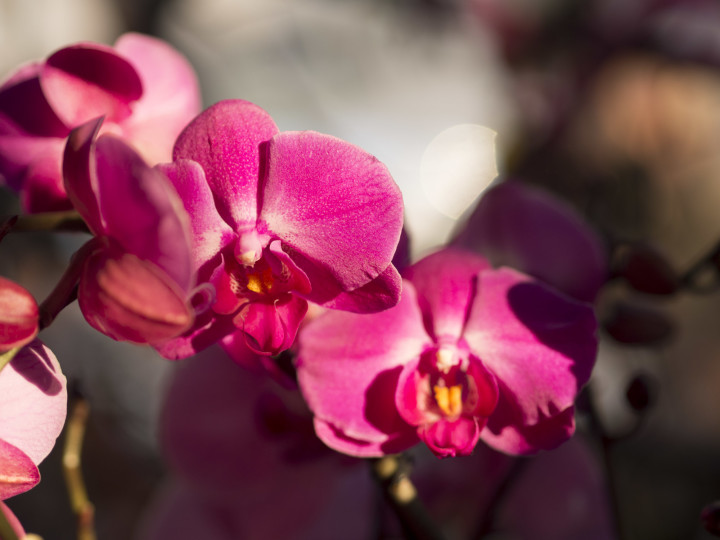
It’s important to note a few things about these profiles: there aren’t direct copies of the colour profiles you can select on your camera, but rather an emulation of each body to best recreate the colours of your camera. Depending on your camera brand and model, the changes could be minimal. I personally find that the standard Huelight preset matches the stantard profile of my EM5, while the high preset, for example, is less saturated than the vivid profile on camera. If you intend to use this profile, my advice is to use the standard profile on camera, then apply the Huelight version in Lightroom. You can then choose to boost saturation with the high version and make your own adjustments. They will work for both Lightroom and Photoshop.
Keep in mind another thing, and I quote Huelight website:
Colour is very subjective and what looks great to one photographer may not be to another photographer’s taste.
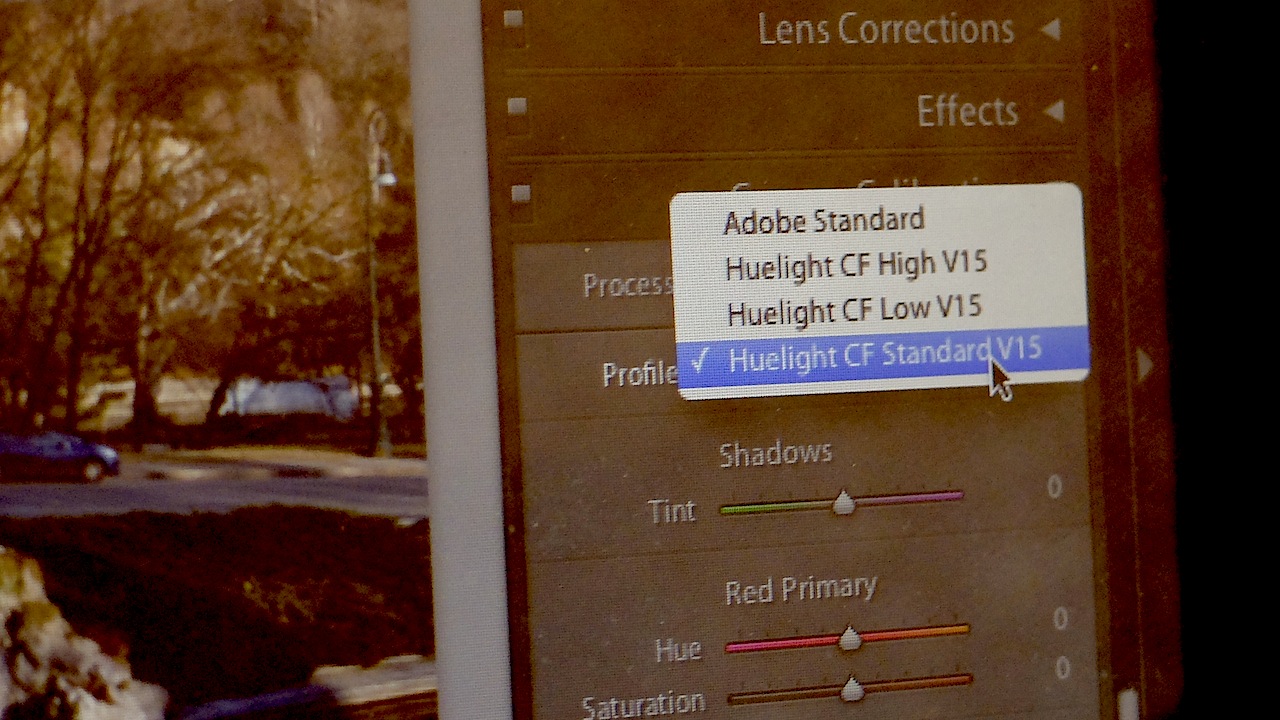
One final tip I suggest if you intend to use it frequently with Lightroom. To apply the Huelight profile, you have to go to the develop module and then the camera calibration tab. If you want to apply the profile while importing your photographs into Lightroom, do the following:
Import one file into Lightroom, go to develop module and then the Camera Calibration panel. Choose one of the Huelight profiles – let’s say the high version. Then, choose Develop > New Preset. A new window will open that asks you to enter a name for your custom preset, the folder in which you want to save it (the default is User Presets) and the settings you want to include. This step is very important: uncheck all the options except “Process Version” and “Calibration”. Finally, you can save it. You can repeat this process for the other two profiles.
The next time you import your photos from the SD card, you can choose the develop setting to apply during Import.
You can find additional information about the Huelight Camera profiles, as well as many examples, on the official thread at the mu43.com forum, where I discovered them. Also, follow Huelight on twitter to see updates about new camera profiles.
To conclude, you can see other examples above.
Adobe Standard profile vs Huelight Standard profile
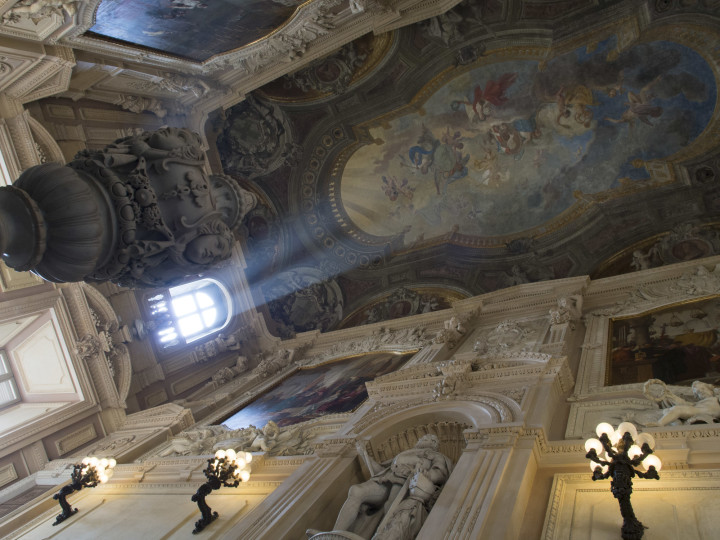

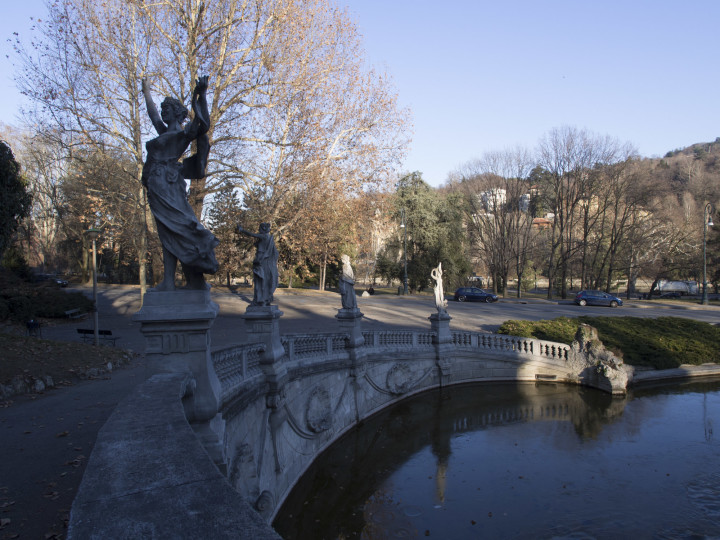
Adobe Standard profile vs Huelight High profile
