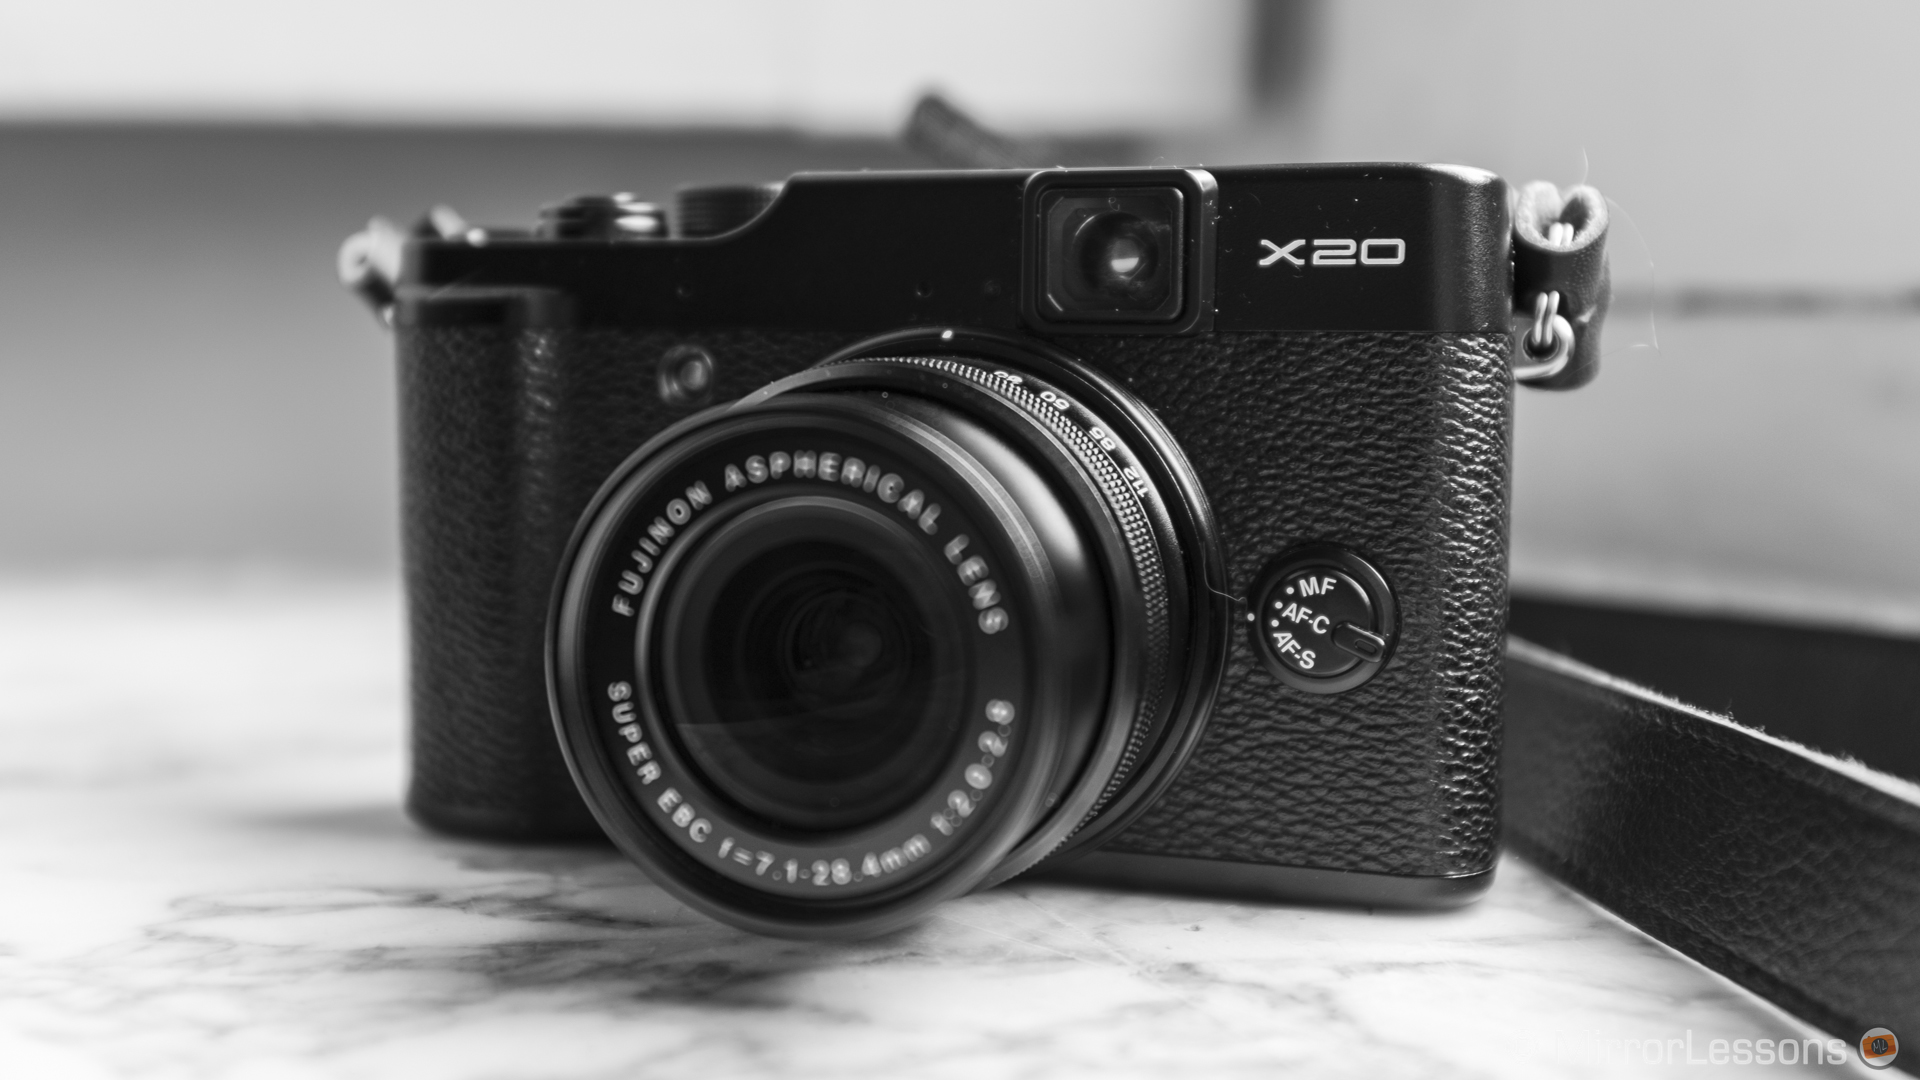
N.B.: This article is the complete review of the Fujifilm x20. To see our series of mini-reviews dealing with specific aspects of the camera, go here: Macro Test, Low-Light Test, Advanced Mode Test, B&W Gallery, and Photoshow Gallery.
Have you ever wondered what would happen if you put X-Pro1 technology into a small point-and-shoot body? Well, the result would be the new Fujifilm x20. Contained within its compact shell is a smaller updated version of the X-Trans CMOS sensor found in the X-Pro1 and X-E1, making this camera one of the highest-performing compacts on the market in terms of image quality.
I must admit that when I first bought the x20 for testing, I had no intention of keeping it in our collection of mirrorless cameras, mainly because we already own the high-end x100s, E-M5 and Gh3. However, the more I use this camera, the more I feel it is the most suitable out of the four for “every-day” photography. It is the kind of camera I’d naturally slip into my bag along with my wallet, keys and cell-phone and whisk out to capture an unexpected scene during a typical workday. This stands in contrast with the E-M5 or Gh3, both of which I would be more inclined to use during a premeditated photography outing.
So, are you ready to meet the x20? Good, because you are sure to be impressed!
Cameras mentioned in this article:
[toc heading_levels=”3″]
- Sensor: 12 megapixel 2/3-type X-Trans CMOS II sensor
- Lens: 4x, 28-112mm, f/2.0-2.8 zoom lens w/ manual zoom ring, with Macro mode at 1cm (28mm only)
- ISO Sensitivity: 100-3200 (raw + JPG), 100-12800 ISO (JPG only)
- Continuous shooting: 12 fps continuous shooting for 11 JPGs (for RAW, 9fps for 14 frames)
- Autofocus: Hybrid auto focus system
- Viewfinder: optical with Digital Trans Panel
- LCD monitor: 2.8-inch with resolution of 460,000 dots
- Built-in Flash: Yes (Integrated manual pop-up flash)
- Movie recording: Full HD 1080 at 60fps
- 360° Motion Panorama, Film Simulation Modes
- Dimensions: 117 x 70 x 57 mm
- Weight: 12.7oz (with battery)
Design, Ergonomics and Functionality

The design of the Fuji x20 can be summed up in two words: near-flawless. And it is not a design with which we are unfamiliar. The Fuji x10, the x20’s predecessor, had almost the exact same chassis. I guess Fuji went with the old adage “if it ain’t broke”!
The body is oozing with retro charm which transports us back to a time when a seven-day wait for your photos was the norm. It is available in both black and silver, and can easily fit into a small handbag or jacket pocket. It is also very pleasant to hold thanks to its smooth corners, light and rubbery body and additional thumb-grip.
The most interesting feature, which was also present on the x10, is that you can turn the camera on and off simply by twisting the lens. I’ve found that being able to simultaneously activate the camera and focus in on a subject allows you to snap photos at a greater speed.
I’m not going to go into lots of detail about the various buttons and dials you can find on the x20. (You can find in-depth descriptions elsewhere!) Instead, I’ve provided you with three pictures – front, back and top – to give you a quick idea of the functions available.
The one dial I really do want to mention is the sub-command dial, which wraps around the four-way navigational pad. It can be used to control shutter speed when you are in manual or shutter priority mode, or to quickly flip through menus or photos. It is a good idea in terms of space-saving, but sadly, it feels rather flimsy to the touch. If there were a dedicated shutter speed button, I would have been worlds happier, but I understand that Fujifilm did the best it could with the space provided.
Finally, there is the option to switch between the optical viewfinder and 2.8-inch LCD screen. Personally, I tend to use the viewfinder when I take photos of subjects at a distance, but for zoomed-in or macro shots, I stick to the LCD screen as it is more accurate than the viewfinder. (Blame it on the dastardly parallax effect.)
All in all, I feel really comfortable using the Fuji x20. I’d be just as happy to use it to snap candid shots of the kids I teach as I would taking dramatic landscape shots during a photography outing. It’s just that good.
Image Quality: Colours and Dynamic Range
The Fuji x20 has a 2/3 inch sensor, which is good for a point and shoot camera. It possesses an X-Trans CMOS II sensor (a smaller version of that found in the x100s) which, in our humble opinion, produces some of the most beautiful colours we’ve ever seen from a digital camera. Even on a dreary rainy day, the little Fuji was able to draw out and attractively reproduce the colours of a scene, as you can see below. (All photos are on-camera JPGs that have not been post-processed.)
The only drawback of a small sensor such as this one is that it won’t work miracles in terms of ISO, which can still produce a small amount of noise even at 400, and dynamic range. That said, I find the x20 defends itself very well. Plus, if you shoot in RAW format, you will be able to recover more highlights and shadows.
The 4x lens is wide enough at its shorter focal length (a 28mm equivalent), and can zoom up to 112mm. This is more than enough for family portraits, but don’t expect to be able to capture your child playing soccer at a distance while sitting in the stands. It has a fast aperture of f/2.0-f/2.8, and it is very sharp for this kind of camera. The proof is in the photos we took using the Super Macro mode shown later on in the article.
Another important advantage of the x20 is that it produces superb JPGs. For this reason, I often find myself switching the RAW option off entirely.
Image Quality: Low-Light Performance

As I mentioned in my in-depth article, the low-light performance of the x20 is pretty darn good for a compact camera. During my time at the National Cinema Museum of Turin, I tried out various ISO levels, all of which were useable save 6400 and 12800. It makes me think about how far sensors have come over the past few years. My old Nikon D3000 (a DSLR), for instance, could barely take a good shot above 800 ISO, and now we have a compact which still produces really good results at 3200 ISO (though at 6400 ISO and above, you will notice a significant loss in detail and colour).
Below you’ll find a series of high-ISO shots of my cat Marigold, who also serves as a very willing model when we’re short for time or when the weather is dismal. As you can plainly see, Marigold’s coat and the colours of my bag become quite bland at 6400 and 12800 ISO.
Performance: Speed and Autofocus
As an owner of the Olympus OM-D E-M5, one of the zippiest mirrorless cameras out there at the moment, I can safely say that the Fuji x20, while far from being as fast, certainly holds its own in the speed category. You can shoot up to 12fps in high speed continuous shooting mode with a 0.5 second shooting interval as long as you shoot JPG. (It becomes 9fps if you shoot in RAW format.) Even after 12 rapid shots, the camera will continue to shoot but at slightly longer intervals between each photo. This makes it a great camera for shooting active children, cars, or fast-moving animals like dogs or squirrels.
The autofocus is also very fast and locks on quickly to most subjects, both stationary and moving. I find it struggles in low-light situations and macro mode at times, but in any other circumstance, the AF doesn’t miss a beat.
Below are three consecutive shots taken at 3fps continuous shooting of a train passing by.
Macro Mode: The x20’s main strength
Upon buying this camera, we honestly never expected that macro would be one of its strong points. However, we soon discovered usefulness. In fact, we often use it for product shots for our website. I’ve also found it brilliant for taking detailed images of flowers and insects.
The x20 actually has two macro modes – normal macro for close-up shots and Super Macro for close-up shots up to 1cm away from the subject. It must be mentioned that, while the detail is excellent for a compact, you will notice some noise if you magnify your images on the computer. This is due to the small size of the sensor. However, the noise remains unnoticeable as long as you don’t blow up your photograph to an excessively large dimension.
Below, you can see a few examples of flowers shot with the Fuji x20’s Super Macro mode. (The full gallery can be seen here.)
Other Features: Advanced Filters, Film Simulation Modes, and more…
The Fuji x20 comes with a variety of extra features that will make your photography experience more enjoyable. After trying nearly all of them, I can say that my favourite is the Motion Panorama mode. It is unique because, unlike other cameras which require you to stitch your photos together on a computer using a specific program, the x20 does it on-camera with excellent results. (See the photo of the Turin skyline below. Note that the lines you see are wires and branches, not the result of poor stitching.)

The Film Simulation Modes are unique to the Fuji X series. Their purpose is to reproduce the tonal and colour quality of Fuji’s Fujichrome colour reversal film used in its old analog models. Using these modes is a wonderful way of making your photos look less digital and more ‘filmish.’ RAW aficionados may be bothered by the fact that Film Simulation Modes can only be shot in JPG format, but I can reassure you that it hardly matters because the JPG quality is so good. In total, there are ten modes from which you can choose, four of which are shown below.
As for the video mode, the camera can shoot Full HD at 60 fps (there isn’t 50 or 25fps for the European PAL system). Focus and exposure are automatically adjusted. The quality of the files aren’t bad, and they will serve you well for family home videos but if you are really interested in making a lot of movies, another camera might be better.
Conclusion
 What I like about the Fuji X20:
- Attractive retro body
- Excellent image quality despite its small sensor
- Super Macro mode
- Fast continuous shooting (12 fps)
- Good high ISO performance
- Fun advanced modes (panorama, filters etc.)
- Small, portable and discreet
 What I don’t like about the Fuji X20:
- The optical viewfinder is usable only for distant subjects (parallax issues)
- Some noise already visible at low ISO
- Sub-command dial is flimsy
So, considering what we’ve seen, who should buy the Fuji x20? I would say that any point-and-shoot user who has developed a passion for photography could grow very fond of this little camera, just as I have. With its versatile zoom, it is adapt for practically any sort of photography, from portraiture to landscape to street to macro, and it is snappy enough for photographing fast-moving animals and children. In short, it is the perfect ‘family and vacation’ camera. We couldn’t ask for more in terms of image quality, despite the small sensor, and there are loads of advanced modes to choose from to make your photographs more visually appealing. Not to mention that you can learn the controls in a heartbeat, and the battery life is great.
As you can see, the retro-style Fujifilm x20 isn’t all looks – it is rather one of the most functional and intuitive point-and-shoots on the market today.


