Update: I now use an OM-D E-M1 as my primary camera for work. You can read about my experience with it here.
On a professional level, changing your gear isn’t something that you want to do on a whim. In our work, everything lies in the details, and when you change the setup you use everyday, all these details must be reconsidered, from the simple familiarization with the new features of your camera, to understanding how the camera will react in any given situation. While it takes time and patience to harmonize with a new body, it is also an invaluable personal step forward, whereby you add something new to your photographic approach.
Changing gear: why am I switching from DSLRs to mirrorless.
Just to be clear from the start: this isn’t an article championing one system over another.
Every camera has its strong and weak points, and in the end, the gear a photographer chooses is his or her own personal choice.
With the Olympus OM-D E-M5, I have found exactly what I am looking for: DSLR potential in a small and compact body.
I was looking for something more portable, more discreet to work with. The weight was one of the primary reasons for my choice, and there’s no getting around it – it is awesome to carry around something this light.
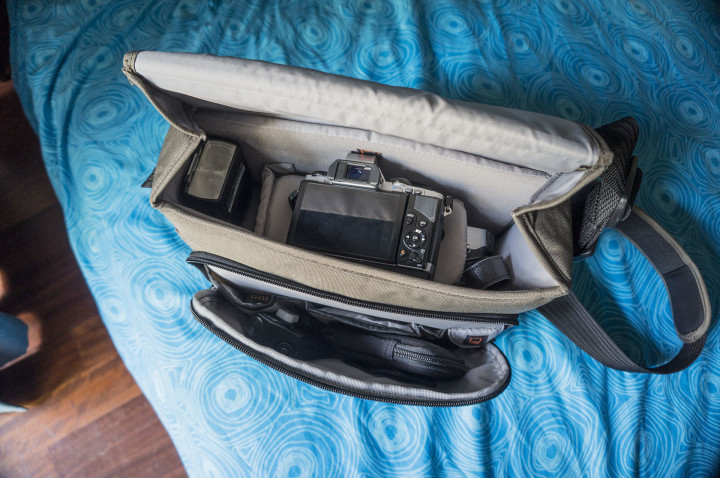
I was looking for something more comfortable to work with when I move around people. I wanted to be quieter, I wanted to get close without attracting too much attention, I wanted to be more agile.
I like to be under the radar, capturing moments without interrupting the scene. I wanted to feel “free” to do what I like working with a small camera that only a few people would notice out of curiosity more than anything else.
So, why the OM-D?
For the time being, the OM-D E-M5 and the Micro Four Thirds system in general offer the best alternative to DSLRs as a system: this includes lens choice, accessories, and so on. My primary concern when I started to look for an alternative to DSLRs was that I had to retain certain features: speed, performance, autofocus accuracy, low light performance and fast zoom lenses.
With the OM-D, there was no need to compromise for any of these features: it is fast, has exceptional ISO performance despite its smaller sensor and has a great choice of lenses, including the Lumix 35-100mm f/2.8, a zoom I always have on hand.
Of course, being part of an original system, there are a few differences you have to accept. I will list them in the following paragraphs, but the point I’d like to drive home is that, with the OM-D, there is no concession in terms of features.
Great, but what about image quality? MFT sensor vs FF sensor.
Some of the most popular debates regarding MFT cameras involve depth of field, “creamy dreamy” bokeh, dynamic range and high ISO performance.
Since a picture speaks 1000 words, I’ll answer this question with some images:
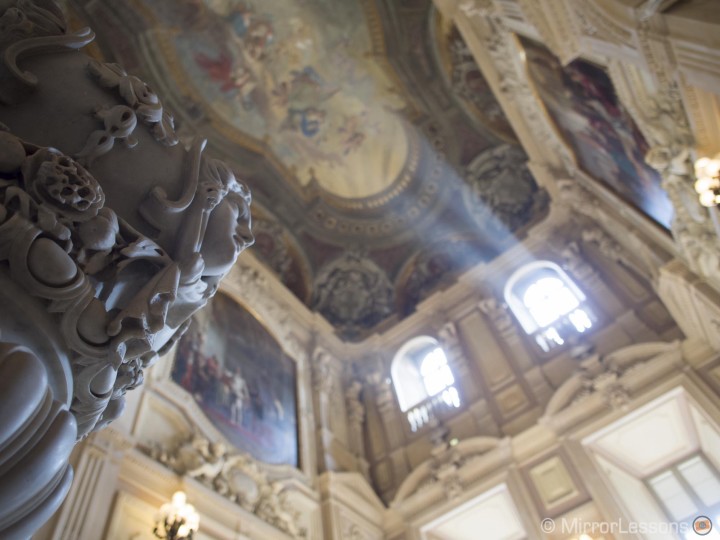
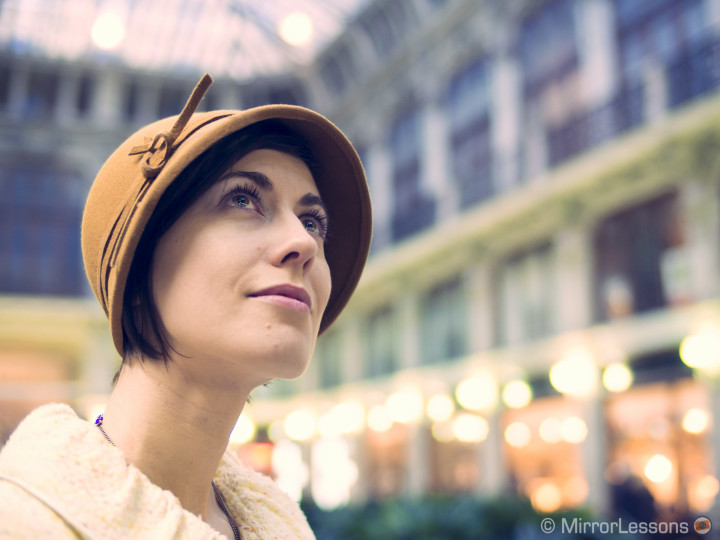
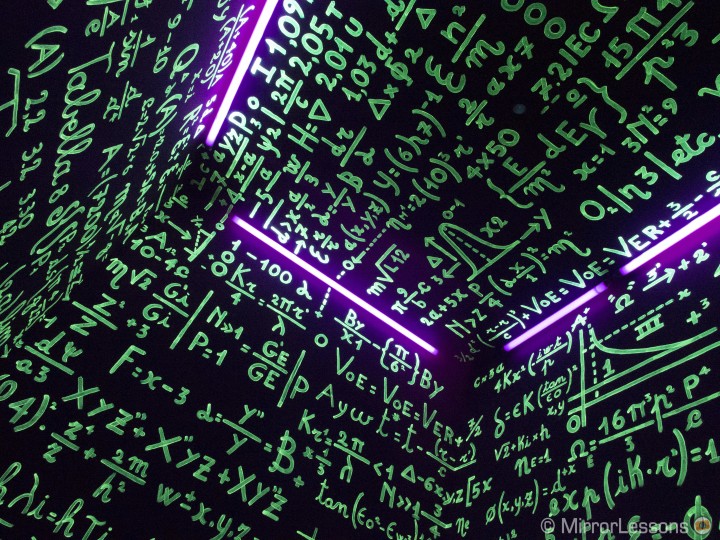
Now, we could play the scientific game of “which camera is better,” comparing the same scenes taken with different cameras to see which has more detail in the shadows or in the highlights but… do we really need this?
I am not naive – I know that my Nikon FX camera has more dynamic range than my OM-D, and I won’t try to prove the contrary. But what I can tell you is that the OM-D has more than enough of all the tech specs to satisfy myself and my clients.
And yes, it also has less depth of field, but with the right pieces of glass, you can have all the bokeh you want, and then some. And remember, less DoF can also be a positive thing! Sometimes having more elements in focus is important. With the OM-D, I can shoot a group of people at f/2.8 with the assurance that a) it is unlikely that one of them will be out of focus and b) that they, as subjects, will remain isolated enough from the background to create a pleasant image.
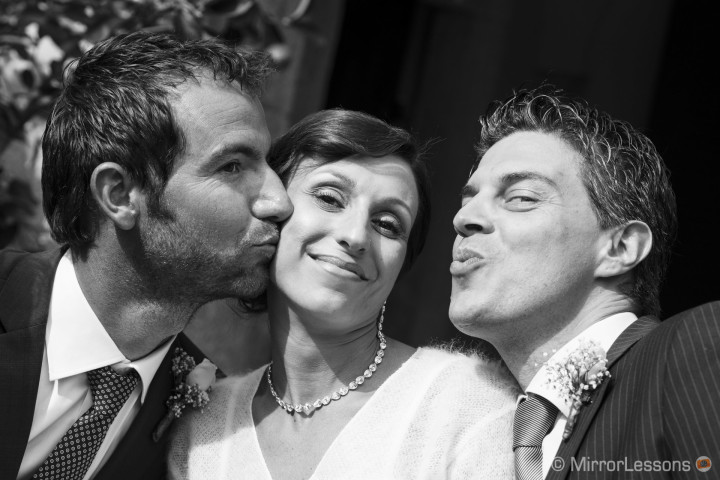
Switching to mirrorless made me realize this: in the end, it isn’t about the aperture or the ISO value you set but the moment you capture.
And I admit I didn’t used to think in this manner at the beginning of my career, when DSLRs were my world and like a lot of people, G.A.S. (Gear Acquisition Syndrome) had started to spread through my veins. It is almost a natural path that you have to cross, much to the chagrin of your wallet/family/wife.
I spent a lot of money on gear and lenses. I was pulled in by the f/2.8 constant zoom first, then by f/1.4 primes. The most beautiful lens I have ever owned was the Nikkor AF-S 24mm f/1.4. I shot almost all my Canadian roadtrip with it last year. But then I sold it. Why? Because I had only used it two times in a year, and because in the end, it was the scene captured and not the lens used that made 99% of my photographs stand out.
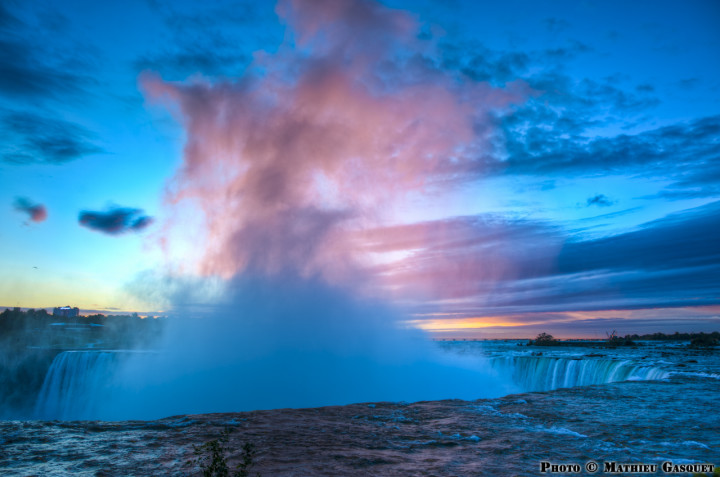
I wanted to get away from this, update my approach to photography, and differentiate myself from the crowd. And that’s what I did with the OM-D and I could not be happier about it.
So, now that the poetic/emotional part is done, let’s have a look at some concrete examples!
Working with the OM-D: reportage for the National Cinema Museum
Low light performance and dynamic range
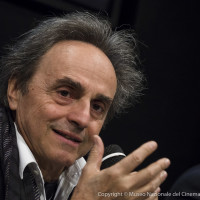
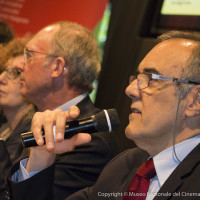
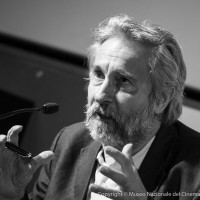
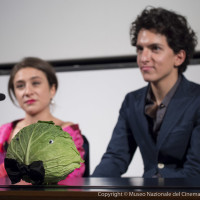
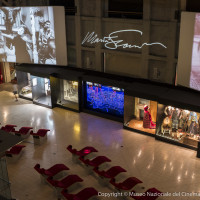
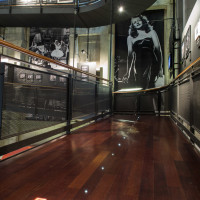
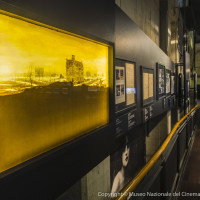
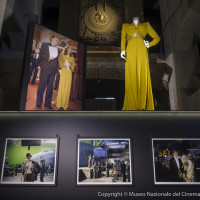
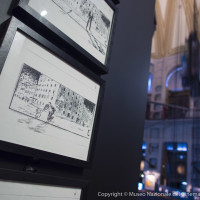
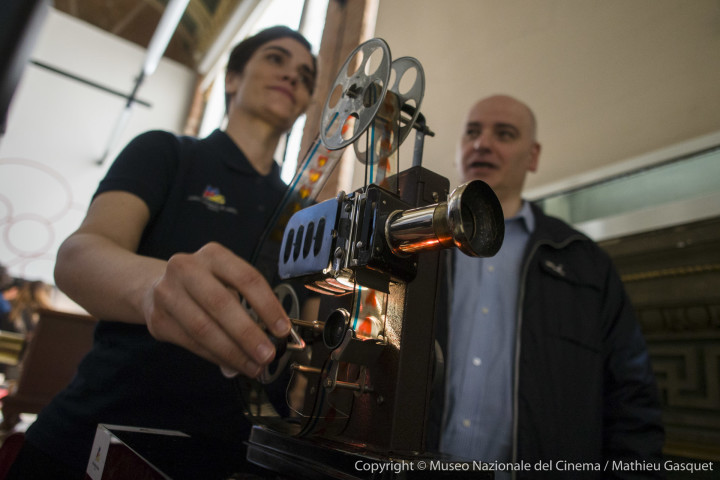
At the cinema museum, my job is split in two: I have press conferences, exhibition openings and general events to cover on one end, and interior photography on the other. When documenting an event, I have to make sure to take photographs of the most important people present. When I do interior work, the most important thing is to reproduce the atmosphere of the museum, which is awesome to shoot, but challenging for its particular low light conditions.
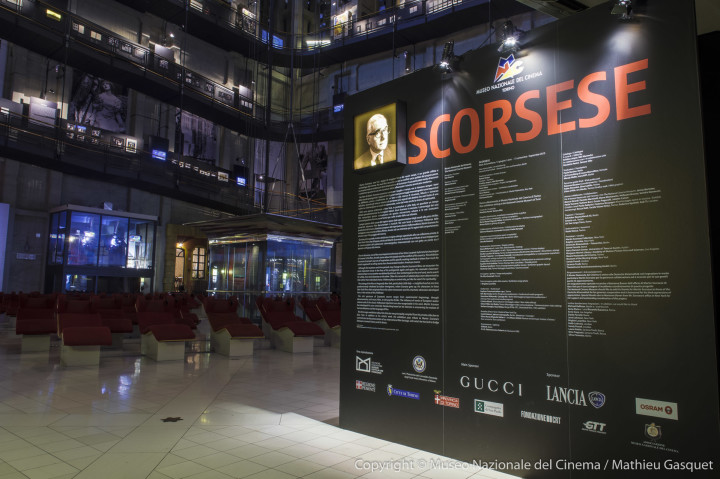
In the case of event shooting, I require superior ISO performance, good autofocus in low light and a good flash. I don’t like flashes in general but in these situations you’d be walking a risky line not to have one.
ISO is the first feature that strikes me. It is incredibly good. It is perfectly usable up to 6400 in my opinion, after which you start to really lose some detail. This said, it is nice to know that in desperate (and I mean desperate) situations, 25600 ISO will still give you a reasonable photograph, if just for the purpose of documenting an event.
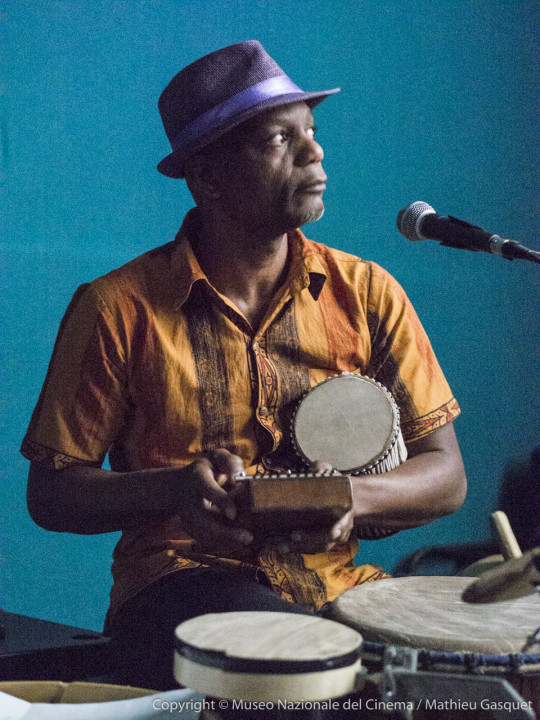
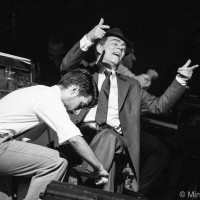
Taken at the Massimo Theatre during a live music screening. Meaning no light at all except that which is reflected by the screen.
The ISO is so good when using this camera that often, if the ambient light is decent enough, I don’t use the flash.
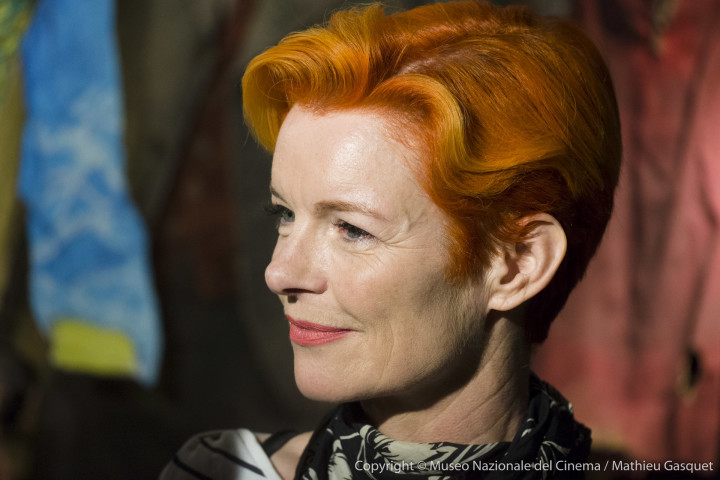
Sandy Powell, three time Academy Award winner at the opening of the Martin Scorsese exhibition.
Of course, when the scene is too dark, I use the Olympus FL-600r. Coming from the Nikon SB-900, I was really curious to see how this small flash could compare in terms of recharging speed and continuous shooting, and I was again surprised by how it performs.
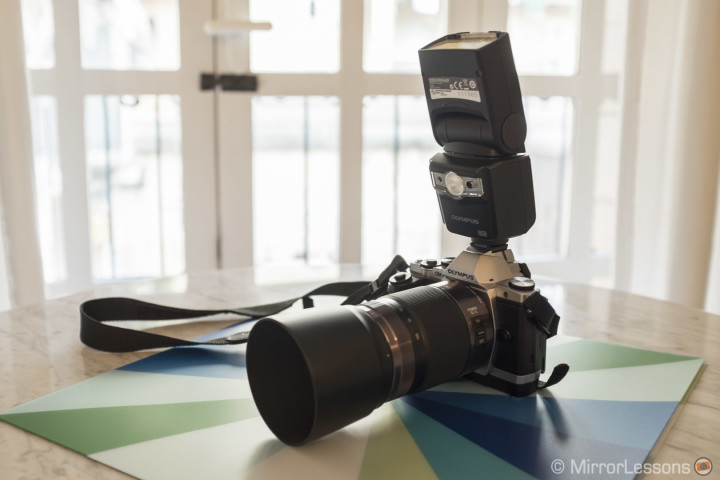
It doesn’t reach the level of the SB-900, but I have never had a problem with it so far. You can wirelessly control it if needed, and the LED lamp is a nice addition, even though I haven’t had the chance to use it yet. I guess it is more of a feature for video.
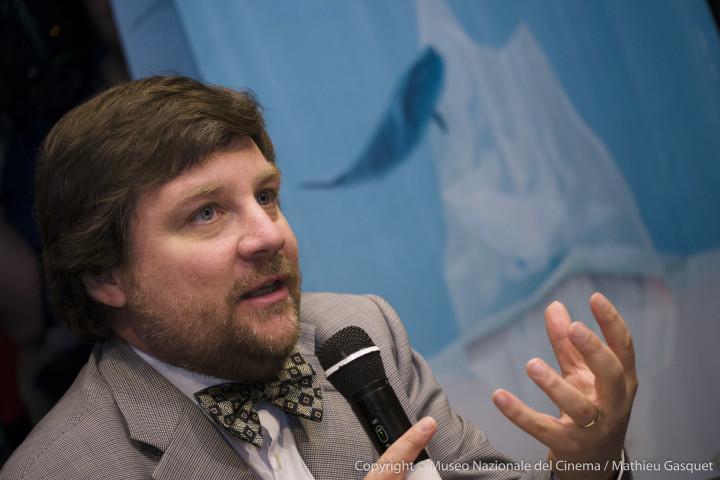
The lens I use the most in this case is the Lumix 35-100 f/2.8. It’s the only telephoto zoom lens with a constant f/2.8 aperture available for MFT right now, and honestly, I don’t miss my old Nikkor 80-200mm at all.
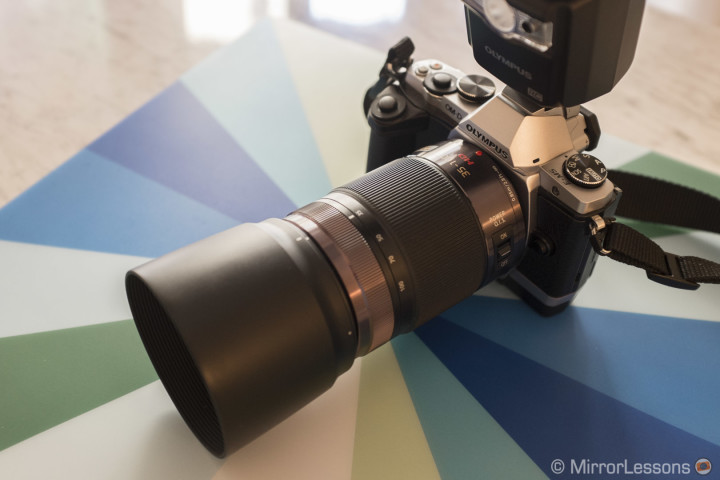
It is sharp and fast enough to cover all my needs. I shoot 99% of my photographs at f/2.8 to isolate my subjects and it works like a charm.
The only difficulty you might encounter in poorly-lit situations is with the electronic viewfinder. You have to get used to it when shooting in low-light environments, as the live view will be slower and darker than the optical viewfinder of a DSLR. However, once you get the hang of it and learn how the camera reacts while shooting, it is perfectly fine.
Taking interiors pictures, on the other hand, is actually my favourite kind of shooting, because I like to observe a scene and capture it from varying perspectives and unique point of views.
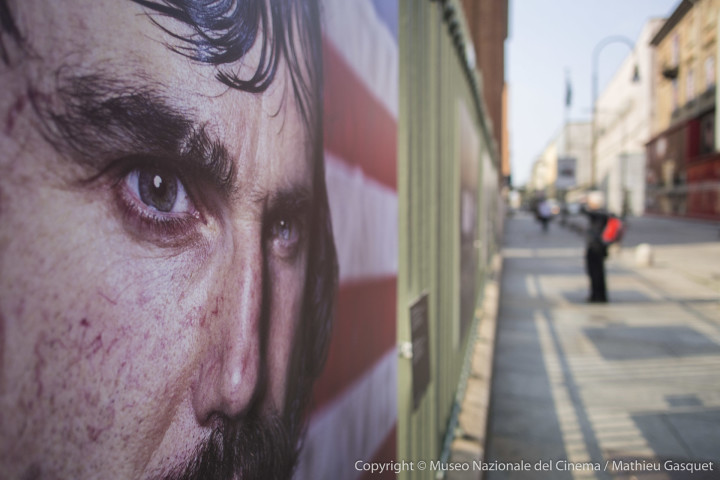
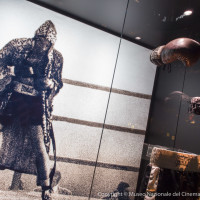
A close-up of the intense portrait of Daniel Day-Lewis in Gangs of New York outside the Cinema Museum for the Martin Scorsese exhibition.
Also, time is not my enemy. I can walk free and undisturbed around the museum and take pictures where and when I want. Often, I take different exposures and merge the RAW files into HDR, but on occasions where I have to work with a single file, I never encounter any limitations. The Olympus ORF RAW files are very good, and I have managed more than once to open shadows or recover highlights by almost two stops without losing any quality.
In this case, my favourite lens to work with is the M.Zuiko 12mm f/2. It is very sharp even at its full aperture, and has a focal length that I love, the 24mm (equivalent on 35mm format).
In cases where there is a severe lack of space, a wider lens could useful. This is why I am also considering the Lumix 7-14mm f/4 as a future acquisition, but for now, I am fine with the 12mm. Not too wide, just perfect.
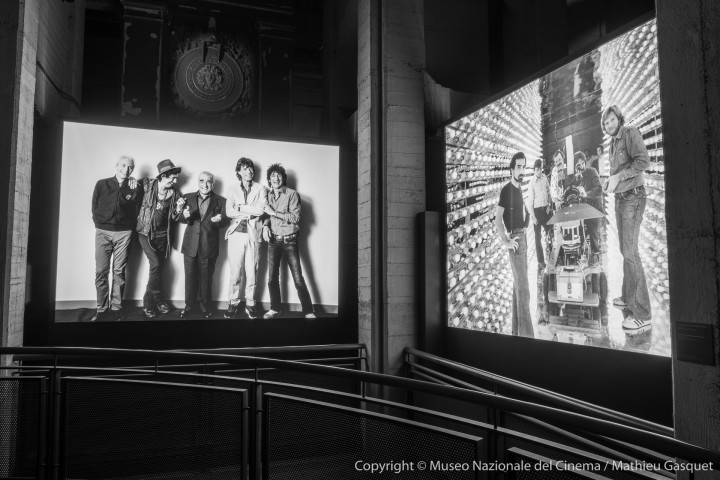
Working with the OM-D: the wedding experience
Speed and autofocus
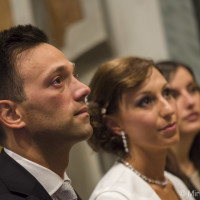
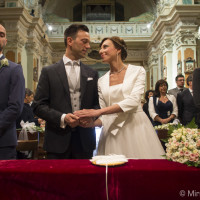
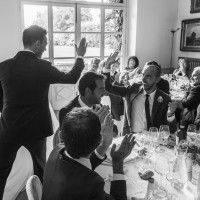
I did my first wedding with the OM-D last month. I had the Lumix 35-100, the M.Zuiko 12mm and 45mm f/1.8 with me, as well as the Voigtlaender Nokton 25mm f/0.95.
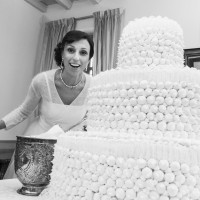
Often, brides are nervous about the idea of being photographed, especially at the start of the day. Most of them try to hide their nervousness, but as a photographer, I know it’s there and as such, I want to be as inconspicuous as possible. I don’t like to make them pose for me. Rather, I prefer to capture their natural and spontaneous expressions throughout the day. Of course, smaller gear helps in achieving this. It is a subtle thing, but I noticed that the bride was very comfortable with me moving around. She probably felt less intimidated.
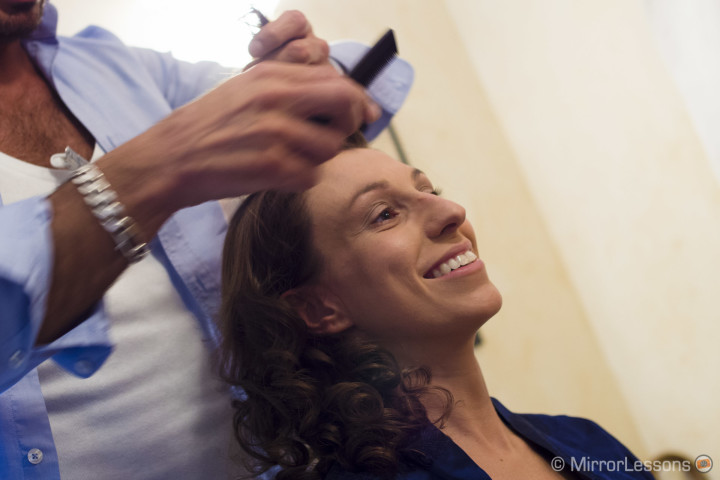
At the bride’s home, I used the Nokton 25mm quite a lot. I love this lens and the look it gives my pictures. I just have to be careful to not use it at its fastest aperture as it is too soft. Also, it is strictly a manual focus lens, so I have to use it in situations where my subject is not moving back and forth, or where I haven’t the time to check my focus. I set the fn1 button to the magnify function for that. I would prefer to have peak highlighting as it would smooth out the process, but this solution works just fine. I also mounted the 45mm for a couple of shots but there wasn’t a lot of space and the lens doesn’t let you focus very close.
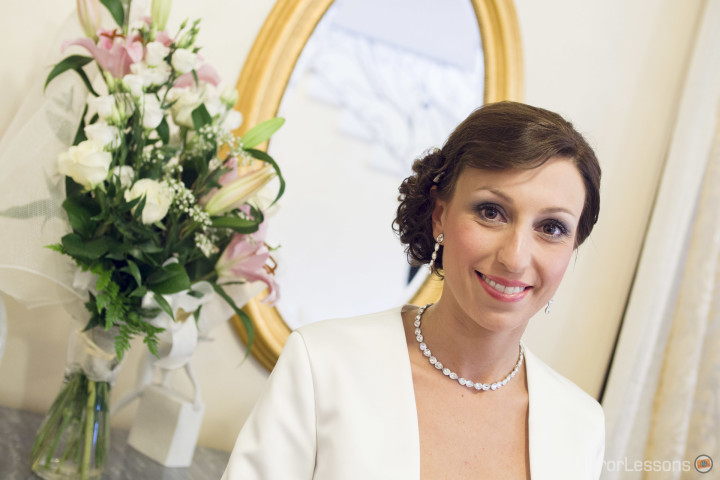
Voigtlaender 25mm f/0.95
I also brought my Lumix GH3. Since it shares the same sensor/mount as the OM-D, it is a perfect second body. I mounted the 12mm on it to get a wide angle view of the church with some nice details.
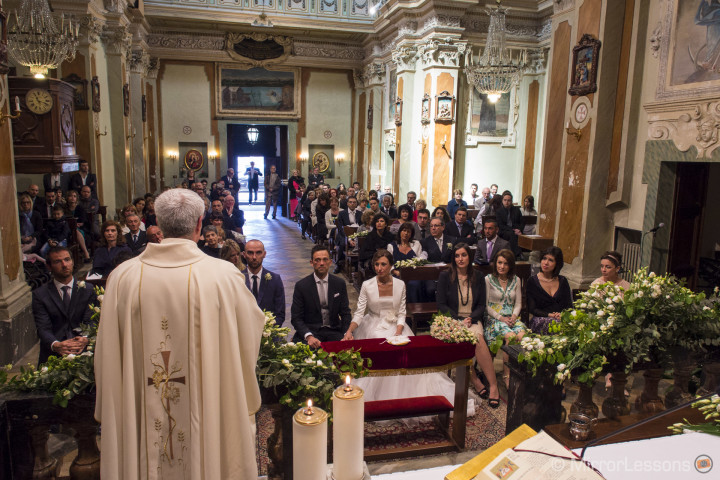
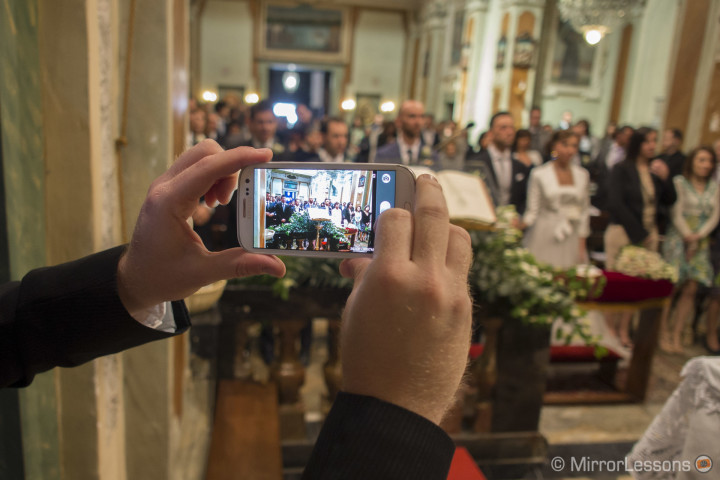
This is another positive aspect of MFT cameras – you can use two bodies produced by different brands (Olympus and Panasonic) because they share the same lenses.
In the church, my biggest requirement is speed and AF accuracy, and that’s where I mainly used my E-M5 with the 35-100 lens. The AF works really well, but in a situation like this one where the church was small and crowded, you want to make the AF point as small as possible. Otherwise, the OM-D will tend to focus on an element in the foreground or background rather than your subject.
N.B.: Olympus released a firmware update (version 2.0) in January 2014 that adds Small AF target to the AF target settings (like the OM-D E-M1).
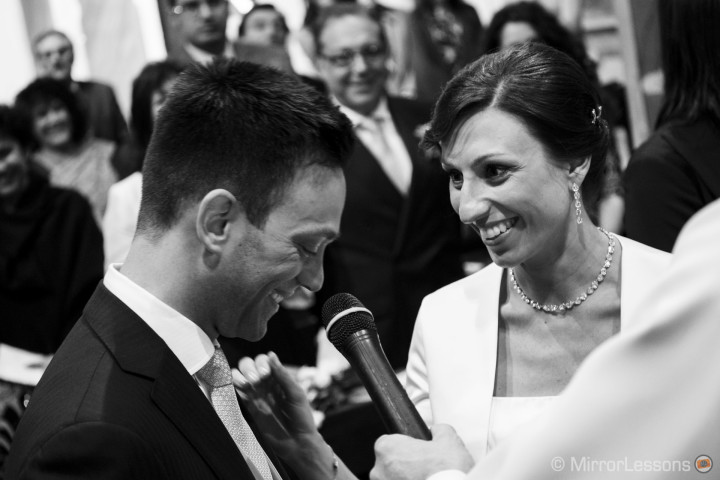
The only limit with the OM-D is focus tracking. It isn’t very reliable, so I prefer to use AF-S mode as the camera is very quick to focus and take the shot. It works well if people are walking slowly towards me for example, like the bride and her father entering the church, but in other situations, this could be a limit.
As for speed, the OM-D is incredibly fast. So fast that I often use 4.2fps instead of 9fps, as I would end up with to many nearly identical RAW files.
I worked at this wedding with a colleague who uses a Canon 7D.
When we mixed our photos together for the final output, we both agreed that there wasn’t any notable difference between her shots and mine.
Working with the OM-D: theatrical performance
Discretion and the electronic viewfinder
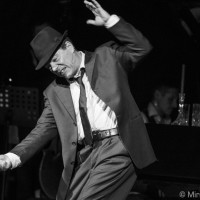
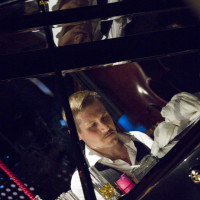
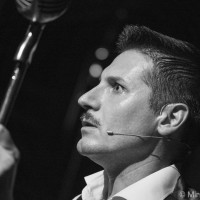
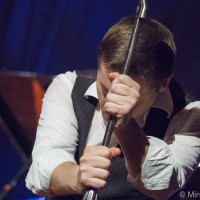
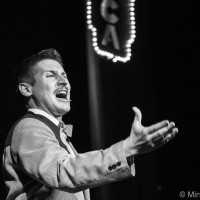
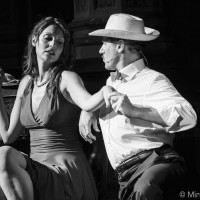
Another great field test I had the chance to perform recently was for a theatre show. It was a two-man show with live jazz music in the background. The light was generally very contrasted in the foreground but very low in the background.
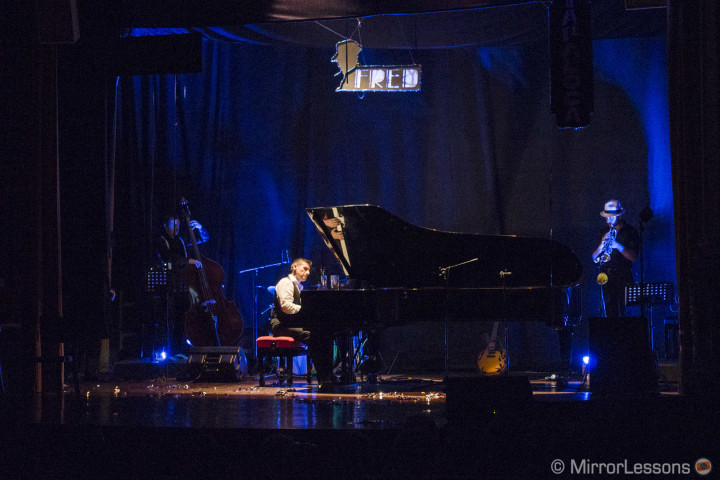
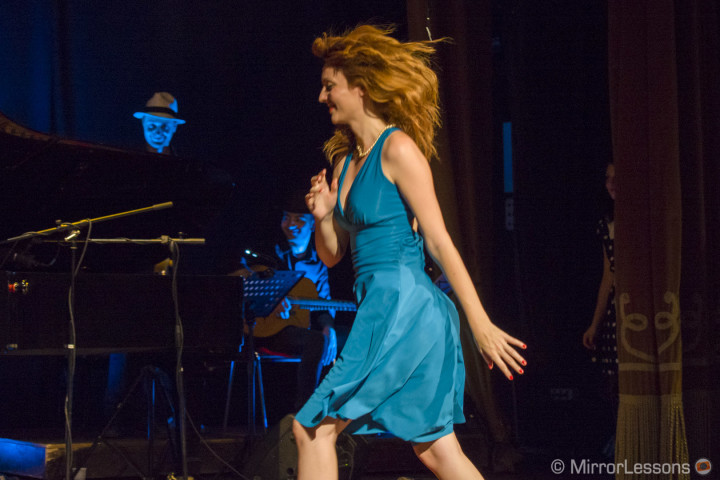
I kept my ISO at 1600 maximum and my shutter speed between 1/100 and 1/200 to ensure sharpness.
Here again, the 35-100mm was the lens I used the most.
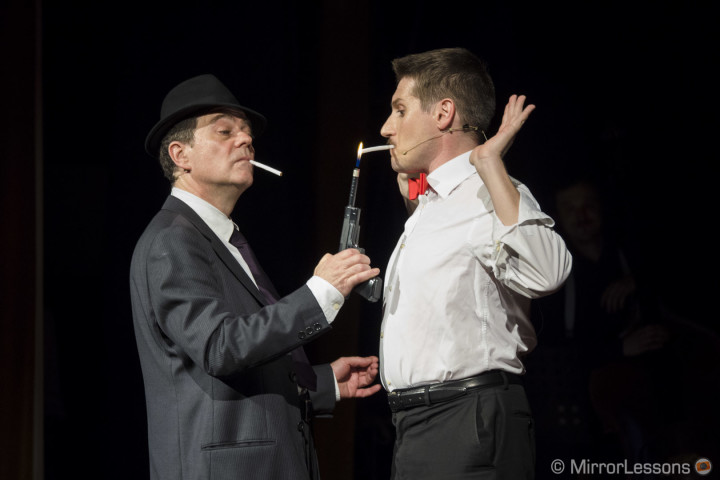
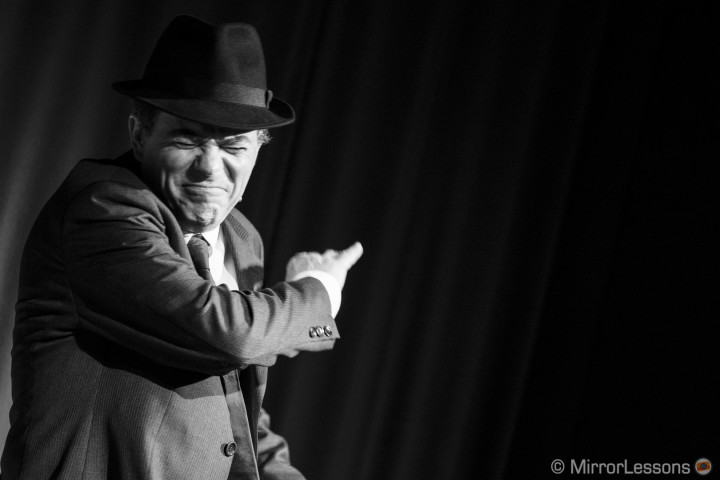
Now, in a situation like this one, with two actors talking most of the time and the public quietly listening, the OM-D is a winner as the shutter release sound is very low compared to a DSLR.
Often, for shows like this, you have to place a body cover over your DSLR that reduces the noise of the mirror flipping. With the OM-D, I felt free to shoot as much as I wanted without any worry of bothering the audience next to me, even during moments of complete silence. This is without a doubt one of the most interesting advantages.
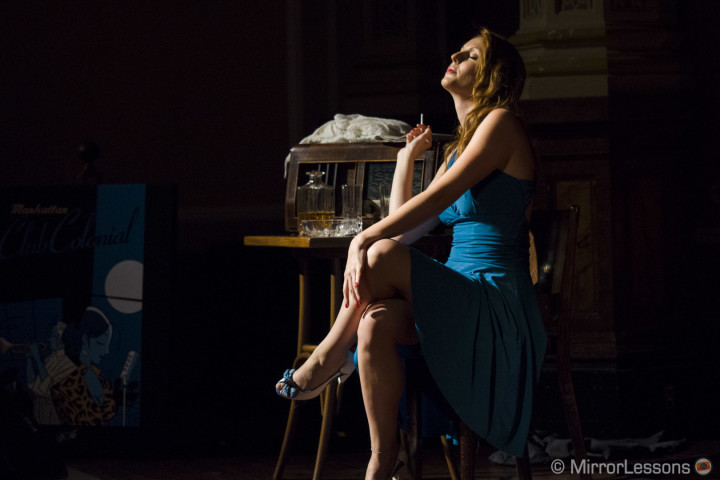
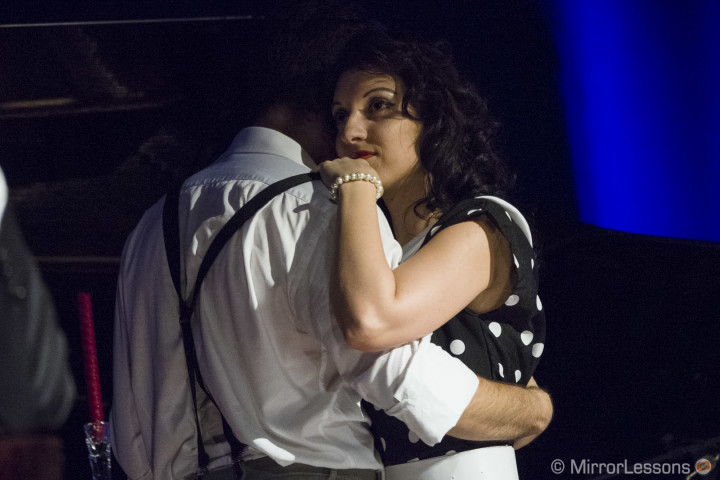
In these particular light conditions, there is an important option which you must set correctly on the EVF. In the D custom menu (Disp/Sound/PC), you want the Live View Boost to be off. If set to on, the live view will give priority to making your shot visible and will therefore not give you a realistic preview of your actual exposure. Most of the time, the two actors at the front of the stage were illuminated with an intense white light, while the musicians in the background were bathed in a coloured low light. The Live View Boost tends to compensate between light and shadows, and sometimes I would see my subjects completely overexposed while the background was correctly exposed. Normally, I leave this option set to on, but in this case, I had to turn it off to be able to compose my shots with ease.
This is an aspect you have to get used to: the EVF requires some setting adjustments depending on the light conditions around you.
That, of course, wouldn’t be necessary with an optical viewfinder, but it is just a question of becoming familiar with it, and remembering to apply the right settings before you start shooting.
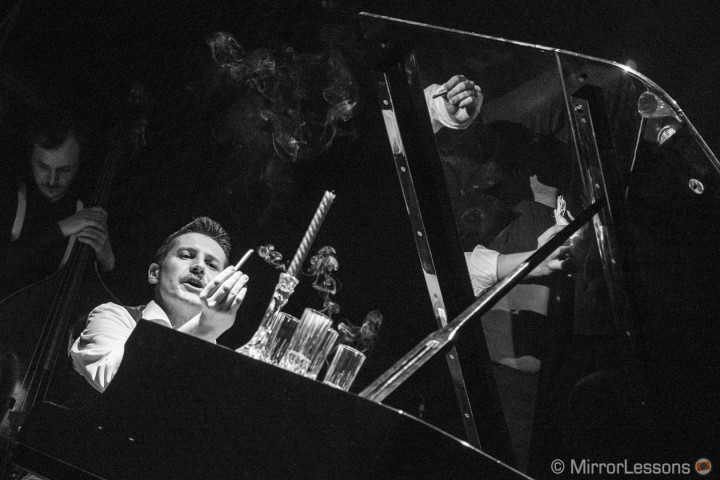
As I already stated before, the ORF Olympus RAW files give you a lot of versatility, even at 800 or 1600 ISO. I was able to recover much information in the shadows and highlights for a couple of photos without the quality of the picture deteriorating too much. I really like to shoot knowing I can count on that. Even though I always try to correctly expose the photos during the shoot, I know I can depend on the RAW files to adjust the imperfections.
For this, I rarely if ever miss the RAW files from my Nikon D700. The sensor, despite being small, is very good in terms of image quality.
The fear of looking less professional
A common topic I encounter is the fear of looking less professional when using smaller gear. It is true that people who hire photographers are used to seeing them work with big/fat DSLRs and lenses, but…
In my experience so far, the only reaction I have met with is curiosity.
People are intrigued, often pleasantly surprised when I tell them that it isn’t a film camera! So, I guess it is more of a personal fear one can have rather than anything else. I also think that the retro design of the OM-D looks different but not any less professional. It gives the impression of a niche choice made by someone who knows exactly what he is doing.
In my case, the impressions of other people, both clients and colleagues, have been very positive. Since everyone is happy with the results I give them, I can say again that my choice so far has been the right one.
So, is there any tangible limit? Can the OM-D E-M5 really replace a DSLR system?
In my opinion, no, at least not yet. There are times when a full fame sensor will give you better results for specific kinds of work. I still have my Nikon D700 and consider it for certain job assignments. For instance, I have recently been asked to shoot a still life on location inside a factory, and since it isn’t my primary genre, I am not yet confident enough to use the OM-D on its own.
Unfortunately, the job has been postponed, but when the time comes, I will bring my D700 for the main shots, and my E-M5 as a back-up camera so that I can test it. In this way, I can provide the agency with the DSLR files they are used to receiving, but at the same time, have the chance to show them the OM-D RAW files so they can judge the quality. If the OM-D passes the test, I would not hesitate to branch out into using MFT for still life as well.
In short, if you fear looking less professional, or actually producing sub-professional results, using a DSLR and MFT camera during the same session is just another way to continue the “switch” with caution and professionalism.
Additional tips and recommended accessories
With my OM-D, I always use the HLD-6 grip as the body alone is a little bit too small for my hands. For short assignments, I only use the landscape unit to keep the camera as compact as possible. For events like weddings, where I have to work all day, I also use the vertical grip as it is more comfortable to hold, especially for portrait-oriented shots. Since the HDL-6 is proportional to the size of the OM-D, the complete setup still remains small and lightweight.
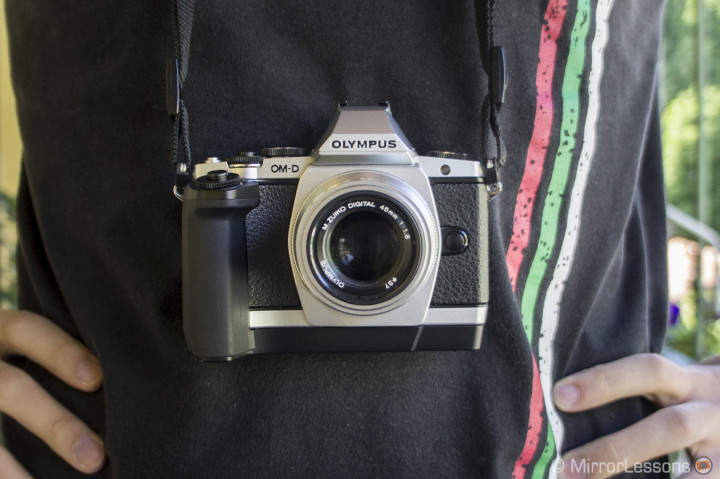
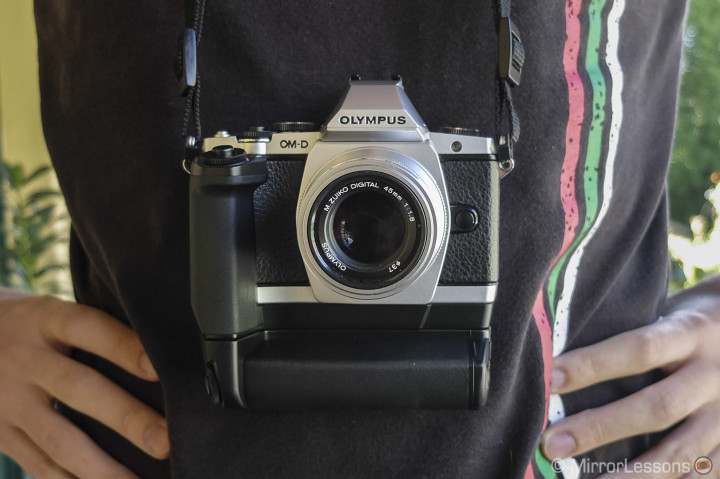
A word of caution: while holding the camera, you can accidentally press the shutter release button on the vertical grip, so when you don’t intend to use it, it is better to switch the lock lever. Also, keep in mind that the horizontal grip alone will drain the battery more, while with the vertical grip you can insert a second battery.
The OM-D has a good battery life but if used extensively, you will consume two batteries in a day. Three batteries will keep you safe for an extensive day of work.
If you like working with automatic white balance as I do, know that the E-M5 is very precise. Inside the menu, there is an option to let the camera choose between warmer or cooler colours for auto WB. For landscapes or general outdoor photography, the warm setting is better, but for people or indoor shooting, especially with ambient light, it is better to use the cool settings or your skin tone could end up too red.
With Micro Four Thirds sensors, you may sometimes notice more chromatic aberration or purple fringing on pictures taken in bright sunlight, especially with backlighting. Nothing to be afraid of as it is easily removable with Lightroom or any other editing software, but it is a weak point worth mentioning.
Conclusion: the OM-D E-M5 isn’t the only mirrorless camera I am using…
I recently started to pair it with the Fuji X100s, another camera that I love. But to know more about that, you will have to read the second episode of Mirrorless on the Job!
I want to personally thank the Museo Nazionale del Cinema, Serena and Pietro, Helleana, Eugenio and their daughter, Andrea Murchio, Alessia Olivetti and their cast for allowing me to publish their pictures.
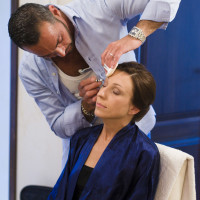
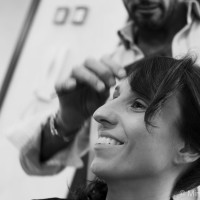
You can also check out the low-light performance review of the E-M5 that I performed at the Cinema Museum, as well as a portrait session gallery made for the Italian actress Alessia Olivetti. They are both nice examples of how you can use the OM-D on a professional level.
If you’re curious about the gear I use along with my OM-D, here is the list:
- M.Zuiko 12mm f/2.0
- M.Zuiko 45mm f/1.8
- Panasonic Lumix 35-100mm f/2.8
- Voigtlander 25mm f/0.95
- Olympus Flash FL-600R
- Olympus HLD-6 Battery Holder Grip
And…as always, feel free to share your thoughts by leaving a comment below.

