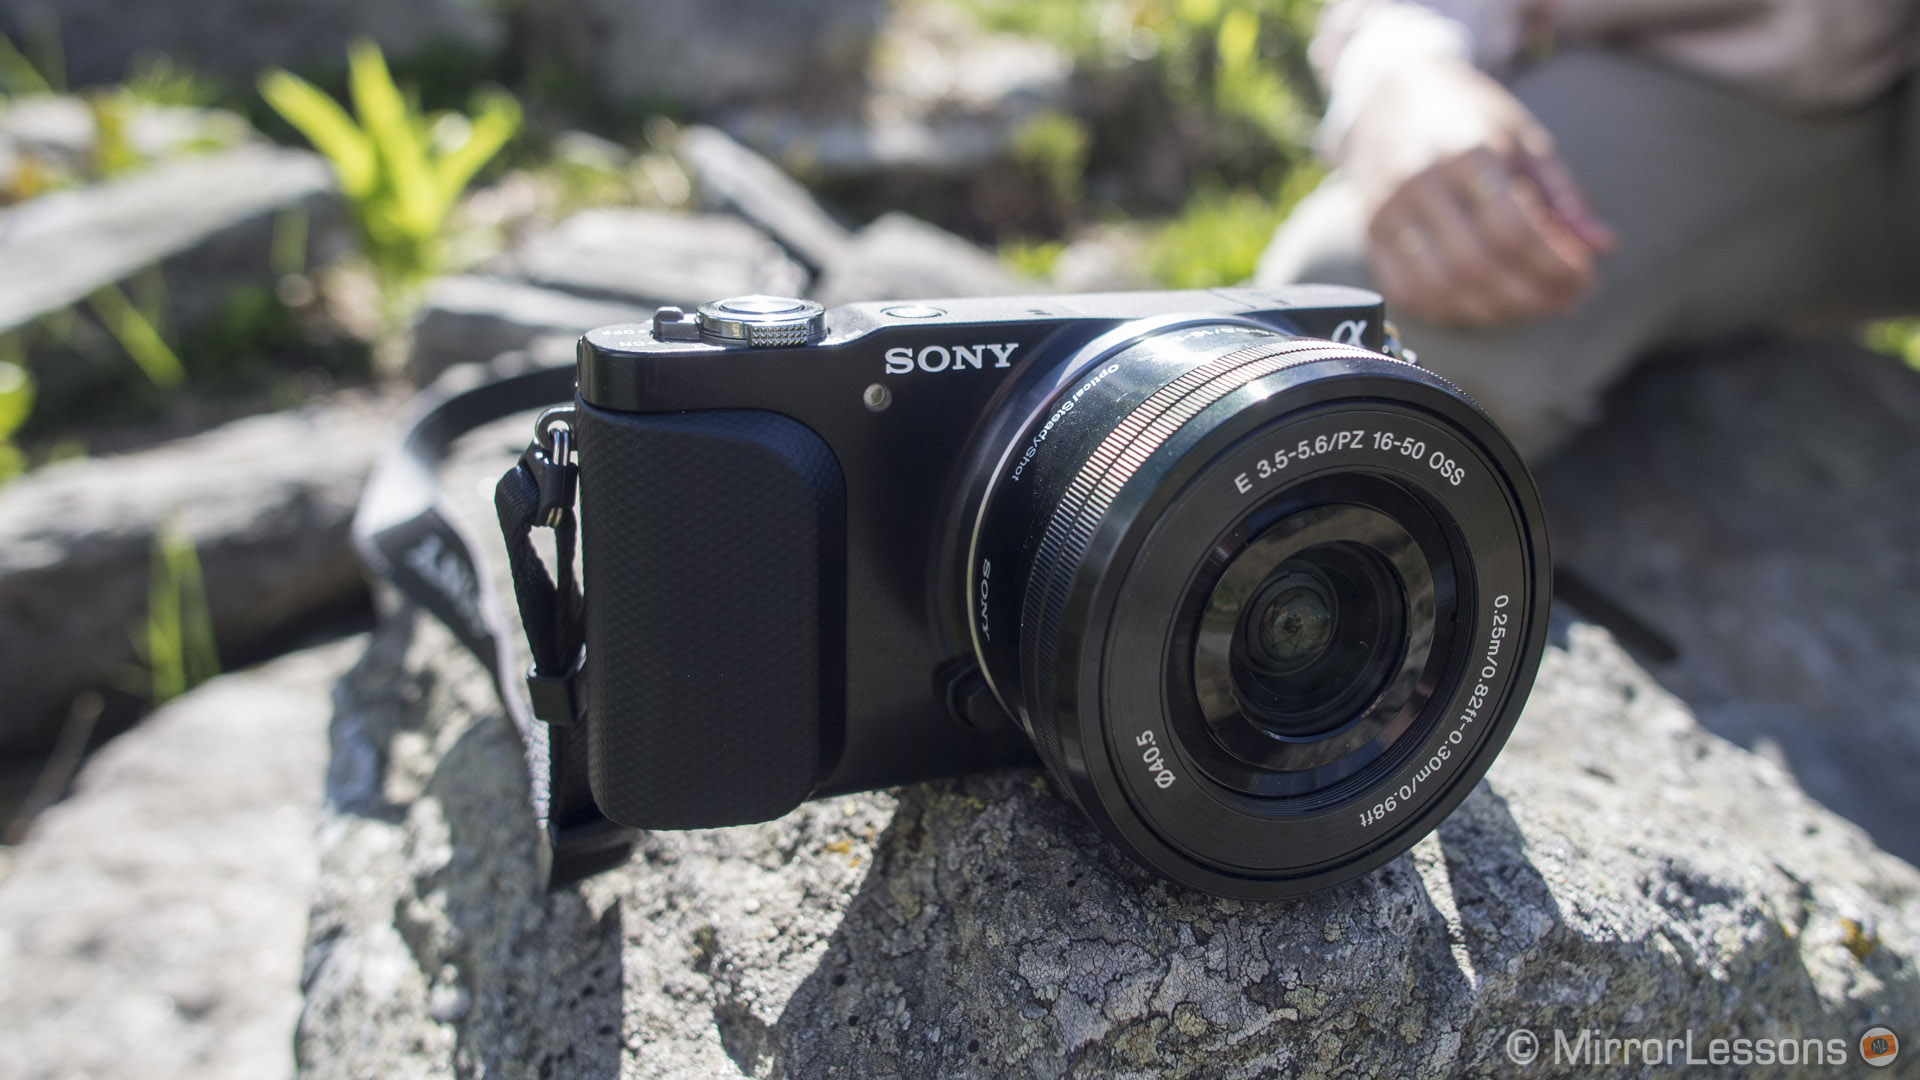
Only a couple of months ago, I had the chance to test out the Sony NEX-5K, one of the two original E-mount interchangeable lens cameras released by Sony in 2010. At the time, I had never laid hands on a NEX camera before, so its sturdy compact built, high image quality, and overall flexibility came as a great surprise considering its age.
Now, holding the NEX-3N, the newest member of the NEX family tree released in March 2013, I get a real sense of just how far Sony has come in the development of their mirrorless line. In three years, they have transformed what was already a great body into something lighter, more streamlined, and more ergonomic, all the while maintaining that great image quality we love and expect from the NEX series.
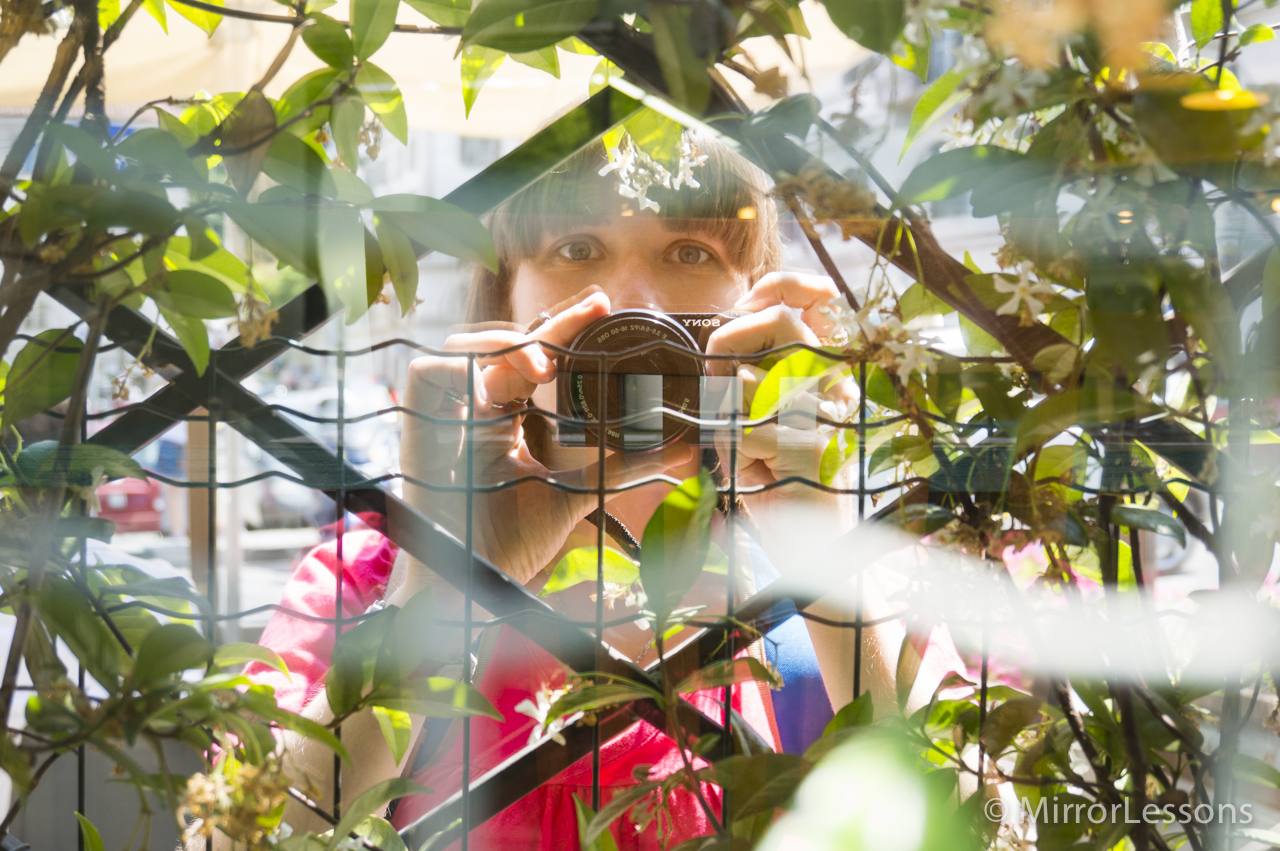
Sony NEX-3n Main Specs
- Sensor: 16.1MP APS-C CMOS sensor
- Kit Lens: 16-50mm f/3.5
- ISO Sensitivity: 200-16000
- Continuous shooting: 4 fps
- Autofocus: contrast-detect autofocus
- Viewfinder: none
- LCD monitor: 3″ tilting LCD screen (460,800 dots)
- Built-in Flash: yes
- Movie recording: 1080i, 1080p
- Dimensions: 109.9 x 62 x 34.6 mm
- Weight: 210 g
Design, Ergonomics and Functionality
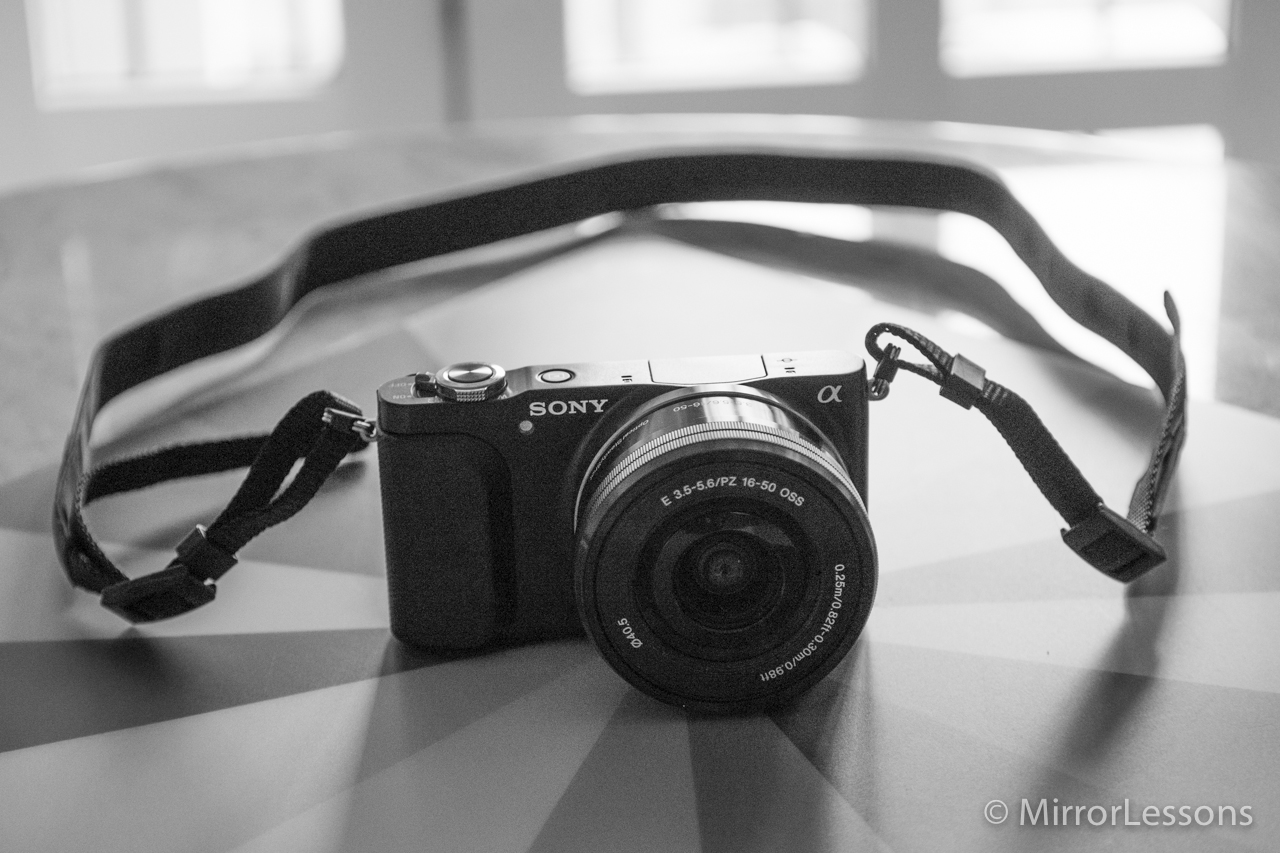
The NEX-3N has been touted as the smallest and lightest interchangeable lens camera with an APS-C sensor in the world – a pretty big title for what really is a tiny camera. Though it won’t fit into your trouser pocket by any stretch of the imagination, it will comfortably slot into any jacket pocket or handbag, even with the 16-50mm kit lens attached.
Holding it in my hand, it is indeed feather-light due, and is complemented by a sturdy rubber hand grip which eliminates all fear of dropping the camera if you decided to do some one-handed shooting.
In terms of external design, the 3N is 100% minimalistic. Some have called it a physically unattractive camera, but I believe this stems more from the public’s current obsession with the ‘retro’ look than from actual distaste for the NEX’s appearance. It features a simple shutter release button on the top from which protrudes both the on/off switch and a toggle zoom. Beside the shutter release, there is a small playback button, whereas below it, you’ll find a dedicated video button. The button which activates the pop-up flash is nestled on the left side of the camera.
The 3″ tilt LCD screen occupies most of the space on the rear, but leaves just enough space for a small sub-command dial with which you can access the camera’s digital mode dial. This dial is also flanked by two buttons above and below. The top button serves as your access point to the menu, whereas the multi-purpose bottom button either allows you to delete photos in playback mode, or leads you to a list of helpful shooting tips. (Note: If you use ‘flexible spot’ as your AF area rather than ‘multi’, the bottom button will no longer take you to the tips list. Rather, it will allow you to change your focus point, which is useful for more advanced users.)
The most important controls, such as the mode dial, exist as a digital menu, but there are a few functions you can access directly from the four arrows on the sub-command dial – namely ISO, continuous shooting, shutter/aperture adjustment, and display info. Overall, the menu is very intuitive, though you’ll have to do some digging to access certain functions. (It took me ages to find the Format option for my memory card!)
So, all in all, the NEX-3N has design, ergonomics and functionality down to a fine art. There are only two aspects I do not particuarly like: the loud noise the shutter makes when it clicks, and the lack of a viewfinder, as I find that it is difficult to take well-framed shots in bright sunlight guided only by an LCD screen. However, most beginners won’t be bothered by these drawback, and I understand that Sony has to consider its target market first.
Image Quality: Colours and Dynamic Range
An aspect that sets many mirrorless cameras apart from their point-and-shoot counterparts is the presence of a large sensor. In the case of the NEX-3N, we find a 16MP APS-C CMOS sensor – the same kind of sensor you’d find in a low-to-mid range DSLR. As such, high image quality, excellent dynamic range, and rich natural-looking colours are pretty much a given. The gallery of post-processed RAW files below is proof of what this little camera is capable of in a wide variety of situations.
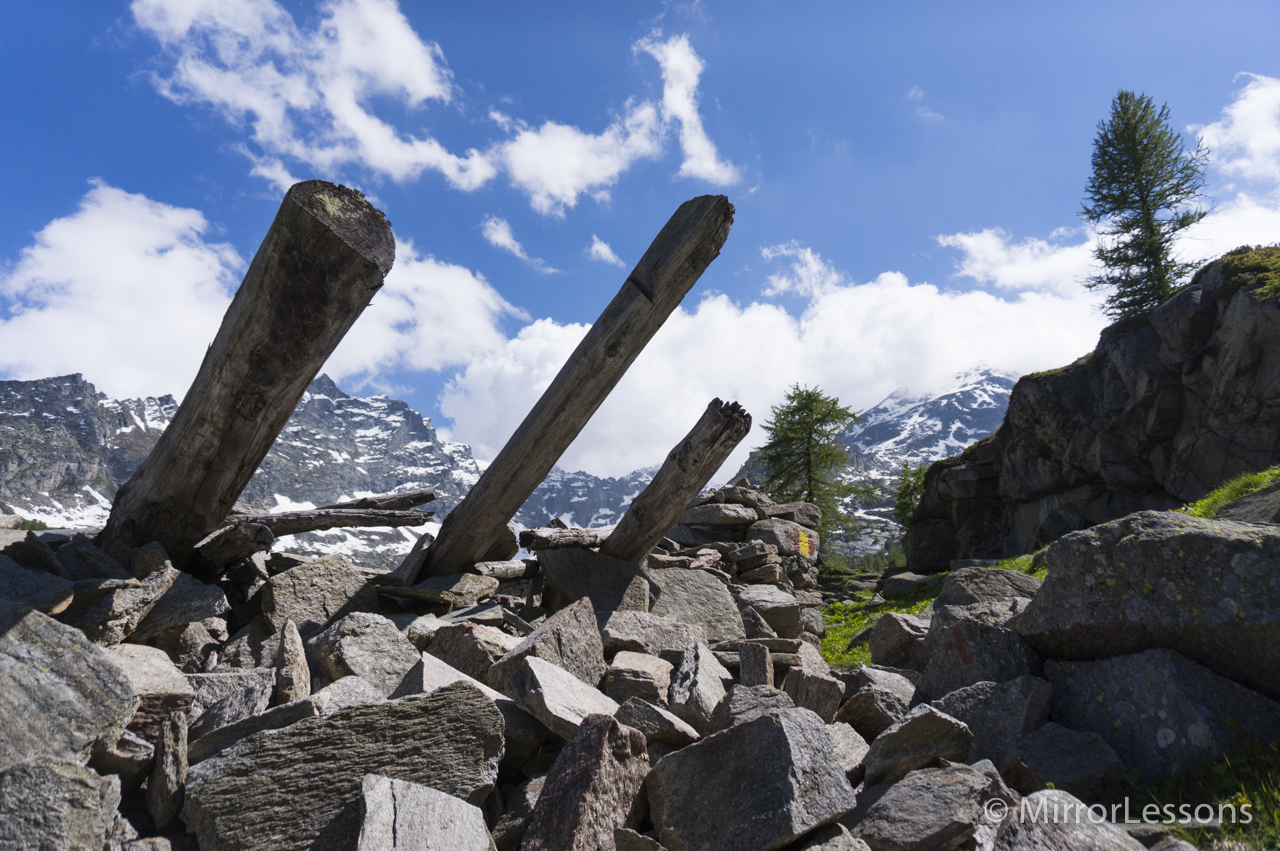
Dynamic range is also very good. In highly-contrasted images such as the one shown below, I was able to easily balance out the highlights and shadows using Lightroom 5 without losing too much detail.
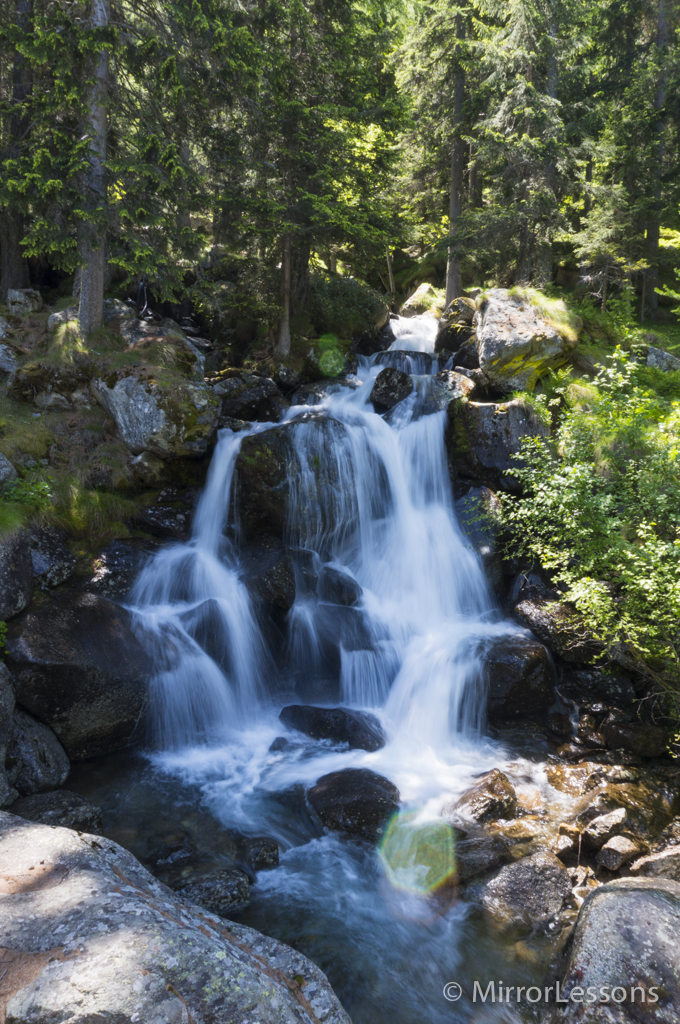
If you aren’t interested in post-processing your RAW files, or don’t have the possibility to do so, there are also a couple of useful functions on the camera that will allow you to achieve a better dynamic range. The first is called Auto HDR which captures three consecutive images at different exposures and merges them into one on-camera. (Note: HDR can only be used when you shoot Fine JPGs without RAW.) The second is called the D-Range Optimizer which, depending on the level you choose (1-5), opens up the shadows more or less on-camera.
Below is an example of how the D-Range Optimizer function works. As you can see, the higher the level, the more the shadows open (while the highlights remain relatively unchanged).
Image Quality: Low-Light Performance
The presence of an APS-C sensor in the NEX-3N also presupposes great low-light performance, and indeed, we see some excellent results. The JPGs produced on-camera, in particular, show very little noise even at high ISO, which suggests that the camera does a lot of internal processing of its images on its own.
Below I have shared two galleries from the fireworks show at the Festa di San Giovanni in Torino. The first gallery shows the quality of the on-camera JPGs at 3200 and 6400 ISO. The second shows the same set of photos post-processed from the RAW files.
In-Camera JPG Gallery:
Post-Processed RAW Gallery:
Trying the camera at 12800 and 16000 ISO, I was even more impressed than I had originally been with the on-camera JPGs. While they are far from useable for professional work, the noise level is not extreme, as you can see in the case of the photo of the stuffed cow sitting on the dark armchair. Noise tends to be most noticeable in the shadows on light-coloured surfaces such as on the walls around the fireplace.
In-Camera JPG Gallery:
The RAW files are less impressive, as you can see from the images below, but I found it was easy to manually eliminate noise using Lightroom to produce the same (and slightly better) results seen in the on-camera JPGs.
Post-Processed RAW Gallery:
Performance: Speed and Autofocus
The 4fps continuous shooting found on the NEX-3N may not live up to the speed of some other cameras in its class and price range, but it is more than enough to capture those important moments, such as your child running by during a soccer game, or your dog playing with a frisbee. There is a slight lag between each consecutive shot taken in Continuous Shooting mode, but this can be sped up if you choose Speed Priority Continuous Shooting. However, doing so will reduce the number of consecutive shots you can take to 3fps.
Autofocus tends to be very quick, with the exception of low-light situations where it takes a split-second longer to focus. An interesting focus option available on this camera is DMF, which allows you to make fine manual adjustments to your focus after the camera has autofocused on a subject. I find this particularly useful for fine-tuning the focus on people’s faces when I photograph them against a landscape. You can also choose between a number of autofocus area options including: center, multi, and my personal favourite, flexible spot, which allows you to manually choose your focus point.
Macro Mode: The 3N’s weakness
Although the NEX-3N has a macro mode buried in the Scene Selection menu, it becomes obvious after a few attempts at taking flower or butterfly pictures that this camera has not been conceived with macro photography in mind. Perhaps with a macro lens, the camera would perform better, but as far as the kit goes, the camera simply doesn’t let you get close enough to your subject – at most 15-20cm. Compare this to the 1cm distance you can achieve with the Fujifilm x20, for instance, and you really begin to perceive the abyss between this camera and others in its class.
Below you can see a photo I took of a small frog I found swimming in the mountainous rivers of Parco del Gran Paradiso. If I had moved in any closer than this, he would have been out of focus.

Video Mode: The 3N’s strength
The Nex series is known to produce very high quality video, so much that some Nex cameras are used by professionals. So when we tested the video capabilities of this camera, we already knew that it would deliver, and we weren’t disappointed. The colours are vibrant and powerful, and the sharpness is very impressive.
We only used the kit lens to perform the test, and while it does a good job, it certainly isn’t the best piece of glass to use for either photo or video. Lens flare isn’t too invasive considering that we took some shots in direct sunlight. At its widest angle, it creates some geometrical distortion. The most deceptive point is the lack of a real macro capability. You will notice this in the video below shot at 0.43s where Mat tried to get as close as possible to the rock to film some ants. The focus point is slightly too far from where it should be.
The camera can record in AVCHD at 1080p, which is not surprising these days, but the use of AVCHD, a codec also found in professional cameras, is a welcome feature that will give you enough bitrate to capture wonderful videos. Autofocus, of course, works during video mode and I must say that it is reliable for this kind of camera. If you want to be more precise, however, it is better to switch to manual. The ring on the lens becomes a tool for focusing and I must say that it is very easy to use due to the bright and sharp LCD screen. Of course, not having a viewfinder will create some difficulty in bright sunlight. Moreover, there aren’t any ND filters incorporated, something that you never find on this type of camera. Since you usually need a slow shutter speed for video (around 1/50 or 1/60), forget achieving a shallow depth of field in daylight as you will need to close your aperture as much as possible.
The lens has a zoom lever that is common in videocameras, and is a welcome addition here as it allows for more fluid zooming than with the lens ring. However, it could be limiting if you try to zoom in or out very slowly. I am not impressed by the stabilization – I find it works better with vertical movements (tilt) than with horizontal movements (pan).
The files produced are sharp and have vibrant colors. I noticed some purple fringing on the trees, but it is a common issue for a lot of sensors. The dynamic range is also very good and shows the potential of the APS-C sensor.
Below you can find a brief montage of the images we shot in the Alps at the Gran Paradiso National Park.
Other Features: Scene Modes, Panorama Mode, and more…
As with every Sony NEX, the 3N is overflowing with useful scene modes designed for beginners, as well as two Auto modes. In the Scene Selection menu, you’ll find options such as: landscape, macro, sports action, sunset, night portrait, night scene, hand-held twilight, anti-motion blur, and portrait. This menu is easily accessible from the electronic mode dial.
Likewise, there are a series of Picture Effects ranging from toy camera to retro photo to rich black and white. However, unlike on the NEX-5K, you must first change your image quality to JPG Fine before you can use these picture effects – a real pain in you are in a hurry to take a photo. Since these effects are laborious to access, I cannot see many beginners going out to their way to use them.

The panorama mode is, as always, flawless. It allows you to take a 180 degree panorama of a scene simply by steadily sweeping the camera from left to right. Below are a couple of examples from the Parco del Gran Paradiso in Italy. (Note: The resulting images will always be JPGs.)


There are also a handful of other interesting functions such as Smile Shutter, which makes the camera take a photo when it detects a smile, and Soft Skin Effect for portraits.
Conclusion
 What I like about the NEX-3N:
- Small, portable, minimalistic and physically discreet
- Excellent image quality (dynamic range, high ISO, colour reproduction)
- Amazing video quality
- Straight-foward menu system that is easy to learn
- Tilting LCD screen useful for awkward angles or situations in which you find yourself in direct sunlight
- Loads of extra features including scene modes, HDR shooting, DMF focusing, and more
 What I don’t like about the NEX-3N:
- Lacking a viewfinder which makes framing images challenging in broad daylight
- The shutter is noisy, so don’t attempt any super-stealthy ninja photography
- You have to change image quality to JPG Fine to use some functions such as Auto HDR and Picture Effect which can be laborious.
- Some menu digging is required for certain functions such as Format, Picture Effect, and Focus
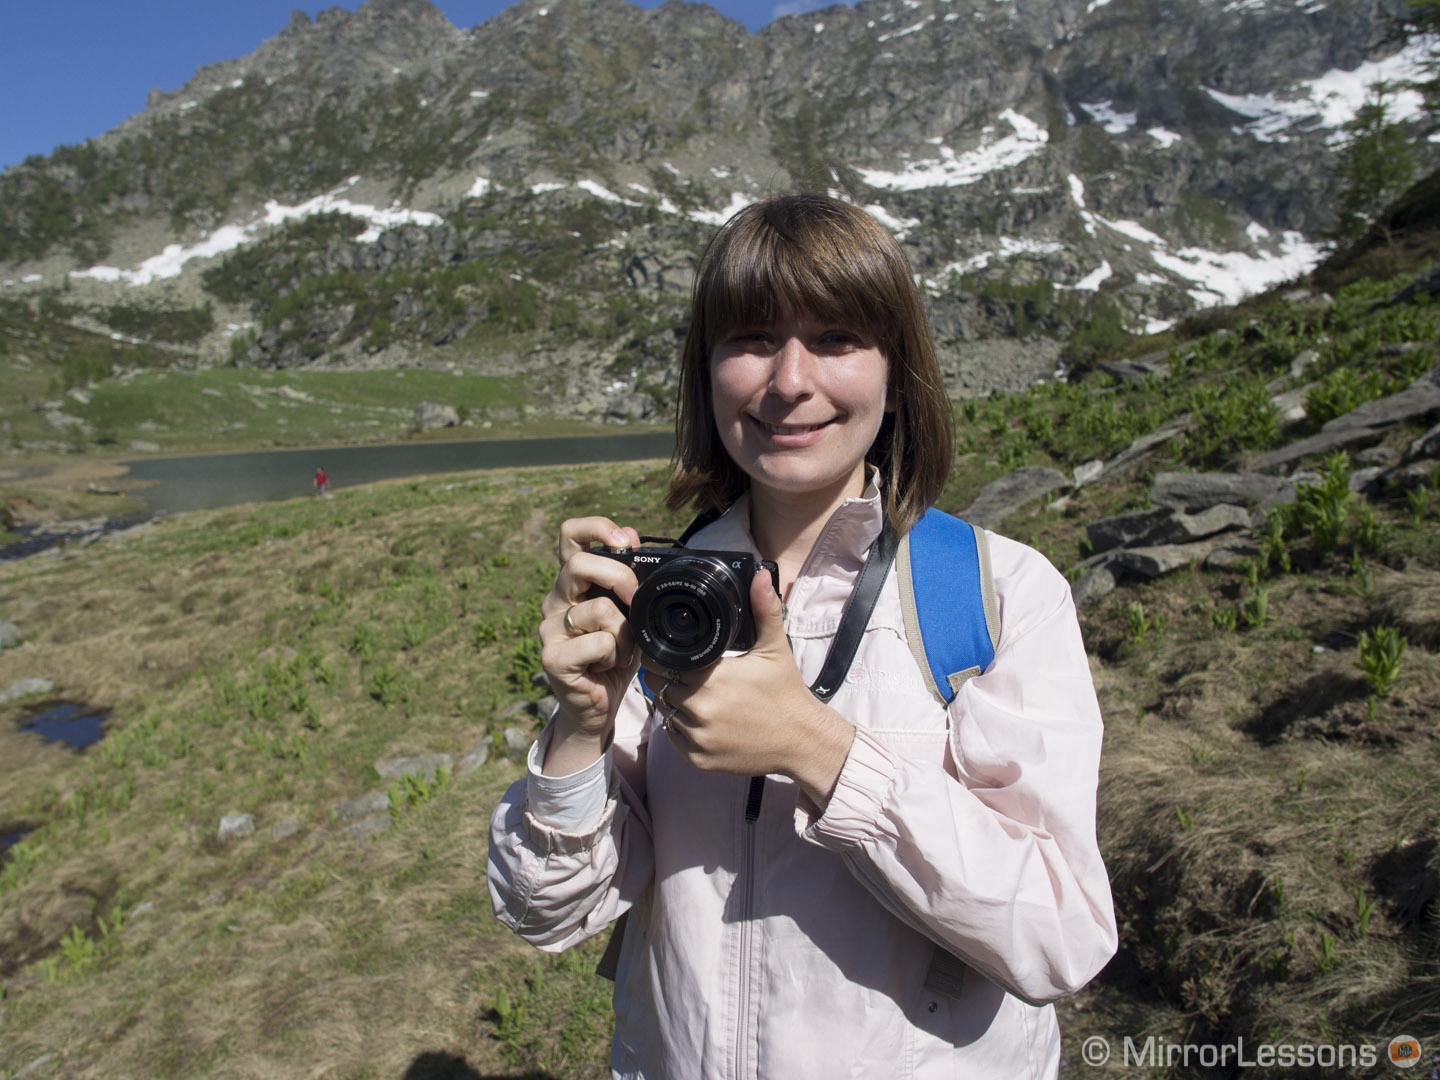
The Sony NEX-3N is the perfect camera for those just beginning to toy with the idea of turning photography into a serious hobby. It offers the flexibility of interchangeable lenses and manual controls, but maintains all the user-friendly functions a beginner could appreciate such as two Auto modes, scene selection, picture effects and more. It is small, lightweight, discreet and fun to use, especially when you start to experiment with the excellent video mode. Plus, the image quality leaves nothing to be desired. If you are looking for a versatile camera at a very competitive price, the NEX-3N would make an excellent companion!
