As of October this year, it will have been five years that I’ve lived in Turin, Italy. Five years. And as any wise ex-patriot knows, if you’ve resisted five years in a foreign country, chances are you’ll stay there for life.
In five years, I’ve can maneuver the streets with my eyes closed. I speak the language well enough to get by (though all my friends and family back home are convinced I’m fluent). I now think of fennel, artichokes and ham on melon as staple foods. And most importantly, I’ve met Mathieu, the one person who makes every difficulty I face here as a foreigner worth overcoming.
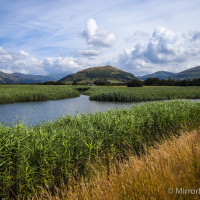
But sometimes, I feel the need to reconnect with my roots. That is why, every summer, I travel home to my parents’ house in Mid-Wales for a month. Though I was born and raised in Canada, I’ve always felt a special connection with Wales, with its rolling hills splattered in an almost unrealistic shade of vivid green, the unrelenting roar of the rough seas tearing at the coastline, the varied wildlife, and the tranquil pace of life.
For my full review of the Olympus Pen E-P5, I wanted to do something special, and a little bit unconventional – I decided to use it to document my three-day journey home to Wales. The photos taken along the way test all the important functions of the camera, whilst sharing with you what is, for me, the most important and emotional moment of the year.
From Torino to Malpensa Airport: Internal Stabilisation and Artistic Modes
For some unknown reason, I have the terrible habit of arriving in places 30 minutes to an hour before I have to be there. Though the bus to Milan’s Malpensa Airport was due to leave at 13:00, my anxiousness ferried me out of the house at 11:30, which was just as well as it gave me the freedom to slowly edge towards the bus stop at Porta Susa, testing the camera as I went.
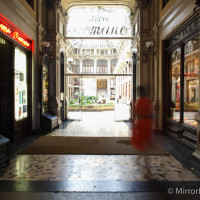
Under the porticos of Via Po, the comings and goings of the Italian workforce seemed like a good place to begin testing the internal 5-axis stabilisation of the E-P5. As I mentioned in my complete article on the subject, the IS mechanism in the camera allows you to take sharp photos even at shutter speeds as low as 1/5 of a second, or 1 second as long as you have a steady hand. Many of the photos you see below were taken at a shutter speed of 1/25 of a second and below, and are perfectly useable.
The most interesting experiment was riding on the tram from the Gran Madre church to the bus stop. During this short interval, I took both stills at slow shutter speeds and video to demonstrate how the IS can make even the rockiest tram ride appear smooth and uneventful. Considering that I was being bounced around like a tennis ball, you really get a sense for just how impressive the resulting images are.

Do keep in mind that at very slow shutter speeds (from 1/10 of a second to 1 second), it is better to focus on an object close to you as there is less likelihood for camera shake to throw the subject out of focus. The further away you focus, the more obvious camera shake will be.
Note: several reports highlighted a shutter shock issue with the E-P5 and internal stabilisation at give shutter speeds between 1/80s and 1/250s. While I haven’t experienced the problem personally with my camera, Olympus added a “0 second” setting to Anti-Shock mode with the firmware update version 1.4.

The ice cream cone sign is perfectly in focus despite the 1/3 of second shutter speed. This is because it was close to the lens.
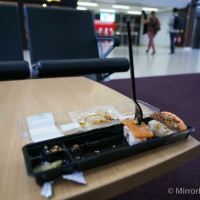
The bus ride saw me to the airport where I had a leisurely two hour wait for the plane. Always wary about arousing suspicion in this post-9/11 world, I limited myself to testing the Artistic modes of the E-P5 around the food court and in the empty waiting lounge.
The most entertaining mode has a rather prominent position right on the mode dial. By default, it combines three separate shots into one photograph, as I’ve done here with my passport, bottle of £3 lemon and mint water, and mobile phone. Though I find its position strange (it would have sat just as well buried in one of the sub-menus), it is definitely an entertaining addition to the E-P5.

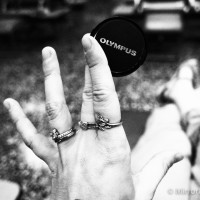
There is also a series of more traditional artistic modes which can be accessed from the ART option on the mode dial. Pop art, soft focus, grainy film, pin hole, and diorama are just five out of the thirteen. Below you’ll see my journey from the waiting lounge to the plane documented with some of these modes. My favourite image is that of us trundling onto the plane. It was taken using Key Line, and it definitely generates a strange yet dramatic effect. (However, I am relieved the camera produces an untouched RAW file to go with every artistic shot so that, if the shot is good, I can actually add it to my portfolio!)
Heather’s Reflections for the Day
- The built-in flash seems to have a mind of its own. It will often pop up even at the lightest touch of the button, and being fragile, could easily snap off inside a backpack. Throughout the journey, I had it pop up three times – once as I was reaching for it in my bag, and twice on its own whilst inside my bag.
- On the touchscreen, there is a button that allows you to choose between three options: 1) using the touchscreen to pick a focus point, 2) using the touchscreen to take a photo, and 3) deactivating the touchscreen entirely. With the touchscreen being very sensitive, any sort of body contact with this virtual button will cause it to switch between the options without you even realising it. This usually happens when you are walking along the street with the camera bouncing against your body.
- If you have the external VF-4 viewfinder, take good care that it doesn’t break or pop off as you travel. It is well-built and grasps firmly onto the hot shoe, but I wouldn’t want to test the limits of its sturdiness.
- The E-P5’s shutter is close to silent. Not once did anyone stare at me when I snapped a photo, even in the waiting room and as we got on the plane.
From Birmingham Airport to Wolverhampton: High ISO (up to 6400) and Continuous Shooting
The first sight that greeted me at Birmingham Airport was a conveniently placed newsstand where news of the Royal Baby’s birth splattered the front pages. Ah hah, I thought! A theme for my high ISO test. I immediately started snapping shots of ladies grabbing newspapers, biscuit tins in baby blue, and posters advertising documentaries about the momentous occasion, as well as a few token shots of the airport and adjoining train station. In fact, I got so involved, I almost ended up missing my train to Wolverhampton!
Note: The following are uncompressed JPGs straight out of the camera. Feel free to pixel peep to your heart’s content!
The images were taken between 1600 and 6400 ISO, and I was very pleased with the results. Even the darkest parts of my images show little to no noise, something I had already observed during the high ISO battle Mathieu and I performed at night between the X100s and the E-P5 back in Torino. I also noticed from the JPGs that the E-P5 does an excellent job of reducing noise on-camera thanks to the noise filter. The RAW files, on the other hand, naturally tend to be more noisy but can easily be adjusted in Lightroom.
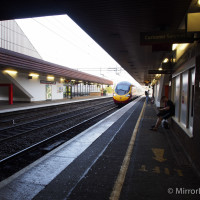
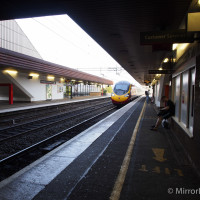
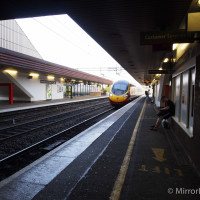
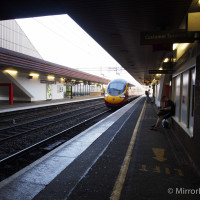
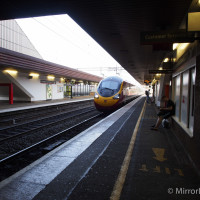
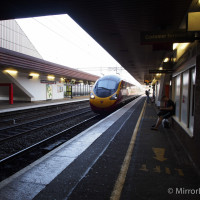
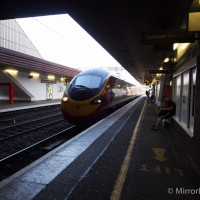
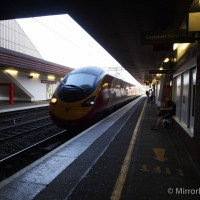
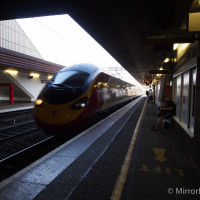
The final test for the day–continuous shooting–was appropriately carried out on the train station platform as my train came rushing in. Olympus cameras are renowned for their incredible speed and the Pen E-P5 is no exception. Using Sequential High, I captured the train’s arrival in 15 rapid-fire shots. According to the specs, the E-P5 can capture a maximum of 9 fps, but even after 9 frames have been taken, the camera continues to shoot up to 15 shots at nearly the same speed. Only after 16 does a significant lag occur between each shot.
Heather’s Reflections for the Day
- On the camera you’ll find an innovative toggle which allows you to change the function of the front and rear dials on the top of the camera. In total, there are four modes to choose from, but by default, position 1 has the dials change shutter speed and aperture, whereas position 2 adjusts ISO and white balance. I personally use mode 3, which switches the camera to AF mode when the toggle is in position 1, and MF mode in position 2. The front and rear dials continue to change shutter speed and aperture in either position. My white balance is automatic, while ISO has been assigned to the right arrow button on the sub-command dial.
- The camera generates a funny humming sound when the 5-axis stabilisation is activated. It would be nice if it were a little quieter.
A Pause in Wolverhampton: More High ISO (up to 25600), Dynamic Range and Bracketing, Macro Photography and Focus Peaking
I spent the night with my aunt and uncle who, funnily enough, had an analog version of the Pen camera hidden away in one of their drawers. Actually seeing the original Pen up-close stirred a great desire in me to give film photography a try one day.
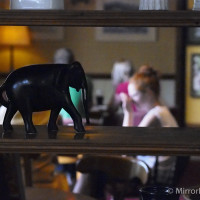
We took my lovely grandmother to lunch at her favourite pub where I snapped a few portraits of her at various high ISO levels: 1600, 6400, and 12800 respectively. By the time we reached 12800, she was beginning to grow weary of the portrait session, so I replaced her with one of the ornaments on a nearby shelf for 25600. Analysing these examples, as well as others from our X100s vs. E-P5 low-light battle, I can conclude that noise only begins to grate on the eye from 12800 upwards. However, this is the case with most current digital cameras, and with the excellent IS, you’ll rarely find occasions where you’ll have to go over 12800 anyway.
Note: The following are JPGs straight out of the camera. Some have been cropped, but otherwise they are unedited.
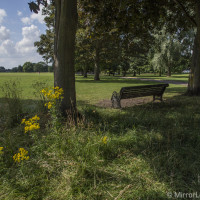
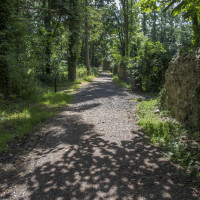
I followed up our lunch with a lengthy walk around Bantock Park, a stone’s throw away from where my aunt and uncle live. It was a wonderful chance to put the dynamic range of the camera to the test, with the bright sun beating down on the grass contrasted by the long shadows of the leafy trees. I even had a bit of fun with the HDR bracketing function to see how combining shots at various exposures would work.
Since the E-P5 has the same sensor as the OM-D, I already knew that the dynamic range produced by the sensor would be great. Just look a the gallery below to see how much detail I managed to recover in the shadows with the RAW files. Keep in mind that the Micro Four Thirds sensor is smaller than APS-C and full frame sensors. You can recover much detail in the shadows, but less in the highlights, so in some cases it is better to slightly underexpose the image and then open the shadows in post. It will be easier than trying to recover too many details in highlights.
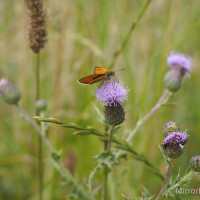
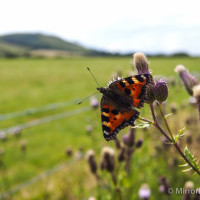
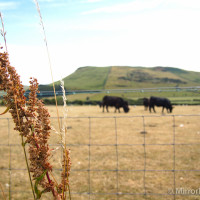
Nearing the end of the trail, there was a patch that had been left to go wild–a haven for wild flowers, butterflies and insects, and thus, the perfect spot for some macro photography using the camera’s macro scene mode. Since I do not own a macro lens, I popped the kit zoom onto the camera and began shooting, first using AF, then MF, and finally MF combined with focus peaking, a new addition to Olympus mirrorless cameras. The autofocus was excellent, and the manual mode was made even easier to use thanks to the white noise generated around the subject with focus peaking. This said, my success rate at getting things in focus was about the same with or without the use of peaking. Perhaps I just need a little more practice!
Moreover, I noticed that the image produced in the viewfinder became a little bit choppy when focus peaking was activated. This made focusing on the insects a challenge at times.
As for the distance between the lens and the subject using the kit lens, you can stand about 5-7 cm away from the subject at a focal length of 14mm, and about 15-20 cm away zoomed out at the maximum of 45mm. It isn’t ideal for macro photography, but it will do for those with an casual interest in the subject.
Heather’s Reflections for the Day
- The tilt screen really is useful for shooting from awkward positions, especially for macro photography. I find myself using it for a wide variety of shots.
- The 5-axis stabilisation does an excellent job of keeping small insects and quivering plants in focus as it reduces camera shake. I cannot wait to pair this camera with the M.Zuiko 60mm macro lens someday for some serious butterfly hunting.
- I’ve taken a keen liking to the camera’s small yet comfortable grip. For my entire walk around the park, I was holding the camera on-handed, and it fit very snugly into the curve of my thumb and palm.
Arrival in Tywyn: Movie Mode, 1/8000 Shutter Speed, Time Lapse, and Wi-Fi Capabilities
I usually don’t relish in travelling, but the 2.5 hour train ride from Wolverhampton to Tywyn has always been a favourite journey. I passed the time writing up the bulk of this article, wondering what sort of weather I’d encounter in Wales.
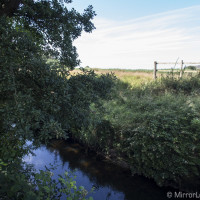
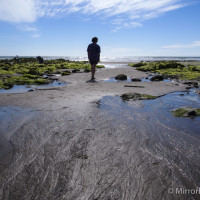
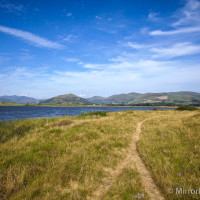
To my delight, the sun was out and the sky was filled with wispy cloud formations you’d only find by the seaside. Mum and dad were waiting for me on the platform, and no sooner had I dropped by bags down in the house did I rush outside for a walk through the brambles and foliage of the Dysynni Valley.
It was at this point I tested the Movie mode of the Pen E-P5.
The E-P5 shares the same video specs as its big brother, the OM-D. I honestly don’t understand why Olympus doesn’t implement a better codec with a higher bitrate (at least AVCHD like its twin Panasonic). If these cameras had a better codec, they would become a very interesting tool for film-making, especially since the in-body stabilisation works really well for video. Note that the E-P5 uses 3-axis stabilisation only in video mode instead of 5.
The E-P5 also suffers from some rolling shutter/jello issues, as you can see in some of the shots below, but apart from that, the overall quality is very good. The colours are pleasant, making it more than enough for casual video shooting.
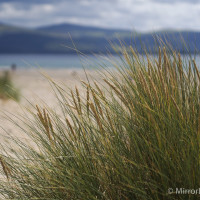
I then went on to test the mechanical 1/8000 shutter speed, a feature you won’t find on any other mirrorless camera on the current market. I decided to shoot on and around the beach as the reflectivity of the sand and water can create a very intense light. The results were more than satisfying as you can see below!
Admittedly, besides beaches and snowy landscapes, I cannot imagine there being many occasions where 1/8000 would be necessary. Still, it is a comfort to know that the option is there. There is also the “faux” option of Low 100 ISO which pairs nicely with 1/8000 shutter speed when you’re trying to achieve a shallow depth of field in bright sunlight. If you’re interested in seeing more sample images, check out my complete article about 1/8000 shutter speed and Low 100 ISO.
Later that evening, dad and I took a stroll down to the front where I captured a video of a Tywyn sunset using the E-P5’s time lapse function. With with function, you can choose the number of still shots you want the camera to take, the interval of time between each shot, and whether you want the camera to create an .AVI movie out of the combined stills. A tripod can definitely be helpful for time lapse photography, especially if blustery seaside winds threaten to blow your camera off the side of the wall!
The final aspect my dad and I tested just before I hit the pillow after three long days of travel was the built-in Wi-Fi function for smart devices. We attempted it with his snazzy new Samsung Galaxy as my iPhone 3 goes haywire when I try to upload even the simplest of apps.
First, you must download the Olympus Image Share app from either the Apple Store or Google Play depending on your device. Once installed, it will prompt you to do the Easy Setup. Turn your camera on and press the on-screen Wifi button. Then, with your smartphone, scan the QR code that appears on your camera’s LCD.
In the case of my dad’s Samsung Galaxy, the QR code simply wouldn’t scan. As such, I connected to the E-P5’s Wifi network in the camera’s Settings tab, and manually entered the password. From then on, the app worked very well. I imagine that the Remote Control function could be very useful for long exposures where you don’t want to press the shutter button and generate camera shake. Both the Import Photos and Edit Photo options are a cinch to use. Though I’d never used my dad’s phone before, I managed to upload a photo from my camera, edit it with the Art filters, add a personal signature, and upload it to Facebook in a matter of minutes.
Would I use the E-P5’s Wifi option often? Probably not. Generally, when I upload photos straight to the Web without editing them on a computer, they are silly “selfies” taken with my iPhone. When I take photos with my E-P5, on the other hand, I always put some thought and care into how they are composed. To simply upload them to the Web after a few quick edits with the Art filters without even looking at them in Lightroom first would seem almost like an abomination.
Heather’s Reflections for the Day
- The autofocus of the E-P5 is pretty amazing. I would say that in broad daylight it is even up to the standard of a DSLR. However, it may struggle in low-light, especially if you have continuous AF activated. This is something that Mathieu has noticed with his OM-D E-M5 as well.
Conclusion
When Mathieu and I first bought the OM-D E-M5, it was love at first click. Now with the super sleek Pen E-P5, that love has been reignited. It incorporates many of the best features found in the E-M5 such as a cool retro design, 5-axis stabilisation, a flip/touch LCD, snappy AF, and extreme speed, while adding a few new features of its own such as 1/8000 shutter speed, Low ISO 100, a useful toggle, Wifi, focus peaking, and a built-in flash. Combined with the external VF-4 viewfinder and the numerous Micro 4/3s lenses on the market, it is the perfect package for professional photographers and aspiring amateurs alike. Having two full months here in Wales, I cannot wait to see the works of art this wonderful little camera will churn out over the coming weeks!
 What I like about the Pen E-P5:
- Small, portable, sturdy and physically discreet
- Attractive retro-style build
- Silent shutter allows for stealth
- Excellent image quality (dynamic range, high ISO, colour reproduction)
- Extremely quick AF, start up time and continuous shooting
- Tilting touch LCD screen useful for quick focusing, awkward angles, and situations in which you find yourself in direct sunlight
- Loads of extra features including scene modes, Artistic modes, Photo Story, focus peaking, and more.
- Movie mode is straightforward and produces steady footage thanks to 5-axis stabilisation
 What I don’t like about the Pen E-P5:
- Lacking a built-in viewfinder which makes framing images a challenge in broad daylight. External viewfinder protrudes significantly from the body.
- Makes a whirring sound when internal stabilisation is activated.
- The flash will pop up even at the slightest touch of the flash button. Looks like it could snap off at any moment.
- The menu isn’t the easiest to learn for those unfamiliar with the Olympus system. Many functions are buried in strange places within the menu.
- The Wifi function needs some tweaking to run smoothly on every smart device.


