Update: the Fuji Film Simulation profiles are now included with Adobe Camera Raw 8.4. Check out our first impression article!
I am not usually the pixel-peeping kind of photographer, nor am I obsessed with bokeh or dynamic range or tridimensional full frame perception. (Try saying that five times fast!) If you have already read some of my articles such as why I am using the E-M5 for work or our E-P5/X100s unconventional ISO comparison, the truth is that I mostly care about functionality and the actual photographs produced by the camera. But as there are many digital technology lovers out there, sometime the geek inside me takes the lead!
I am not usually bothered by noise in my pictures (within reasonable limits), and I won’t hesitate to raise my ISO if necessary. The most important thing for me when it comes to pure image quality is colour. Beautiful colours in a photograph are the aspect that will set me in motion more than anything else, probably because I have always appreciated art and paintings. I like photographs whose colours remind me of that.
One thing I really love about the Fuji’s X-Trans sensor is the colour reproduction of their various film simulation modes. My favourites are Astia and Velvia, especially for the warm tones: they render yellow and orange in a very unique way.
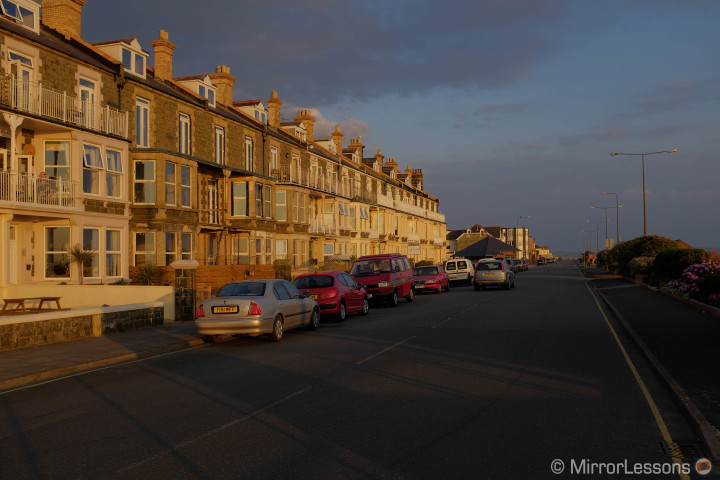
Now, a limitation to this is that to fully appreciate these colours, you will have to rely solely on JPGs on-camera. If you want to work with RAW files as I do, things get a little more complicated because it is not easy to find a software that can reproduce these colours accurately enough.
I admit that the more I use the X100s, the more I trust its JPG engine. Sometimes we are too obsessed with retouching and we forget that if the picture comes out perfectly from the camera, the resulting JPG will be more than fine.
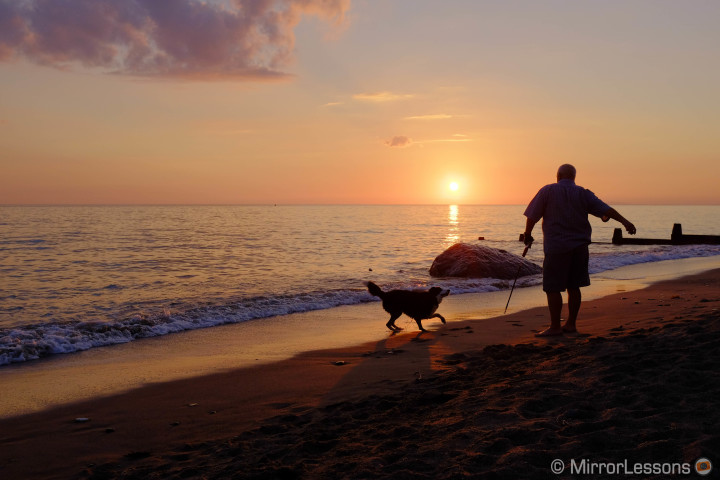
Look at that red sand, wonderful.
But sometime we need that extra quality that a less compressed file like the RAW format can give us, without forgetting the massive flexibility you get by post-processing your pictures. If you want to open the shadows or adjust highlights, you are very limited with JPGs as it is a compressed format and every time you save it, you lose quality. It is not something that you will see right away with your naked eye, but the more your retouch it, the more you reduce its quality.
For me, the perfect solution would be either for Fujifilm to release official camera profiles for software such as Adobe Lightroom, or as a plan B, to implement the possibility to shoot in TIFF format to have the option of a less compressed file than JPGs.
But back in the real world, it is either JPG or RAW files, so let’s see which options are available to us.
Before proceeding further, there are a couple of things which I want to make clear:
- Colours can be subjective: a particular red tone that I love in my sunset beach picture may look unappealing to you;
- Colours can vary depending on the calibration of your computer monitor, or if you are seeing the images on a tablet or smartphone;
- Colours can also vary when printing, but since I am not an expert in this field, I will skip it;
- There are many RAW developer software programs out there. I have tested the most known/relevant;
- My daily post-processing involves Adobe Lightroom 5 on a 2009 Mac Book Pro.
X100s RAW files and Adobe Lightroom
I have always used Lightroom to catalogue and edit my photographs as it is fast, reliable and gets better with every major update. I open Photoshop only if I have to do heavy post-processing that involves layers and changing an element in the actual scene. But what happens is that when I import my RAF files (Fuji RAW format), the software applies a default Adobe Standard Camera Profile that changes the colours I see on my X100s LCD screen and in my JPG version.
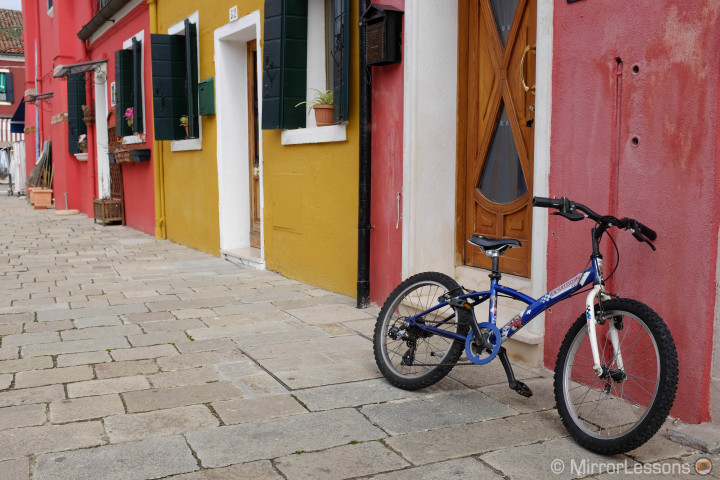
See the example below: what you see is a the JPG on-camera taken with the Astia Film Simulation mode. If you pass your mouse over top, the Adobe Standard Camera profile render will appear.
Astia (left) > Adobe (right)
[twentytwenty]

[/twentytwenty]
As you can see, the colours are less saturated and some colour tones change: pay attention to the red in the foreground and in the background. With the Adobe version, it loses some of its pink tones.
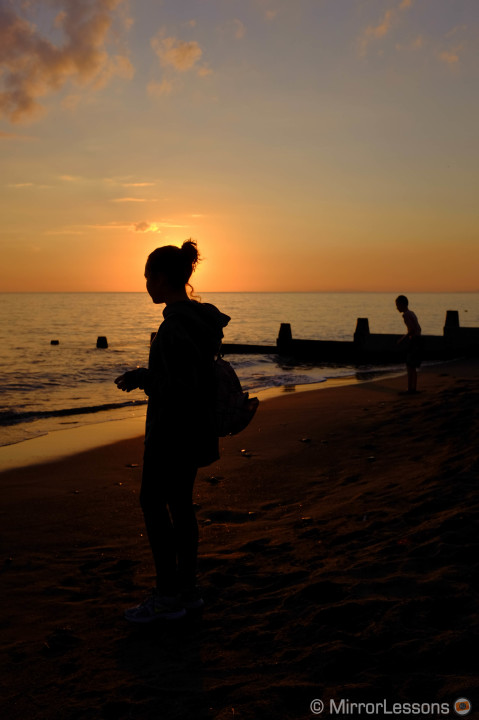
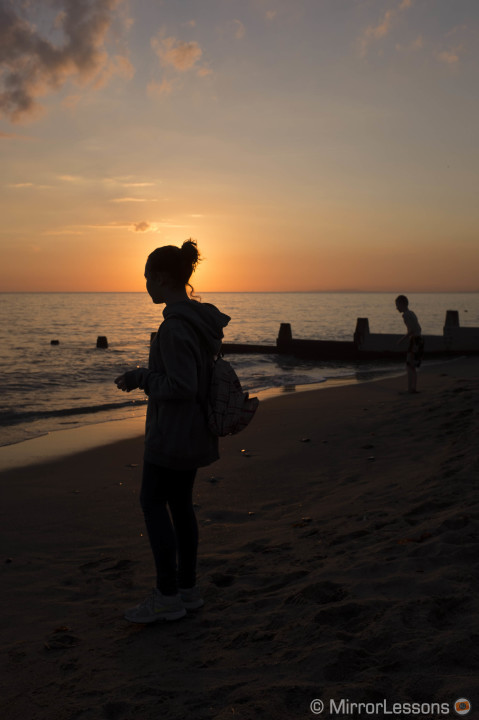
Below is another example of a photo taken at sunset (originally shot with the Velvia/Vivid Film Simulation mode): look at how the yellows/oranges change.
Velvia (left) > Adobe (right)
[twentytwenty]
[/twentytwenty]
Below you can see some other examples in different lighting conditions with different film simulation modes with the X100s JPGs.
If you like using Lightroom as I do but want better colour rendering, what are the options, aside from spending hours adjusting the different settings in hope of matching the JPG colours?
Well, here comes the first option of this article, and I am talking about the Huelight Color Fidelity camera profiles. I already reviewed the OM-D E-M5 versions and a couple of weeks ago, they kindly sent me the newly released version for the X100s. Those colour profiles aim to provide an alternative to the Adobe Standard Profile for Lightroom and Photoshop by improving skin and colour rendition.
Let’s have a look at some examples. I will keep the X100s JPGs on-camera as a reference and compare them with the Adobe profile first, and then with the Huelight X100s colour profile.
N.B.: Keep in mind that the JPGs on-camera have more contrast, while the photos exported from RAW files are less contrasted. This is because RAW format has more dynamic range, and therefore more information in the shadows. In some cases, I increased the contrast of the RAW files by an average of 20% to make the comparison easy, but it won’t be 100% accurate. Remember, we are talking about colours and colours only.
Astia vs Adobe Standard
[twentytwenty]
Astia (left) > Adobe (right)


[/twentytwenty]
Provia (left) > Adobe (right)
[twentytwenty]


[/twentytwenty]
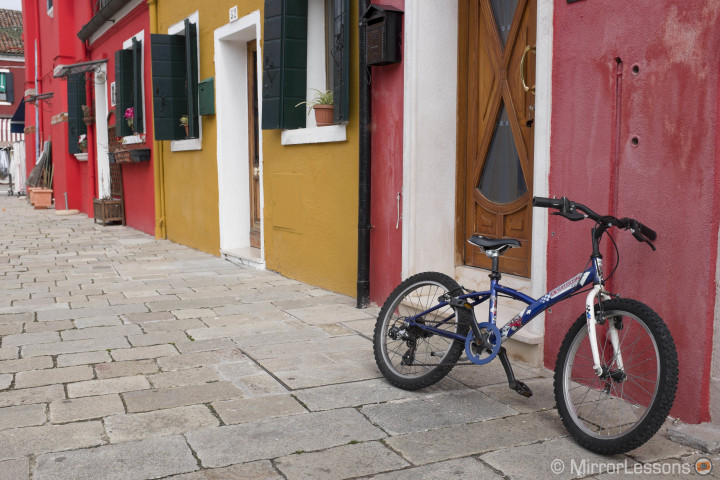
Astia vs Huelight High
Astia (left) > Huelight (right)
[twentytwenty]

[/twentytwenty]
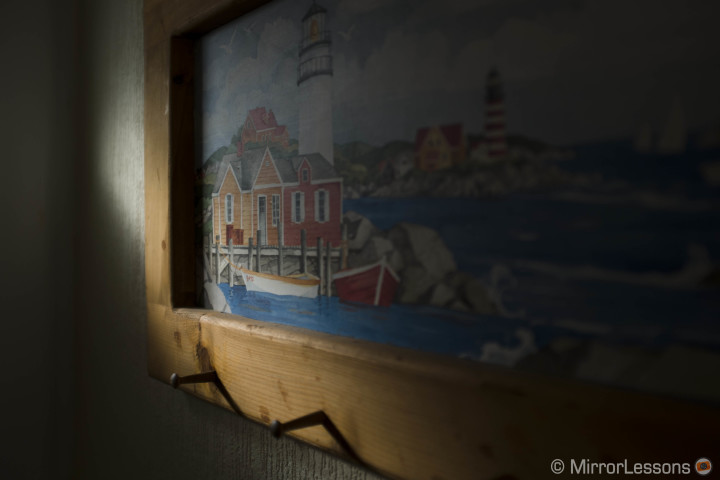
Provia (left) > Huelight (right)
[twentytwenty]

[/twentytwenty]
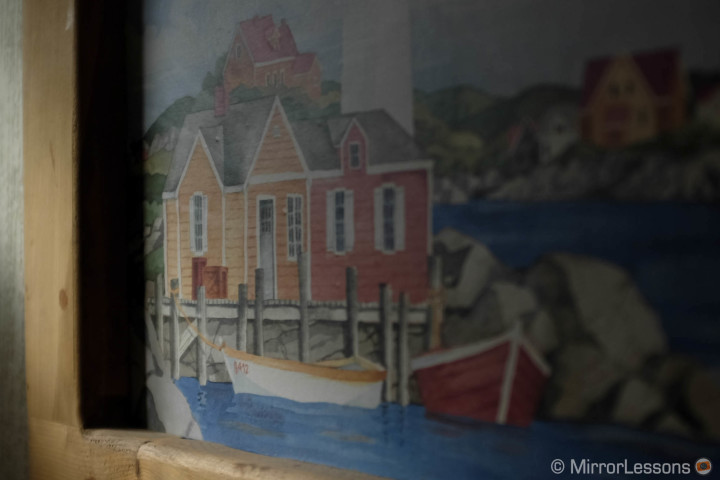
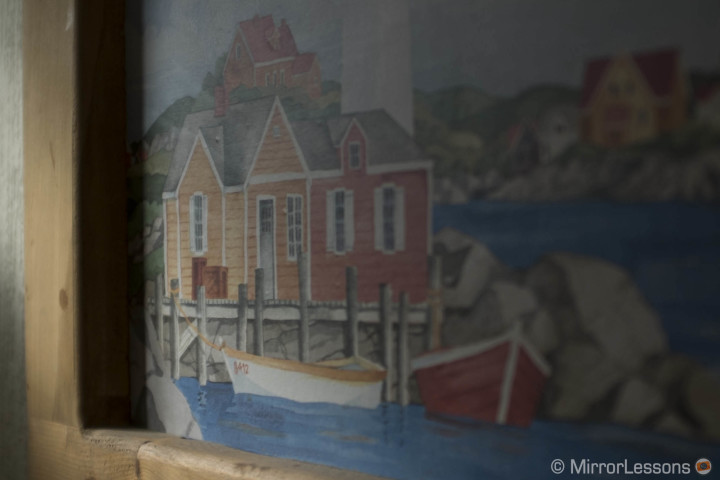
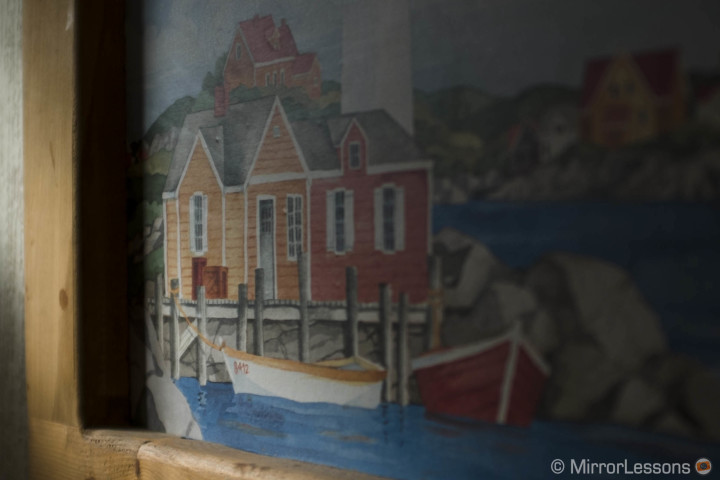
So, as you can see, both Adobe and Huelight cause a loss in saturation, but the Huelight version manages to keep the colour tones closer to the original shot. Focus on the house and red boat for example:
Provia (left) > Adobe (right)
[twentytwenty]
[/twentytwenty]
Provia (left) > Huelight (right)
[twentytwenty]

[/twentytwenty]
Another example below:
Velvia vs Adobe Standard
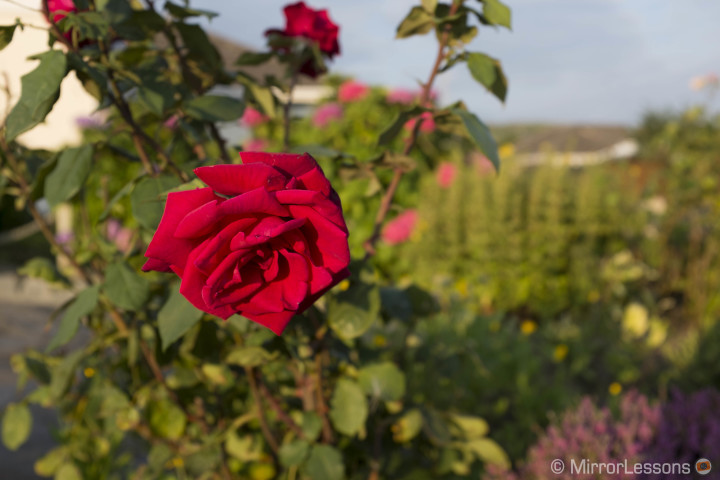
Velvia (left) > Adobe (right)
[twentytwenty]

[/twentytwenty]
Velvia vs Huelight High
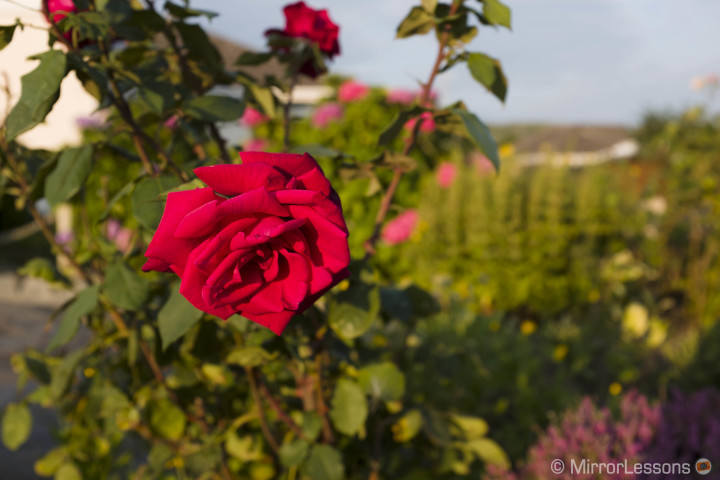
Velvia (left) > Huelight (right)
[twentytwenty]

[/twentytwenty]
You can see in the rose example that the Huelight version is more accurate in retaining the yellow tones in the green leaves and the pink tone on the edges of the rose. Since the shot was taken as the sun was setting, thus with a warmer light, the Huelight results aren’t as cold as the Adobe Standard version. I will even admit that in this precise example, I prefer the Huelight version to the Velvia.
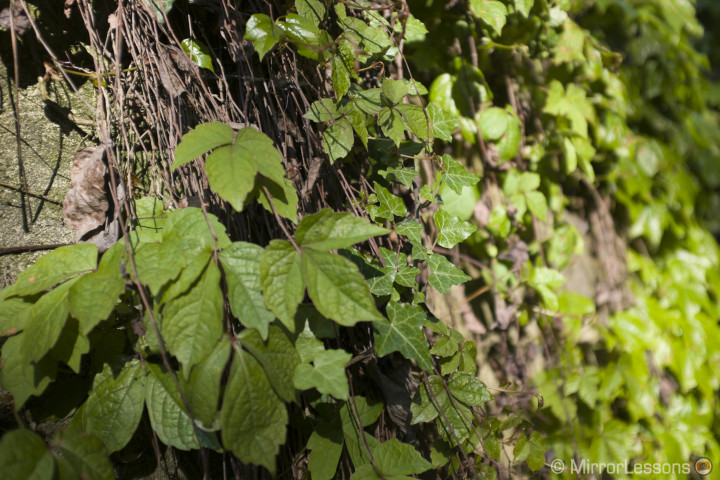
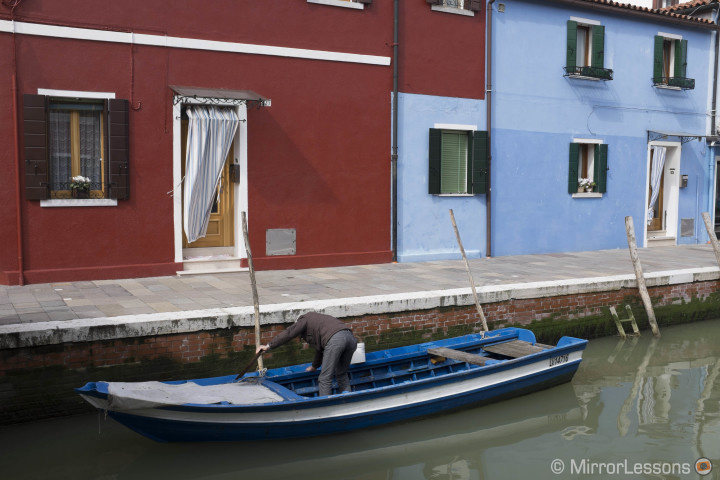
Also, Huelight profiles can enhance skin colour rendition and colours such as blue and green better than the Adobe Standard profile.
Adobe (left) > Huelight (right)
[twentytwenty]


[/twentytwenty]
Adobe (left) > Huelight (right)
[twentytwenty]

[/twentytwenty]
Adobe (left) > Huelight (right)
[twentytwenty]

[/twentytwenty]
We are of course far from the X100s JPG version but keep in mind that Huelight colour profiles aren’t direct copies of the Fuji X100s camera profiles.
You won’t get an exact match with the JPG versions but certainly a nicer color rendition that is close to Fuji colours than the Adobe Standard Profile.
If like me you love using Lightroom, this is definitely the best solution, and it is also a cheap (10$) and the profile comes in three versions:
- Standard: Ideal for general photography and for product shots where colour accuracy is required.
- Low : Ideal for portraits or a scene that requires lower contrast.
- High: High contrast curve and added saturation. It is ideal for landscape photography.
Below are some other examples. You can notice that in the second picture (the man standing on the street at night) that the difference is hardly noticeable, so the way in which the different profiles work also depends on the kind of light you have in the photograph and the balance of shadows and highlights.
X100s RAW files and Iridient Developer
Iridient Developer is a RAW image conversion software designed and optimized specifically for Mac OS X computers. I have read many positive reviews about how the application can read and develop the Fuji X-Trans RAW files better than Adobe softwares, especially regarding colour accuracy and sharpness. It includes a generic Fuji X100s profile. Let’s have a look!
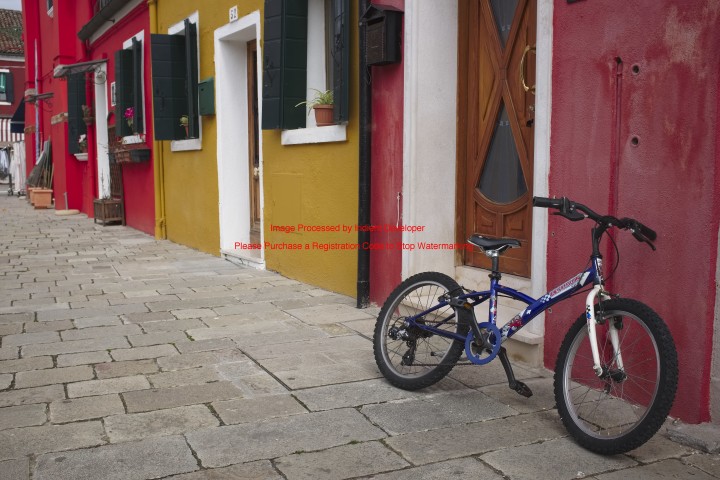
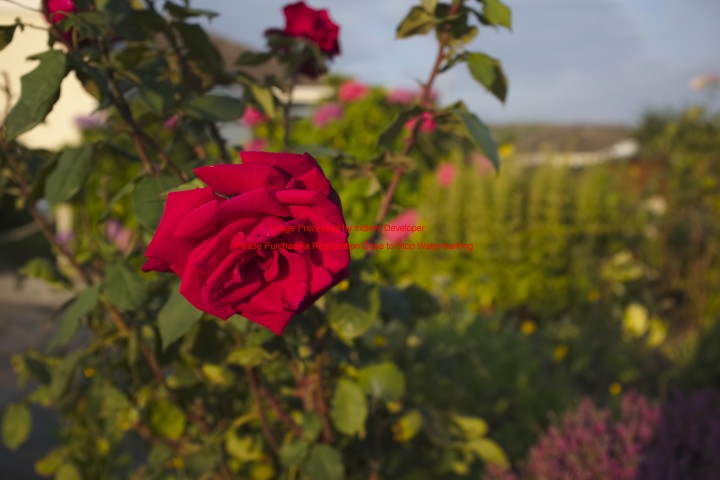
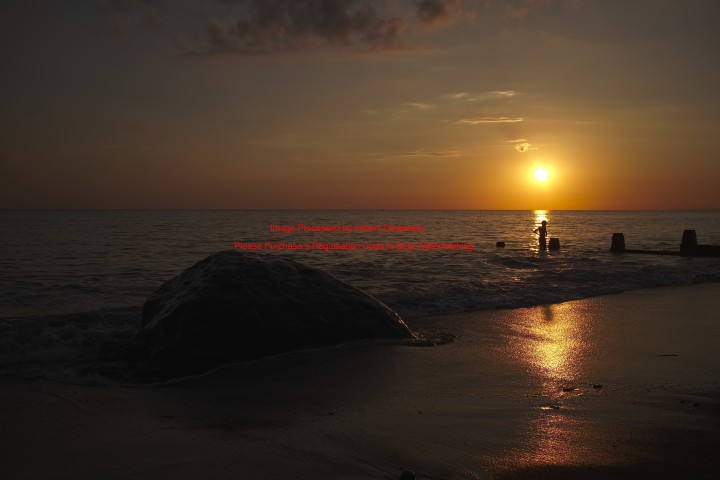
N.B.: I used the trial version so a red watermark will appear in the centre.
Astia (left) > Iridient (right)
[twentytwenty]

[/twentytwenty]
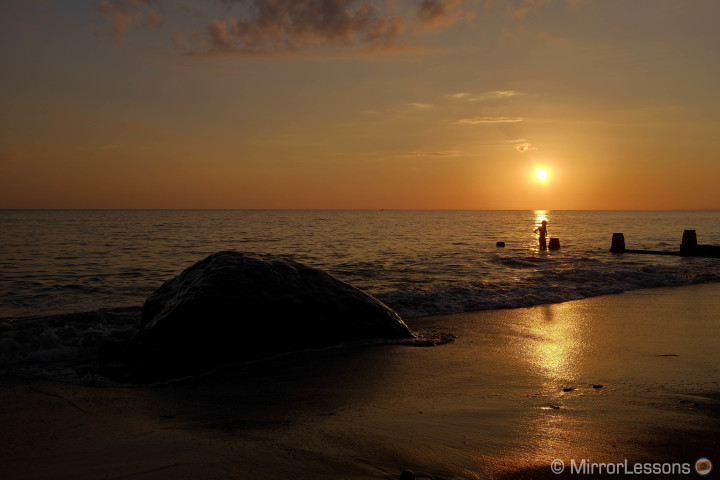
In the Iridient version, the colours have less luminosity but the tonal range is closer to the original shot. It retains much more pink in the reds than Lightroom.
Provia (left) > Iridient (right)
[twentytwenty]


[/twentytwenty]
In this second example, you can see how Iridient manages to keep colours close to the original. The picture is slightly less saturated but colours are almost the same, and with some more editing in the software you can almost match the same colour rendition. Below are two other examples.
Velvia (left) > Iridient (right)
[twentytwenty]

[/twentytwenty]
Astia (left) > Iridient (right)
[twentytwenty]
[/twentytwenty]
The Iridient software has better colour reproduction than the Adobe software. This option is different from the Huelight Color Profiles as I am talking about an entirely different software. The trial I tested on my Macbook Pro (Version 10.8.2) crashed several times while I was converting the files into JPG format and it isn’t as quick as Lightroom. I didn’t try all its features as I was focusing on colour only but it definitely renders RAW files better than Lightroom.
It costs $75 which isn’t a bad price for that kind of software; it is way cheaper than Lightroom and Capture One. If you haven’t got too many photos to process every day, it can be a very reliable option.
Below you can see other examples.
X100s RAW files and Capture One
Capture One has great reputation as one of the best softwares out there for RAW development. I don’t know the software very well as I always used Lightroom so I downloaded the 60 day trial version and started to work some of the RAF files. I could see right away how it handles them better. The software has a built-in Fuji X100s Generic profile and you can choose three different curves that will increase or decrease contrast.
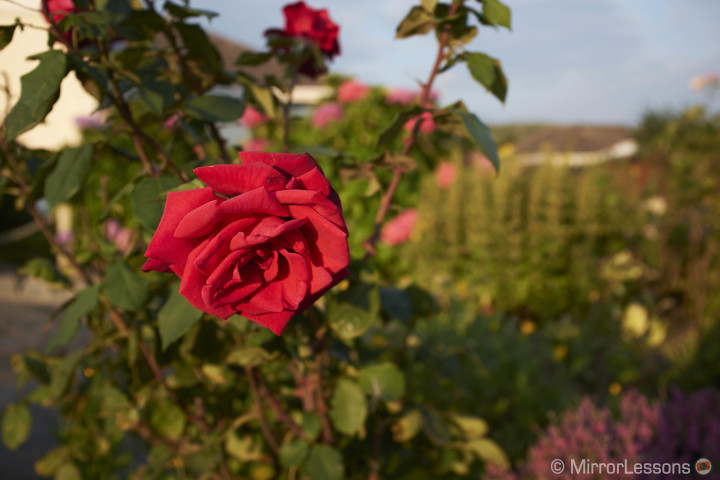
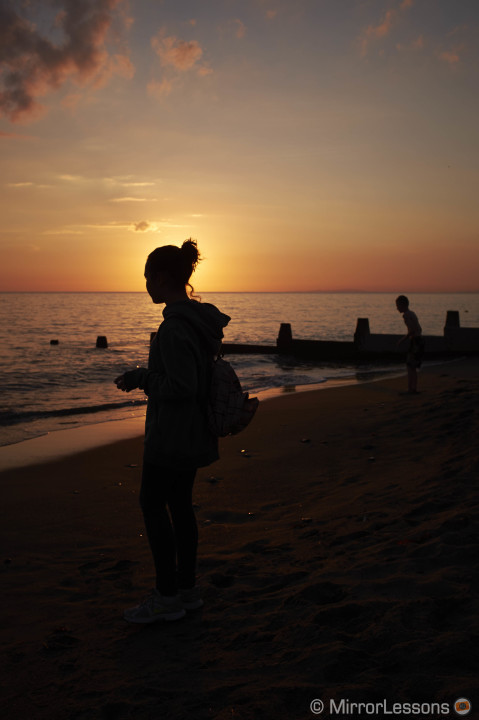
Here are some examples: the original JPG on-camera comes first.
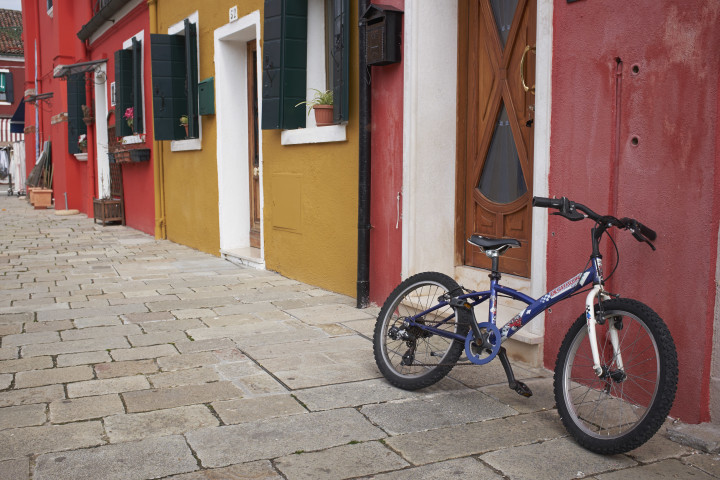
Astia (left) > Capture One (right)
[twentytwenty]

[/twentytwenty]
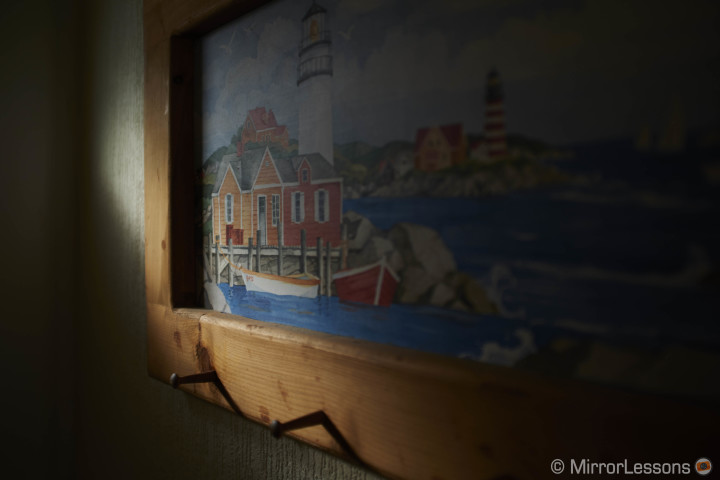
Provia (left) > Capture One (right)
[twentytwenty]

[/twentytwenty]
Velvia (left) > Capture One (right)
[twentytwenty]

[/twentytwenty]
Velvia (left) > Capture One (right)
[twentytwenty]

[/twentytwenty]
I find the Capture One results slightly better than those of Iridient. Capture seems to manage to retain warm tones slightly more in the oranges and reds. You can see it especially in the first picture (the one with the bike) and the beach sunset picture.
This option is more expensive, as Capture One costs around €229 and it is a very complete software developed with professionals in mind. Luckily for us, there is a lighter version called Capture One Express that offers the same RAW development capabilities but lacks some of the most advanced features of the Pro version (thanks to Per for the info). They were created by the Danish company PhaseOne, which is very well-known in the medium format world thanks to their high-end medium format camera. So you should consider this a complete alternative to Lightroom.
Below are some other samples.
Other alternatives
There are other RAW developer software programs out there, but I haven’t tried them all so if you find some good results with software programs such as Silkypix or Corel AfterShot Pro (ex Bibble), let me know.
There are also some Fujifilm software programs, but for Mac, they are out-of-date and also have a bad reputation. Usually, software you get with the camera is very simple and slow to use so they won’t satisfy any pro or advanced amateur, so I didn’t consider them. That being said, it would be nice if Fuji could release a new version of its software because it will certainly be the most accurate in reading its RAF files.
A final alternative could be to develop the RAF file on the X100s itself. When you playback the picture and press the Menu/OK button, you have the option of converting the RAW file into JPG and adjusting the shadows, highlights, colours as well as choosing a film simulation mode.
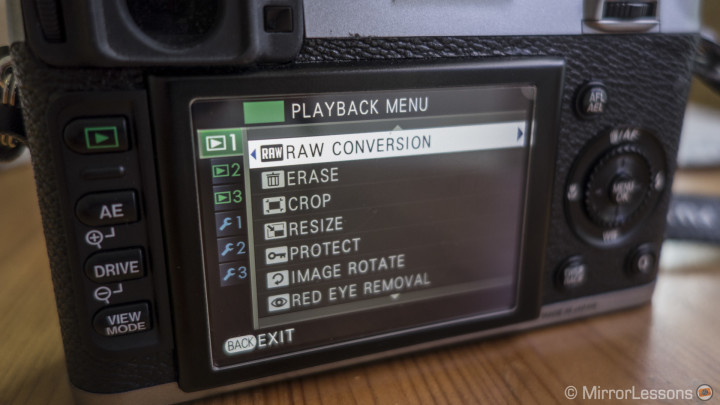
Of course, this isn’t the fastest or easiest alternative, but I thought it was worth mentioning.
Conclusion

First, if you are reading this conclusion, it means that you went through the entirety of this very in-depth “colour peeping” article. So, the first thing I’m going to write is thank you for your patience. 😉
You might wonder which solution is the best, and the answer I can give is that there isn’t an optimal solution. For me, it makes sense to use Lightroom because I’ve used it for more than 5 years now, and because I have a Creative Cloud subscription. It wouldn’t make sense for me to buy another software when I already have one included in my monthly bill. The Huelight Colour Profile is as such the best option for me; I get a nicer colour rendering on my RAW files and I can adjust the pictures as I prefer.
If you are looking for a good alternative RAW developer software capable of rendering X100s colours accurately, the Iridient option is the cheapest one but it is slow and more unstable. If money is not an obstacle, then you will love Capture One. But you have to choose these software programs for all the features they proposes and not just for the colours because they are full RAW developers with different options and characteristics that you may or may not enjoy using.
As a final word, it should be known that none of the above-mentioned programs will reproduce the colours of the Fuji JPGs to a T, but you can rest assured that the results will be similar. Moreover, always remember that having a software that renders the colours of your photograph accurately won’t necessary make the photograph better. After all, colour appreciation is 100% subjective! 😉


