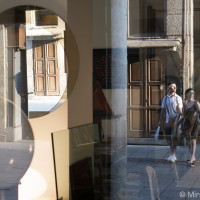
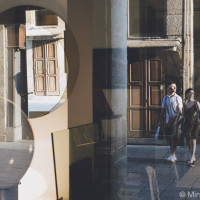
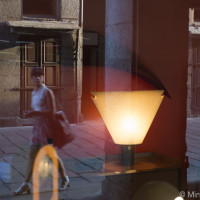
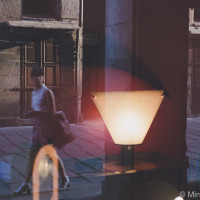
Testing the new Pro Set II by Rebecca Lily brought me in contact with a field in which I have little experience: film. Being part of the “digital” generation, I have never really given film a proper chance. My only experiences were when I was little (my first camera ever was a Yashica FX200) and during the Cinema School I attended in France where we learned to shoot and develop black and white film. I never felt a creative curiosity to continue with it and build a project around it, mainly because I always found digital more convenient for the work I do. But now that I am currently writing this introduction, I realise I should fill in this gap in my knowledge, as I believe that every new experience is precious for any photographer.
The Rebecca Lily Pro Set II is a series of presets for Adobe Lightroom and Adobe Photoshop that allows you to apply several different looks to your photograph without spending hours trying to create them manually. They can be applied to almost any kind of picture such as wedding, landscapes or portrait. The presets are designed for professionals and the results are very advanced. You soon realise this after seeing how the presets are able to develop the RAW files very accurately, especially the Fuji RAF files, with regards to light and colour.
N.B.: I mainly use examples from Fuji X cameras in this article but keep in mind that the presets can be applied to any RAW file, regardless of the model or the manufacturer.
X-Trans Sensor and Pro 400H: the Pastel Presets
There are different categories inside the set, but one in particular really stands out amongst the rest: the “pastel” set is an emulation of the Fuji Pro 400H which is well-known for its pastel-like colours. Rebecca designed the preset specifically for the Fuji X-Trans sensor’s RAW files, which have a colour reproduction close to that of film. Based on her experience as a medium format and 35mm shooter, she recreated that look for brightly-lit pictures, never forgetting the importance of good contrast and strong shadows. The colours are soft and slightly de-saturated.
I asked Rebecca about her process in developing those presets. Since she has a lot of experience with film and Pro 400H (her favourite) here is what she stated:
Having shot both Canon and Nikon DSLR’s before I acquired the X-E1, I was thrilled to find a camera that had natural, film-like, aesthetic colors. The colors from Fuji X digital cameras are remarkably similar to Fujifilm. This makes them much easier to work with in post processing. The presets from Pro Set II were designed to complement this unique base palette.
Also, a lot of photographers are seeking for this “Fuji pastel” look that has been made popular especially by top wedding photographers like Jose Villa. Jose, and many photographers that follow in his footsteps, achieve this look by overexposing Fuji Pro 400H film by 2-3 stops and then having it processed at Richard Photo Lab or another reputable pro lab. The lab then applies a specific color profile and density correction during scanning to achieve those recognizable pastel tones.
The dynamic range of the X-trans sensor cameras, together with their base color palette that matches Fuji Pro 400H, makes them perfect for emulating the pastel look of overexposed film.
Rebecca also explains how to best set your camera during shooting to achieve the closest possible result to digital.
If you follow the aforementioned “Jose Villa formula” and translate that for digital, you can shoot a Fuji X camera for the base film colors, overexpose a bit to push the tonal range up (which works great with Fuji because of the DR), and then apply the proper post process afterwards. Following this formula can get you very close to emulating these film pastel results in digital.
The pastel presets from Pro Set II were designed to be a sort of “color profile” similar to what you might see a pro photo lab apply during film scanning. In particular, the Honeycomb preset gets the colors from my X-E1 almost identical to my pro film scans from my Contax 645.
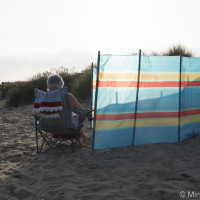
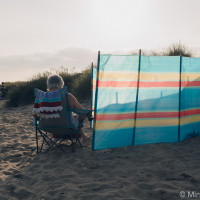
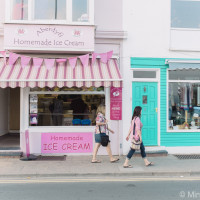
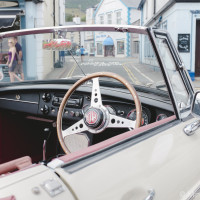
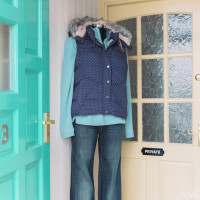
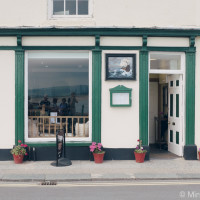
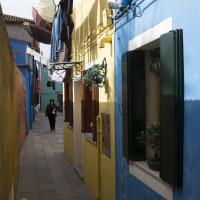
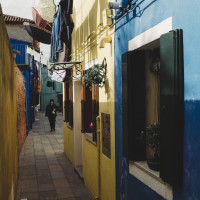
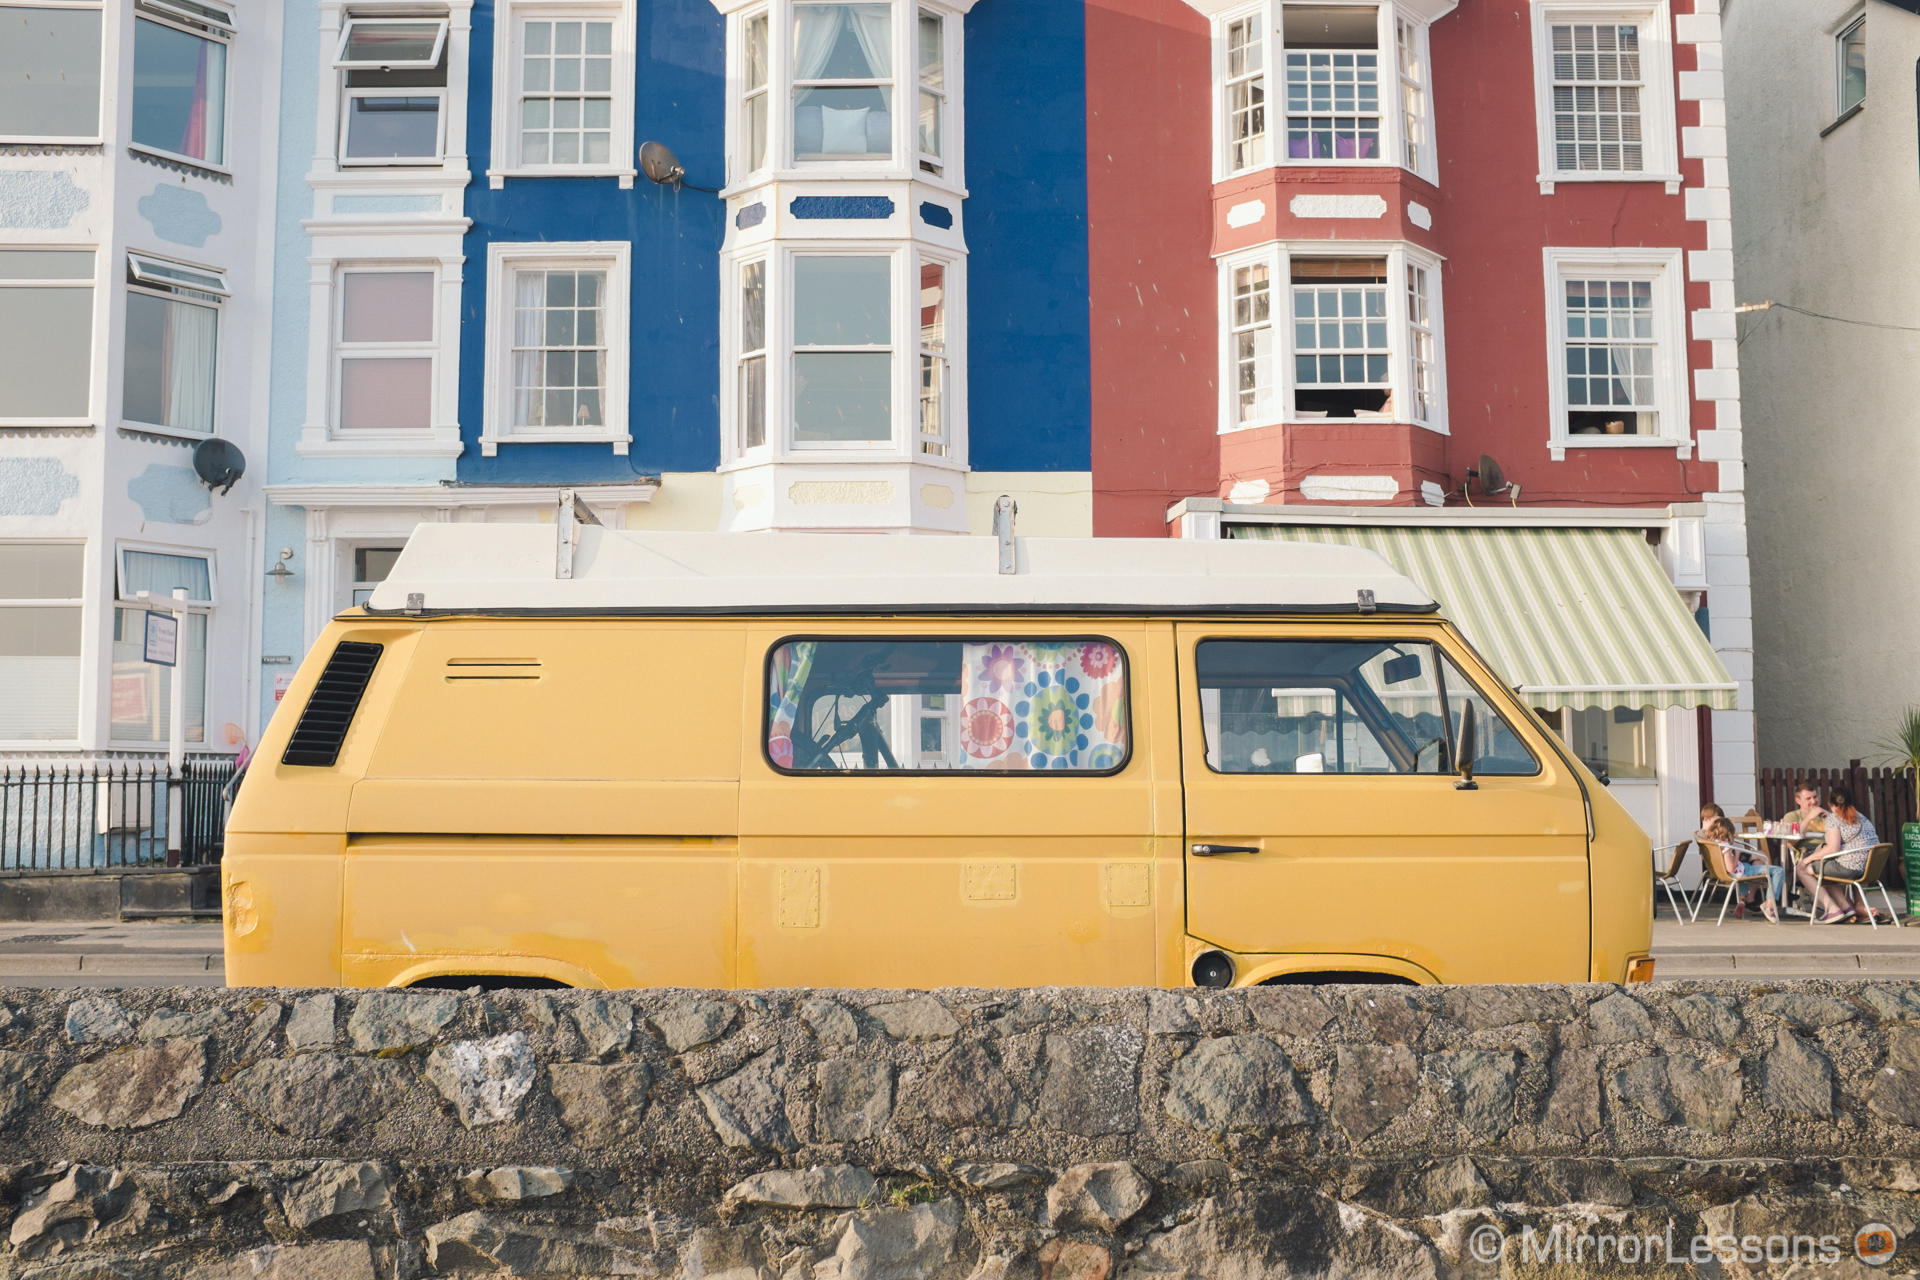
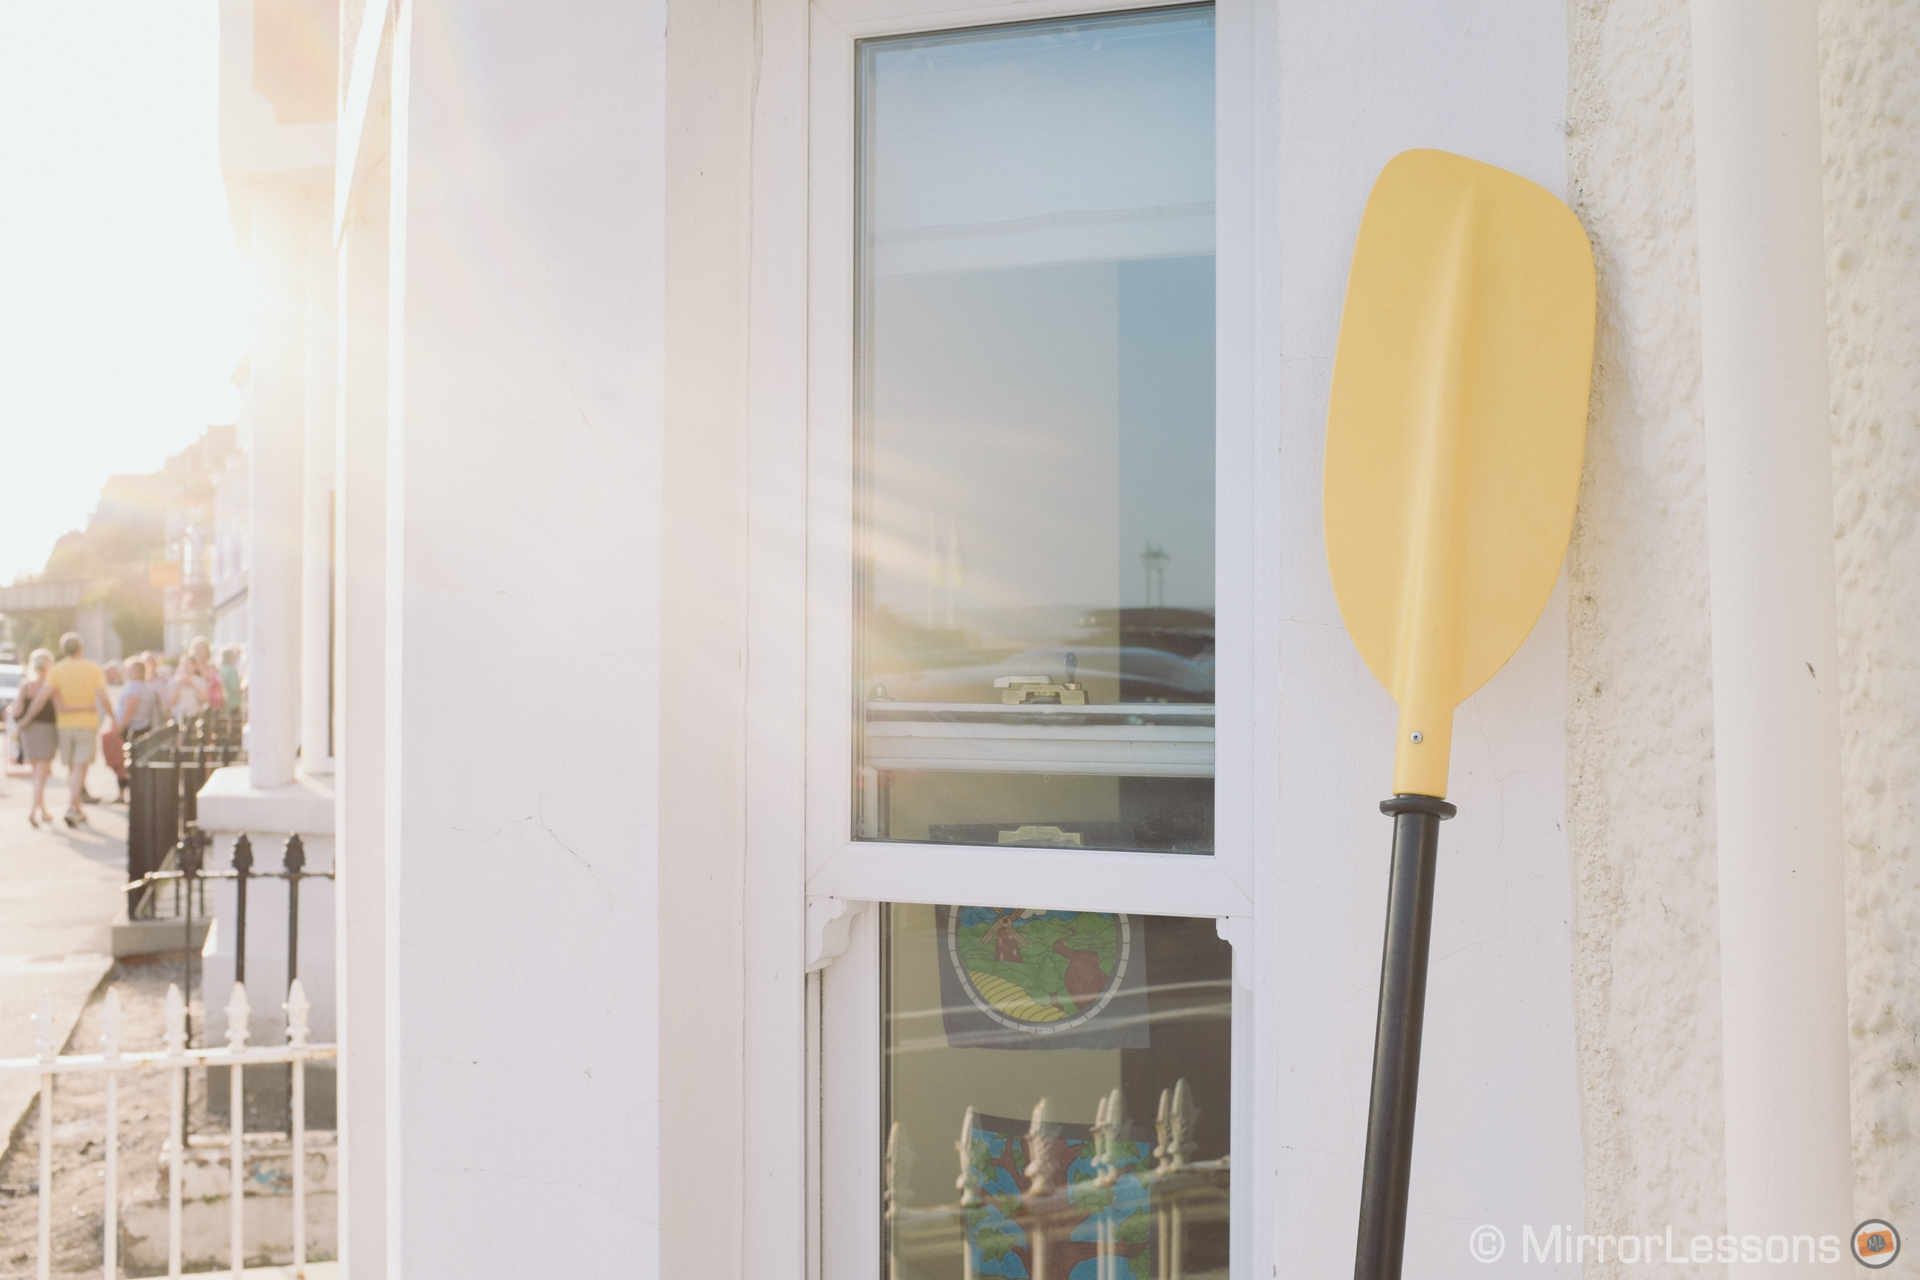
Following Rebecca’s formula, I spent a full day taking pictures in the small seaside town of Aberdovey (Mid Wales) where you can find a lot of coloured backgrounds and elements. I overexposed my X100s shots by 2/3 or 1 stop and applied the preset in Lightroom 5. You can adjust white balance and exposure before applying the preset as it won’t reset them.
Move your mouse over the picture to reveal the RL Pastel version. If you are using a tablet or smartphone, skip to the thumbnails below.
X100s – Adobe Standard (left) > Pastel: Wild Lavander III (right)
[twentytwenty]


[/twentytwenty]
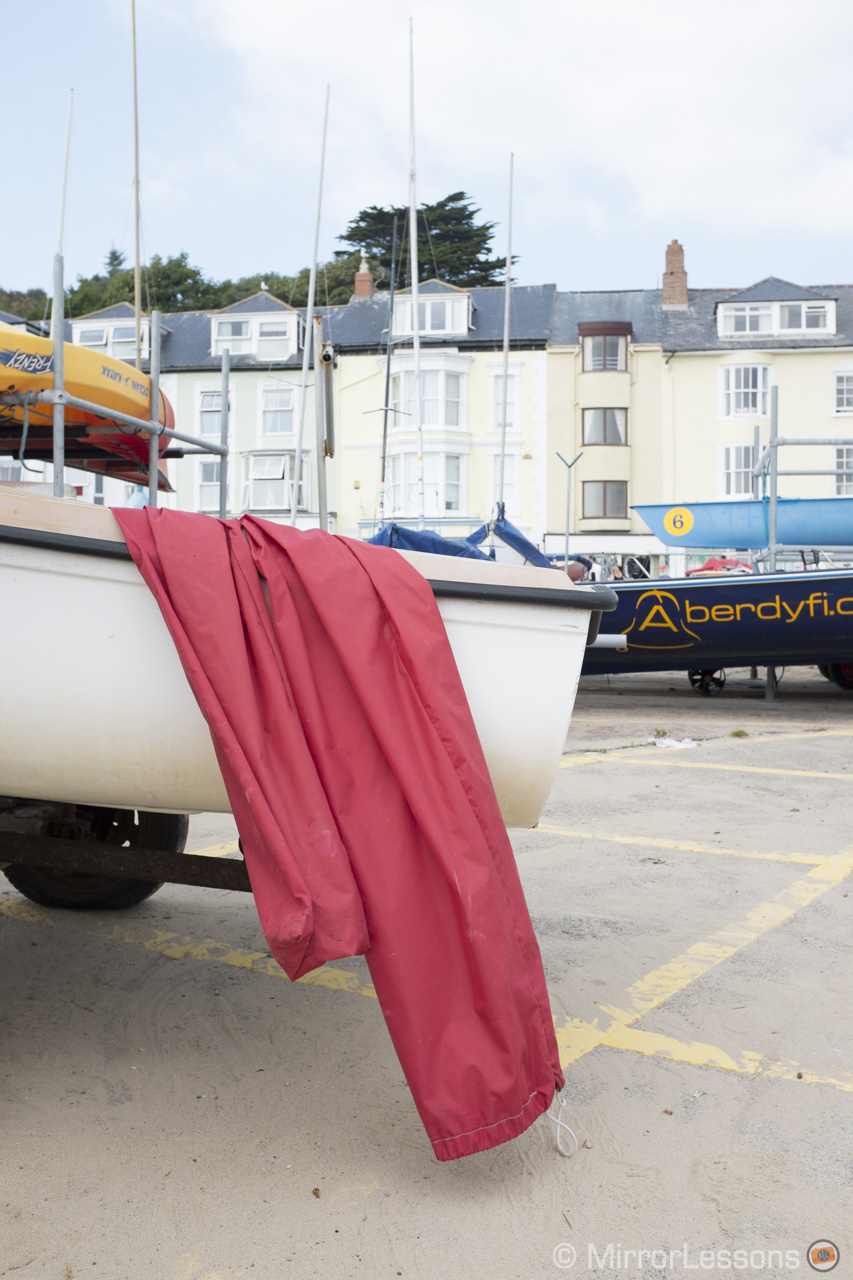
X100s – Adobe Standard (left) > Pastel: Songbird III (right)
[twentytwenty]

[/twentytwenty]
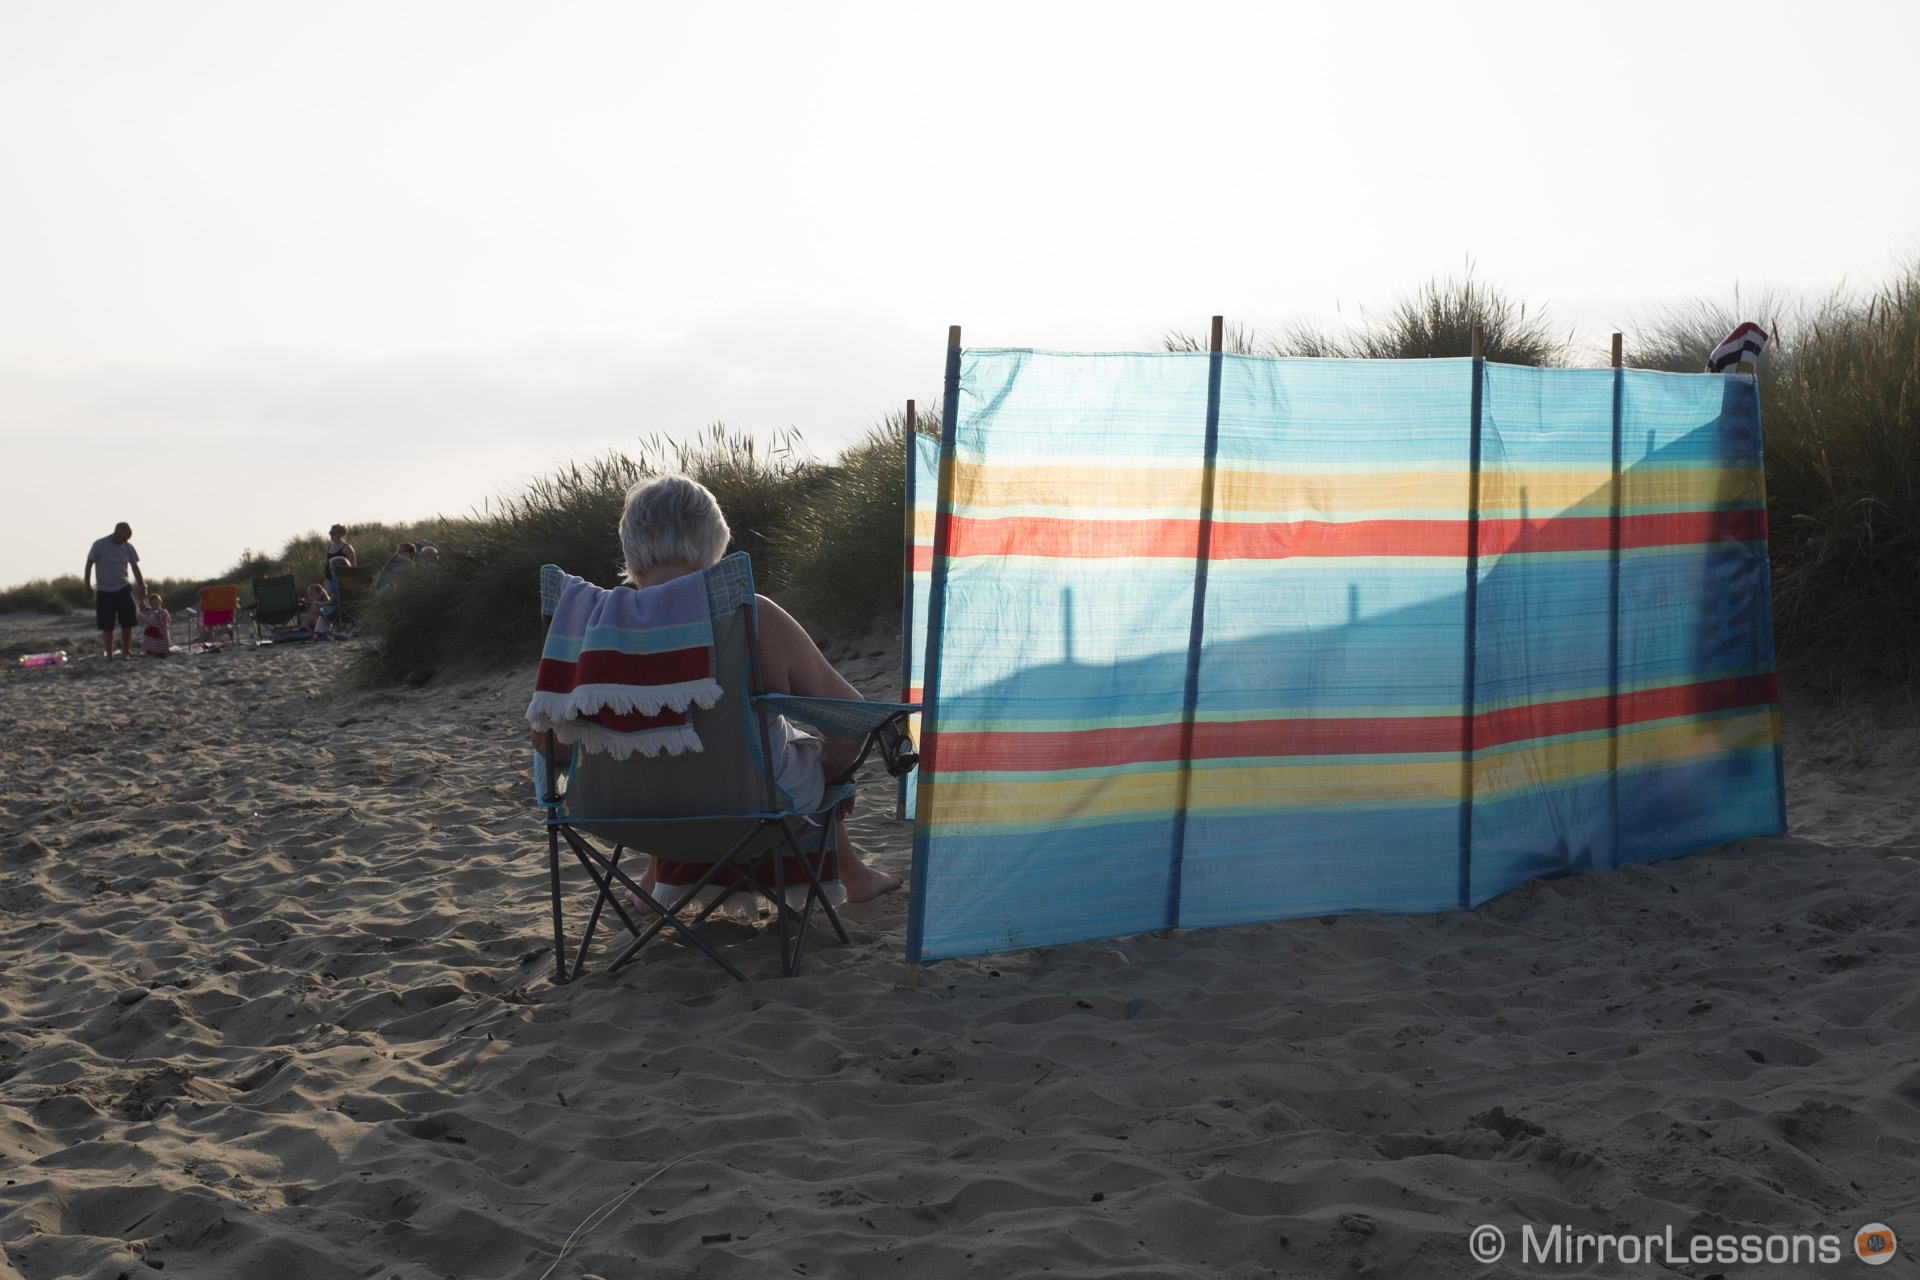
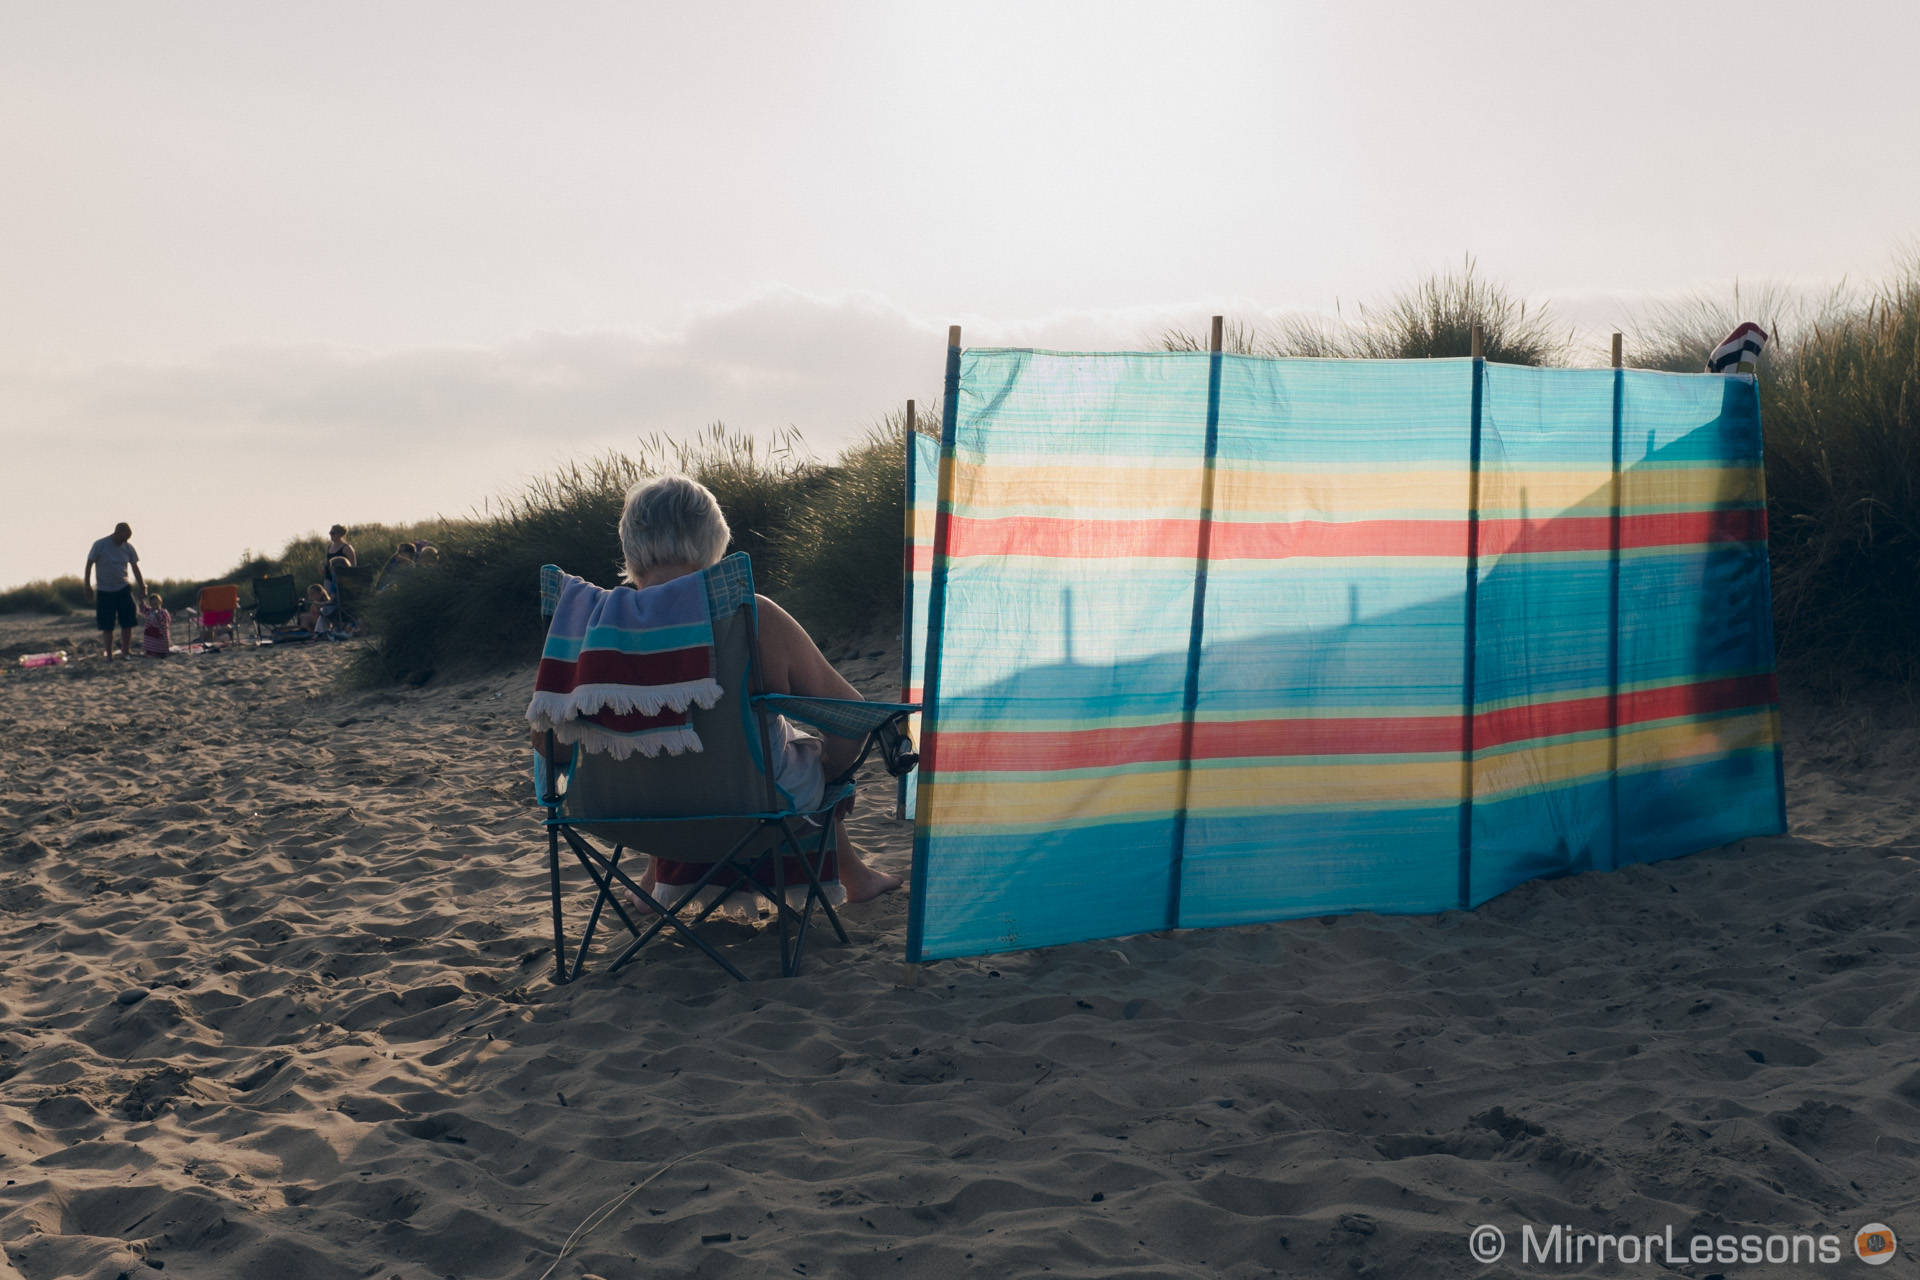
X100s – Adobe Standard (left) > Pastel: Songbird I (right)
[twentytwenty]
[/twentytwenty]
I really like the results. The pictures definitely look less digital in terms of colour and you can see (especially in the last picture) how the preset uses all the dynamic range available in the image to preserve details in both shadows and highlights. The latter is perhaps the aspect that impressed me the most. These presets render the RAF files using all the data there is, and show how versatile the X-trans sensor files can be and what you can achieve with them. Fuji X cameras are very popular for having a unique sort of colour reproduction closer to that of film. Applying these presets only reconfirms the potential the sensor has.
Of course, once the preset is applied, you can adjust any setting you want. I rarely edited anything after the fact, with the exception of bringing back saturation (+5 or +10) for some shots I found too desaturated. But remember, the appreciation of colours is very subjective.
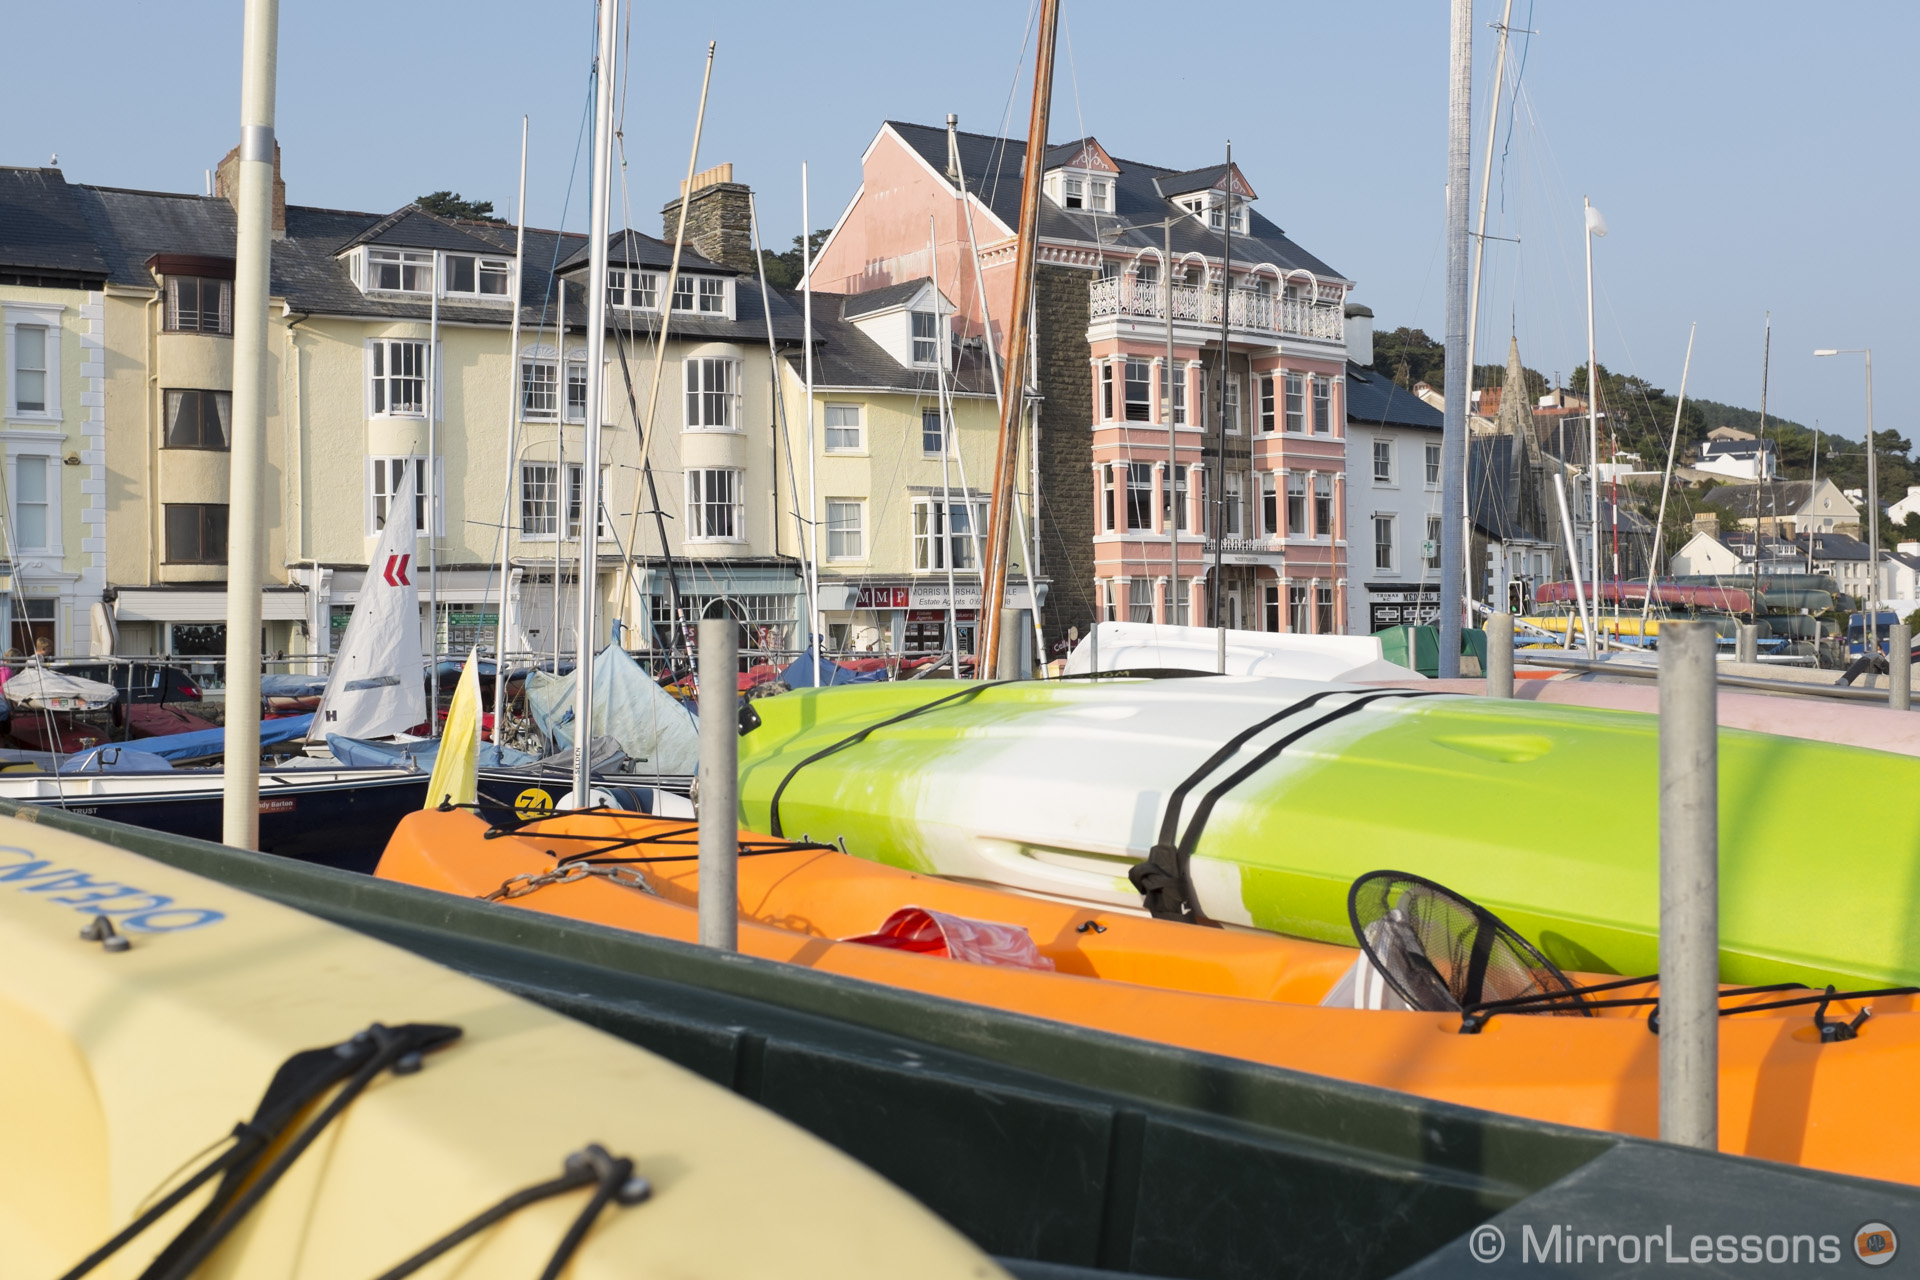
In most pictures I found that the colour accuracy was maintained very well, despite the difference in saturation and vibrance that the preset applies. However, be aware that some specific presets tend to drastically change the hue of some colours, like in the example below (pay attention to the orange and green canoe in the foreground).
X100s – Adobe Standard (left) > Honeycomb VI (right)
[twentytwenty]

[/twentytwenty]
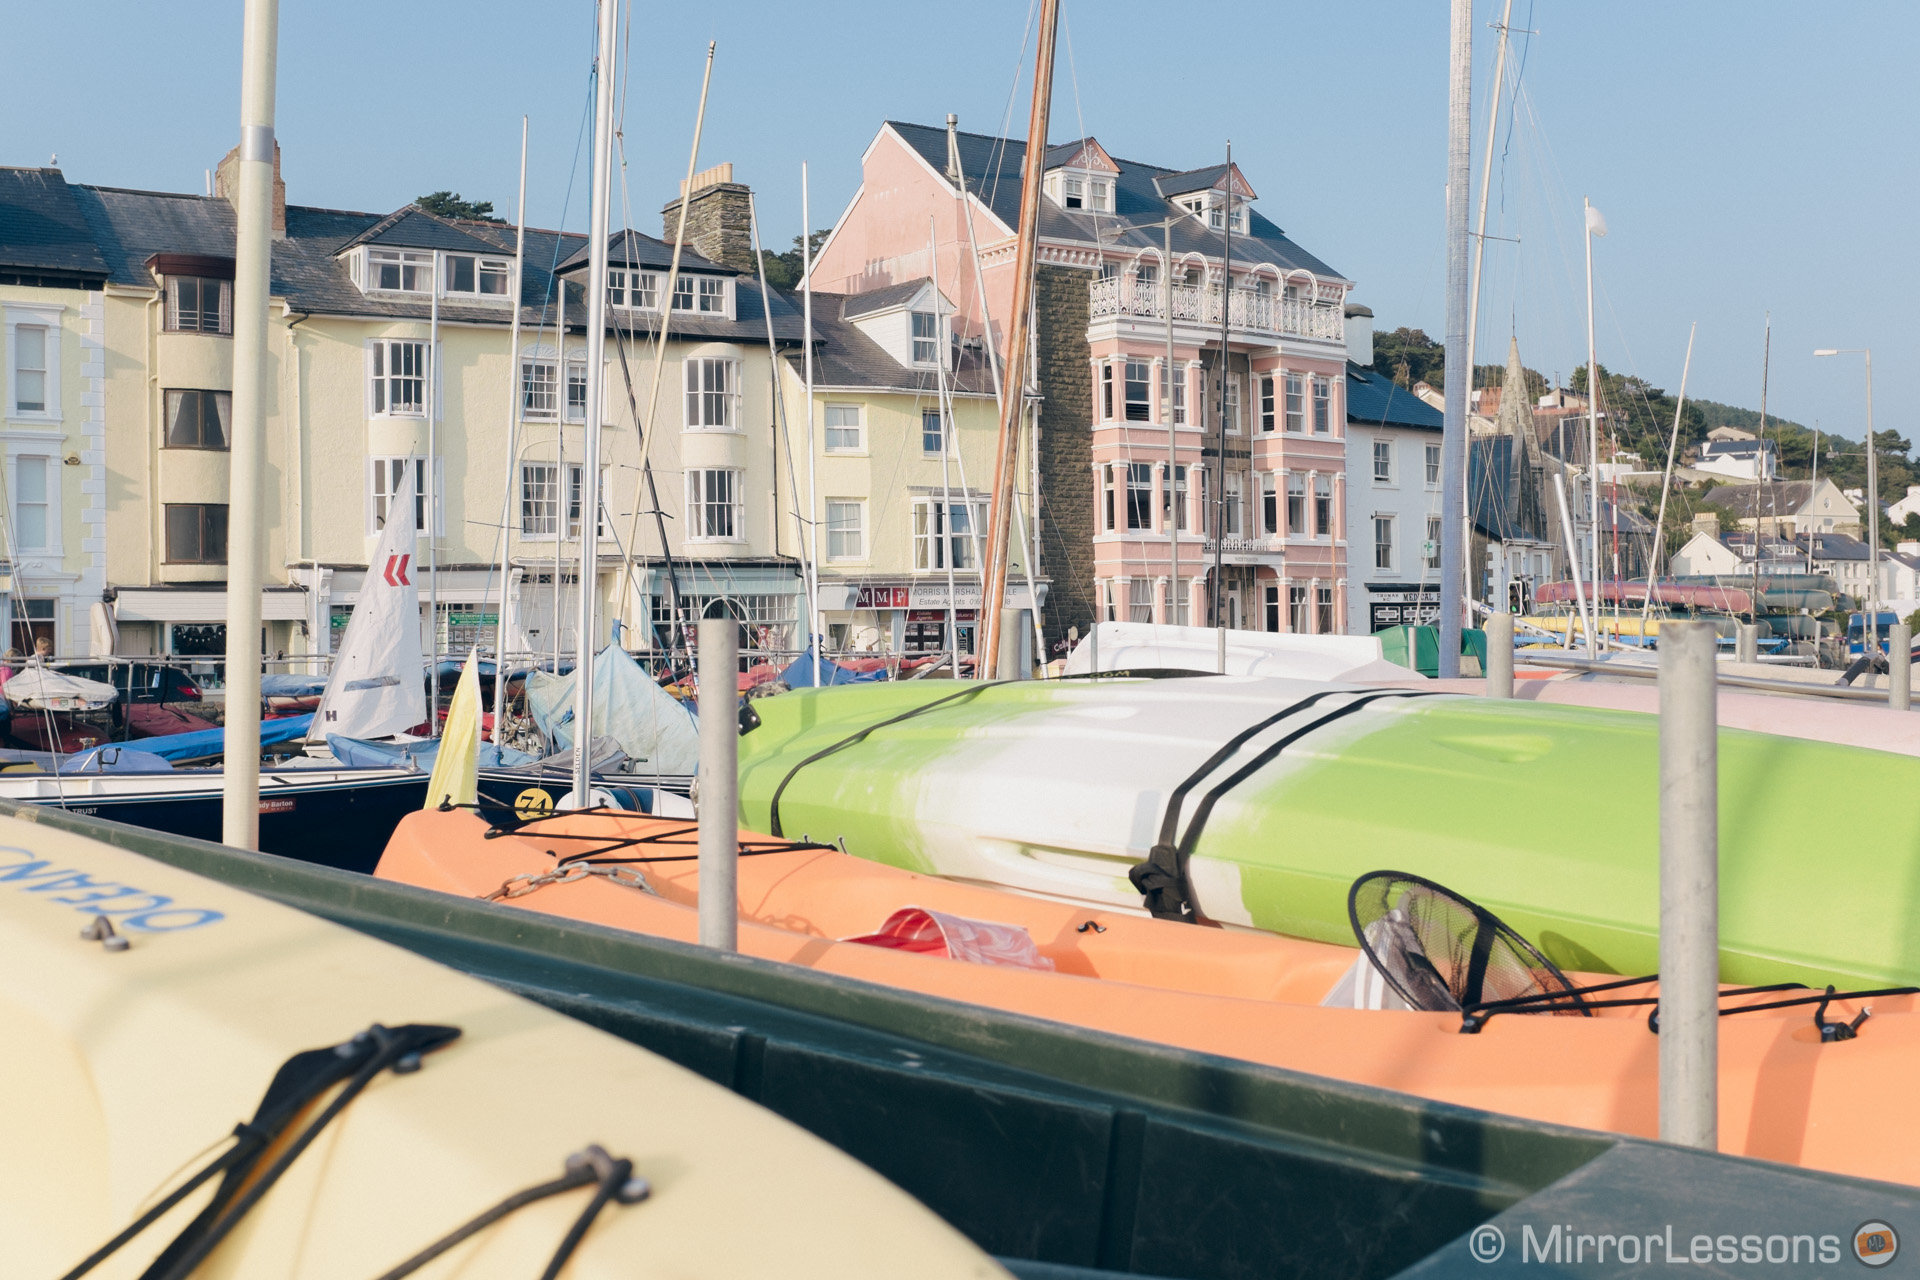
If you want better colour accuracy, be careful to choose the appropriate preset. For the example below, the Storybook presets worked best. Also, as I said, you can always edit a few settings after to achieve the perfect result.
X100s – Adobe Standard (left) > Pastel: Storybook I (right)
[twentytwenty]

[/twentytwenty]
There are five different pastel presets to pick from and each has from 3 to 7 different versions, so there is a lot of choice. My favourites so far are Honeycomb I, Storybook and Songbird.
The Pastel presets also works very well with skin tones and portraits.
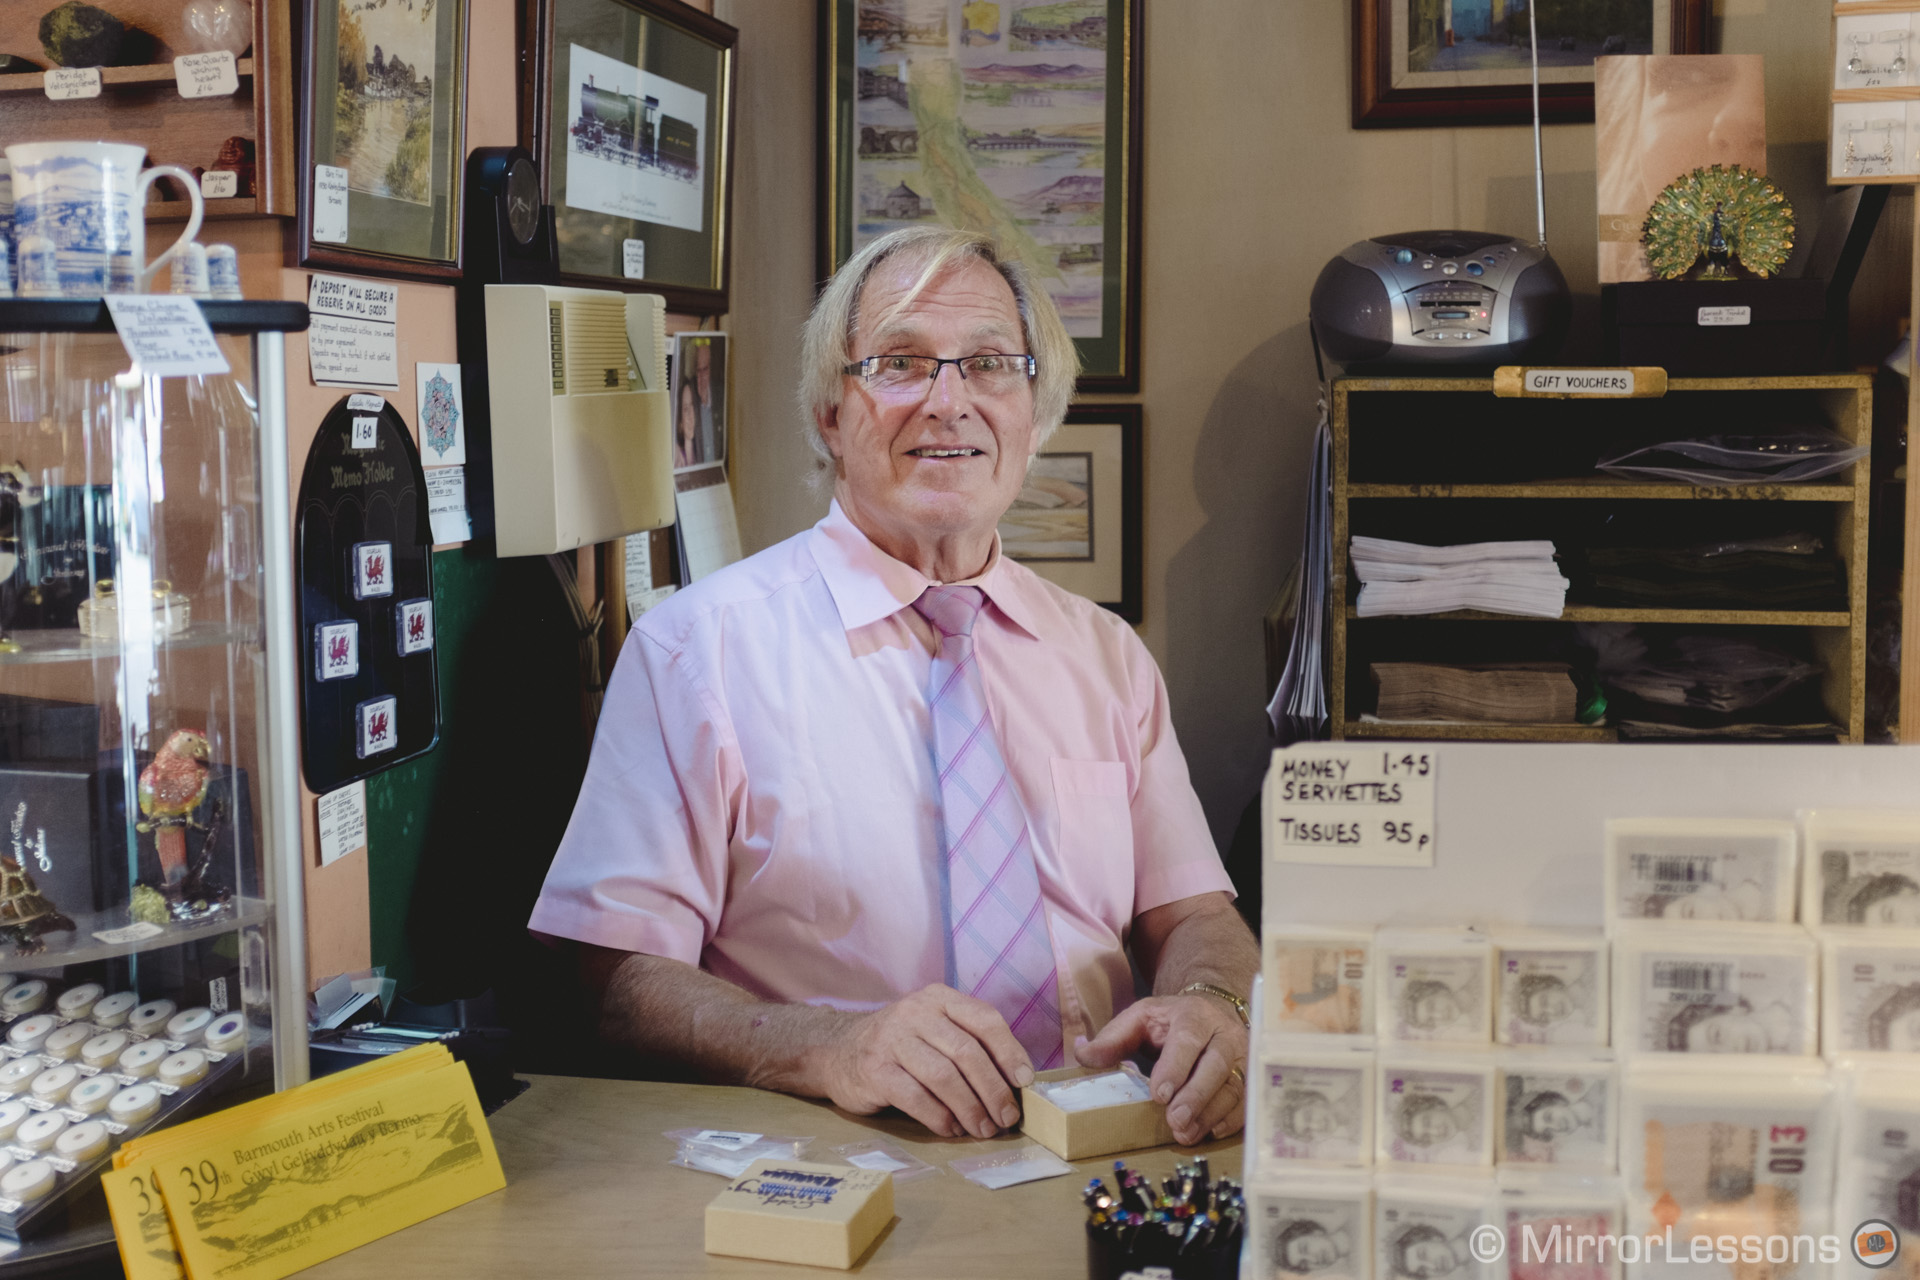
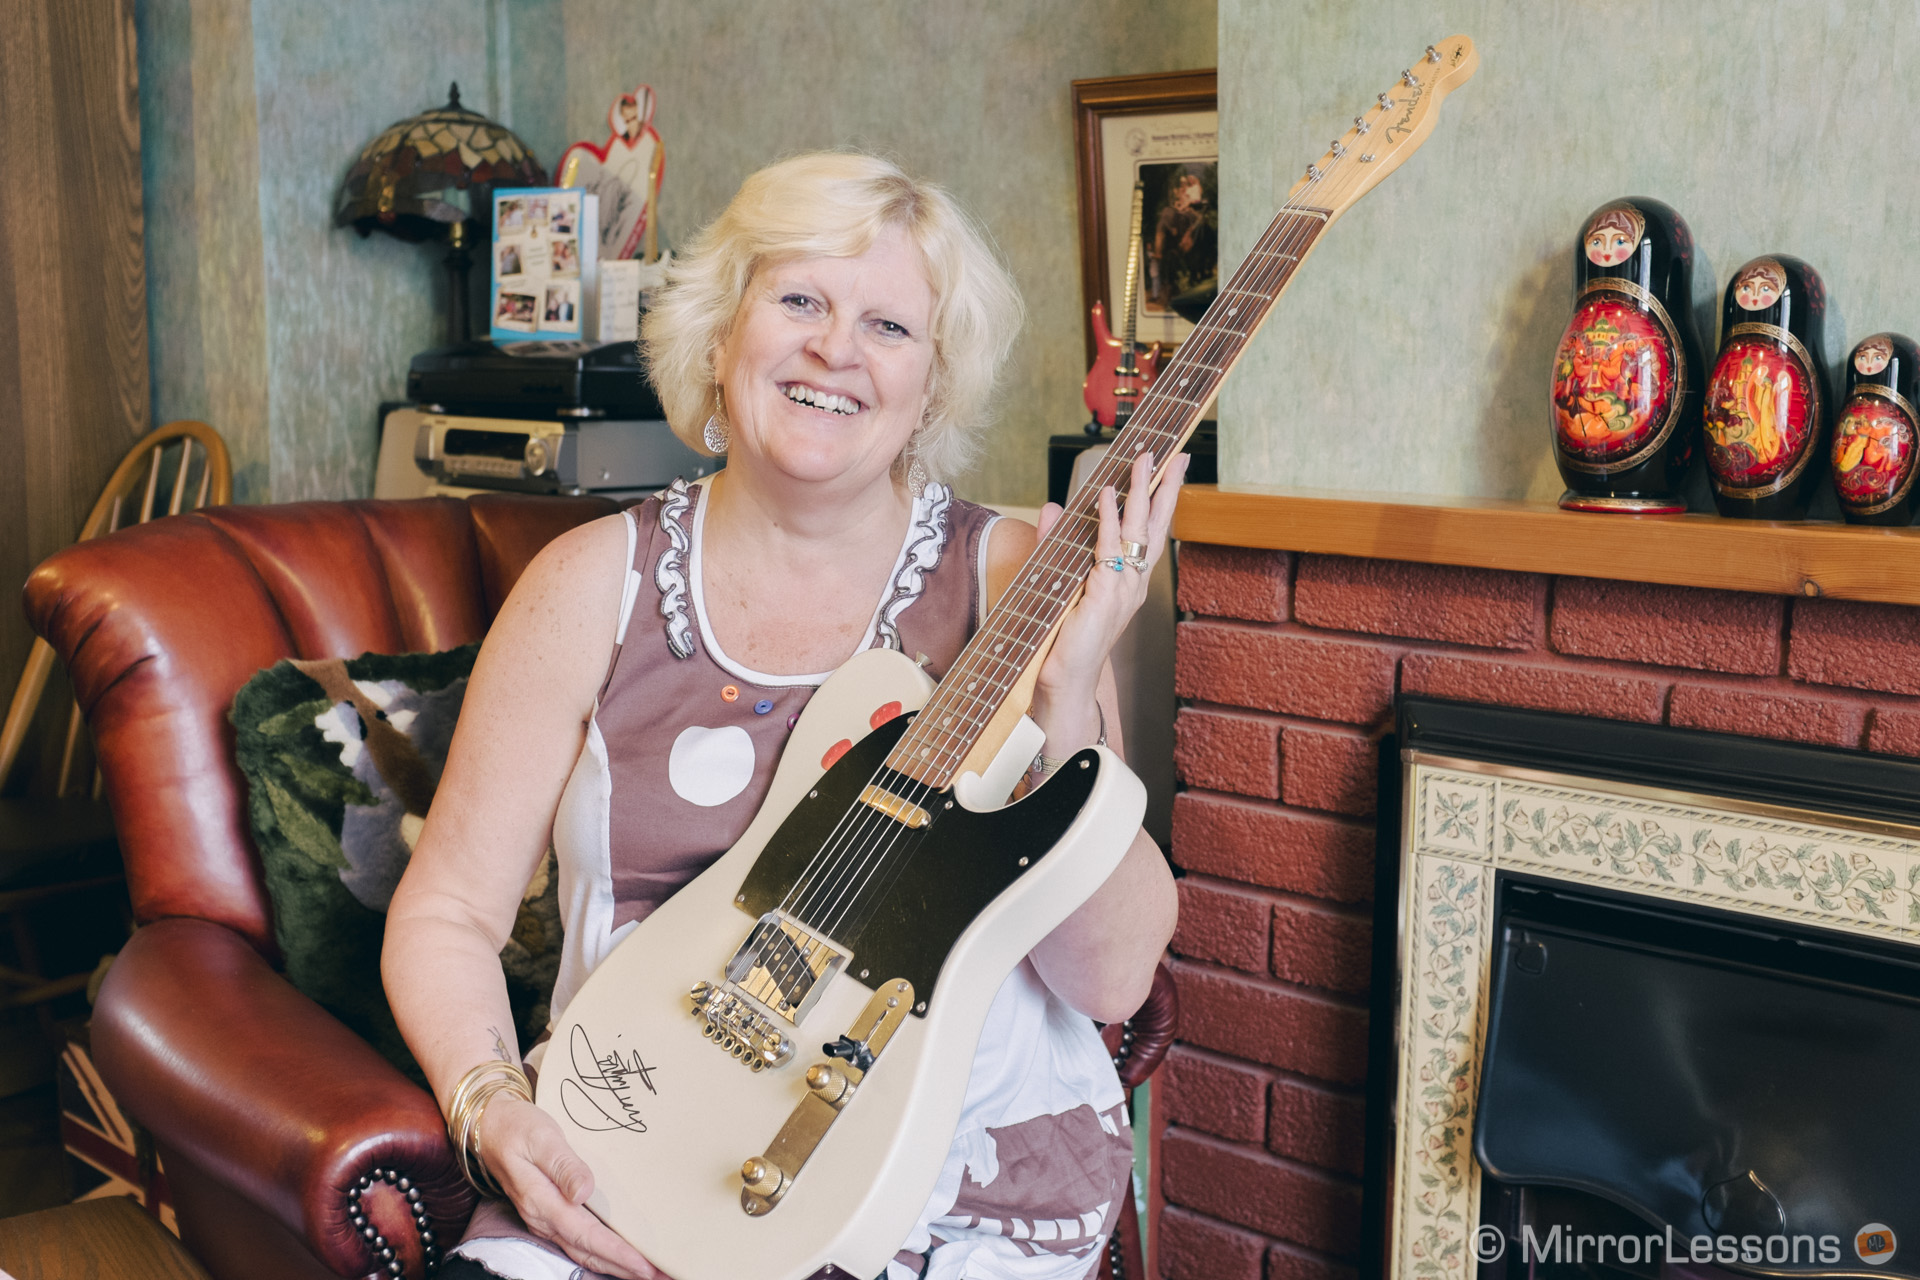
Below you can see other shots taken with the X100s.
There is also a very interesting comparison on Rebecca’s blog that directly pits samples from the Fujifilm X-E1 against similar samples from the Fujifilm Pro 400H. The results are impressively similar!
Black & White Presets
Talking about Fuji X cameras, I am a huge fan of the film simulation modes in both colour and black & white. The black & white JPGs out-of-camera are a reference in my opinion, as you can achieve very nice results with the right settings.
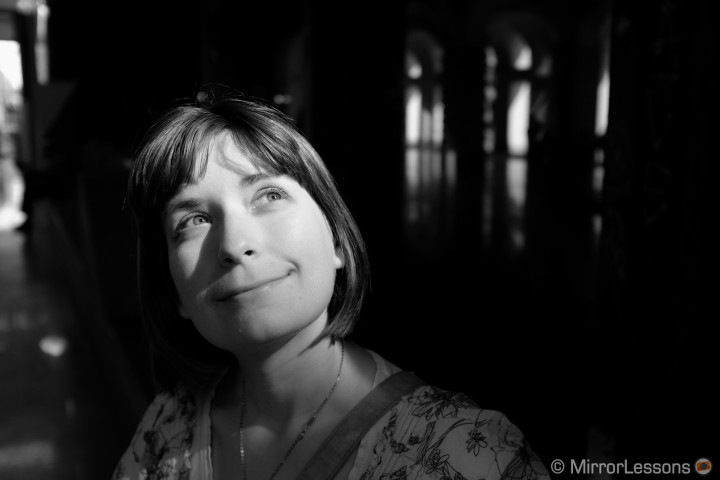
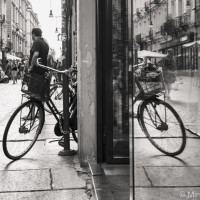
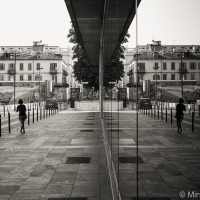
If you prefer to work with RAW files, however, the Rebecca Lily presets become a very valuable alternative that help you quickly give a great look to your B&W photographs. Of course they are very different from the film modes on-camera, but they render the images way better than your standard Lightroom presets.
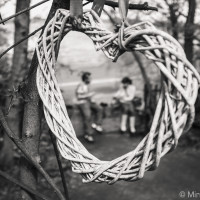
There are four subcategories in this preset. Dusk is my favourite, as it creates a very nice film vintage look. This is done by decreasing the contrast and smoothing the passage from highlights to darkened tones. As the name suggests, it works well for “blue-hour” photographs.
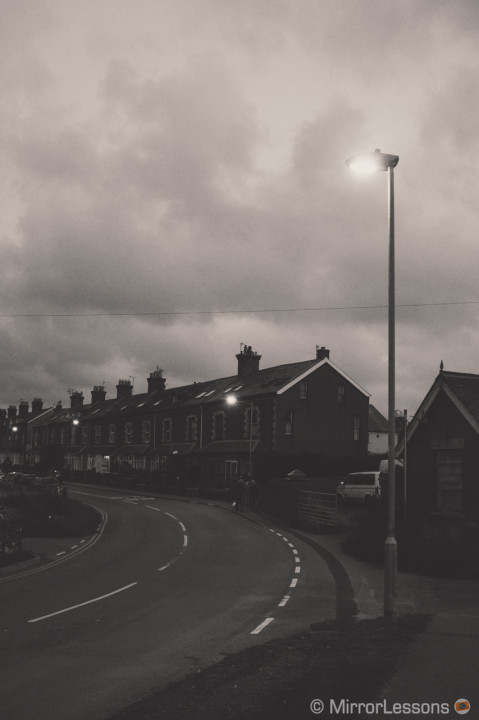
It is also the best preset in my opinion for portraits as the skin rendering is very pleasant.
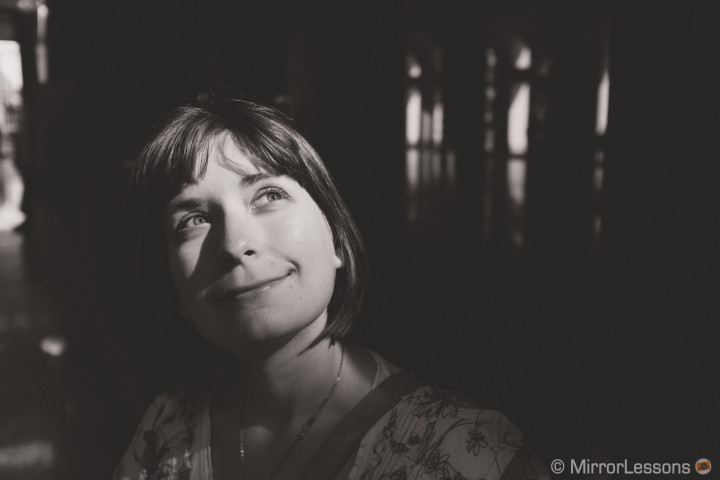
Ebony and Rosewood both add more contrast with only a slight variation between the two, and some vignetting. Rosewood is slightly warmer while the Ebony presets match the post-processing I often apply to my RAW files for B&W, where I add a reasonable contrast, keep as many details as possible in the shadows and increase clarity to give more micro contrast and punch to the image. The Ebony preset is also the one that uses as much of the dynamic range of the image as possible.
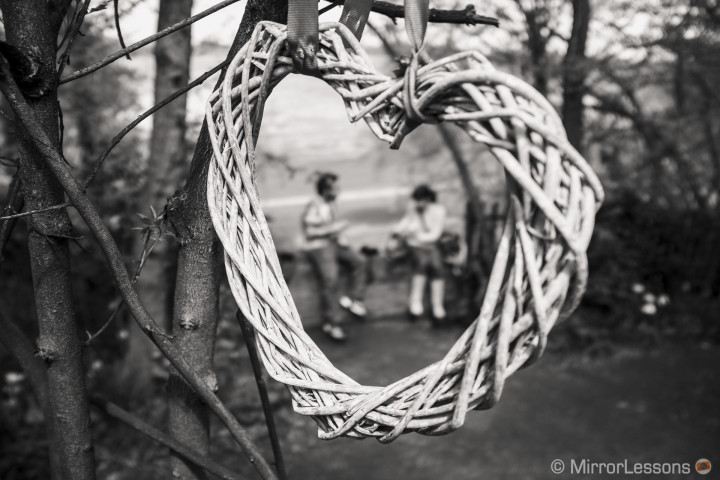
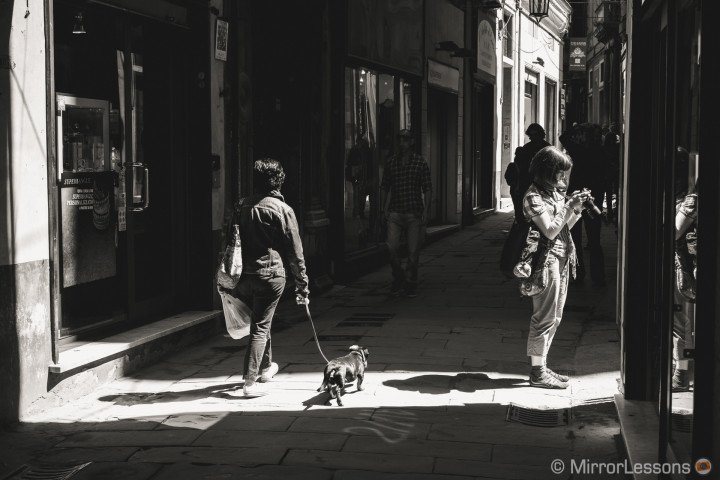
The last one, Lost Mountain, is the only one that doesn’t really appeal to me, not for the quality of the preset but for its flat old-age look. It also reduces the luminosity of the picture so it is better to use it with pictures that have lots of light or a backlight such as sunset pictures.
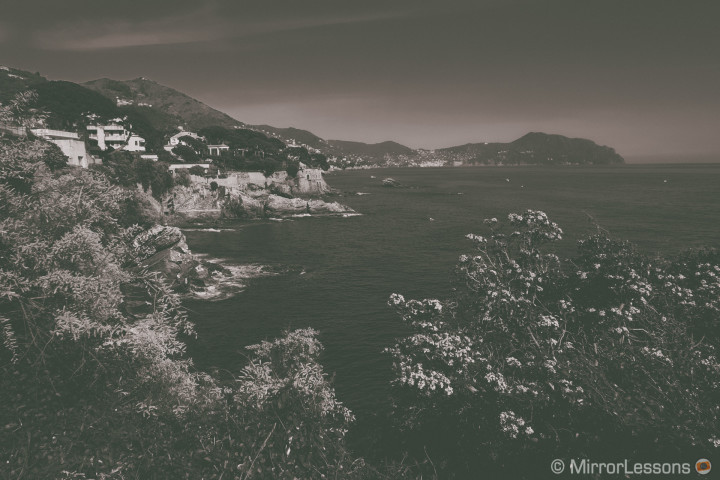
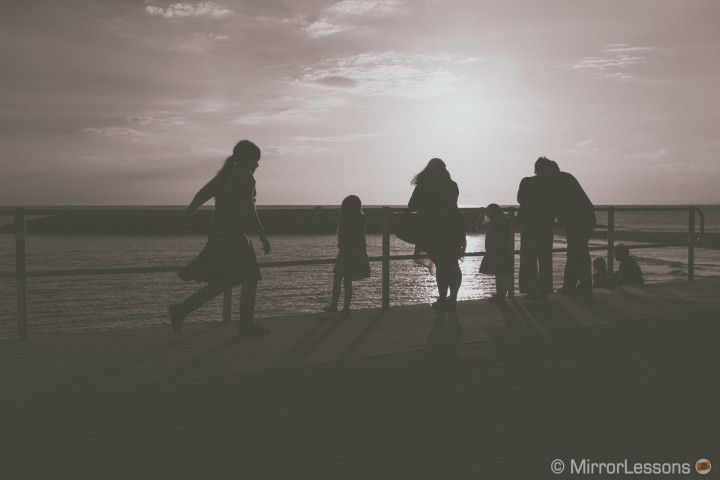
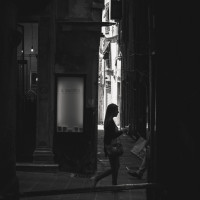
Below you can check out additional pictures with the B&W presets. It should be noted that the presets also work great with high ISO.
Color Effect
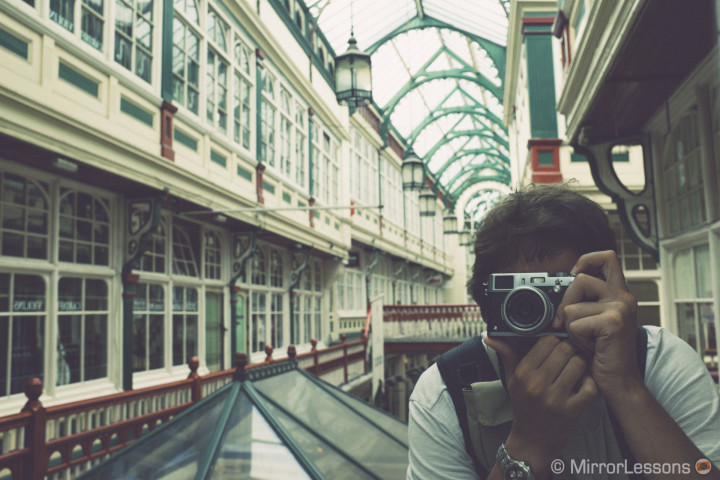
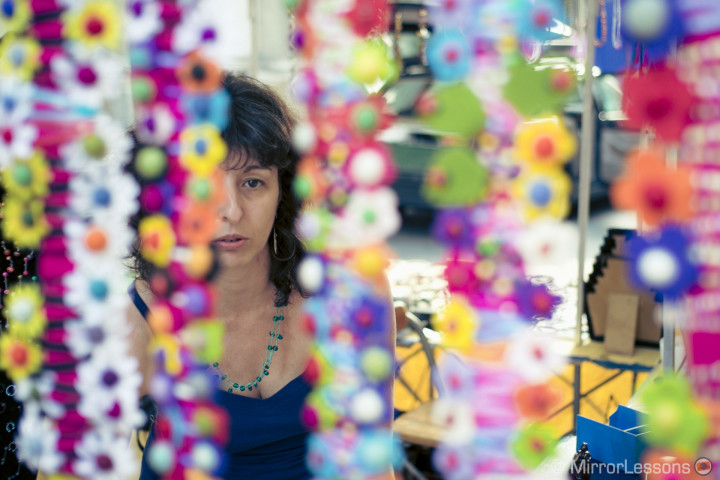
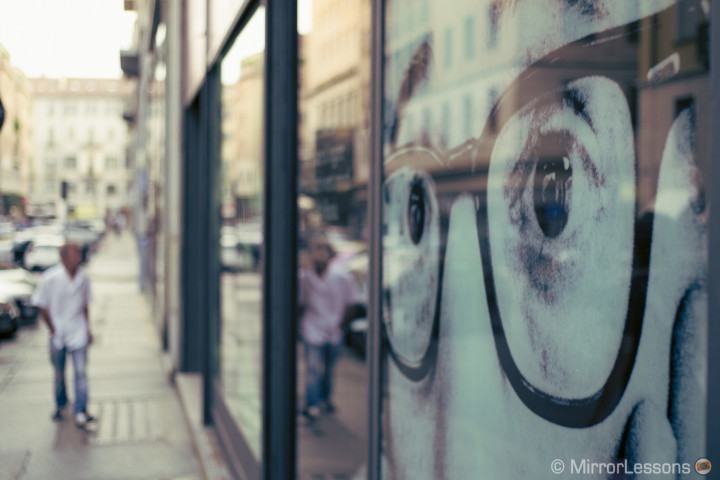
This set contains only two looks: sixties and water-colour. As the names suggest, the first takes you back in time to the 60s era while the second makes the picture brighter and adds more vibrant colours. They also add some pleasant grain to the image that works well with the Fuji X-Trans sensor.

Neutral Presets
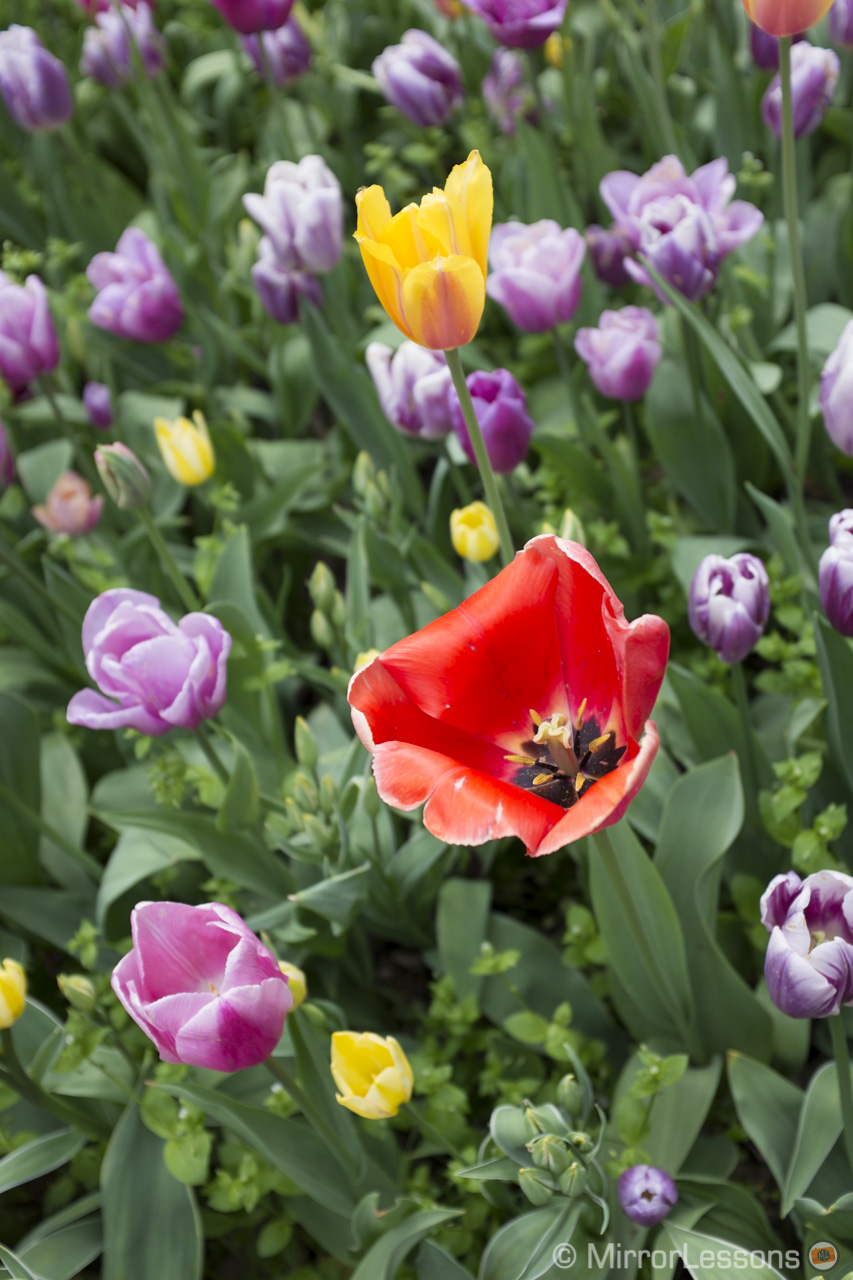
The Neutral presets will mostly enhance a particular colour or subtly increase the contrast and saturation of the image. The Cherry Blossom, Hidden Lake and Wintermint presets will enhance the green tones in your image or what Rebecca calls wintergreen. Cherry Blossom will also soften colours and give a more “creamy” look. Hidden Lake tends to slightly underexpose the image so it is better to use in a picture with lots of light or high contrast.
Move your mouse over the images to reveal the RL version. If you are reading this article on a tablet or smartphone, skip to the gallery below.
X100s – Adobe Standard (left) > Cherry Blossom II (right)
[twentytwenty]

[/twentytwenty]
X100s – Adobe Standard (left) > Hidden Lake (right)
[twentytwenty]


[/twentytwenty]
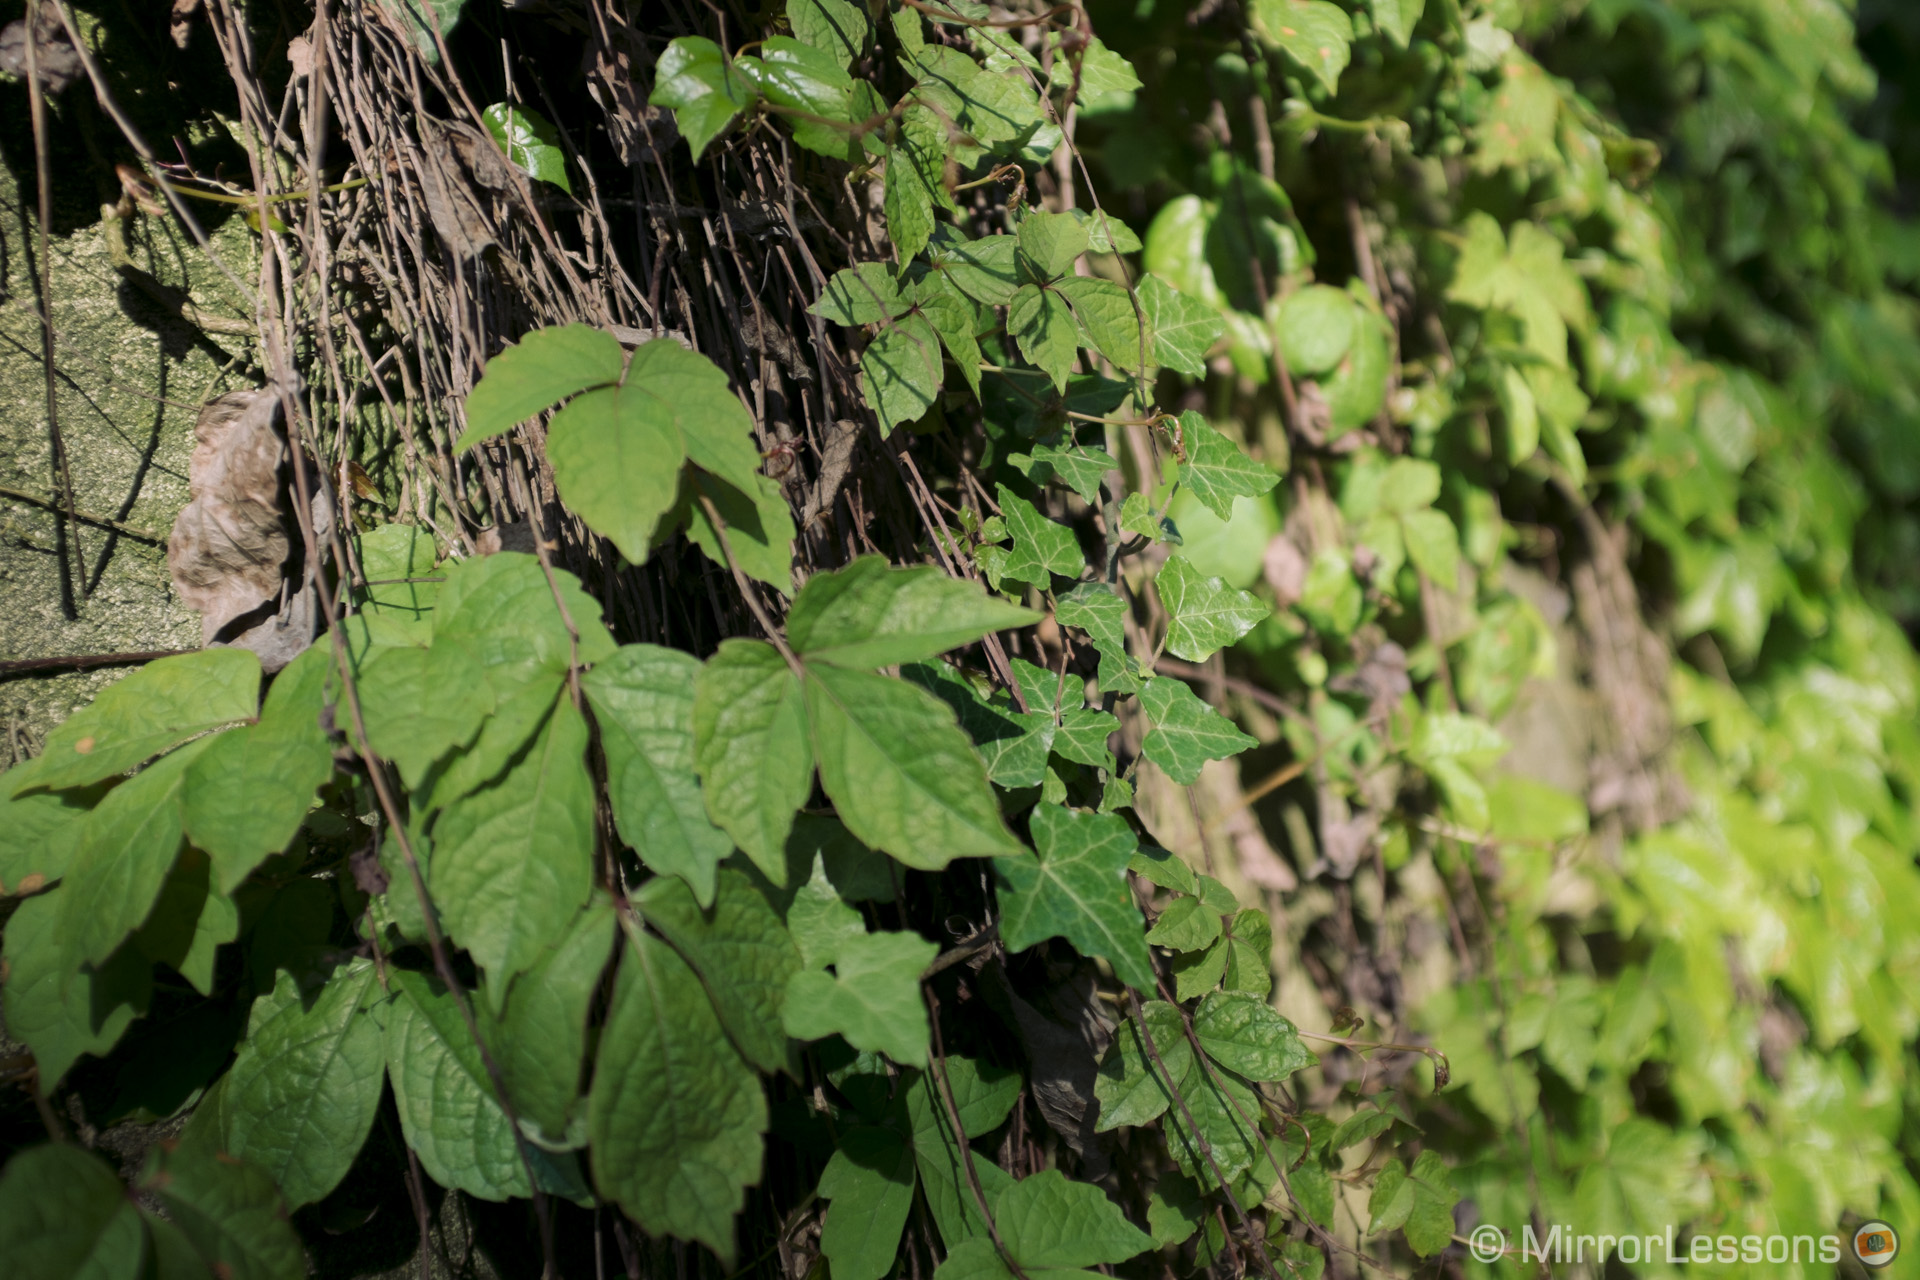
X100s – Adobe Standard (left) > Wintermint II (right)
[twentytwenty]

[/twentytwenty]
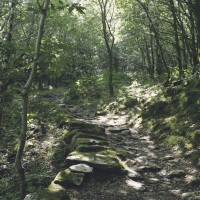
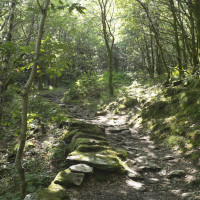
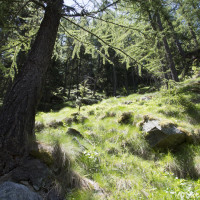
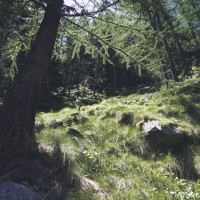
Similar to Wintermint is the Pine Forest preset which I find useful for digital photography.
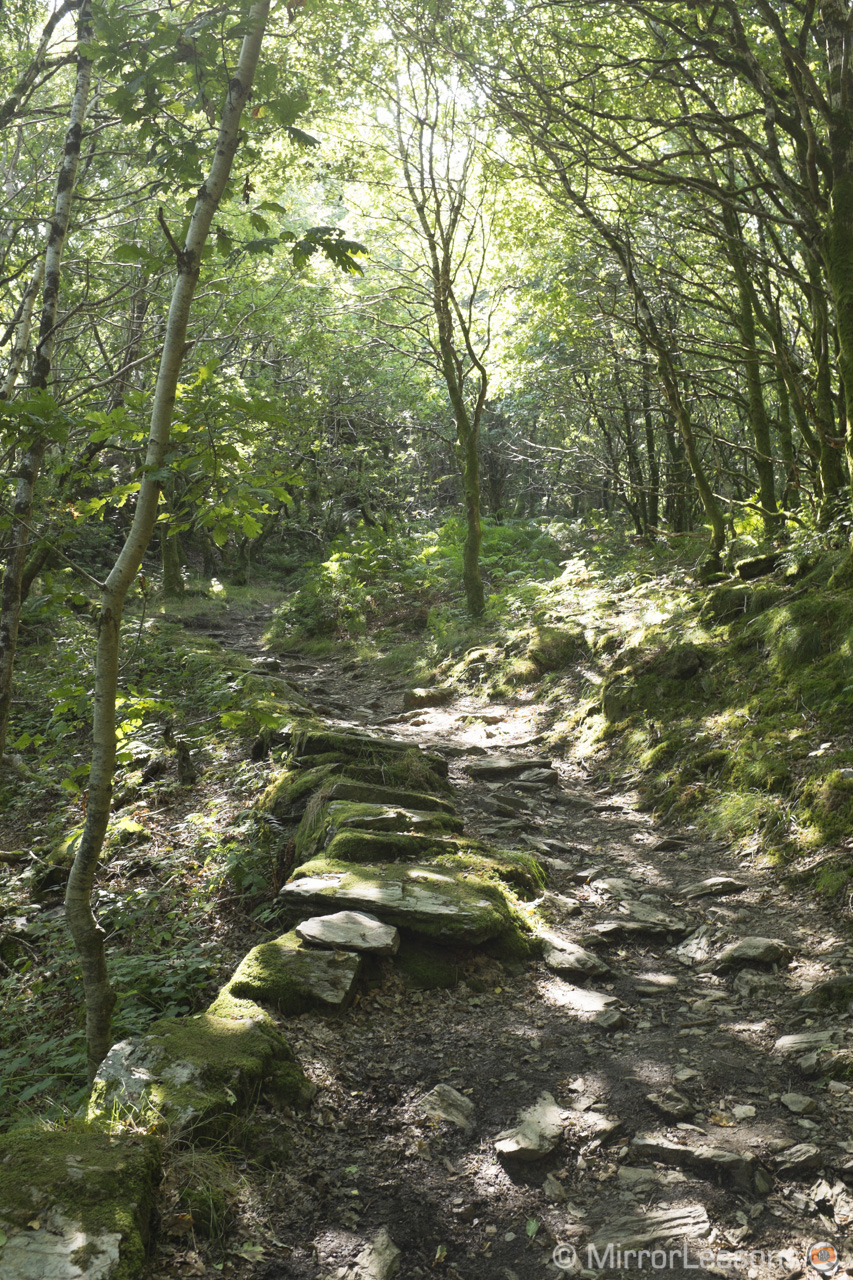
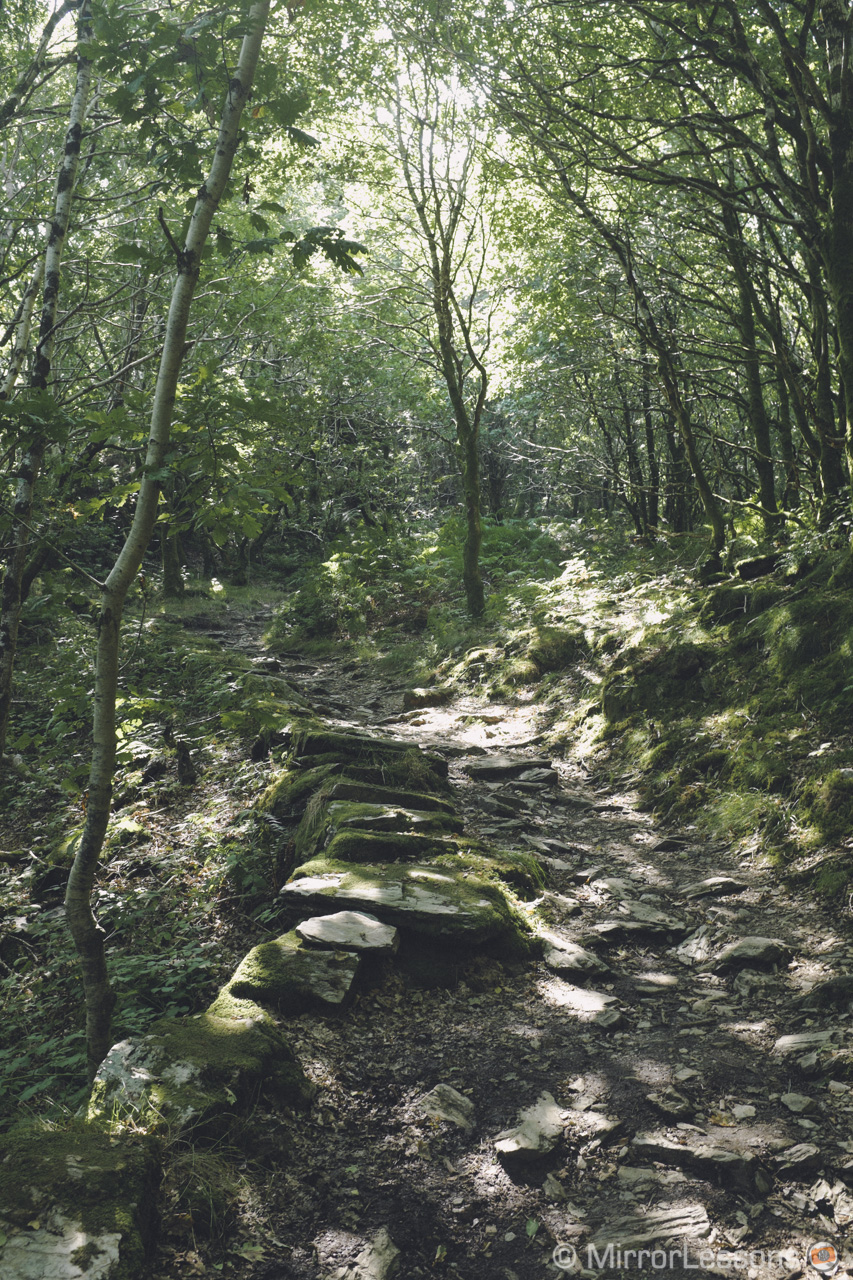
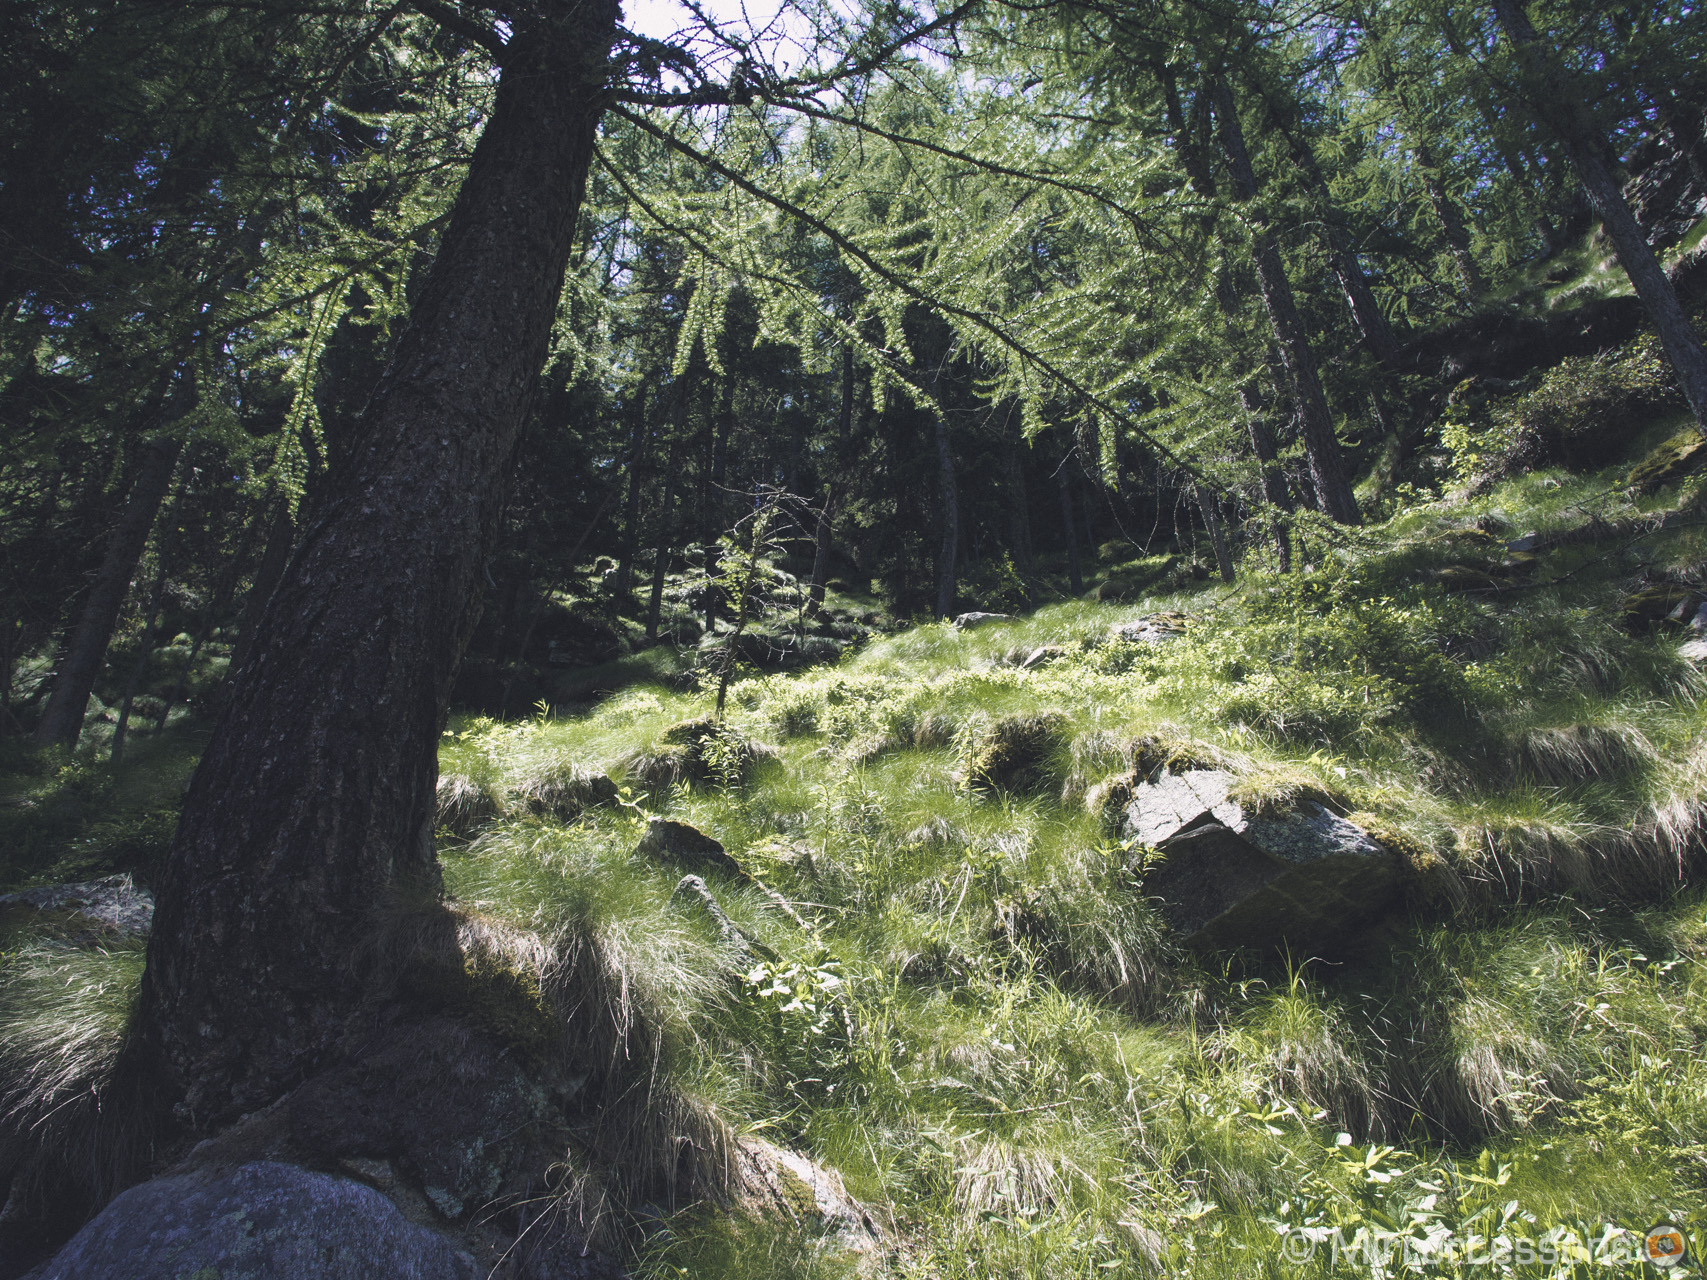
Usually digital produces a yellow-green colour instead of a proper green when photographing nature. This preset is built to restore a rich dark green to your photograph while preserving true yellow if it is present. The preset’s look is a bit too dark for general use, but you can take inspiration from it to build a customised preset that you could apply to most photographs. It works very well on any kind of digital RAW. I actually would use it more for other cameras than my Fuji X as I really love the green rendition of the X-Trans sensor.
Move your mouse over the images to reveal the RL version. If you are reading this article on a tablet or smartphone, skip to the gallery below.
X100s – Adobe Standard (left) > Pine Forest II (right)
[twentytwenty]
[/twentytwenty]
E-M5 – Adobe Standard (left) > Pine Forest I (right)
[twentytwenty]

[/twentytwenty]
The Neutral set is the richest of all, with up to 9 different presets with three variations each. Some of these presets (which I haven’t spoken about here) will tend to increase contrast and saturation with warmer colours, which is one of the best assets of this set.
Rebecca Lily’s presets will enhance certain elements of your photo or give your image a distinctive look without pushing it too far. All the settings applied are always very subtle.
In this category, my favourite is what Rebecca calls Raincloud. It slightly fades colours and opens shadows, giving a kind of subtle vintage film-look. I personally think it is one of the best presets – you could easily build a project with a series of photographs and post-process it around this preset.
X-Pro1 – Adobe Standard (left) > Raincloud II (right)
[twentytwenty]


[/twentytwenty]
X-Pro1 – Adobe Standard (left) > Raincloud I (right)
[twentytwenty]


[/twentytwenty]
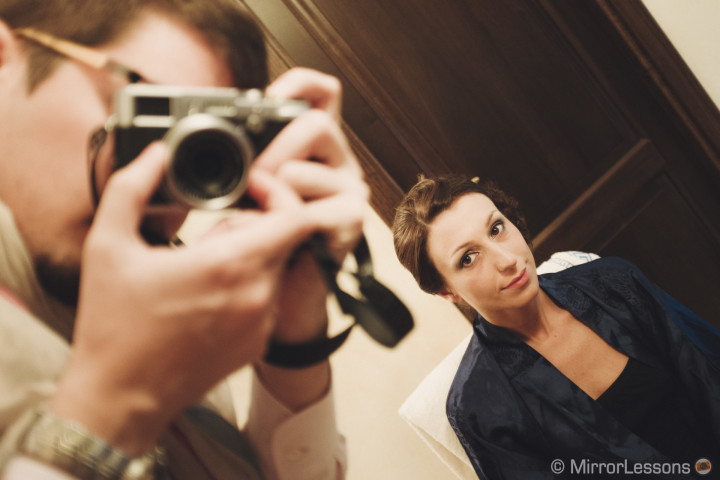
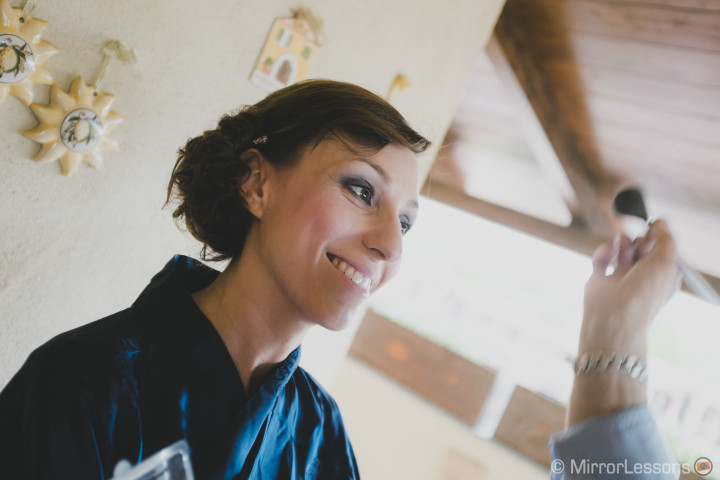
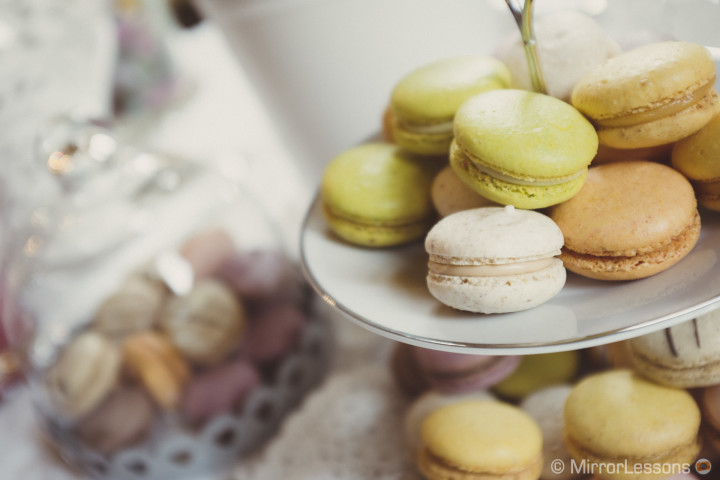
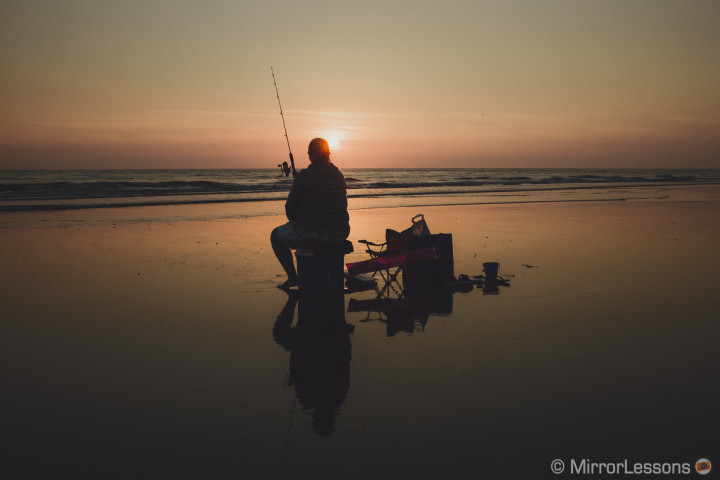
Earthy Presets
The last set adds a vintage/cinematic look with warm colours. It is a great set and again, uses the available dynamic range of the images to the maximum.
Conclusion
The Rebecca Lily Pro Set II has been designed by a long-time photographer, something you can really perceive as you skim though the large number of presets that come in the package.
Rebecca’s love for shooting film shines through in almost every preset she builds.
Overall, I am impressed by how each preset manages to process highlights and dynamic range. This is where you understand why her experience with film has helped her, as highlights are usually a weak point in digital photography.
Most of the presets will tend to slightly darken the image, so if you intend to use them in your workflow, my advice is to moderately overexpose your photograph, especially if you are using a Fuji X camera with X-Trans sensor technology.
Some of these presets also work well with skin tones, another sensitive point in digital photography.
The package costs 119€, so they aren’t cheap. I would also say they aren’t for everyone. The set that really stands out, and is worth the price of the entire package alone is the Pastel category, built with a specific kind of film (Fuji Pro 400H) and a specific digital sensor in mind (Fuji X-Trans). This is the preset that really demonstrates Rebecca’s vision and her favourite colour palette.
In a way, using this set is like receiving a part of a photographer’s artistic vision.
And if you don’t think the Pastel presets are enough to justify the price, just have a second look at all the other categories available and you might change your mind.
My final piece of advice is to always think about the look you want to achieve with the presets later on in Lightroom while you are out shooting. These presets aren’t the basic vintage/retro presets you’ll find elsewhere, so some mental planning is necessary before you begin your shoot. I’m sure you will enjoy the results much more if you compose your image and choose the balance of colour and light according to the preset you wish to apply after.
You can check out more examples and purchase the set on Rebecca’s website.
