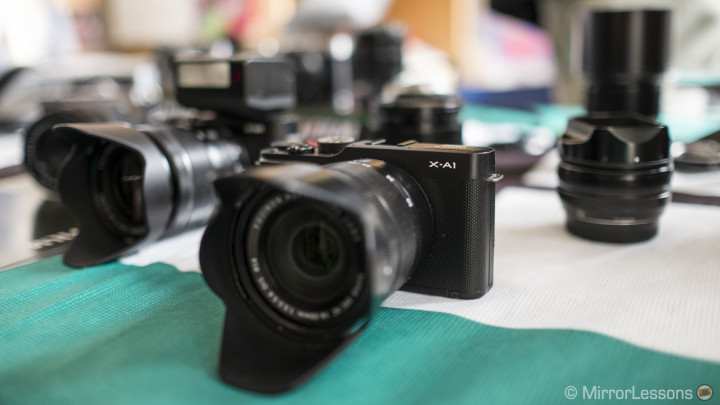
At the Italian Fuji X Day in Cossato, we had originally hoped to spend some time with the new Fujifilm X-E2 but it turned out that it had somewhere else to be – most likely in the hands of a journalist or an X photographer! Despite our disappointment, we were compensated by the presence of the XQ1, Fujifilm’s newest compact, the X-A1 or the X-M1’s twin sans X-Trans technology and the highly-anticipated Fujinon XF 23mm f/1.4 (hands-on review coming soon but you can see a preview in this article as most of the product shots were taken with that lens).
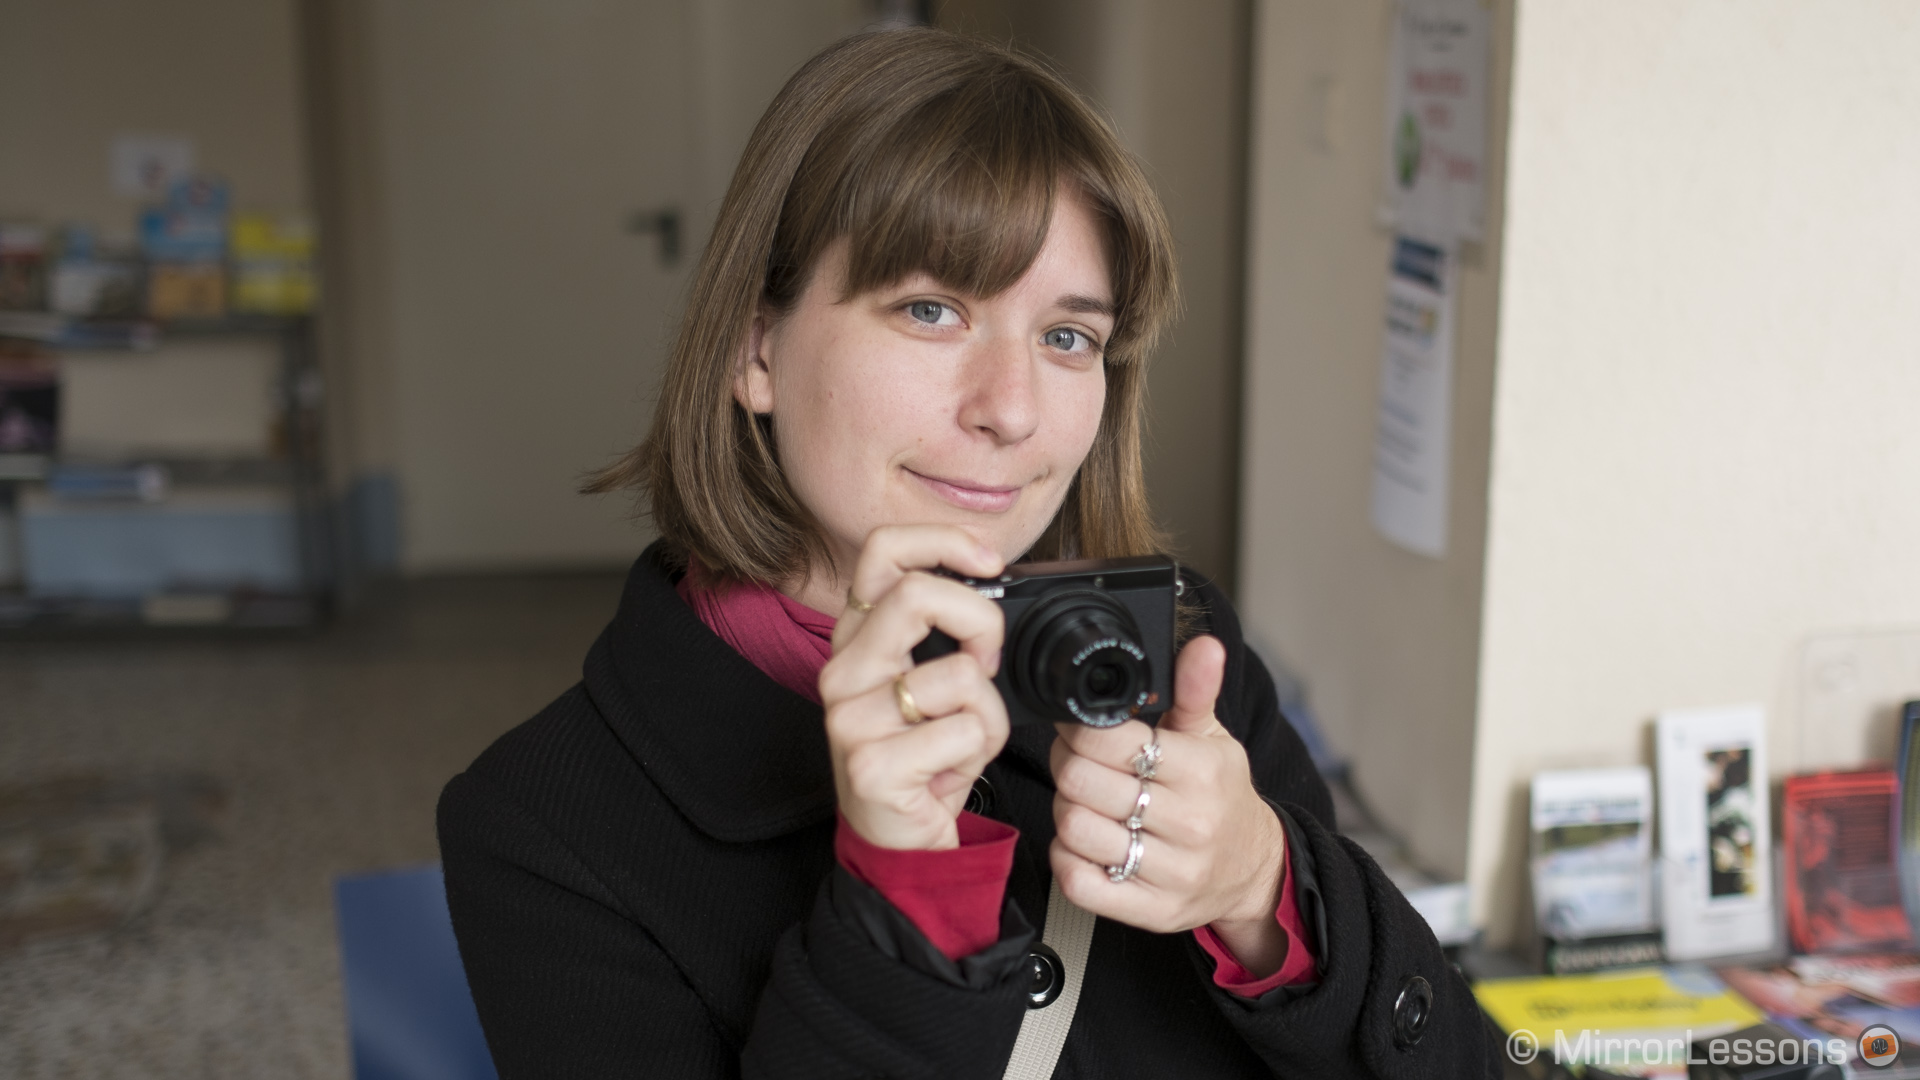
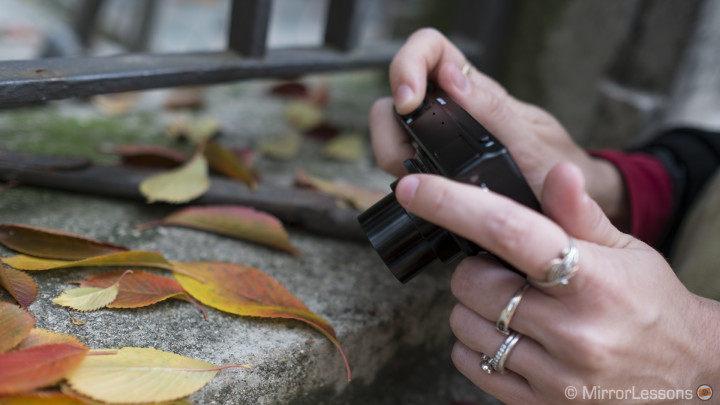
Fun with the compact XQ1
by Heather
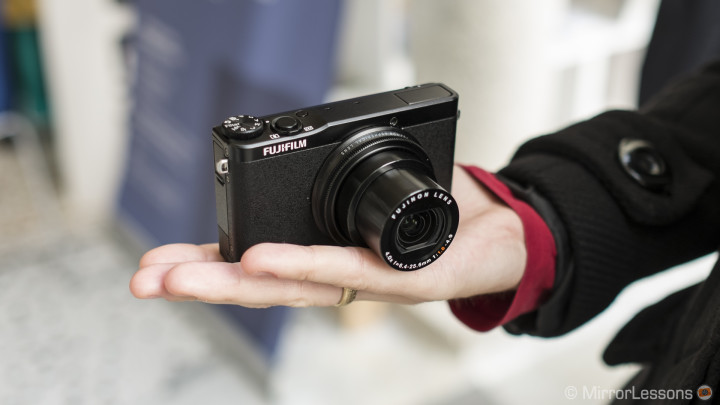
The Fuji XQ1 was left in my hands while Mathieu tried out the 23mm f/1.4. It is just over half the size of the Fujifilm X20 but has the exact same 12 MP 2/3″ X-Trans II sensor nestled inside. In broad daylight, the IQ is great and in low-light conditions, good results are attainable up to ISO 1600. (Though I wasn’t able to test the XQ1 in the dark, you can visit my X20 low-light gallery from the Turin Cinema Museum to see what this sensor is capable of.)
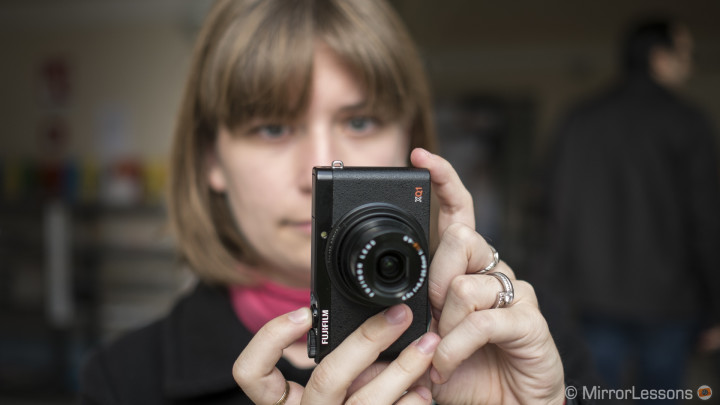
Note: All the pictures are OOC JPGs from a pre-production version of the XQ1.


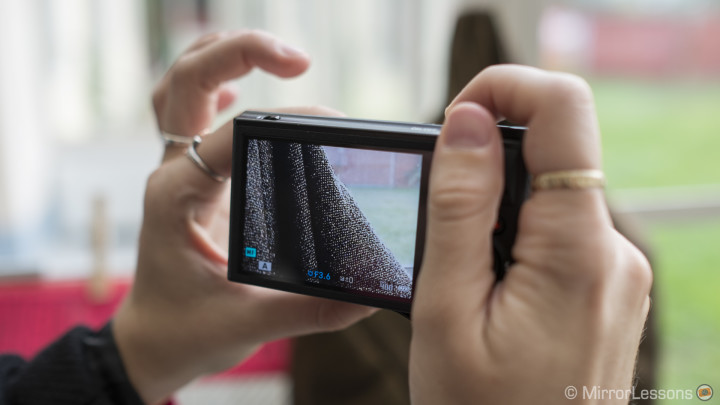
As you would expect from any compact point-and-shoot, it is very straightforward to use. It has a handy function button (E-Fn) down in the bottom right-hand corner to which you can assign ISO, film simulation modes, white balance and a number of other functions. Once you’ve chosen your function, it can be easily accessed and adjusted by twisting the control ring on the lens – a very nice touch. I found it less stiff and more reactive than the ring on the Sony RX100M2 (one of its direct competitors), though I’d have to test the two cameras side-by-side to be sure.
The 6.4-25.6mm f/1.8-4.9 (25-100mm equivalent on 35mm format) digital zoom is activated by a toggle placed around the shutter release button. Though I generally prefer having a zoom ring on the lens, the toggle is very smooth and easy to use.
The fastest aperture is f/1.8 which is excellent if you want an out-of-focus background, and the macro mode is effective, allowing you to get as close as 3cm. In contrast, the X20 allows you to get as close as 1cm with macro activated. If you don’t activate the macro mode, you can get as close as about 6cm which is still acceptable.

An aspect I loved about the XQ1 was the focus peaking option. When you switch the camera to manual control, it automatically provides you with a zoomed-in crop of your scene. With focus peaking activated, you can choose with precision the area you want in focus by slowly rotating the control ring. Then, once you half-press the shutter button, the camera zooms out to show you the entire scene once again. I was very pleased not only to see it there but also to discover that it works flawlessly.
Since the XQ1 shares the same hybrid AF system as the X20, it delivers the same speed and performance which I was used to on the X20. It can struggle in low-light conditions, but otherwise it is fast and reliable in most situations, including macro mode.
This little camera has many of Fuji’s newest tech specs, including the new EXR Processor II engine, hybrid phase/contrast detection AF, built-in WiFi, ±3 EV exposure compensation, a lens modulation optimiser and more. It is fun to use and can easily slip into your trouser pocket if you don’t have your bag on you. Not to mention that the simple retro design is, in my opinion, even more aesthetically pleasing than the vintage design of the XF1.
Something else of importance is the price. While the Sony RX100 II, one of its competitors, costs around $750, the XQ1 is about $250 less. Now, it is true that the Sony has a 1-inch sensor and better video functions but if you find $750 unjustifiable for a premium compact, the XQ1 may just be your best bet.
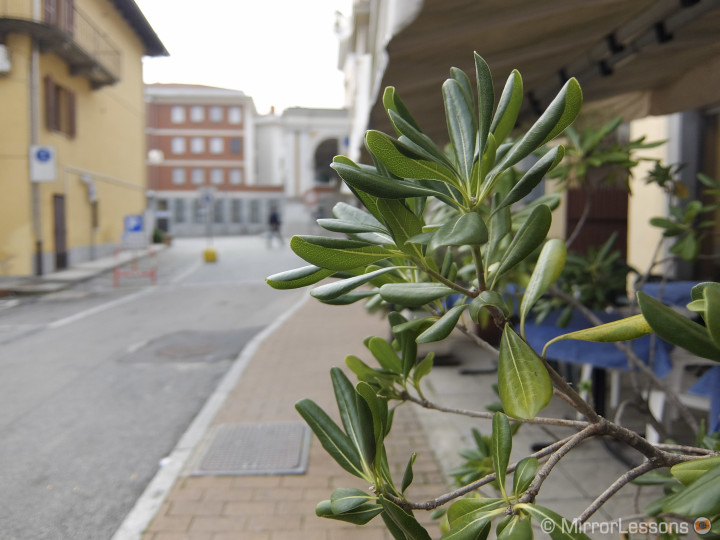
Below you can see additional photos taken with the Fujifilm XQ1.


Comparing the IQ of the X-A1 to the X-M1
By Mathieu
Our next mission was to discover how the image quality of the X-A1 compared to the X-M1.
Several users were surprised to see that the images coming out of the X-A1 appeared better, especially in terms of sharpness. They also noticed that the overall quality didn’t appear below the quality of the X-M1. Of course, questions began to arise such as “Why does the X-M1 cost more if its images aren’t as sharp?” or “Does the X-Trans sensor really make a difference?“. Legitimate questions that users have the right to ask.
I’ve read various articles and explanations about these differences and why they don’t appear right away on the surface. So I thought I might add my two cents as well, concentrating only on that aspect.
The two cameras are practically identical in terms of design. The ergonomics, functionality and build quality are all pretty much the same. I can easily sum up what I wrote in the X-M1 review: a great build even if it is all plastic, good handling, a titling LCD screen. The only dial I don’t like is the one on the back as it feels uncomfortable. The tilting LCD screen is very sharp and usable even in bright daylight.
The X-M1 has the same X-Trans sensor found in the X-Pro1 whereas the X-A1’s sensor has a conventional Bayer colour filter array with a low-pass filter. A low pass filter eliminates moiré but reduces sharpness. The advantage of the Fuji X-trans sensor is that it lacks the low-pass filter but thanks to its original colour filter array, it doesn’t have any moiré issue. Being the principle difference between the two models, it begs the question: can the difference in sensor type justify slapping an extra $200 onto the price of the X-M1?
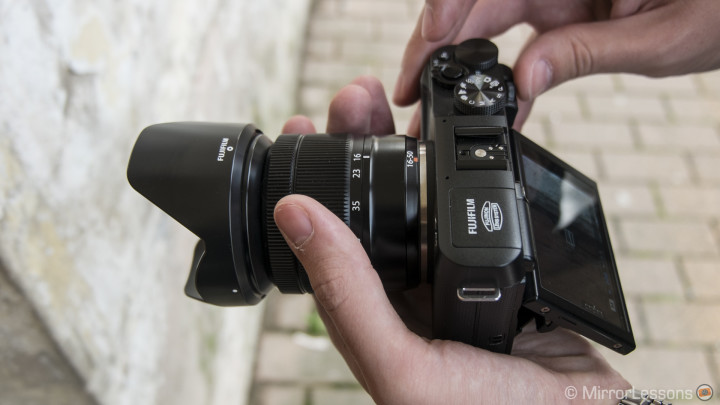
To find out, we took the X-A1 and X-M1 out for a spin with the 16-50mm f/3.5-5.6 kit lens attached.
Now please understand this: testing or comparing cameras isn’t a matter of a couple of shots. You need time to test them in all possible conditions to come to any realistic conclusions. That day, we had only 15 minutes with the two cameras. So everything I say here has to be taken with a little grain of salt. Nothing is totally conclusive.
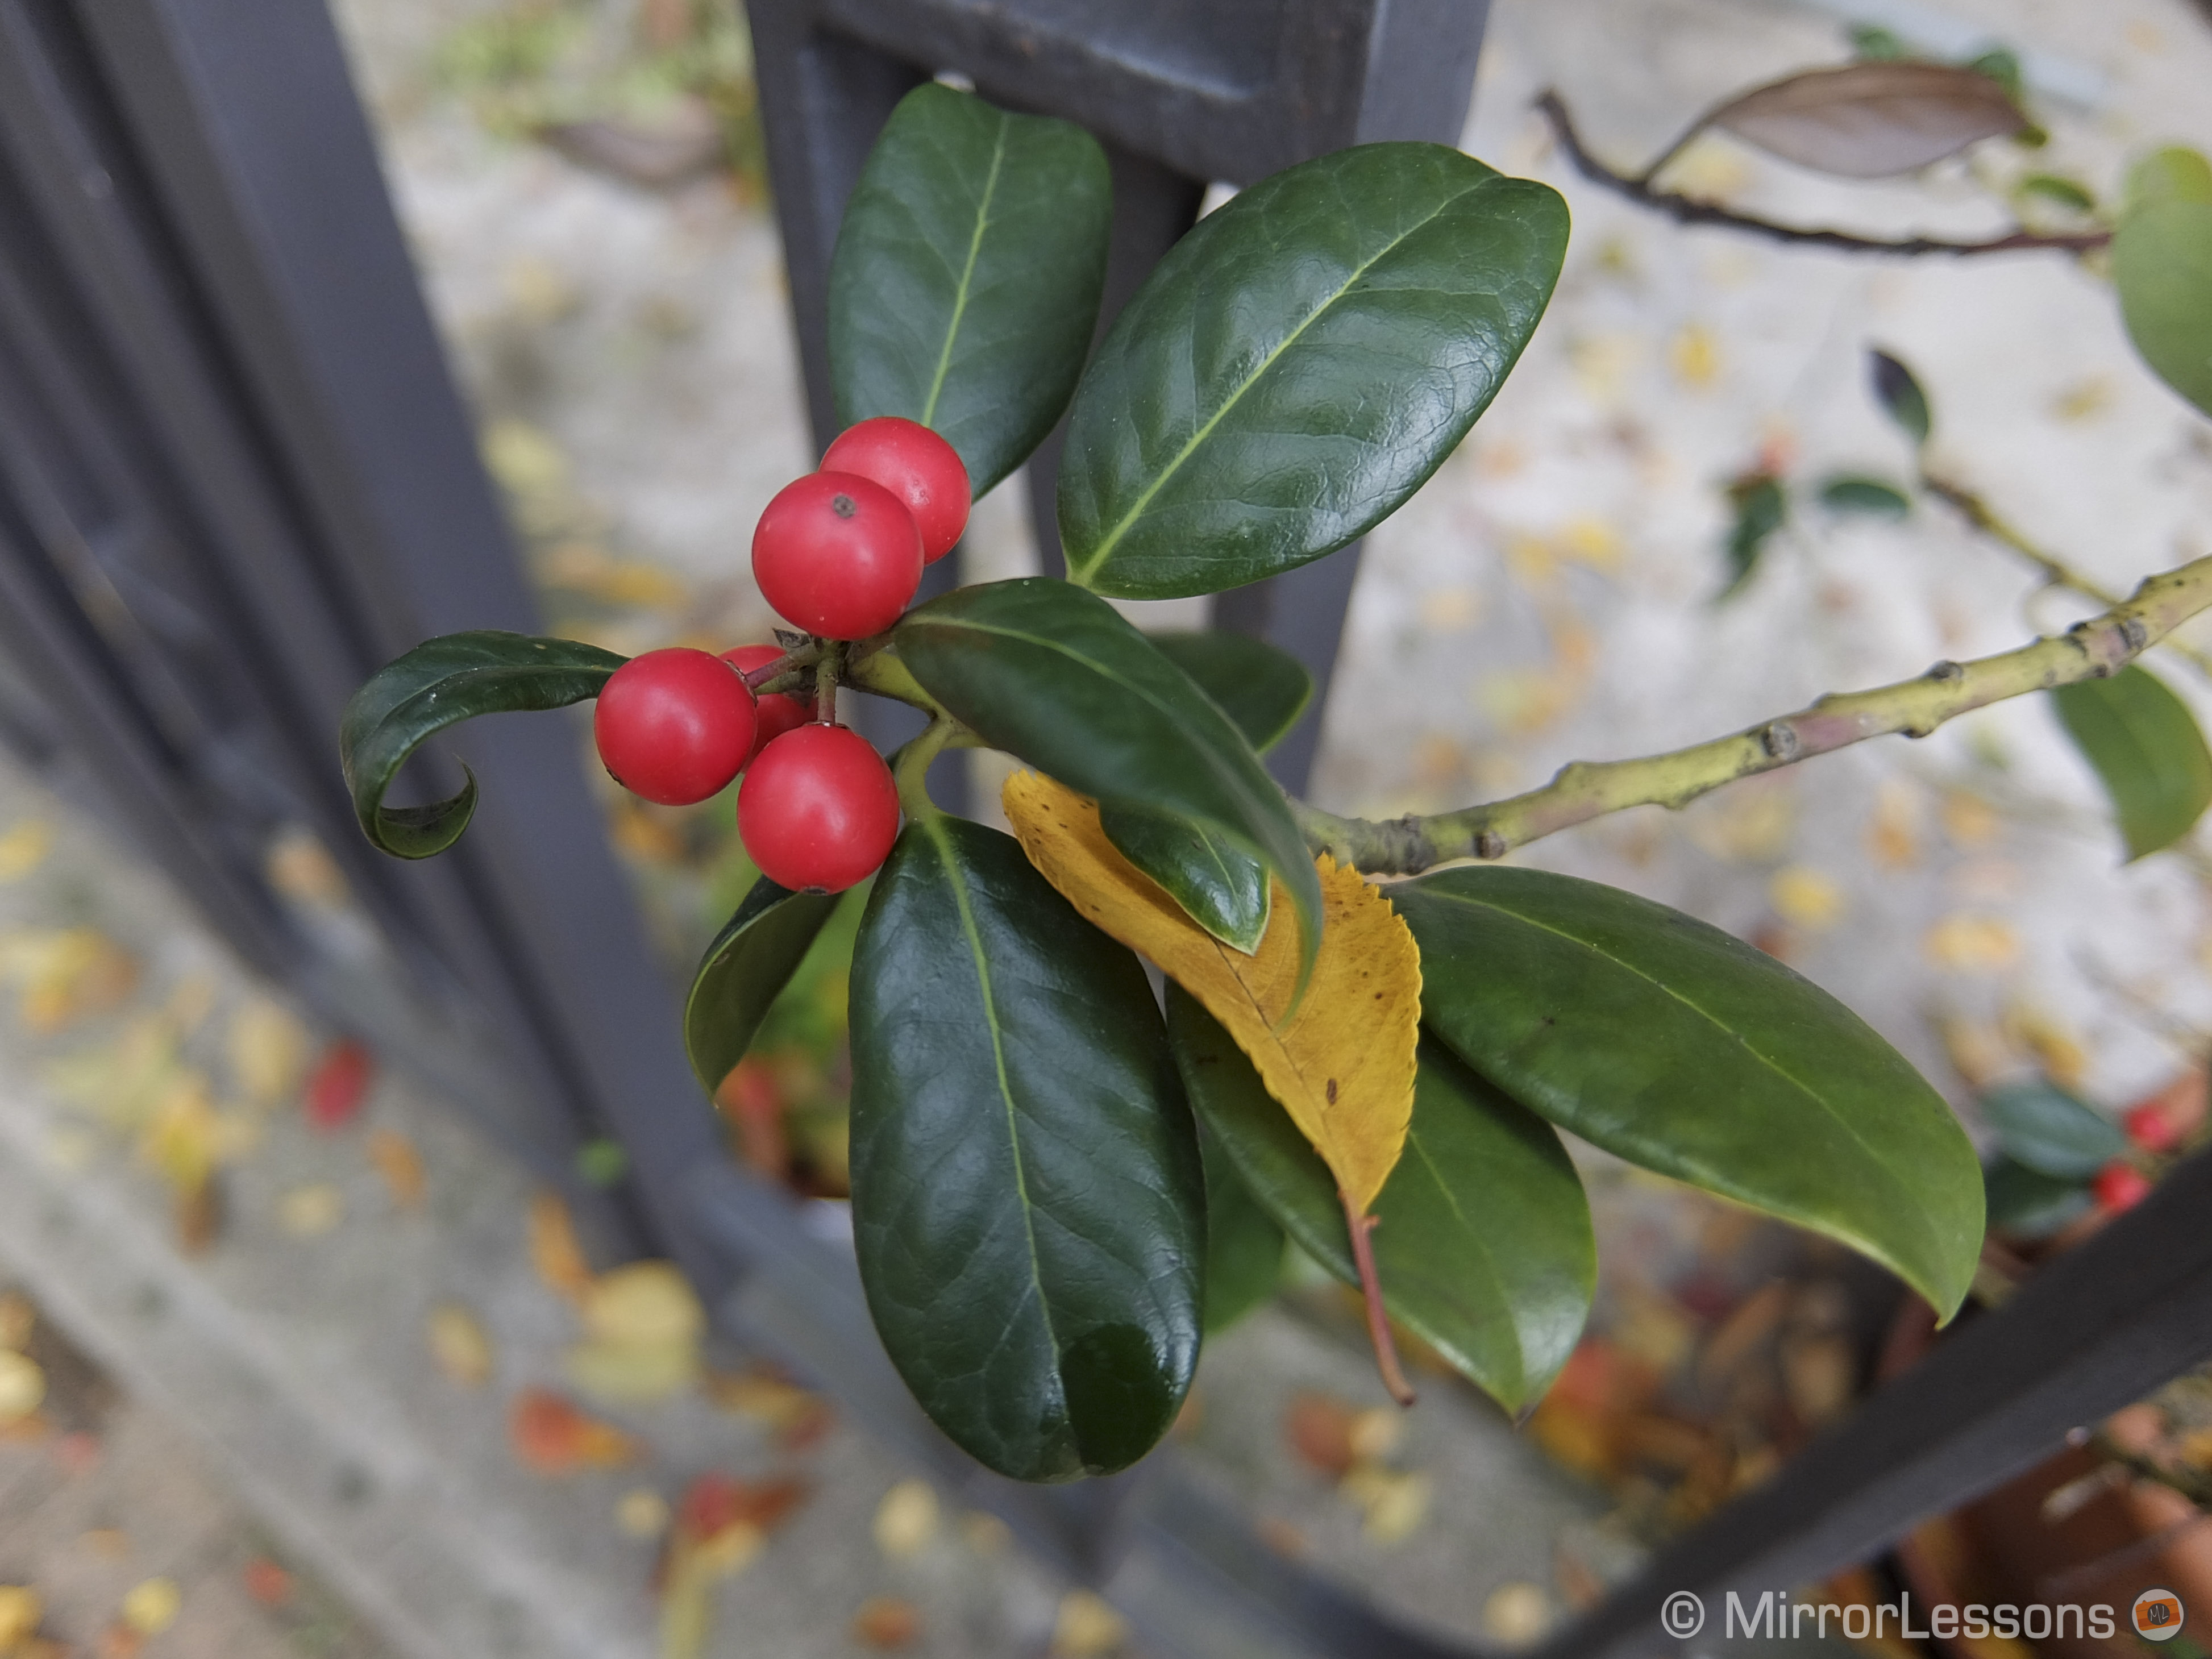
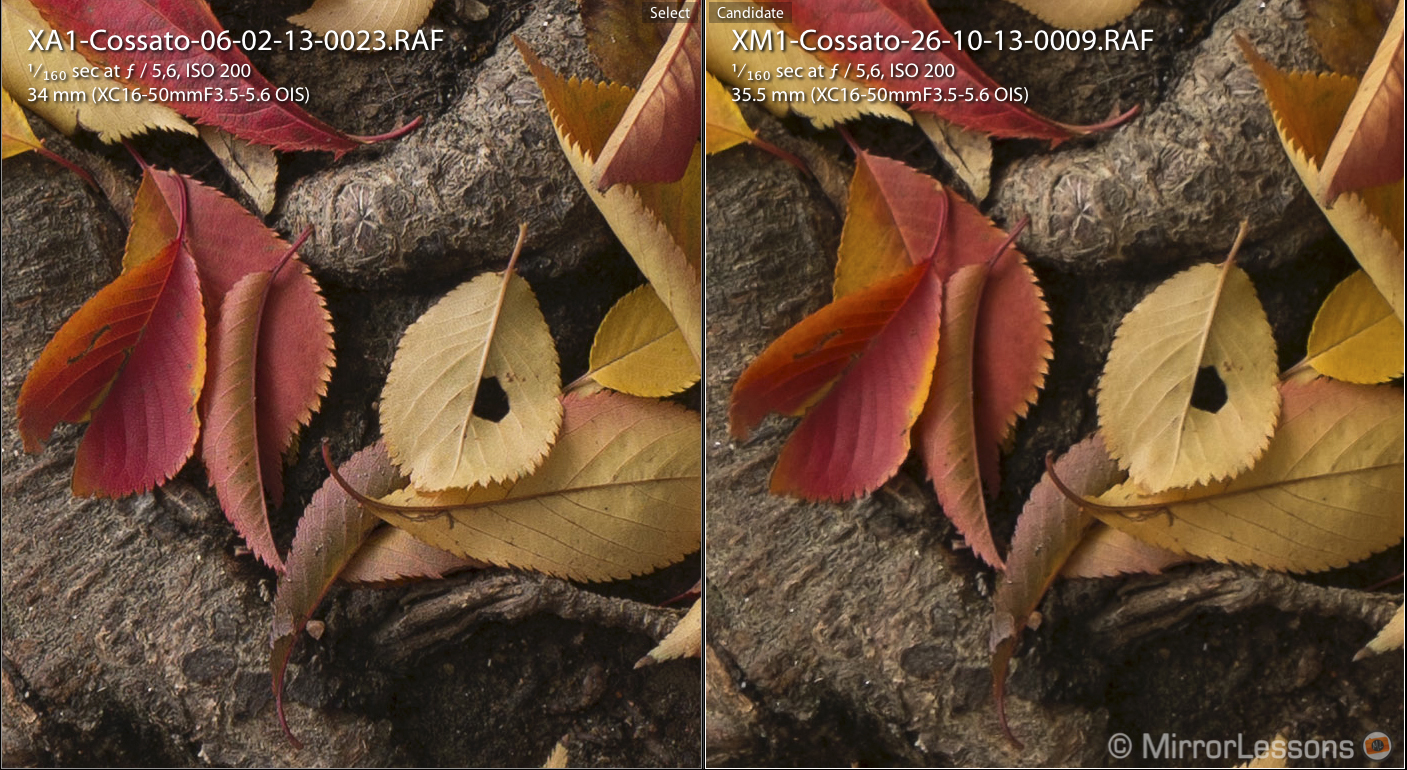
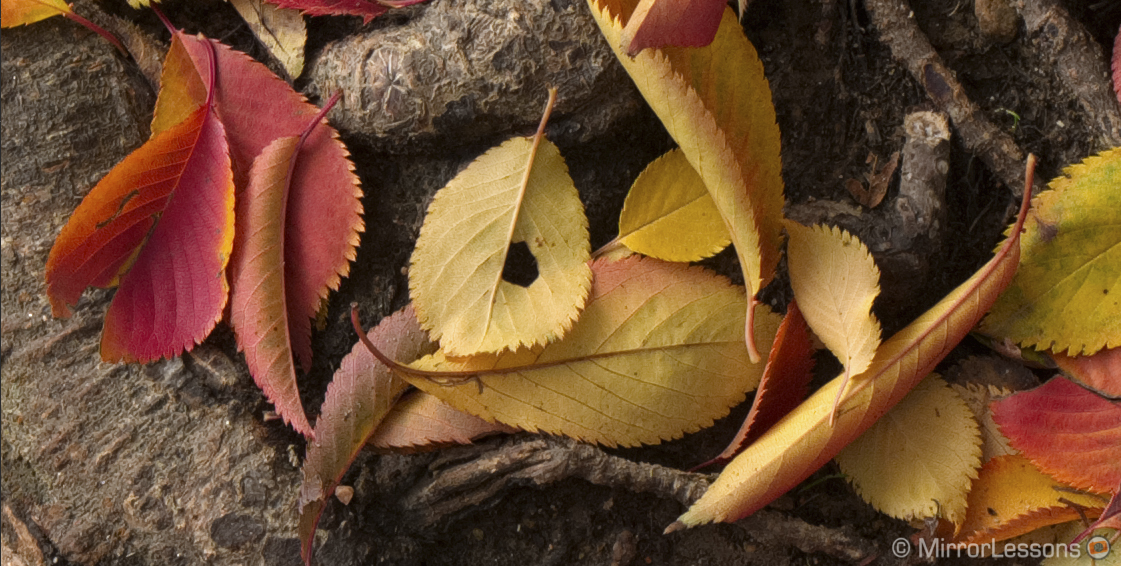
The first comparison round is with the OOC Camera JPGs. Both settings were exactly the same, not only concerning exposure, but also the other main settings. Sharpness was set to “0” for both.


If you click on the pictures to enlarge them you won’t notice any difference in the first couple, but in the second pair featuring the leaves, you can see that the X-A1 is sharper. And that seems surprising, doesn’t it? Let’s have a closer look!


If we pixel peep, we can clearly see that the X-A1 outputs sharper OOC JPGs. But this doesn’t necessarily mean a lot as the two cameras probably have their JPG output calibrated differently.
The reason for the X-A1’s superior sharpness is quite clear to me. The X-A1 is meant to be sold in big media centres, malls, general electronic stores and online shops. Therefore, it aims toward amateur users who probably won’t post-process their images on the computer but will instead use the JPG images straight out of the camera. This is why the discovery of sharper JPGs on the X-A1 makes sense to me – the camera is doing all the work for the user. Also, let’s not forget that sharpening settings can be edited in the “Q” menu. As such, the X-M1 settings could technically be increased by + 1 or + 2 if you wanted to improve the sharpness.
Personally, I have always found the JPGs coming from X-trans sensor cameras slightly soft and since most of my photos go on the web, I always increase sharpness by one value (+1) on my X100s.
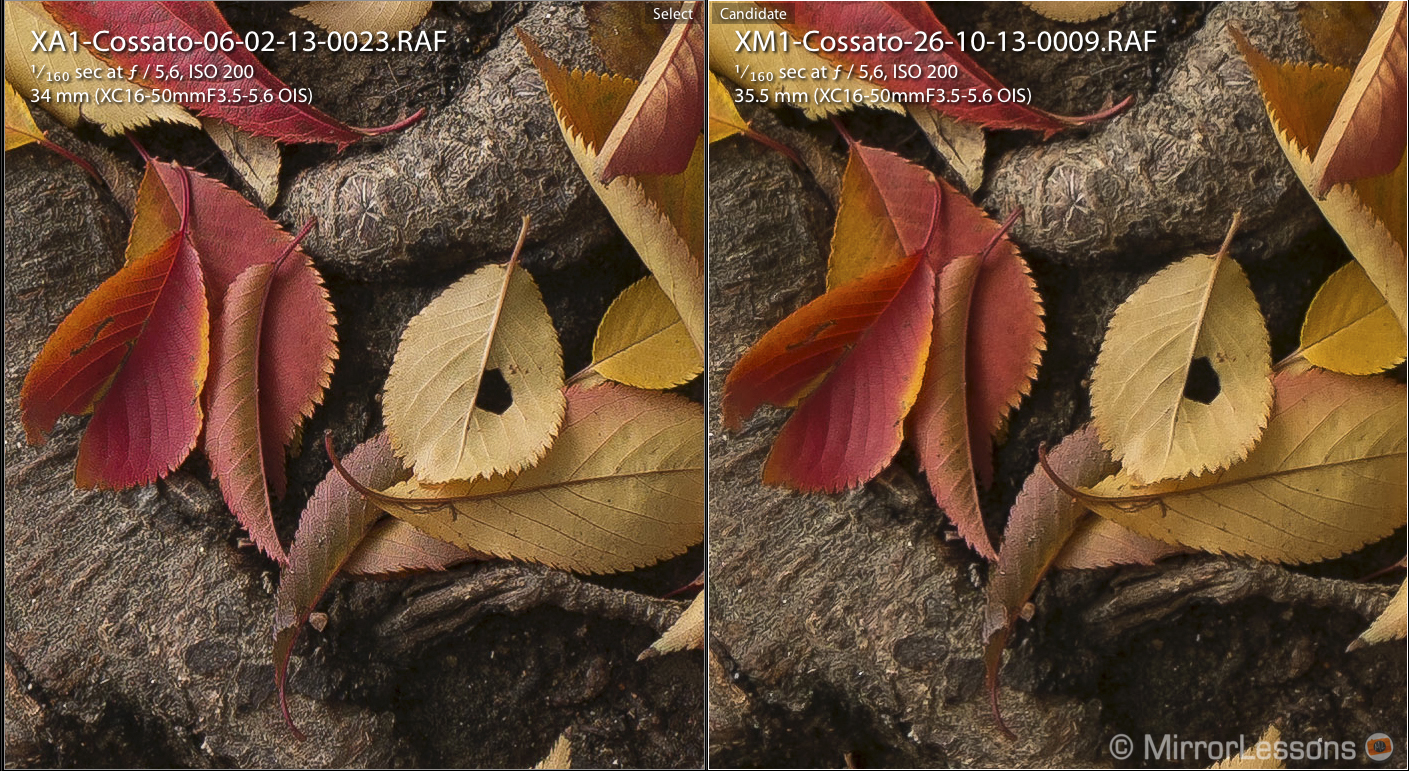
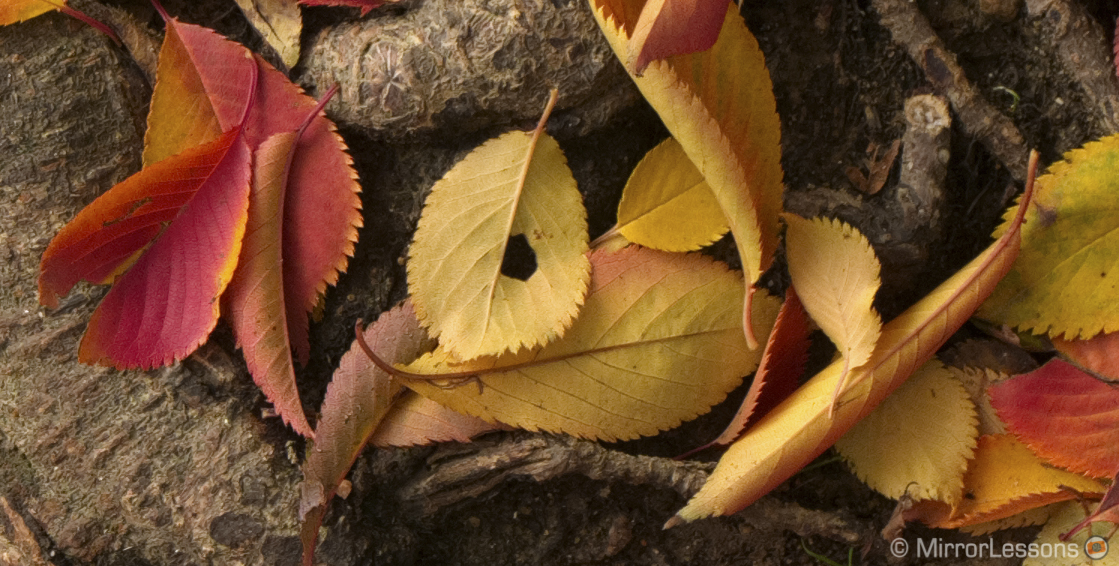
Now, let’s have a look at the same pictures coming from the RAW files to see if there is any difference in this case as well. I opened them with Lightroom 5.2 as it is my favourite software for RAW files and also one of the most popular.


With the RAW versions, the difference is less noticeable especially in the example with the autumn leaves. But just to be sure, let’s bring our eyes very close to the display!

Yes, there are still some differences and the X-A1 is sharper. But RAW files are meant to be post-processed, so adding some sharpness to the X-M1 file in order to match the X-A1 file isn’t really an issue.

And just to go even further, if I apply a similar sharpening setting to the X-A1 RAW file, it will start to have some noise. The sharpness in the X-M1 RAF, on the other hand, can be pushed a little bit further than the previous example and still look natural.
Now there is another factor to consider. Lightroom doesn’t have a good reputation for rendering Fuji RAF files. I touched upon this point in an in-depth article concerning colours, but it isn’t only related to that. So, I tried opening the same images with Photo Ninja, a RAW converter software designed to process the full quality of Fuji RAW files. And surprise, surprise…
With Photo Ninja, the rendering of sharpness is pretty much the same! The RAW files are certainly the best way to see the true potential of a sensor, but it is as important to open them with a software that can render them accurately.
This is why, as I mentioned before, pixel peeping and 100% crops don’t really matter in the long run. There are a lot of variants to consider and if the differences need to be viewed at 100% on a computer screen to be seen, they’re hardly worth considering anyway. In a real world situation, the only thing worth remembering is that the X-A1 has a sharper JPG engine by default.
Then, there are other things to try in different conditions like dynamic range and ISO performance. I can show you a quick example below regarding the latter. It was the only place at the event where it was dark enough to take some high ISO shots.
At 3200 ISO, the difference is really non-existent. At 6400 ISO, you can see that the X-M1 has a slightly more organic and pleasant noise as opposed to the X-A1 whose noise seems more digital.


If we have a look at the cropped versions, we notice that the focus points aren’t the same, which could in some situations spoil the example but in this case, it actually shows the difference even better. The drawing in the background, which is out of focus on the X-A1, still presents some visible noise. It also appears that there may be some sharpening added (especially in the red areas). The X-M1 version, which has the drawing in focus, look cleaner.

Also have a look at the results when opening the RAW files with Photo Ninja.


Again, this doesn’t matter in a real world situation but if that is the case, what can we conclude? Which camera is better suited to the amateur user?
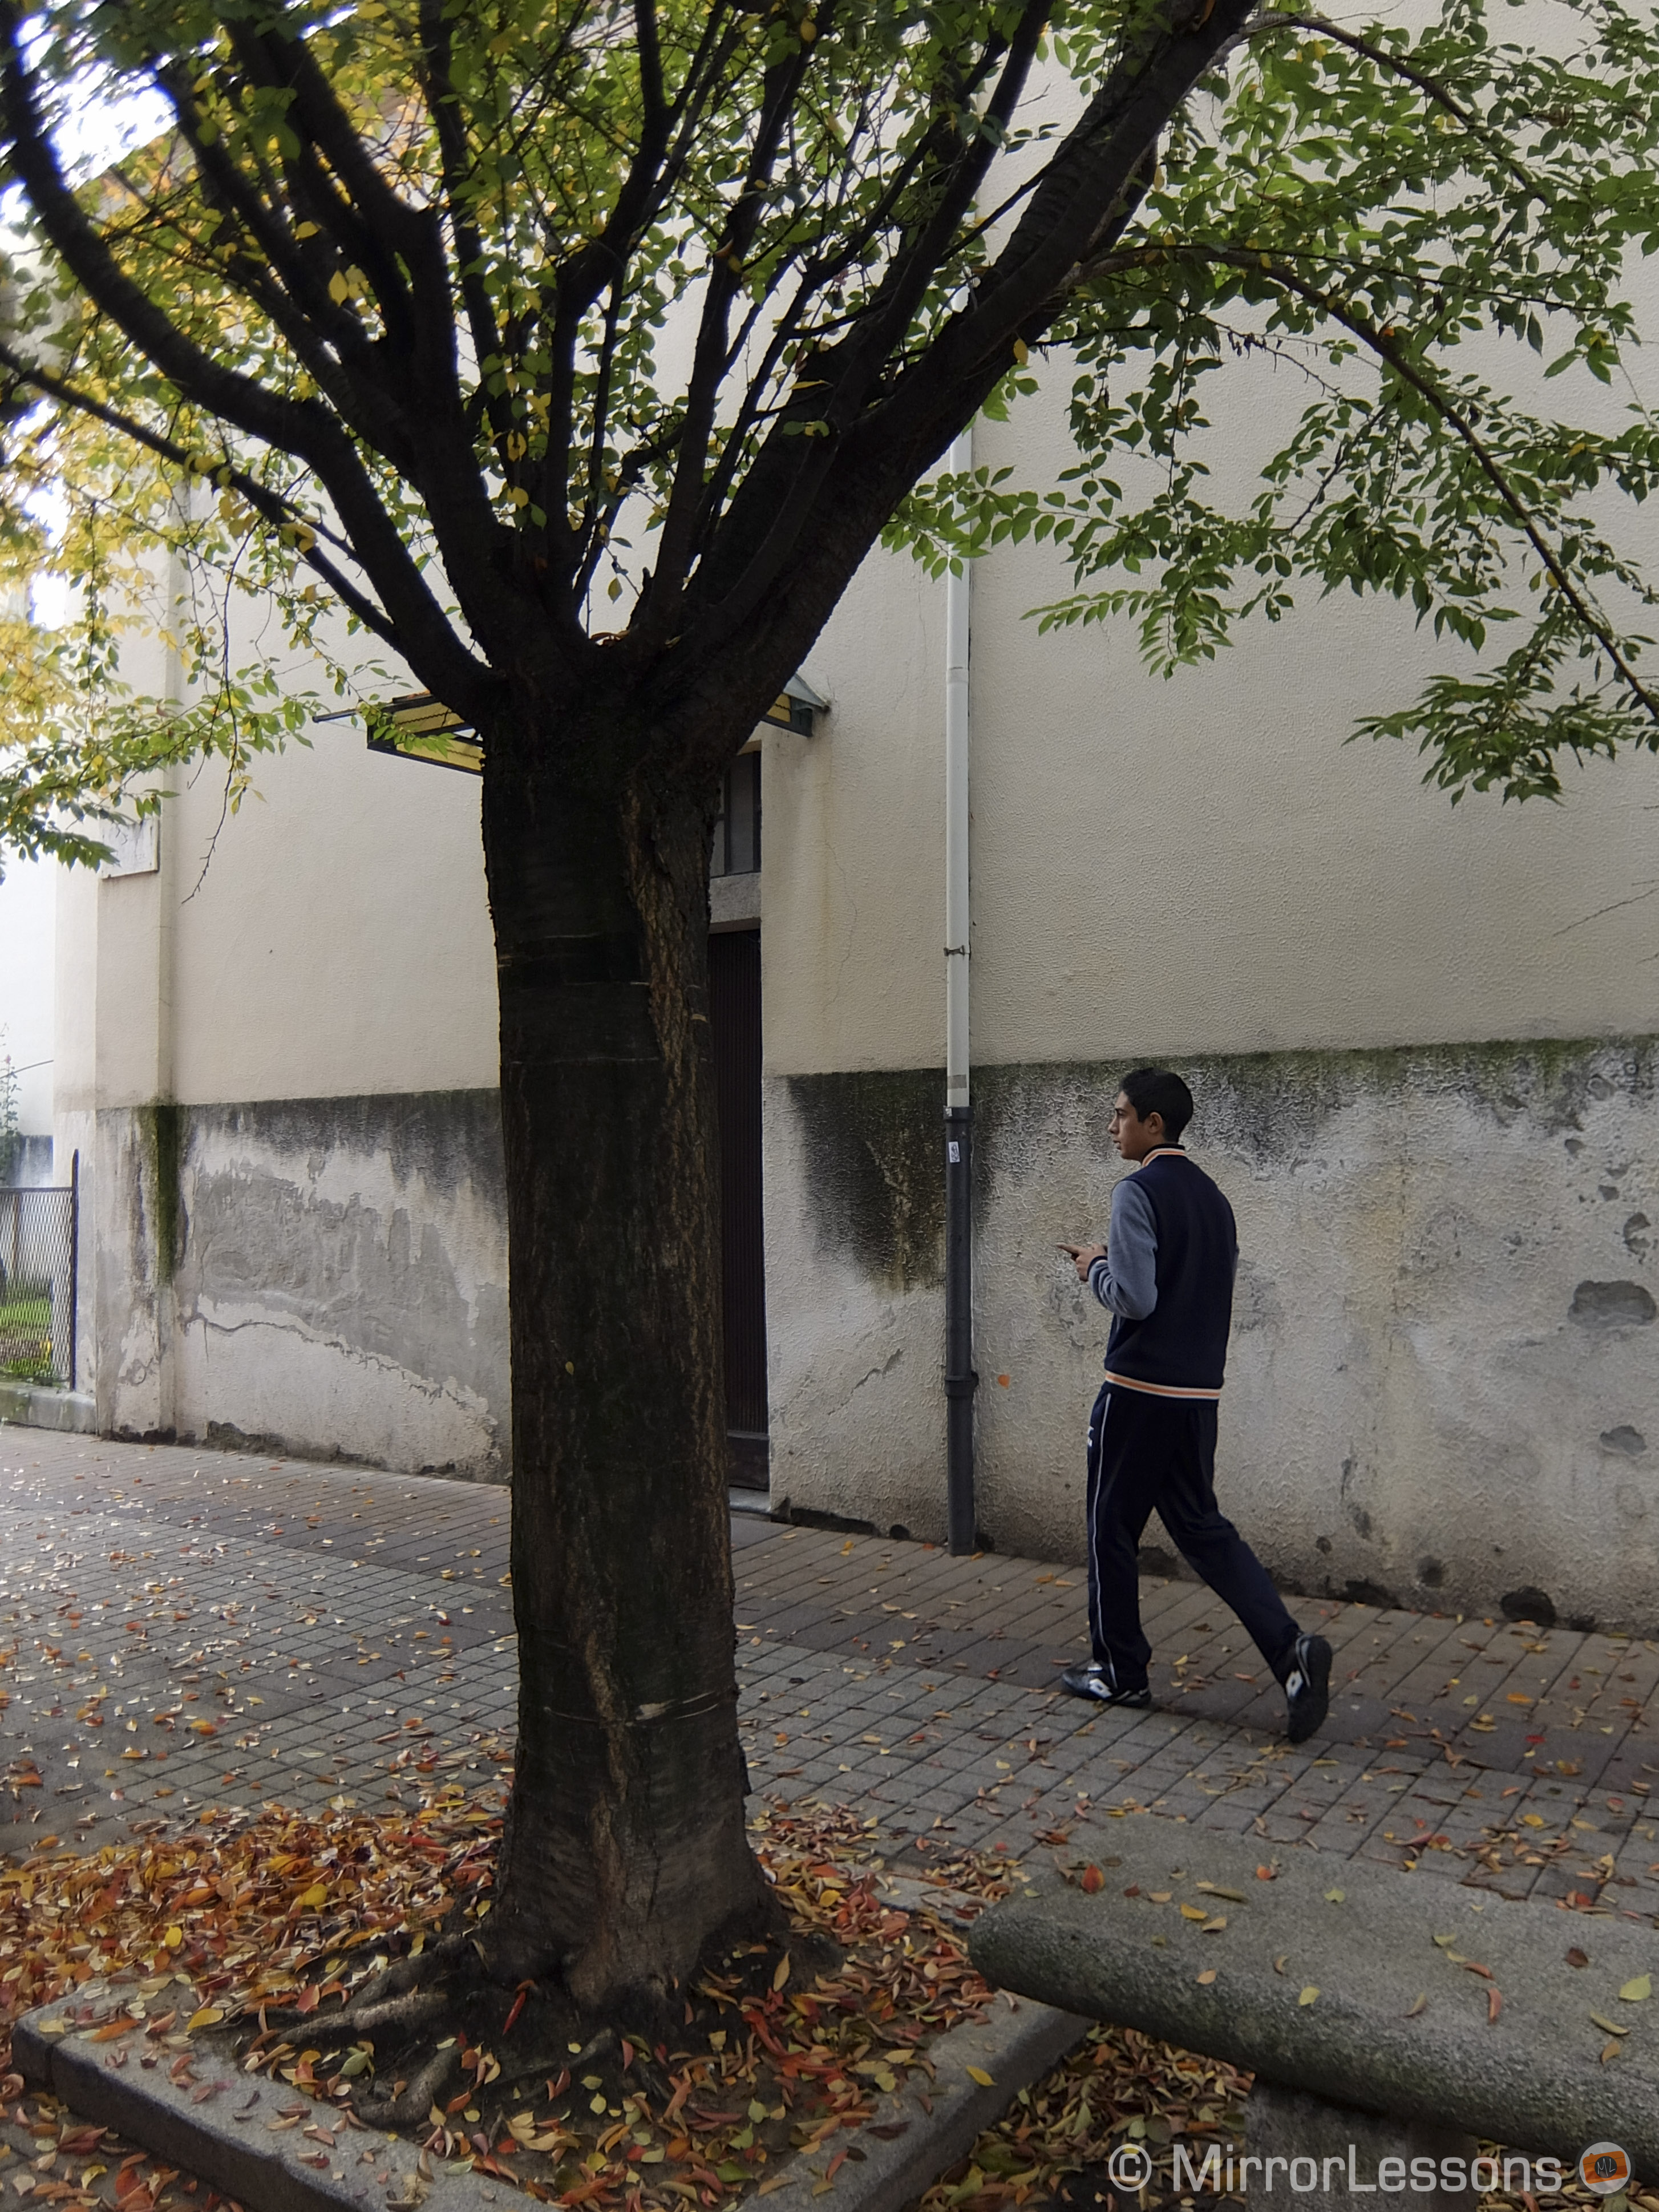
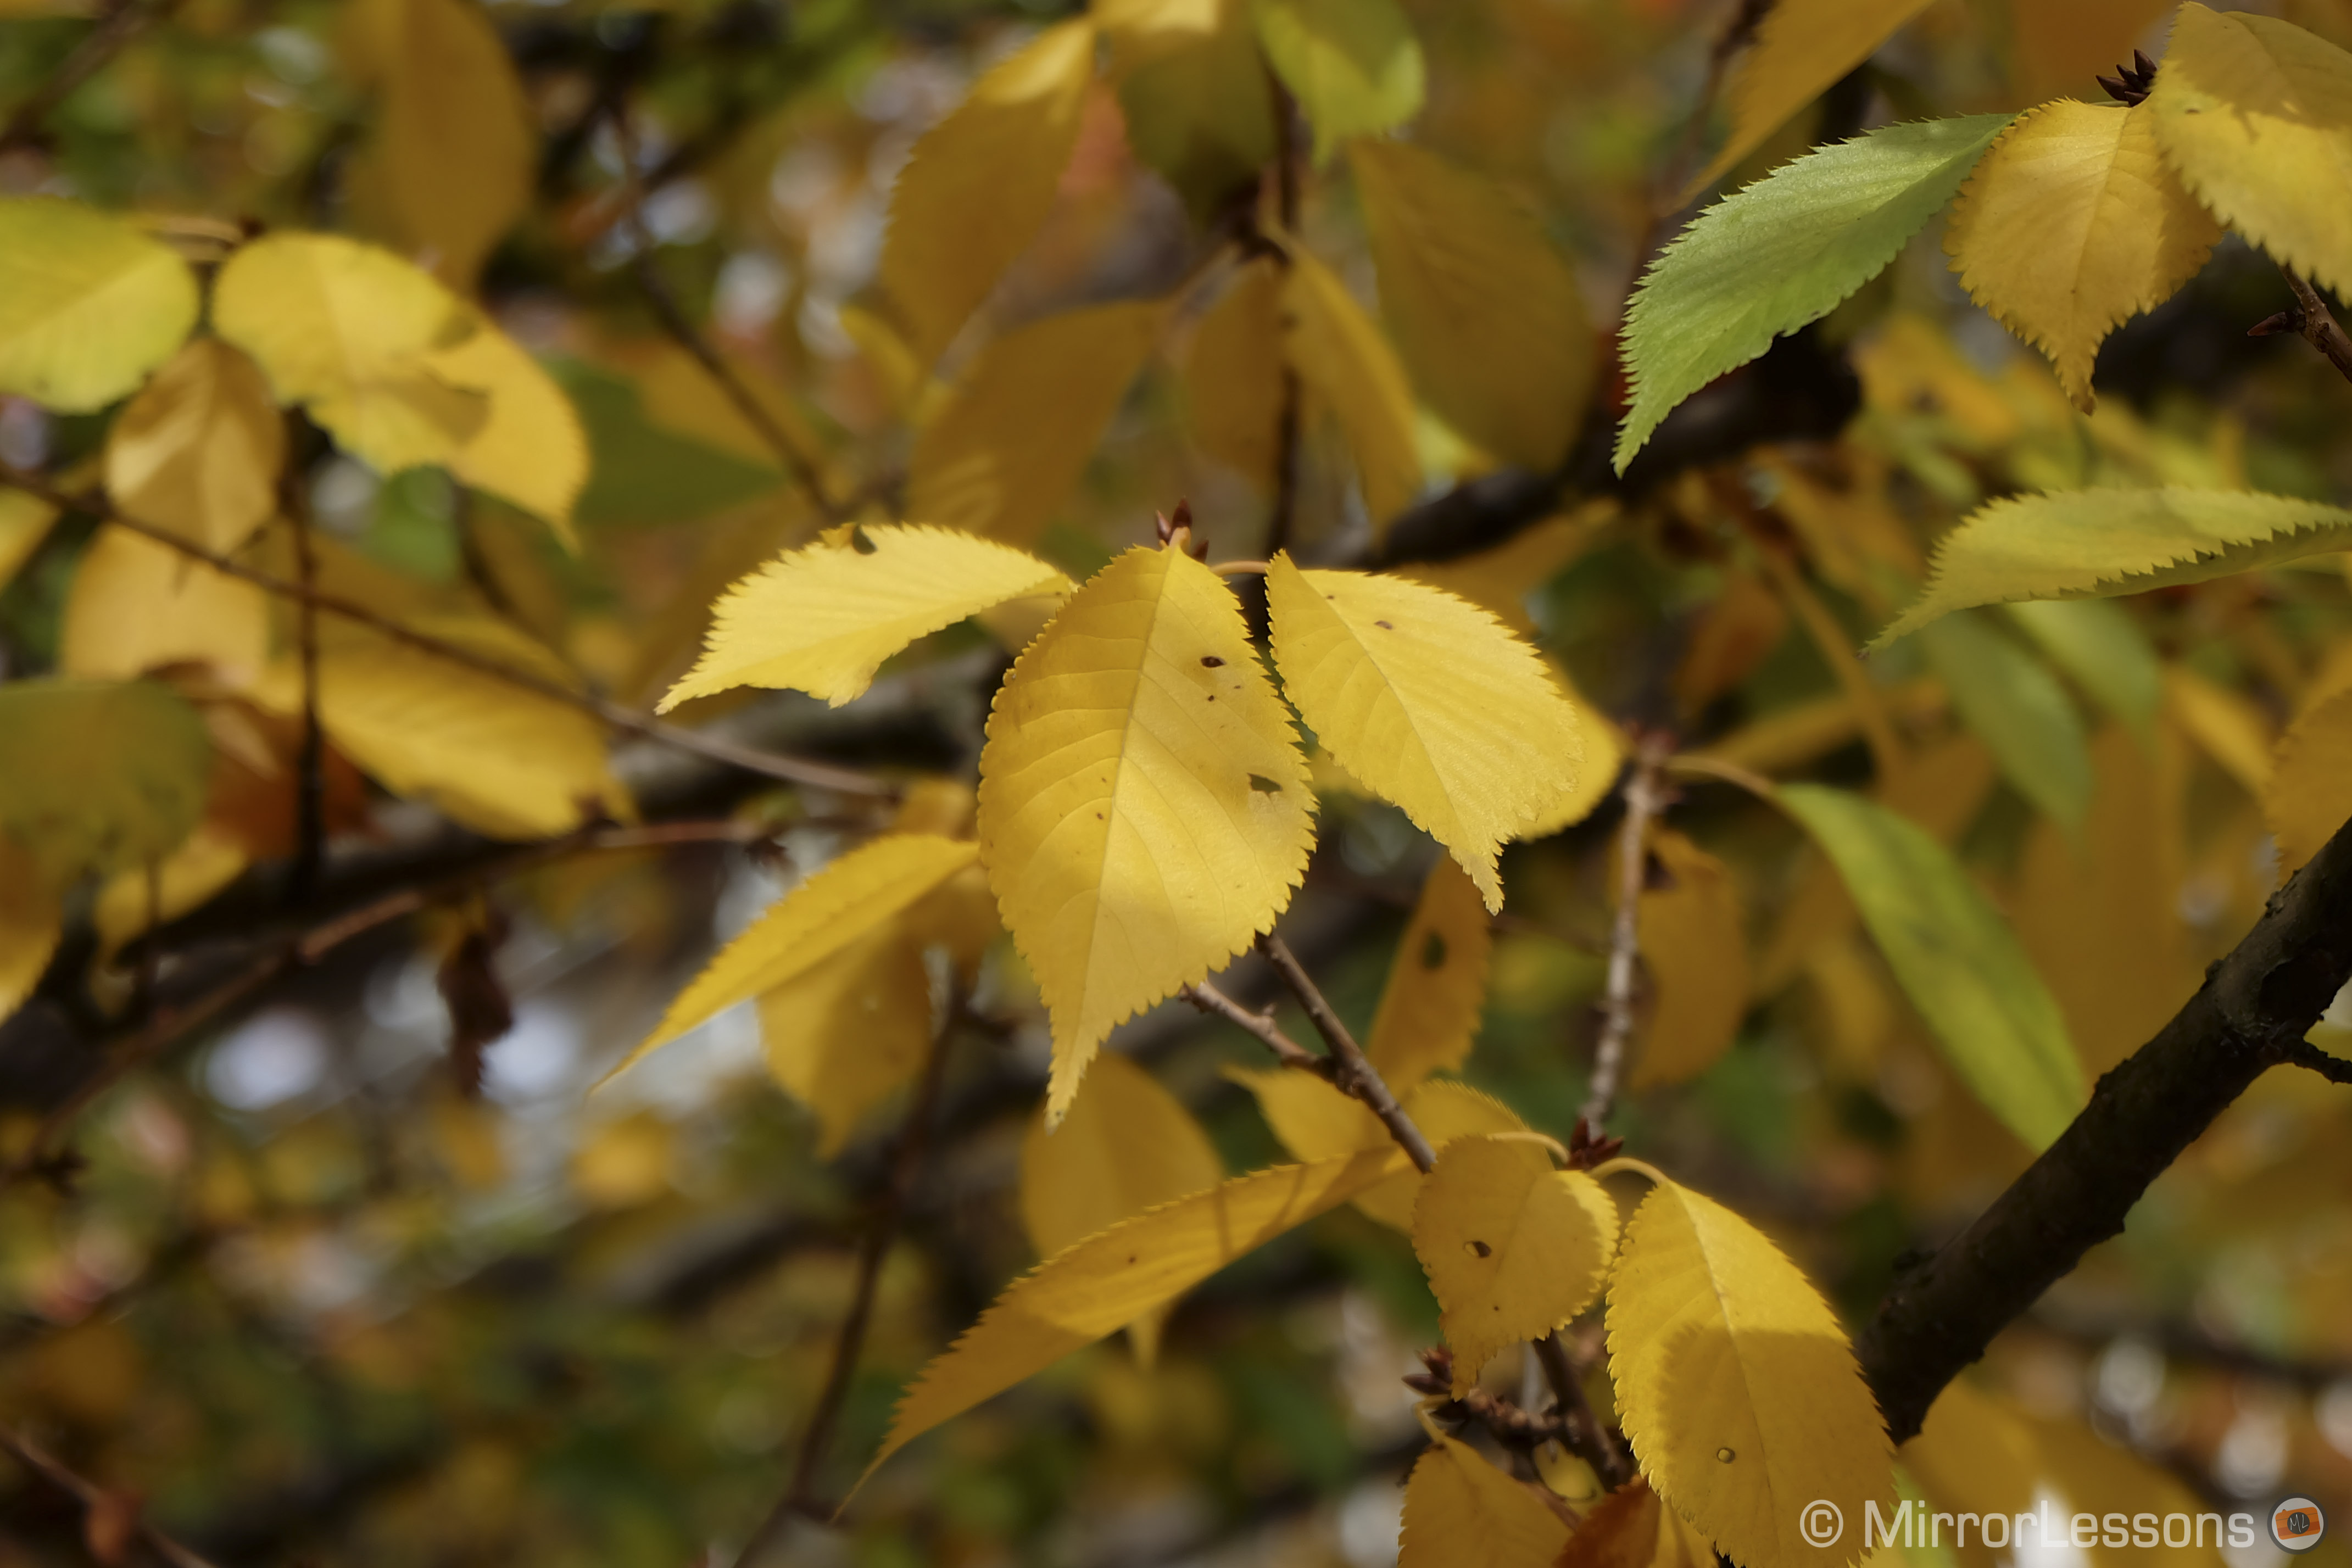
I understand that stating the differences between those two cameras is difficult. I would dare to guess that Fuji might sell a lot of these X-A1 cameras. It has managed to put what seems to be a very good sensor inside a classic body, and the camera delivers wonderful JPGs ready to use right from the word ‘go’. You can check out the gallery below to see more pictures, all OOC Camera JPGs from the day at the event.


You might also wondering why the X-M1 doesn’t have sharper images than the X-A1 since it lacks the low pass filter.
What I think personally is that Fuji did a very good job with the X-A1 conventional sensor.
Also, for me the X-trans sensor isn’t only about sharpness. I don’t have the same amount of experience in using the X-A1 as it has just been released, but after much time with the X-Pro1 and X100s I can state that the Fuji X-trans sensor provides a lot of flexibility and amazing image quality even in the most difficult situations. I often use it in Auto ISO because I don’t worry about noise. I don’t hesitate to overexpose if I need to because I trust its great dynamic range and the highlights I can recover. I’m sure that the X-A1 is very close, but I’m not sure if it will perform the same in every situation.
At the same time, I can predict that the X-A1 might turn the X-M1 into more of a ‘niche’ product.
The X-M1 can be useful for those who already own an X-Pro1 and want a second affordable body with the exact same image quality. It can also work well for those who want to try Fuji X-trans photography without spending a lot of money.
The X-A1 is the cheaper alternative to the other entry-level Fuji X mount cameras on the market, and if money is an issue for you, just go for it. The quality seems really good – exactly what you might expect from an APS-C sensor. And that actually raises another point about image quality, which is that Fuji is really consistent. All their cameras have exceptional image quality regardless of whether it is an entry level camera or a high-end model. The differences are more subtle for certain models and are more related to build, lack/presence of a viewfinder and additional features.
The only problem I can foresee is that Fuji may be putting too many cameras out there. While I agree that it is better to have more choice than less, I also feel that too much choice can leave people confused and unconvinced. What do you think?
Note: here are two articles that helped me clarifying my ideas before writing it. They explain the differences between the X-A1 and X-M1 much better than I do.
- X-A1 first impressions by X photographer Max Angeloni
- X-A1 vs X-M1 the shootout by Rico Pfirstinger