This week, we have been a little late in publishing our articles here at Mirrorlessons for a number of reasons I don’t want to bore you with. But don’t worry, we are still here, working very hard to bring you as many articles as we can. My special “Mirrorless on the Job” review of the OM-D E-M1 is almost ready so I’d thought I’d give you a sneak preview in the meantime.
During my first hands-on at Castle Leslie, I managed to compare the stabilisation of the new Olympus flagship camera to the E-M5 and saw a notable improvement, which makes this camera a real option for low-light situations. Not only can you avoid using high ISO values, but you can confidently shoot without a tripod if you don’t want to carry one with you as well.
Last week, I was in France for three days for my day job as a filmmaker, but I had the chance to take some quick night walks while I was there. The second walk I took in the town of Chambery wasn’t planned at all. Rather, due to railway problems, I missed my train and had to wait until the following morning to travel home. A night walk seemed like a good way to kill time!
N.B.: all pictures are from RAW files post processed in Lightroom 5.3
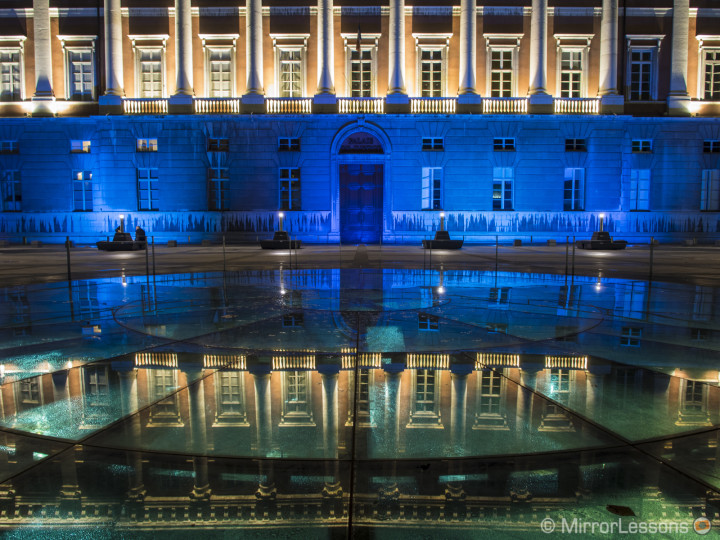
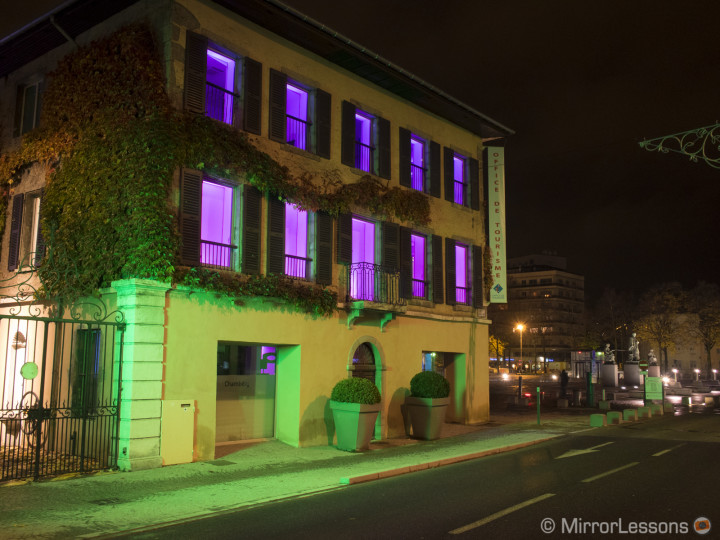
Chambery’s Court of Appeal
What I can do with the E-M1’s 5-axis stabilisation amazes me. Basically, I know I can go out, take some urban shots while keeping my ISO level down and my aperture relatively closed. Shooting most of the time at ISO 200 gives me all the flexibility I need during post-processing.
So with an internal stabilisation as good as this, I ask myself, do I really need a tripod?
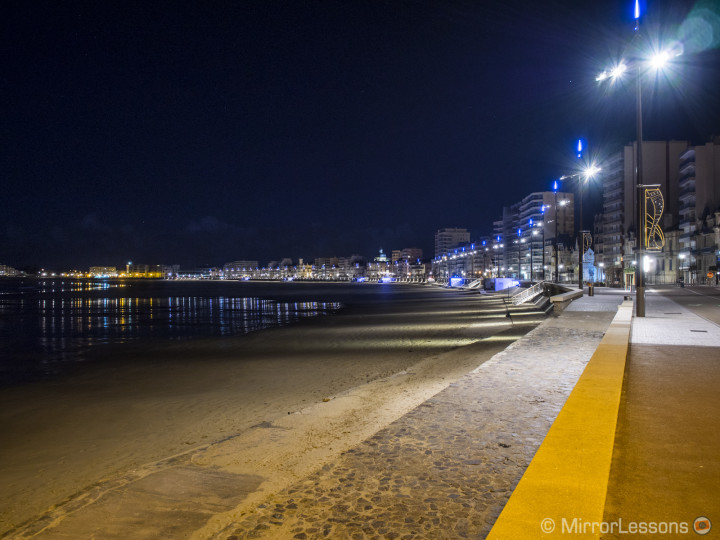
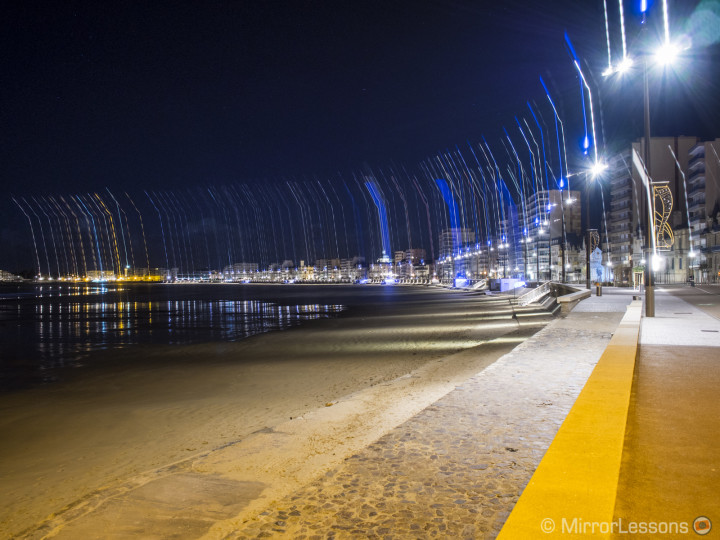
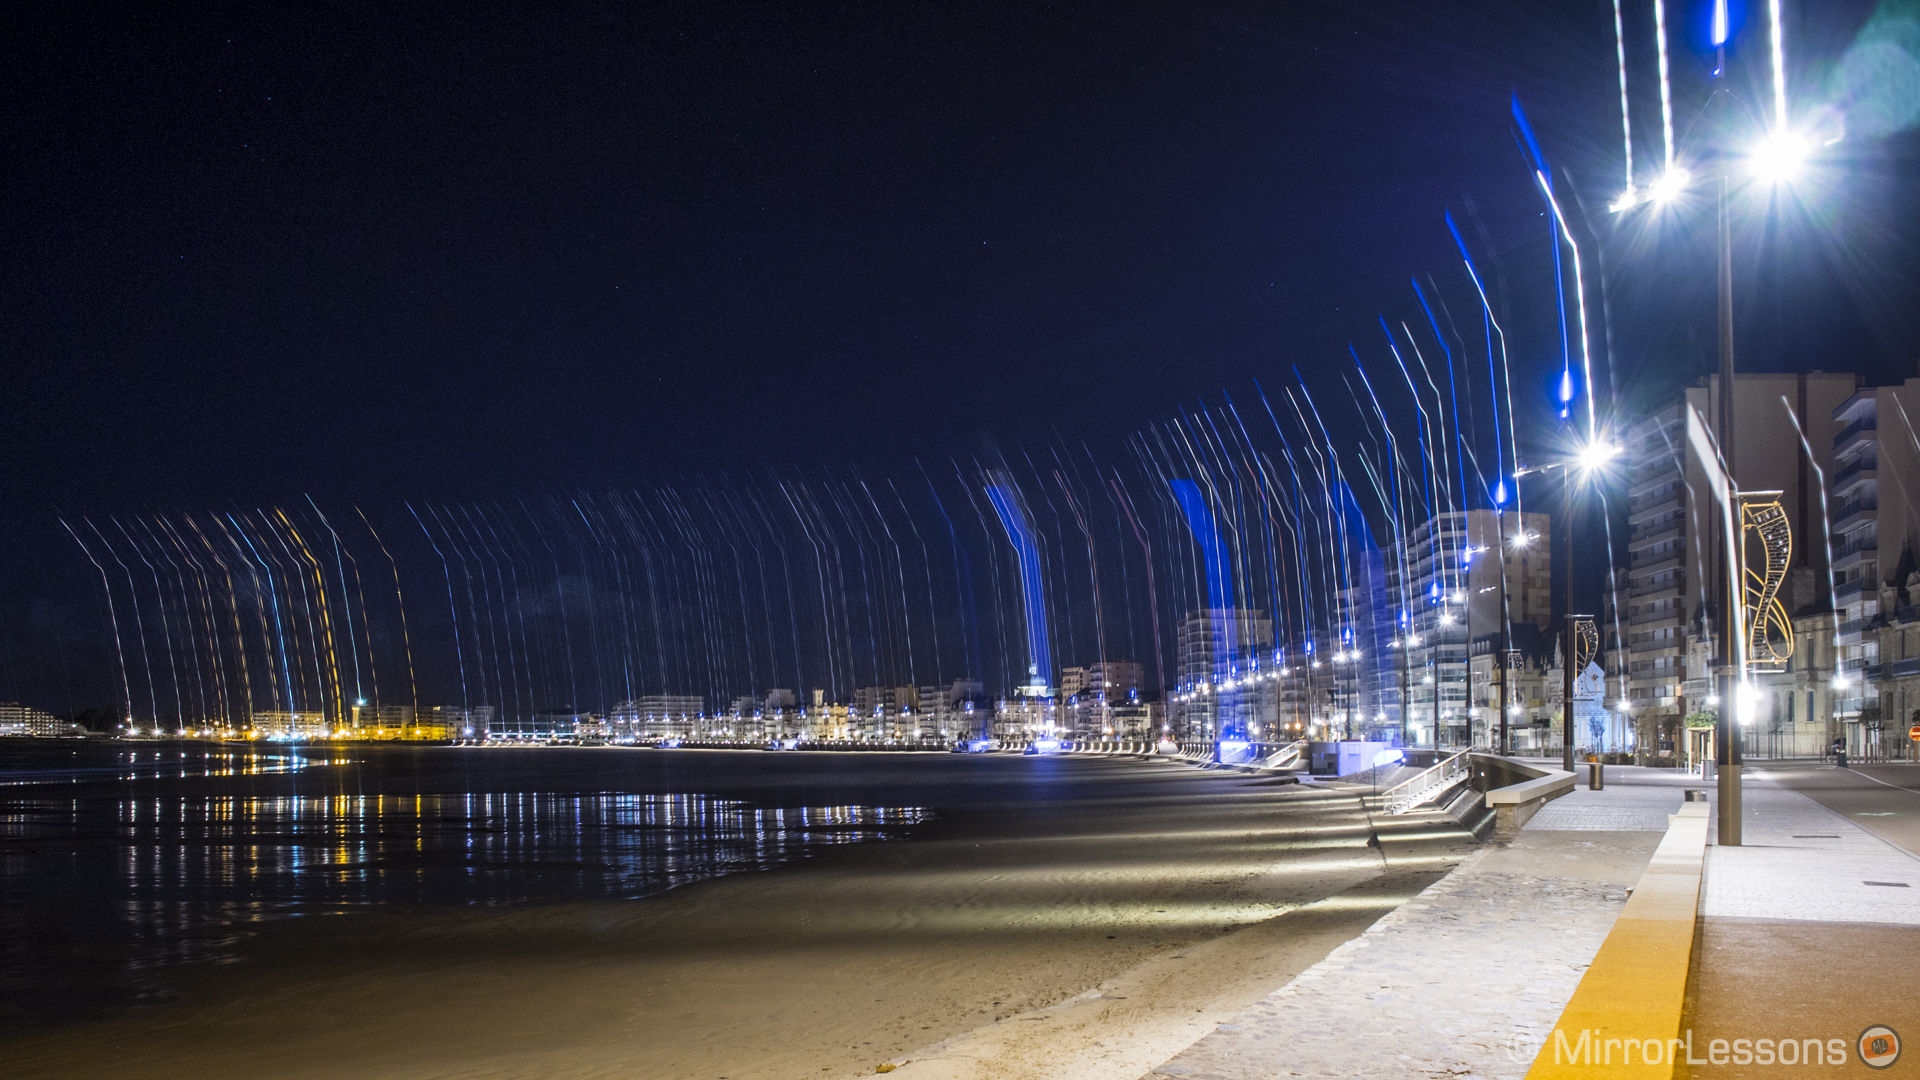
Sea walk at Les Sables d’Olonne
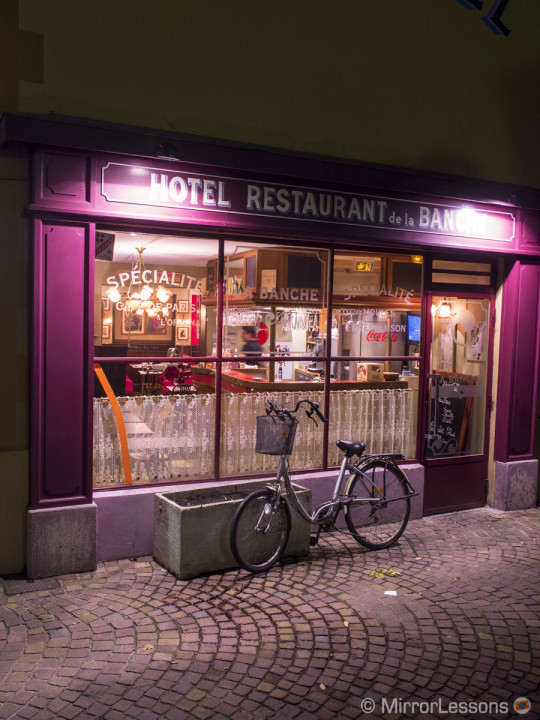
The 5-axis stabilisation works very well with slow shutter speeds down to 1 second. You won’t get a perfectly sharp picture the first time around; you’ll need four or five tries to figure out a position in which you can remain as still as possible. Pipes, walls or anything you can lean against will help.
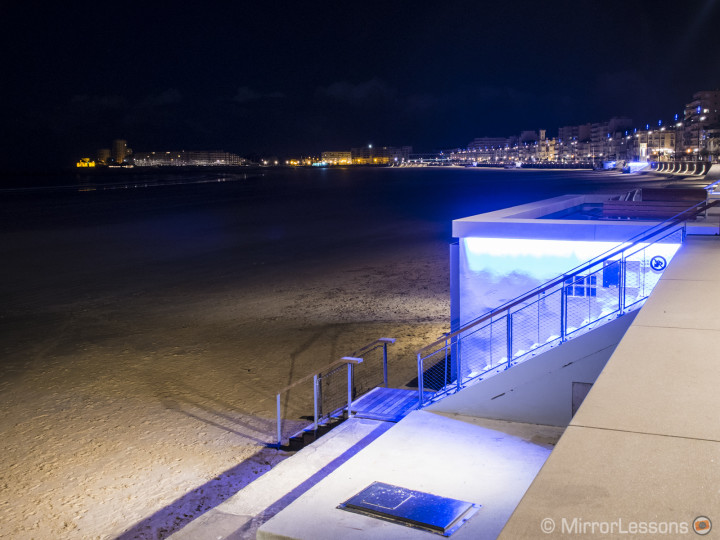
Believe it or not, at 1 second and a half, you can still get good results.
The best way to work with the 5-axis stabilisation in such extreme situations is to try to “become one with the camera”.
Hold your breath, stand still and wait until you are completely ready to take the shot. Very delicately press the shutter release button and resist the urge to retract your finger right away; wait for the shutter to close again. You need to avoid any sudden movements, even if it is a micro millimetre. The stabilisation will take care of the rest. Once the picture is taken, check to see if it is sharp, otherwise try again. Take two or three in a row – the one in the middle might be the winner.
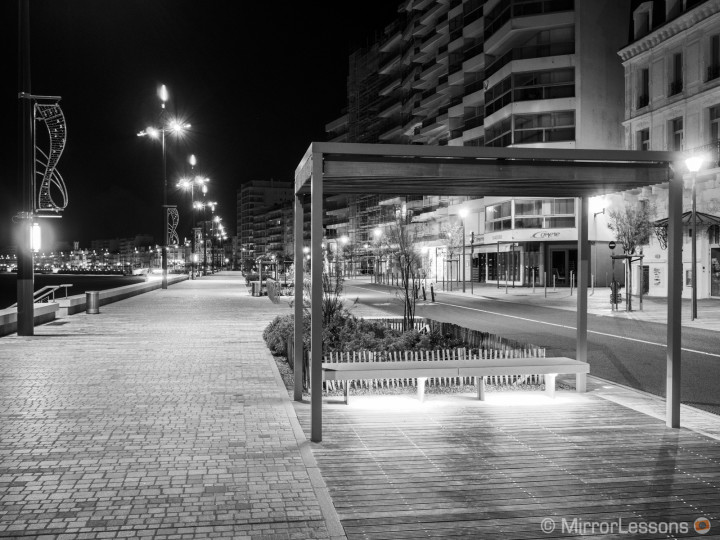
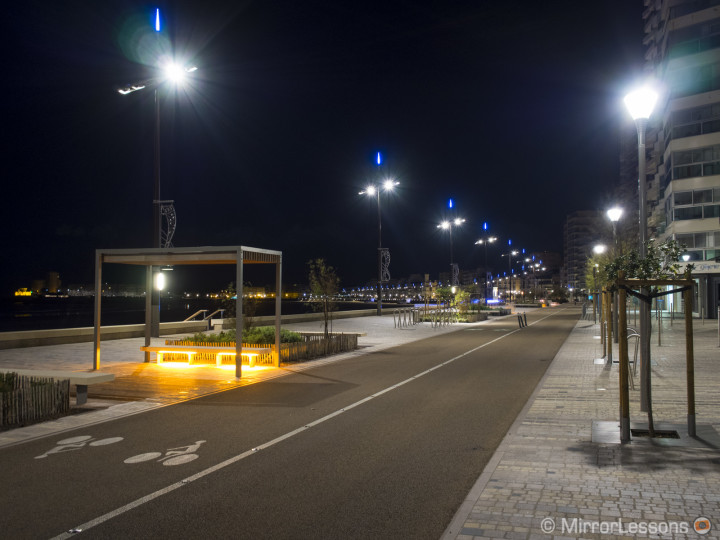
I noticed that the stabilisation works better in landscape mode than in portrait mode. With the latter, it took more tries to take a sharp image. In landscape mode, I managed to get a good result with the third or the fourth try. In vertical orientation, it might come with the fifth or sixth. The camera is less stable so it becomes even more important to find a solid anchored position. Maybe the battery grip could help for portrait oriented shots, but it would add more weight. That’s something which needs to be tested as well.
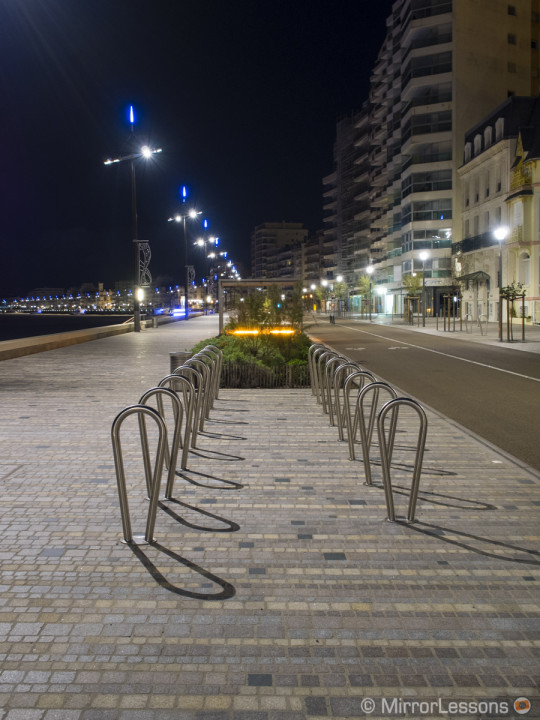
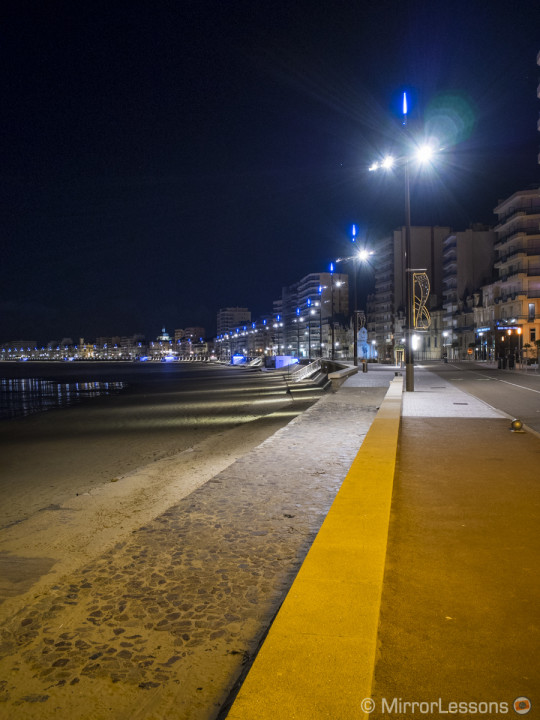
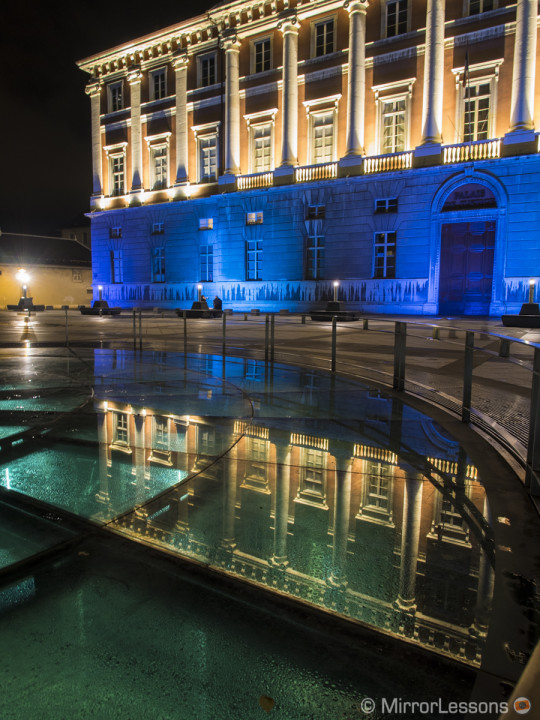
Of course there are situations where it becomes very difficult to use the 5-axis stabilisation. After a good 20 minutes, my hands started to feel very cold so I was less stable while shooting. At that point, I start to raise the ISO and keep a faster shutter speed, where “faster” was still slow enough to take full advantage of the 5-axis stabilisation.
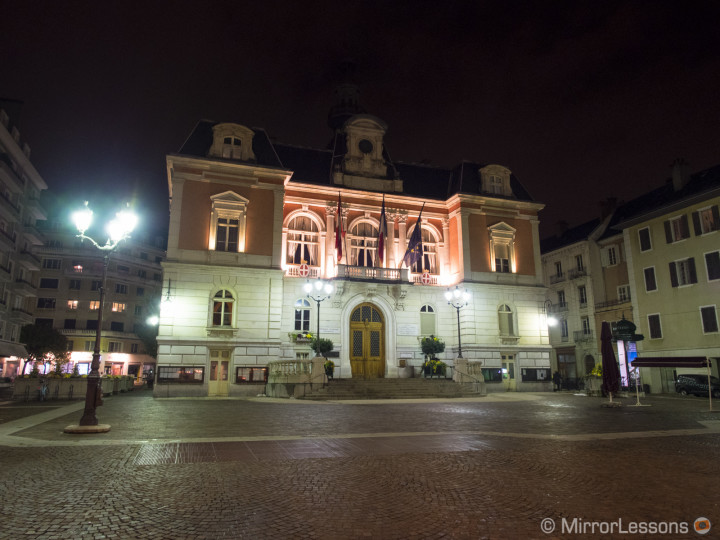
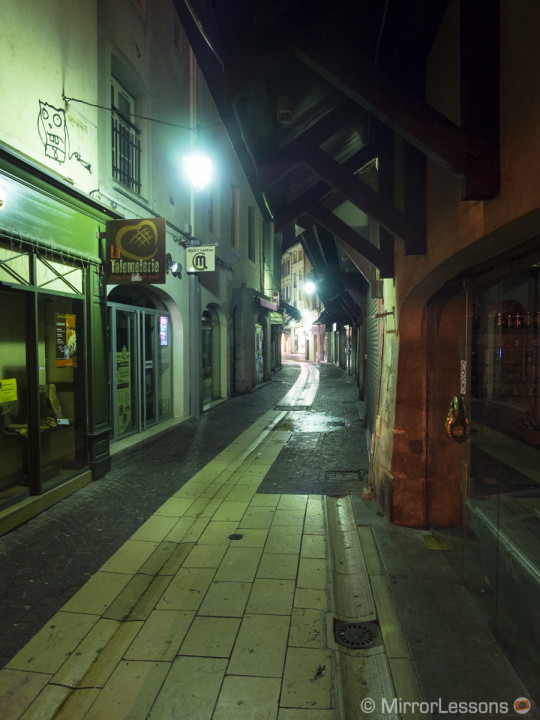
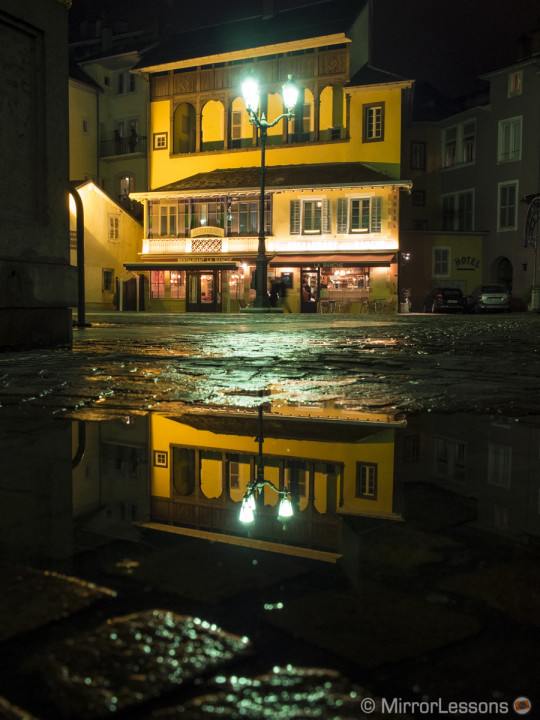
Another example of a difficult situation is when you want to take a low-angle shot. You won’t get anything at 1 second hand-held but you can still find a more than optimal balance with the ISO sensitivity and bring home some high quality shots anyway.
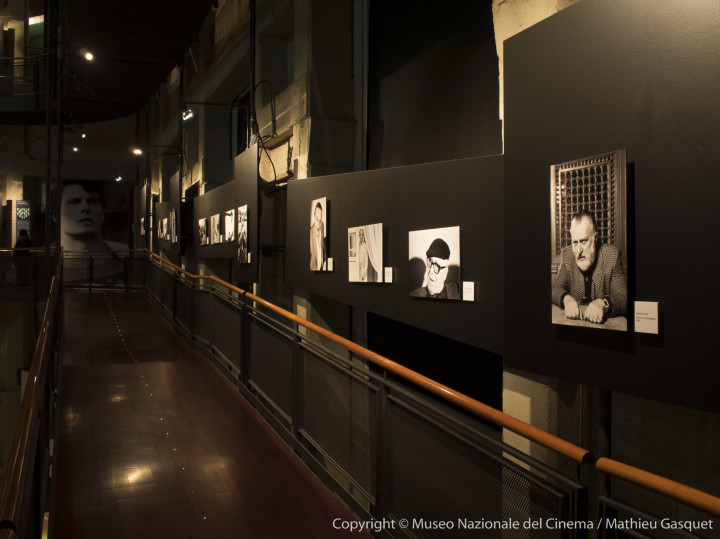
The 5-axis stabilisation of the E-M1 is a feature which I also use for work. For example, last Saturday during an exhibition opening at the Turin Cinema Museum, they asked me to take some quick shots of the location. I didn’t have the tripod with me, as I usually take these kinds of shots during planned sessions. The light was very poor on the ramp but I still managed to bring home some more-than-decent shots. The resulting images work perfectly as a high-quality preview, and will suffice until I take the proper shots with the tripod later on.
I find it hard to stop praising Olympus’ internal stabilisation. This isn’t the first time we’ve talked about it on this site but I really think it is one of the best features found on Olympus cameras. Now, I don’t want to say that it can fully replace a tripod as the latter still represents the best way to achieve sharp night shots with a very closed aperture. But if you own an E-M1 or E-P5, you can use your tripod for shots where absolute sharpness is necessary, and count on the wonderful 5-axis stabilisation for everything else. And maybe you can also be artistic as I was when I took the first picture at the beginning of the article, but that was a lucky mistake as I was trying 4 seconds of exposure hand-held. The result is interesting, isn’t it? 😀
