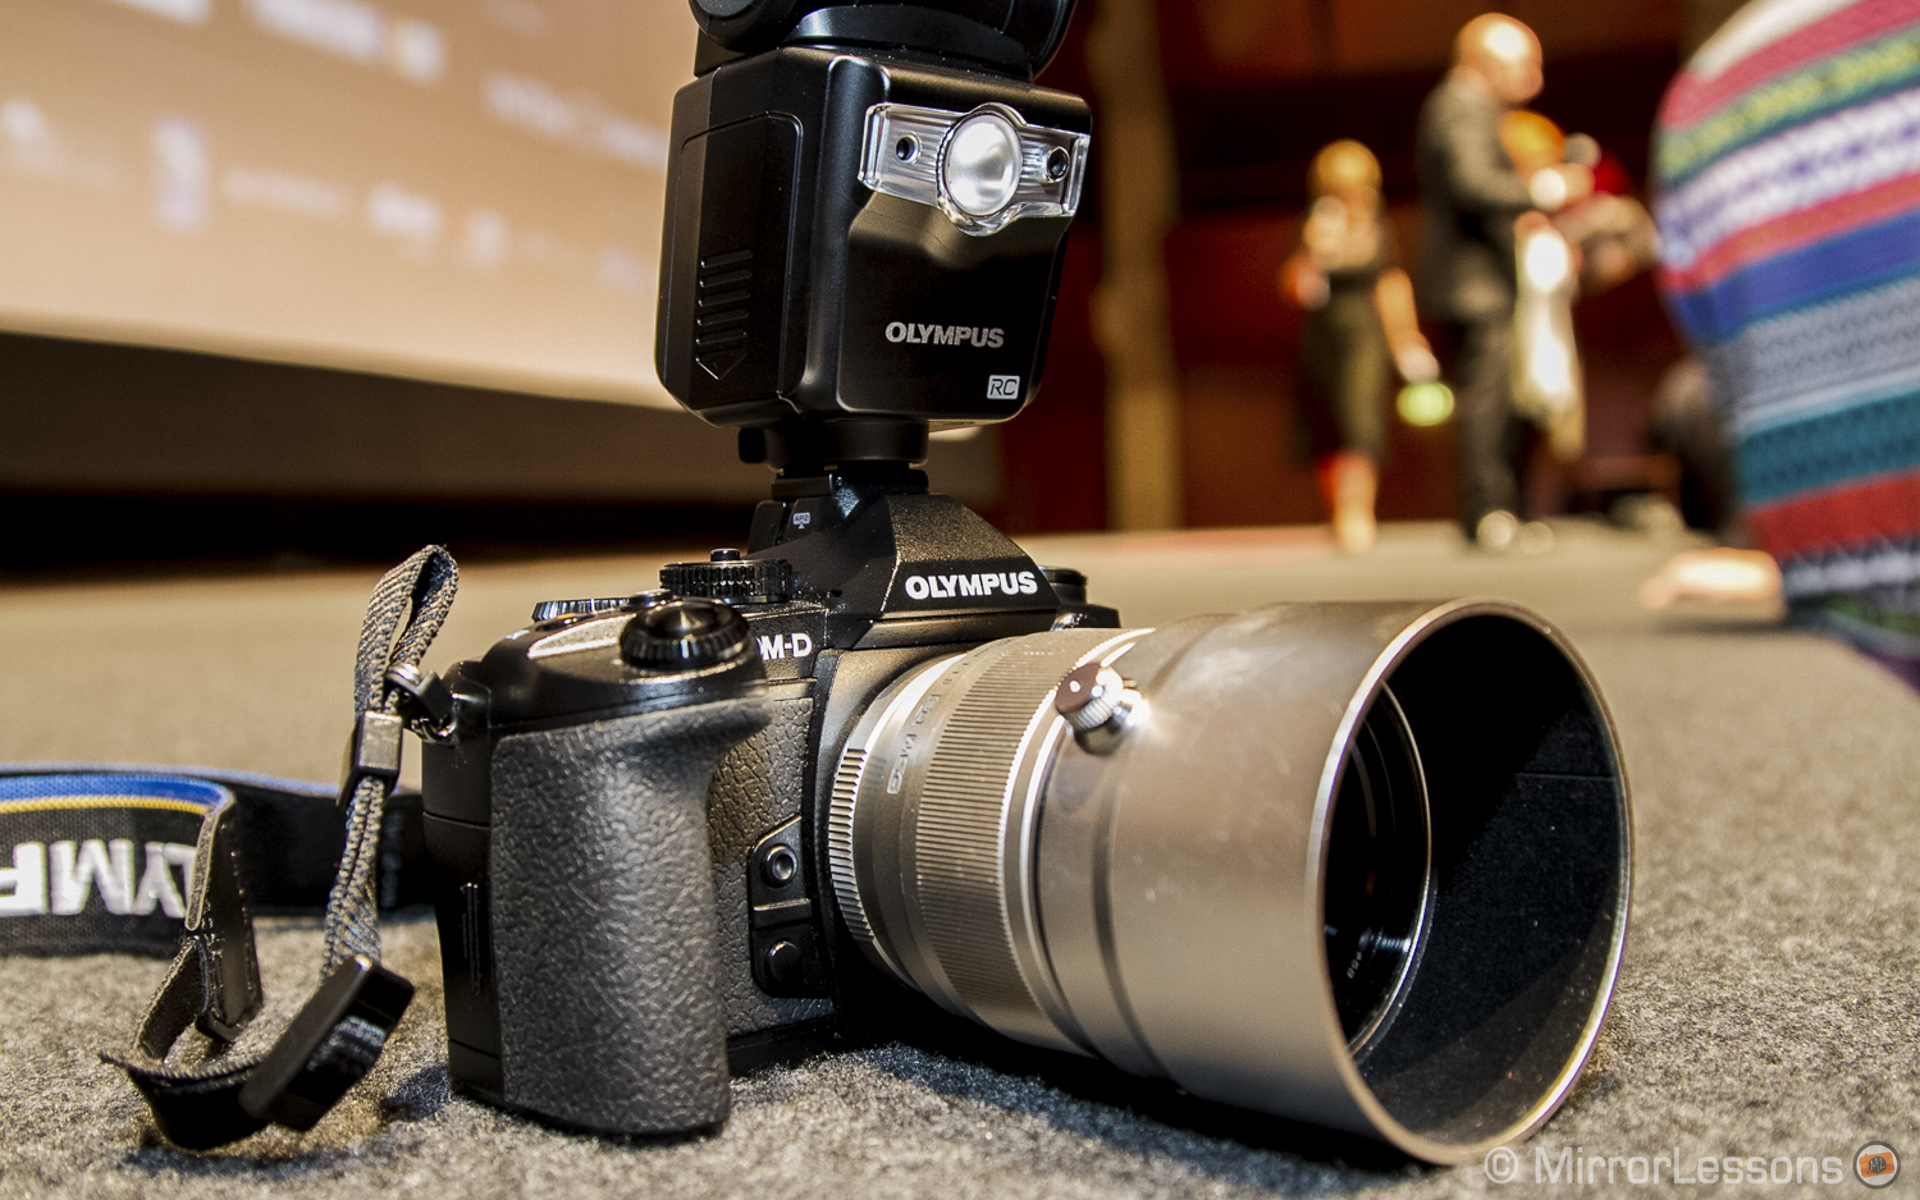
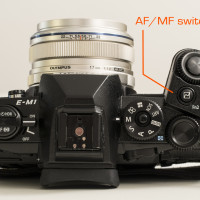
The release of the new [easyazon_link asin=”B00EQ07PG2″ locale=”US” new_window=”default” nofollow=”default” tag=”easyazon-textlink-20″ add_to_cart=”default” cloaking=”default” localization=”default” popups=”default”]Olympus OM-D E-M1[/easyazon_link] has dramatically increased photographers’ interest in the Micro Four Thirds system. I had the chance to test it out for a day during the Castle Leslie event in Ireland but to fully understand how good a camera is for professional work, it was necessary that I use it in the field for my weekly photography assignments.
Olympus Europe kindly sent us the camera and three different lenses for one week. This allowed me to use it as my main camera for work and even bring it on a very short trip to France (you can check out my 5-axis stabilisation article here). It has been a very busy week with the E-M1!
One of the things that surprised me was that several of my Italian colleagues asked me “Is that the new OM-D?” while I was out on the job. The E-M1 seems to be the first MFT camera to have really captured the attention of professional photographers.
But is it really worthy of all the attention?



N.B.: All the images in this article are post-processed RAW files, unless otherwise specified.
N.B.: On September 2014, Olympus released the firmware version 2.0 that adds lots of new functionalities to the camera. More details at the end of this article.
A new reference
Design & Ergonomics
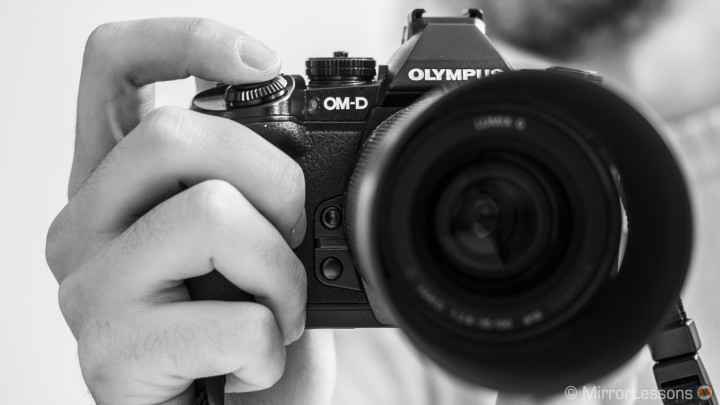
To find something I didn’t like about the camera, I had to turn to something not even related to the camera body itself – the supplied strap. And not that there is anything wrong with the strap; it’s just too big for my taste and the large brand name sewn into it is less discreet than I would prefer.
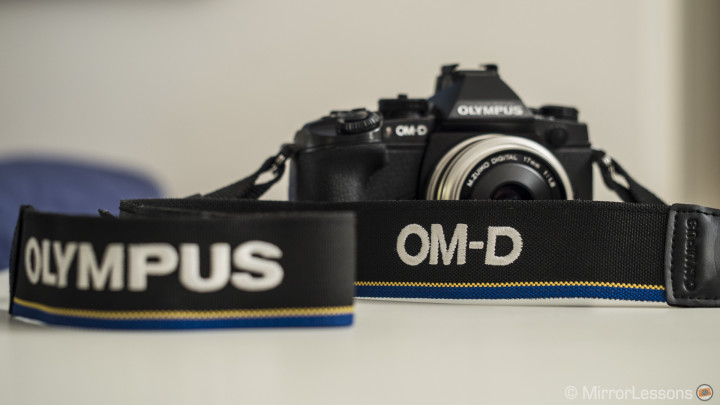
I honestly tried to find a flaw in the OM-D E-M1’s design but couldn’t.
Some call it ugly (I don’t agree), but I haven’t yet heard a critical word about the functionality of its design. The grip, the dials, the button placement, the customisable possibilities, the weight and the balance, they are all perfect when you hold and use the camera.
I could clearly sense that Olympus spent quite some time studying the design of its new flagship camera and this attention to detail has given birth to a perfect result. I am also glad to see that Olympus listened to much of the feedback users provided. All the little quirks of the E-M5 have been substantially improved.
The E-M1 has been designed for professionals above all and you sense it from the first moment you grab the camera.
In Ireland I used the camera with the battery grip attached, which is a welcome feature for professionals who like a better grip for portrait orientation shots. For me, the built-in grip is more than enough. During this week of intense usage, I never felt the need to add that extra weight and volume. I like the MFT system for its compactness and to me the E-M1 body represents the perfect design.
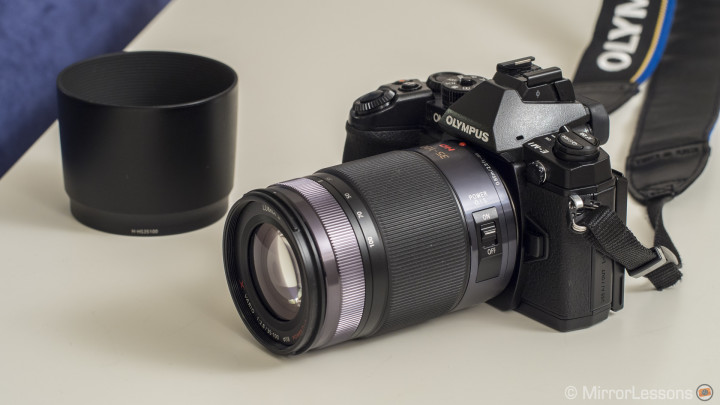
Until now, I had always considered the Panasonic GH3 the best MFT camera for ergonomics; its DSLR shape presupposes good ergonomics. Let’s be honest, it doesn’t matter how big or heavy a DSLR is, the grip is always perfect and the usability is very straightforward. The E-M1 is the same, but with its own design and lightweight advantages.
Everything in the right place
Functionality
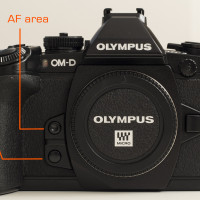
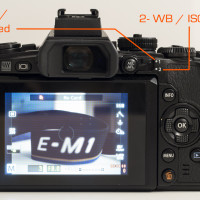
The OM-D E-M1 has 6 customisable buttons in addition to the dedicated functions assigned to the arrow pad, burst and AF mode buttons. Last but not least, the two main dials are also customisable with the switch found on the rear of the camera next to the viewfinder.

All these options make the E-M1 one of the most customisable cameras I’ve ever used when it comes to button layout. Actually, it took some time to figure out the best combination for my needs. The buttons I found the most pleasant and quick to use are the two on the front, next to the lens mount. You can reach them very easily with your two middle fingers when holding the camera, and that’s where I assigned the AF area select and AF home options.

These buttons allow me to quickly change my focus point or bring it back to the centre without changing the position of a single finger. You can use the two aperture/shutter speed dials to vary the point’s position. And that’s another thing I really like about the E-M1.
You can control almost anything using the two main dials, which you can naturally reach with your finger and thumb.
You press the buttons you need, adjust the settings, then half press the shutter release button to prepare to fire. If you need to quickly adjust the aperture or shutter speed before taking the shot, your fingers are already in the right place. Once your mind fully adopts this mechanism, it becomes a real joy to use.
The only negative aspect has to do with the shutter release button. It is ultra sensitive. Sometimes when turning the front dial, my finger accidentally touches it and has me exit out of the setting I am adjusting. It could be related to the model I was testing so I’ll wait to try another one to see if I find the same thing.
Below you can see my preferred button customisation:
There is also that amazing beast of a viewfinder. It is currently the best EVF I’ve ever seen on a digital camera. It is bright, sharp, and very detailed: the first electronic viewfinder that doesn’t make me long for an optical viewfinder. The quality and specs are the same as the external VF-4. If you set the EVF Auto Luminance option to ON, the EVF automatically adjusts its brightness. That’s why I’ve never felt the need to activate the Live View Boost (an option that makes the images clearly visible but doesn’t give an authentic exposure preview). The EVF Auto Luminance works just fine even in low-light conditions. Furthermore, the camera firmware version 2.0 released in September 2014 reduces the EVF time lag to 16 msec (when frame rate setting is high).
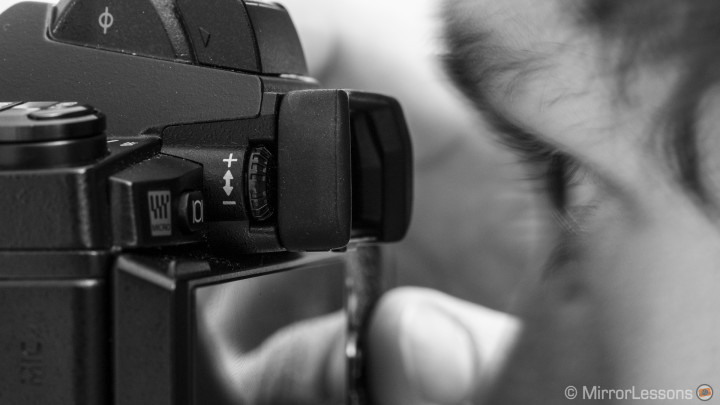
The only limit, which you’ll find on any EVF, occurs when you shoot in low-light condition with only one strong source of light. The contrast between shadows and light is very hard and the EVF will tend to show overexposed highlights. In this case, put your trust in the camera’s metering.

One negative I cannot ignore regarding the functionality of the camera is the lack of a dual SD card slot. This is something that professional photographers can be very picky about. Personally, I have never owned a camera with dual memory card slot, and have never had a problem so far. But more than one photographer has told me that while the E-M1 seems interesting, the lack of a dual slot card has stopped them from considering it for work. Professionals can be very demanding.
E-M1 on the job: Contemporary dance
Image quality

The image quality, which I already loved on the Olympus OM-D E-M5 and E-P5, is confirmed on the E-M1 at 100%. I was curious to put it to the test in a very specific situation, so I chose a contemporary dance show that took place on two different dates. I always prefer to shoot a show like this more than once if I cannot see a rehearsal. Doing so allows me to have a second chance to take something I might have missed the first time. The performance ‘Cioccolato’ by the Italian dance company Egri-Bianco Danza was held in conjunction with the chocolate festival (CioccoltaTò) which took place that week in Turin.

This kind of photography is excellent for putting aspects like colour rendition, ISO and autofocus to the test (more on that later). Usually in this kind of situation, the environment is very contrasted with just a few strong lights on the dancers. Coloured lights with a mix of different sources like LED and incandescent are also very common.
With dancers, speed is very important. In order to keep their movements sharp, you need to stay at a shutter speed of around 1/200 or faster. I sometimes used 1/100 but that is the very limit, unless you have a specific result in mind like the example below, where I wanted to show the movement of the swinging violin.

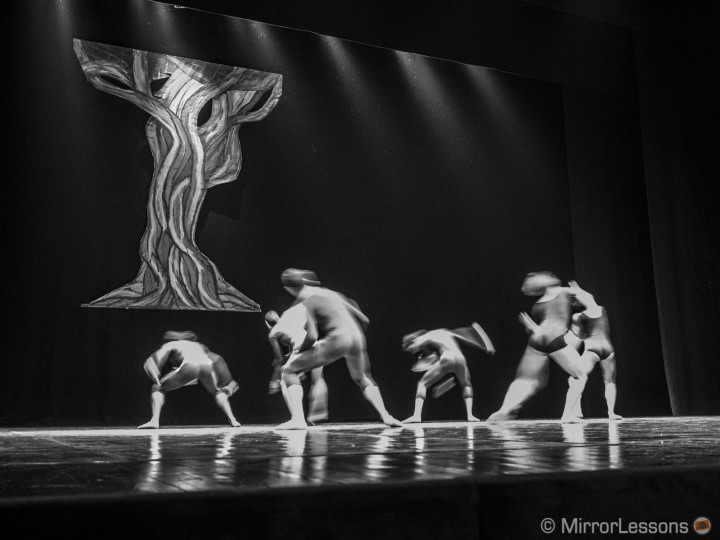
Photographing a show like this means finding a good balance between ISO and aperture. I had the M.Zuiko 75mm f/1.8, the Lumix 35-100mm f/2.8 and the 17mm f/1.8 with me and I almost always used an f/2.8 aperture. I also set the ISO to auto with 3200 as the limit and White Balance to Auto. The camera mostly stayed at 3200 ISO, which I find pretty acceptable but I think that is some cases it could have chosen a lower ISO value. At 3200 ISO there is some loss in detail but sometimes it is also a result of movement or the focus being slightly soft.
Most of the time, the E-M1 metering worked very well. I always tend to slightly underexpose and then recover some shadows. With MFT sensors, highlights tend to be weaker. Occasionally, the camera overexposed the images too much but I admit that in some situations the lights coming from the ceiling were very intense. The camera usually manages to find a good mix, but if highlights are overexposed, you won’t recover them. I must say that it happened only a couple of times, and I converted those images to B&W later on in Lightroom.

The colour rendition is also very accurate. Colours have always been one of Olympus’ strongest points and the E-M1 proves very precise regarding this aspect. I was glad to see how well the auto WB worked as well. Not a single miss.



The most critical situations are when there are dominating colour tints in the scene. In the photo below, the colours are very accurate but the combination of all those tints as well as the strong contrast between the centre and the corners caused the photo to lose some detail in the coloured highlights (especially in the red costume). In this example, it would have been better if I had underexposed the photo a little more as it would have preserved the details better.
In other situations, it was either all red or all blue. Situations like this really put the sensor to the test as it has to work all the details with a single colour channel. The E-M1 suffered more on the blue tints but overall I found the results quite good. We are indeed talking about extreme situations here. In this case, shooting raw is a must, as even a few little adjustments during post-processing can help recover some details. For a couple of pictures, I also managed to recover a lot of details in the shadows. I clearly saw an improvement with the RAF files in this regard.



While the raw files will give you more flexibility for processing the pictures, I was also curious to see how the JPG engine of the E-M1 worked in these unique conditions. And just as it proved worthy before on the E-M5, most of the JPGs on the E-M1 are usable.


Of course one could point out that a full frame DSLR such as the Canon 5d mkIII or the Nikon D4 with their crazy native ISO range would have given better results, and I can’t argue with that. But for me the E-M1 provides more than acceptable image quality, and pixel peeping a dance show photograph won’t make the photo itself any better. It is all about the way in which you capture intense and important moments of the show that best represent the choreography.
The OM-D also has some advantages over DSLRs that can make a difference, and one of them is the shutter sound. As great as a DSLR may be, the “click” it produces every time you take a picture doesn’t remain unheard. Most of these shows also have silent parts without music. I often see photographers covering their DSLRs with special sound mufflers to minimise the sound of the shutter. The E-M1 shutter sound is far more discreet. I had people behind me on the second day and they were never bothered by me taking photos. This doesn’t mean that the E-M1 is better; it simply makes things easier and allows the photographer to worry less about discretion.
Autofocus: the good and the great
While my expectations were already high with regards to image quality, I was very curious to see how the new and highly-praised autofocus on the E-M1 would work. In the end, it proved tremendously efficient.
The autofocus is one of the most significant updates on the E-M1: the sensor incorporates phase detection that works in AF-C/tracking mode for MFT lenses. It also works in AF-S mode with FT lenses via an adapter.
For a show like this, I mainly use tracking as the dancers can move very quickly and unpredictably in all directions. I was really surprised to see how well the tracking managed to follow the dancers, even when they were wearing dark brown clothes in front of a black background. (The Lumix GX7 also did well in this respect – check out the in-depth review here!)



There were some misses, especially when the dancers suddenly changed direction or came too close to me (when using a telephoto lens). It performed well with both the M.Zuiko 75mm and the Lumix 35-100mm. I didn’t notice any substantial differences but my impression was that it might be slightly faster with the Panasonic lens. A lens I can’t wait to try in this kind of situation is the recently-announced M.Zuiko 40-150mm f/2.8.
The important thing when working with AF-C or AF tracking is to set the smallest AF target point. If you keep a large point or work with a group target, it can become a nightmare as the camera will often focus back and forth and lose its lock on the subject several times.


The other aspect that makes the E-M1 fit for the task is its continuous shooting capabilities. It has a maximum of 10fps in H mode and 6.5fps in L mode. The L mode is important as it will give focus priority while the H mode gives priority to speed. In a case like this, I prefer focus over speed. But even in L mode, the camera is as fast as most DSLRs. The buffer capabilities are very good as well and will let you take all the shots you need. Just make sure to have a fast-writing SD card.
E-M1 on the job: reportage and events
Speed, face priority, flash units
The biggest assignment for my work this week with the National Cinema Museum was the opening of the Torino Film Festival. Red carpet, actors, actresses, politicians; in short, a lot of people to shoot and not to miss. The other museum photographer Sabrina and I always go together and while she takes the group shots, I focused on the close-ups. This is another situation where the autofocus needs to be darn good as VIPs will often stop for only a few seconds.


I switched between the Lumix 35-100mm and the M.Zuiko 75mm. The latter is a portrait lens and works very well for these kinds of shots but of course a zoom can be more versatile. It’s a personal choice. If I had two bodies, I might have chosen to work with primes. With one body the zoom on its own is easier to use.


In this case I also used the face priority option and I must say it works very well in AF-C (tracking wasn’t necessary here). Again, be sure to choose the smallest AF target point. Face recognition works great with one or two people. If there are more, the camera might choose to focus on the guy in the background, rendering the others in the foreground out-of-focus.
An assignment like this one helped me realise how fast the E-M1 is in all its operations. From AF and burst, to the camera software and quickly playing back the shots, it is all stable and fast. The only thing that happened twice, especially when performing continuous shooting, is that the camera froze. I had to remove the battery in order to turn it off and turn it on again, and regain control of the camera. It seems that other E-M1 users have experienced a similar phenomenon. Apparently Olympus is aware of the issue and is working on a fix. Hopefully, we’ll see a firmware update soon (this issue has been resolved since firmware version 1.3). There has been one recently (1.1) but the “lock-up” issue hasn’t been mentioned in the release notes.


As I already mentioned, the E-M1 is very fast for both AF and burst mode but you need a very good and powerful flash to keep up with that speed. Sadly, that wasn’t always the case with the FL-600r. Its reload time can be too slow when you have only a few seconds and you use continuous shooting. You need a bigger flash and that in a way is a small limit. It’s a shame to have a such wonderfully small package and ruin it by mounting a big flash that will unbalance the entire set-up.
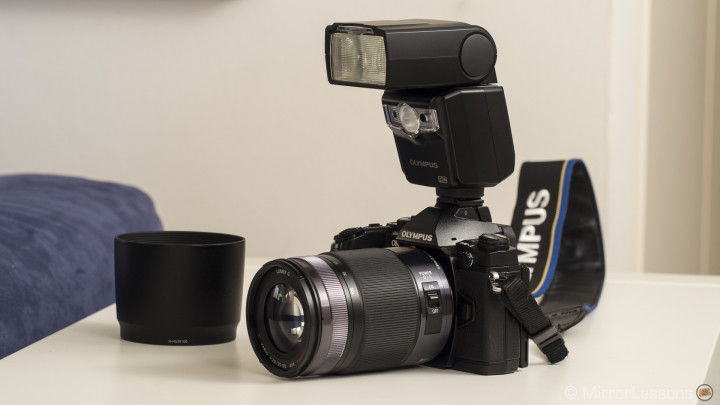
That being said, I managed to take all the pictures I needed and the combo worked fine, but instead of shooting like a paparazzi, I had to carefully choose the right moment to take the shot or two consecutive shots maximum.


The joy of working light with primes
While zoom lenses can make shooting easy to handle, I must admit that I really enjoyed using the camera with prime lenses. The M.Zuiko 17mm f/1.8 has become one my favourite lenses; it’s very sharp wide open and fast. I love the 35mm equivalent angle of view and since MFT primes are very small, you can really reduce the package to a minimum while extending the image quality to the maximum.
And yes, shallow depth of field is there too!


The 75mm is another lens I love, one of the best in the MFT system and perfect for portraits even though its focal length can sometimes be difficult to use in cramped environments. But when you see the quality, it is really impressive!
Image quality: Additional considerations
Along with the lack of an AA filter, the E-M1 features a new sensor which improves several aspects of the E-M5/E-P5 sensor. However, if you expect to see a drastic difference between it and the other high-end Olympus MFT cameras, you could be disappointed. In a real world situation, the E-M1 and E-M5 files are almost identical. You really need to dig deep to find some noteworthy differences. The most important concerns high ISO from 6400 and up. The E-M1 retains more sharpness and a better colour rendition with less loss of detail. It becomes really obvious at 12800 and 25600.
This point may not interest everyone, as many photographers have said that they are not interested to going higher than 1600 with a MFT sensor, but to me knowing that the highest ISO values have been improved is a plus. This means I can use a higher ISO when in need, knowing that the E-M1 will handle them just fine. I sometimes noticed looking at the E-M5 files that in some situations, the lack of detail in the shadows at 6400 ISO could be very visible. This is something that doesn’t happen with the E-M1, from what I have seen so far.
I didn’t perform any extensive tests but my feeling is that there is certainly an overall improved sharpness compared to the E-M5 due to the lack of an AA filter. However, it doesn’t really stand out – you need to pixel-peep and look for it. One might expect a more pronounced difference with the absence of an AA filter but it is also true that the E-M5, like the E-P5, had a very weak AA filter to begin with. This may explain the minimal difference. I think that with the new sensor and the new TruePic VII Image processor, there was no longer any need for an AA filter as moiré is handled pretty well by the internal processor.
The difference might be more noticeable with prints, but unfortunately I din’t have the time to perform a comparison.
What matters is that the image quality has been improved with small yet important details. This makes the OM-D E-M1 the best MFT camera ever released.
That said, some users have come across an issue regarding long exposure with the NR filter deactivated. The E-M1 shows a lot more noise than the E-M5. I took some shots, comparing them with identical images taken with the E-M5 and the Lumix GX7, and it is true that the E-M1 has more noise with long exposures while the NR filter set to off.
I understand that this can be a problem for astrophotographers as the NR for long exposures is actually a second dark exposure (the shutter remains closed) or dark frame taken by the camera. The camera subtracts the dark frame from the first exposure and removes any undesired noise. This process increase the time it takes to complete the shot and may prove problematic if you want to shoot star trails.
Personally, I am not into astrophotography and for any situation where I need a long exposure, I will keep the NR to auto.
The E-M1 as a travel companion
In addition to the assignments I had to do, I also went to France for three days for a filmmaking job. Thankfully, I also had some free time to look around the city and take some pictures. The E-M1, being small, also works very well for street and travel photography. If you use primes such as the wonderful 17mm f/1.8 (34mm on full frame), you will find it a joy to use as it is the ideal focal length for street photography. The fast AF and colour rendition is great.


The camera also performs well regarding dynamic range both with a single file or by using the HDR technique. The E-M1 doesn’t actually do HDR on camera but there is an HDR option (the same as bracketing) where it will take the shots in a burst. You can of course set the amount of shots and the exposure variation between the shots. I usually take three or five with 1ev difference.

E-M1, 1/60, f/ 5.6, ISO 200 – M.Zuiko 17mm f/1.8

Finally, as I already mentioned before, one of the strongest points of the E-M1, as well as the other Olympus models, is colour reproduction. Colours look natural yet they are powerful. I often use the vivid profile but the natural profile works well too. Skin tones are also very accurate. As for any camera, if you want to take complete advantage of the colour rendition you need to use the OOC JPG. With the raw file, you either use the proprietary software (very slow) or some colour profiles like the Huelight color profile. They will give you a better rendition if you use Lightroom to catalog and edit your photographs as I do.

Lenses: why MFT makes more sense
The OM-D E-M1 represents a point of no return for Olympus cameras. It marks the end of Four Thirds DSLRs and confirms Oympus willingness to concentrate solely on MFT. At the same time, the camera has been designed to be fully compatible with all FT lenses via an adaptor and that’s the main reason for the E-M1’s phase detection AF. I had the chance to try some FT lenses at Castle Leslie and while the AF wasn’t as fast as it was with MFT lenses, it was still pretty good. I can also understand the desire to use FT lenses for users who already own some or use very specific pieces of glass. But as I’ve already pointed out, I feel that the biggest advantage of the MFT system and the reason I have embraced it is for its portability. Having an E-M1 and sticking a big fat lens on it just doesn’t make sense; it would lose its most attractive aspect. Sure, it is nice to know that if one day, for a specific assignment, I need a super fast telephoto, I can rent a FT 300mm 2.8, knowing that the camera will handle it no problem. But until that day comes, I am happy with the compactness of the MFT lens selection as I feel it is what suits the system best.

Note: Olympus announced the silver E-M1 and the M.Zuiko 12mm (non limited anymore) on September 2014. The paragraph below is not valid anymore.
There’s only one aspect which can be a little bit frustrating and it concerns the design of the lenses. Precisely, I’m talking about colours. Most of the M.Zuiko primes have only been released in silver. Then the black versions started to be released this year but for some lenses like the 12mm, the black version is a limited edition product, thus far more expensive. I know, this is a very fastidious comment, but for those who want to be as discreet as possible, having a shiny silver lens on the E-M1 isn’t the best thing. There won’t be a silver E-M1, and trading in a silver lens for a black one may not be the most economically sound decision in the world. But hey, we photographers can be very picky, can’t we?
Firmware update
When it comes to Firmware updates, usually we praise Fujifilm for its ability to renovate its cameras with new functionalities and improvements, even for more than two years old models. This time, I have also to highlight the great job done by Olympus with the OM-D E-M1. The firmware version 2.0, released in September 2014, adds 8 new functionalities and 16 operability improvements.
While I recommend to check out this article for the complete list of new features, here are the three most important addition:
- Keystone Compensation (Digital Shift) allows you to correct perspective when shooting with wide angle lenses
- Tethered Shooting System allows you to remote control the camera from a computer
- Live Composite photography, same function also found on the E-M10 and E-PL7
I’m glad to see that Olympus is working harder on firmwares. This kind of update gives a longer life to the camera and makes customers happy.
Conclusion: why the E-M1 will take the E-M5’s place as my primary camera for work

There are many other aspects worth mentioning which make the E-M1 a giant amongst cameras. I already wrote a dedicated article about the wonderful 5-axis stabilisation. The camera also has other interesting features such as WiFi capabilities (with full manual control), Live Bulb and Live Composite. The bottom line is that the OM-D E-M1 is probably the most complete camera I’ve ever tried in terms of options and features available. The video mode’s bitrate has also been improved but it’s still not up to the level of the competition in my opinion, especially compared to Lumix. It is perhaps the only real weak point of the camera but Olympus made it clear during our interview that they prefer to concentrate on stills rather than video. At least for now. So what is left to say really?
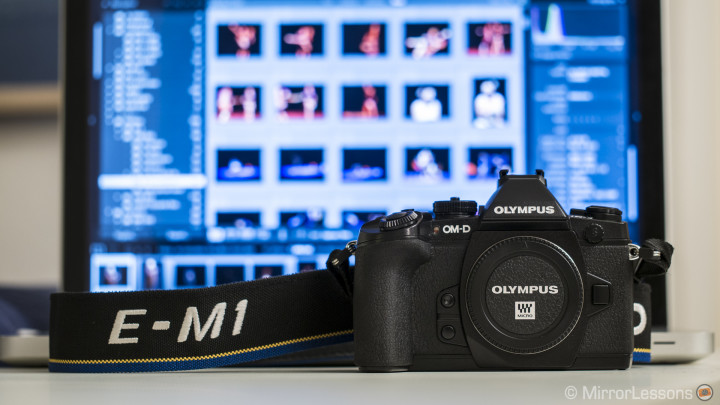
This article wasn’t meant to be a complete review and while I didn’t dig into certain aspects, I can already say that the E-M1 is, in my humble opinion, the camera of the year. I don’t like to rank as every camera has its strong points and weak points, and it is also a question of personal feeling.
For me, the E-M1 is the camera of the year because it represents an achievement in still photography for the MFT system.
The E-M1 demonstrates that MFT is a fully mature system which is completely suitable for professional needs. As I’ve said many times on this website, I switched to mirrorless mainly for the weight and size of the cameras. But it wasn’t just a question of saving my back – I just find it so much easier to work with a small yet powerful camera. I can move easily even in a closed environment full of people. People are generally less intimidated and most importantly, I enjoy my assignments more than I ever used to. And now, I can do all this with a camera that is almost perfect – super fast, completely weather proof (although it makes sense with weatherproof lenses) and all the latest features technology can offer. And I didn’t forget to mention the 5-axis stabilisation; I actually wrote a dedicated article about it as it is one of the greatest things Olympus has ever put into a camera!

Certainly, the camera has some little quirks which I’ve already mentioned throughout the article but when you start deeply analysing every detail, it is normal to find some weak points. The noise found in long exposure shots (with noise reduction set to off) isn’t something that bothers me for the kind of photography I do. A larger concern is the “lock-up” issue I referred to before, but hopefully a fix will be on the way soon in the form of a firmware update.
At this point, we arrive at the question: what could be substantially improved in the next few years?
And how much margin for improvement is there regarding the image quality of MFT sensors? This is something which only engineers can answer for the time being.With the mirrorless market being in an evolutionary phase, it is hard to predict which system will prevail, but what we know is that the MFT system is currently one of the strongest out there in terms of overall quality, performance and lens variety.
