While absentmindedly browsing the Web a few weeks ago, I came across a product which immediately piqued my curiosity. Aptly named the HandlePod, its inventors claim it is the perfect alternative to the traditional three-legged tripod.
Did I already mention that both Mat and aren’t fond of traditional tripods? Our dislike of tripods is one of the main reasons we love the Olympus OM-D E-M5 and E-M1 so much – the excellent internal stabilisation reduces the need for any type of external stabilisation down to one second.

The HandlePod is the most lightweight and convenient alternative to a tripod we’ve come across.
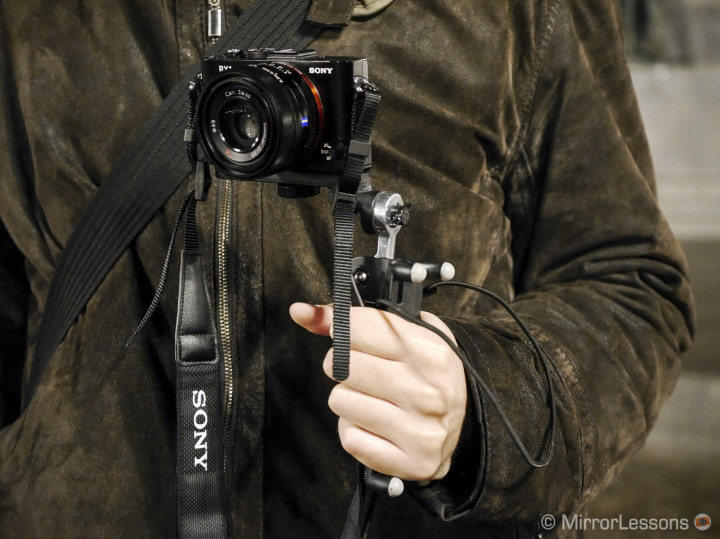
The body is made of a hard, sturdy plastic while the joints are made of metal. It isn’t much bigger than a digital camera itself, and weighs as light as a feather.
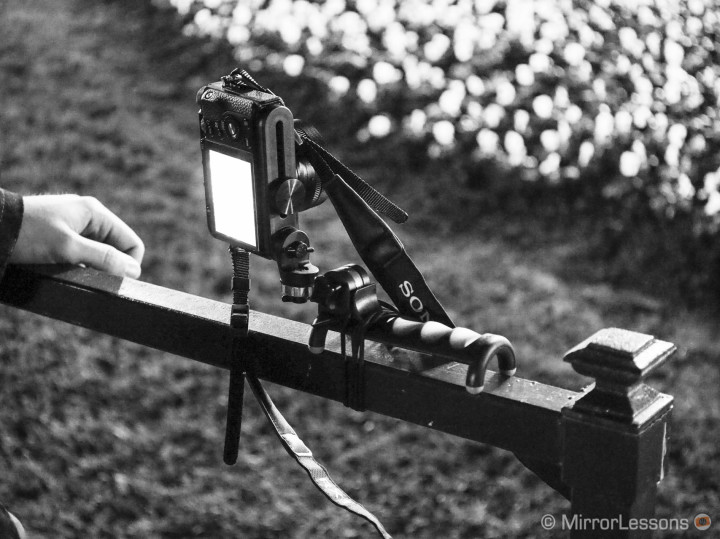
It features a grip with finger grooves on one side and four high-friction rubber feet on the other. This means you can comfortably hold the HandlePod against any vertical or horizontal surface, from telegraph poles to railings to trees. I have found that, if you keep your hand steady enough, there is no limit to exposure you can take. My personal limit is about 10 seconds, after which my hand and arm begins to tire and wobble, but yours may be longer.
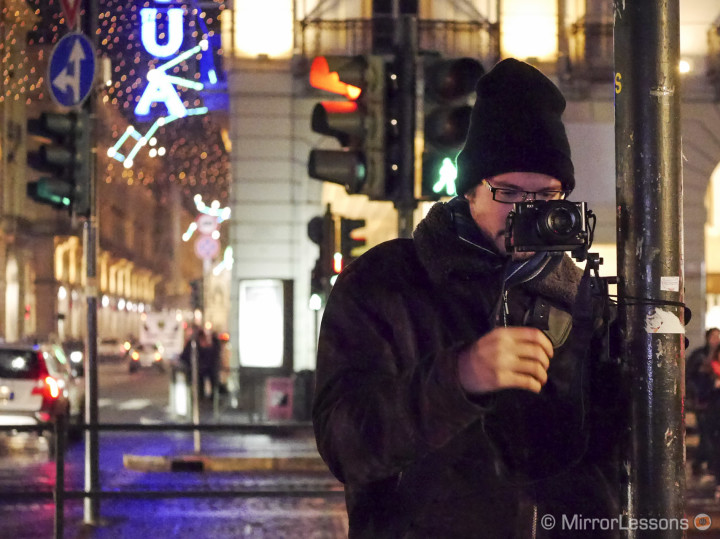
Above the grip, attached by a three-axis joint, is a mount where you can screw on your camera. It is the ideal size for anything between small point-and-shoots to medium-sized DSLRs, and of course, all mirrorless cameras. We personally tried it with the Sony RX1 and the Lumix G6, and found it easy and pleasant to use with both cameras.
When you want to avoid any chance of shake in your image, you also have the option of tying the HandlePod to a surface with the elastic cord provided. The cord is about four feet in length, so it will wrap around many objects found in the city such as lamp posts, small trees or telegraph poles. Once you’ve wrapped the cord around the object, simply slip the end of the cord firmly into the groove to keep the HandlePod in place.
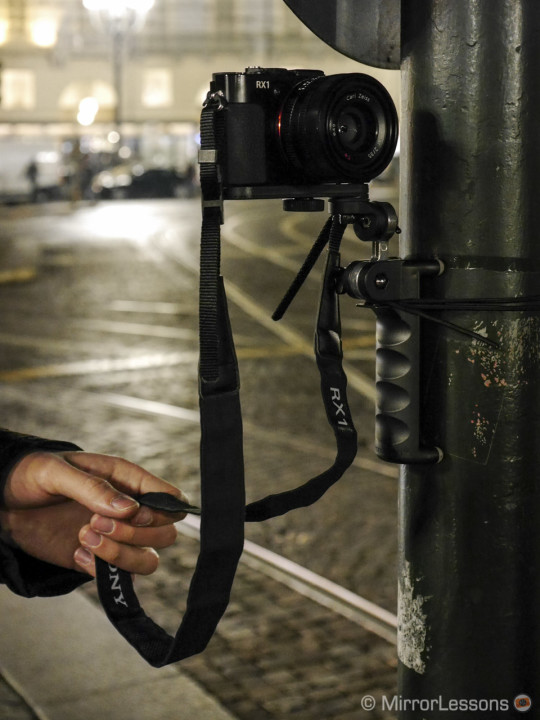
If you want the best results, I advise that you put your camera on a two-second timer. That way, you won’t risk causing micro-shakes when you press down the shutter button. Moreover, make sure that the three axis joints aren’t too tight or loose. You want them to be loose enough to be able to adjust your camera’s position, but not so loose that the HandlePod cannot support the weight of your camera.
Speaking of joints, the only drawback about this device is that two of the three knobs which tighten and loosen the joints aren’t the easiest to turn. I hope this is something they improve on future models.

There is one more thing to keep in mind when using the HandlePod, and that is the importance of stability. If you have a closer look at the picture above, you will see that it is slightly blurry, as Mathieu tried to quickly adjust the HandlePod before the old trolley left. By doing so the camera wasn’t perfectly stable. Despite its smart design, it takes time to compose and set the HandlePod before taking a photograph. In this way it is no different from a traditional tripod.
If you are interested in watching an instructional video on how to use the HandlePod, check out the official promotional video. It covers everything you need to know!
I really feel that as inventions go, this one is ingenious. The HandlePod removes everything unpleasant about shooting with a stabiliser. It is small, light, easy to pack, straightforward to use and inexpensive. With the exception of the stiff knobs, the design is basically flawless. It will definitely be in my camera bag when we go to France for Christmas this year!
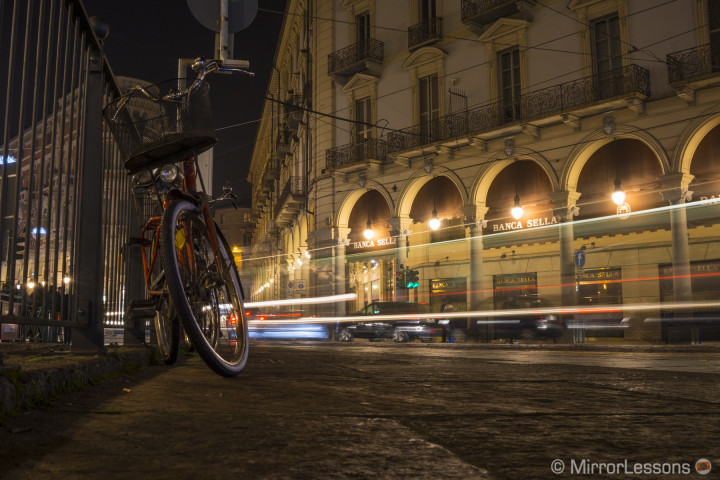
Below you can have a look at a gallery of long exposures Mathieu took with the Sony RX1 and the HandlePod. It should give you a good idea of what this contraption is capable of. Enjoy! 🙂


