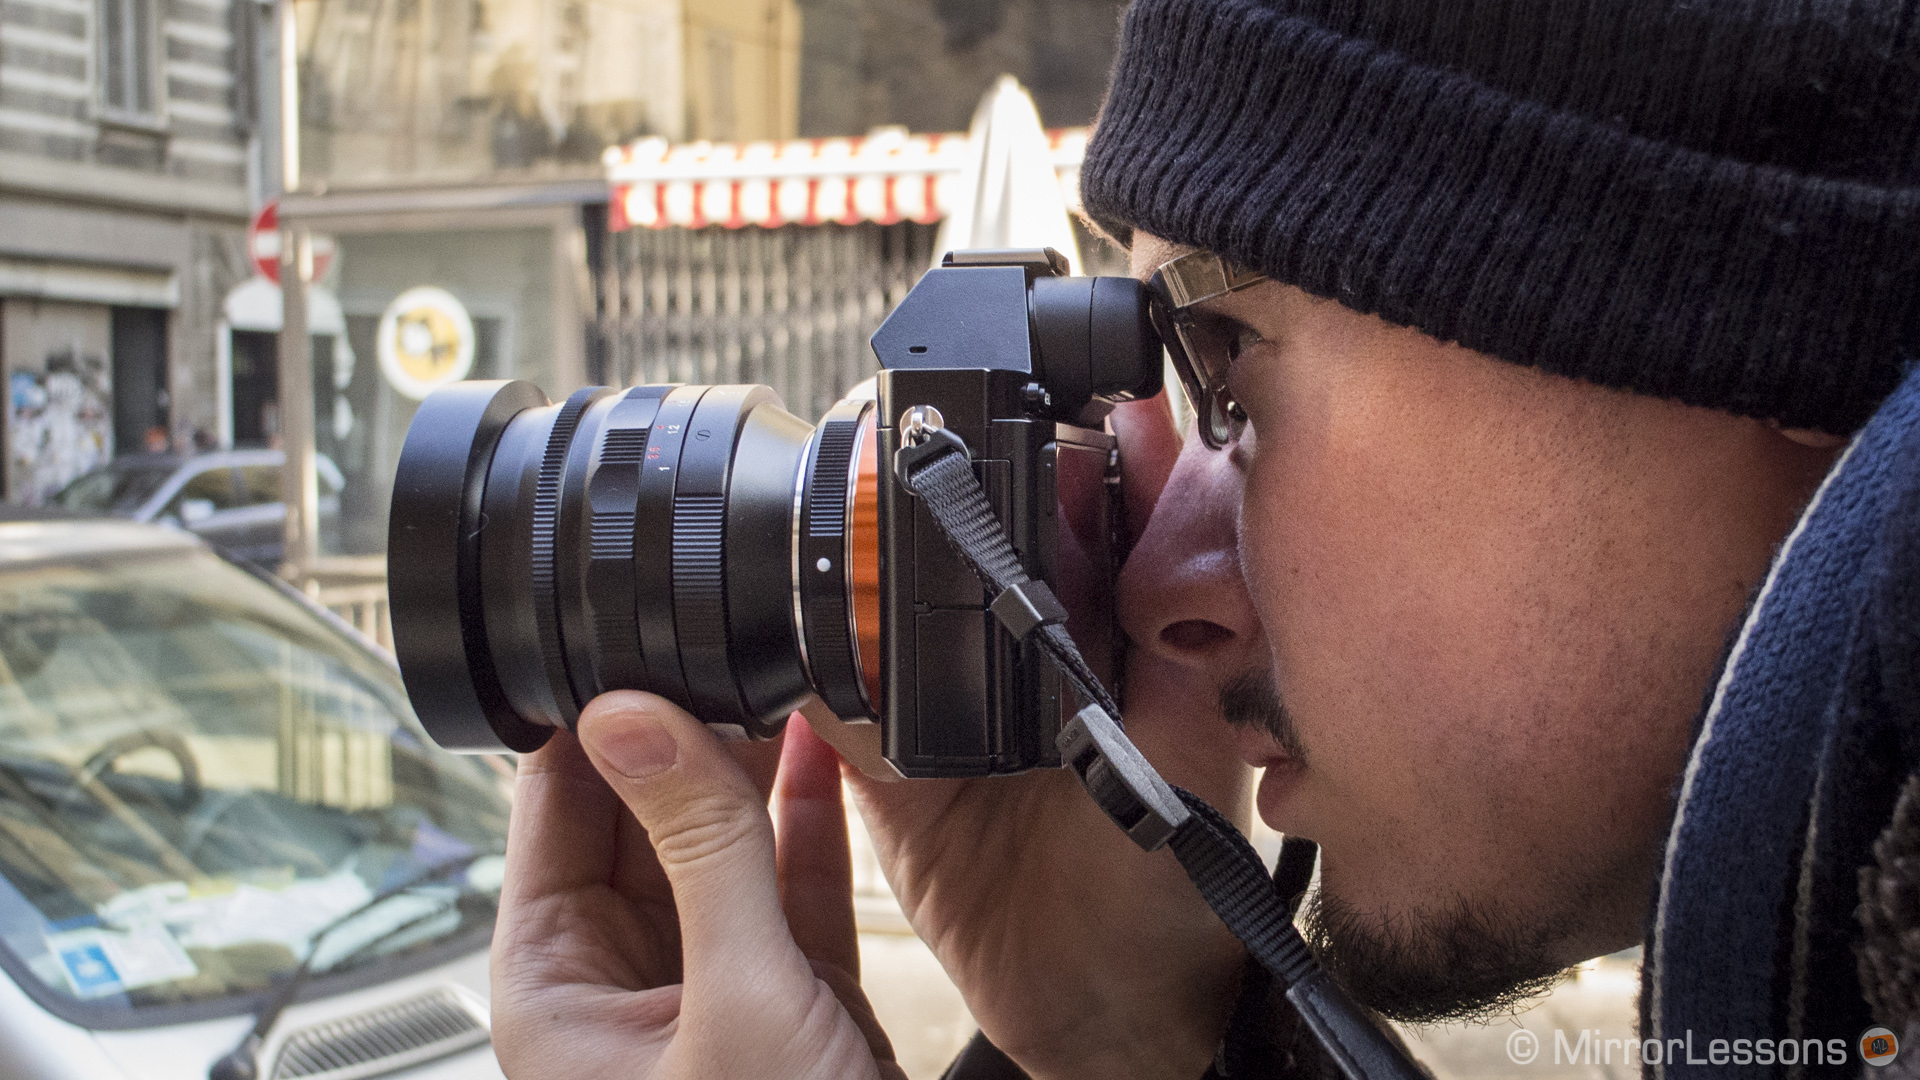
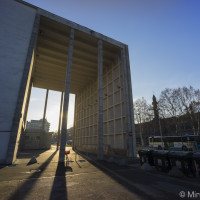
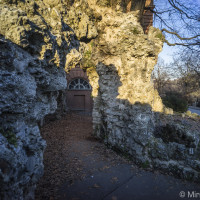
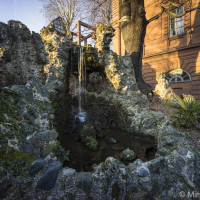
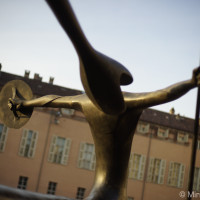
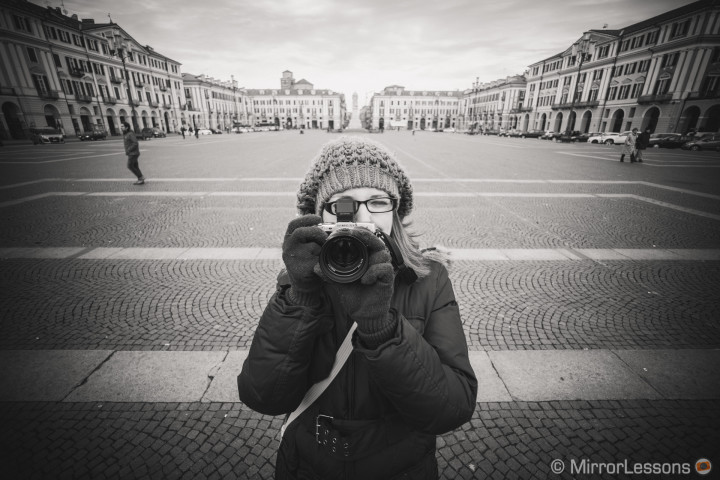
As we’ve mentioned in previous posts, I had the chance to shoot with two Leica Summilux lenses for a couple of days while in France and I’m fully willing to admit that I enjoyed every second of it. Back in Turin, this positive experience persuaded me to try other manual M lenses since I already had the adapter with me. My hands fell on two Voigtländer lenses, the Super Wide Heliar 15mm f/4.5 and the Nokton 50mm f/1.1.
The Voigtländer Super Wide Heliar 15mm f/4.5
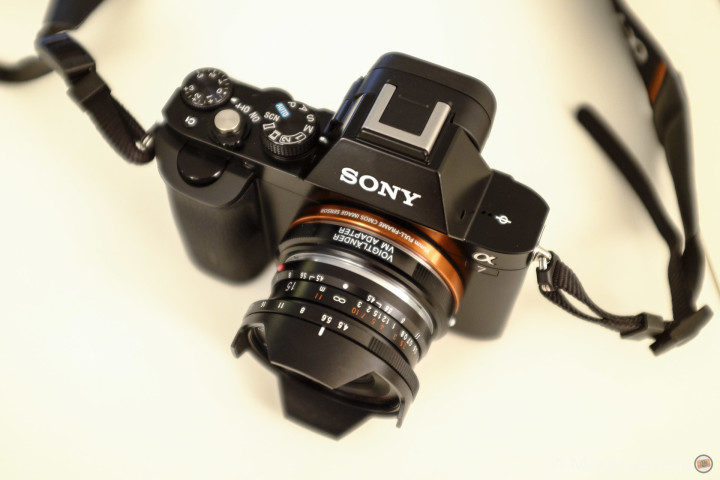
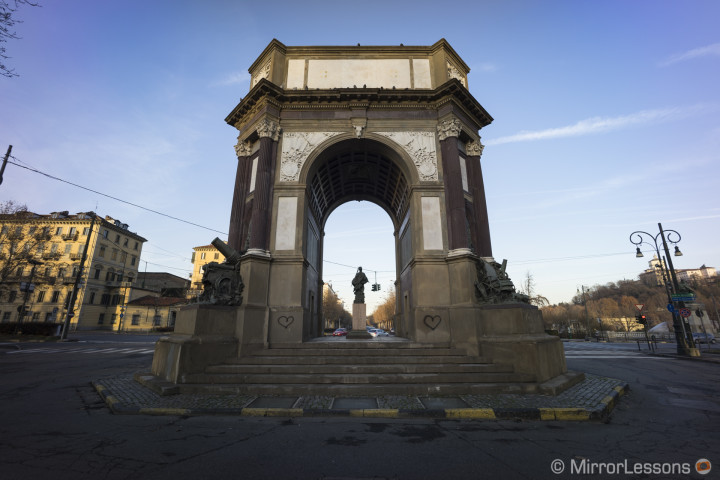
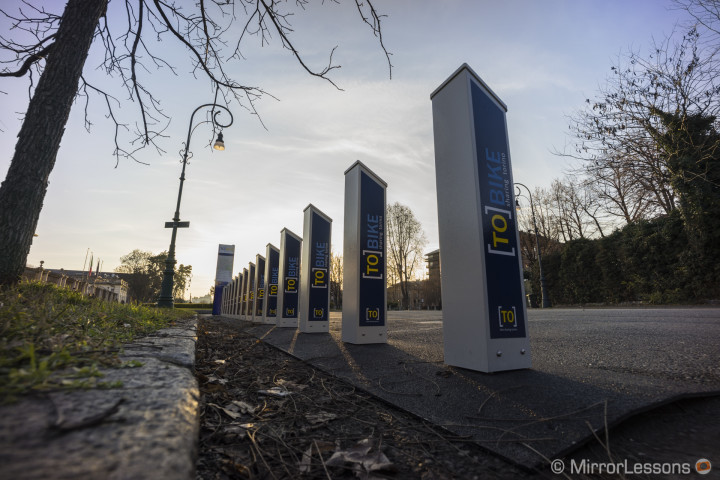
The 15mm f/4.5 is an extreme wide angle lens which was first released with an M39 screw mount. The German brand then released a new version with a traditional M mount. The lens construction features 8 elements in 6 groups and has an integrated lens hood. It is a very small lens as you can see in the pictures. It doesn’t have a fast aperture, meaning it is a little bit more difficult to use in low-light situations but luckily for us the A7 has an exceptional high ISO performance.
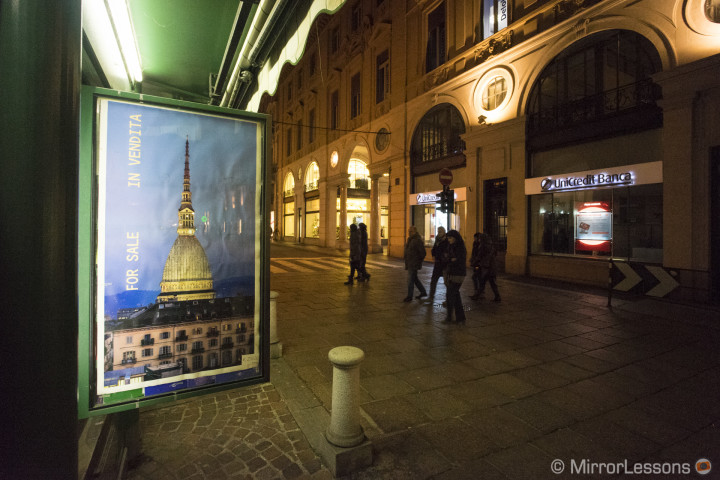
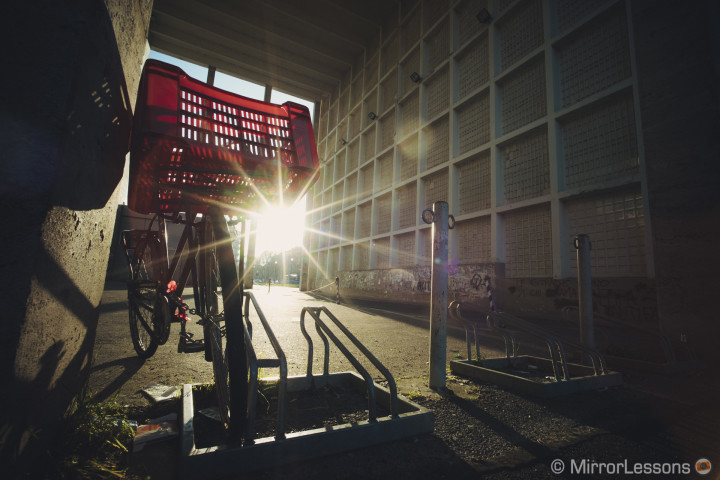
An alternative for low-light photography is a tripod, or a contraption like the HandlePod. You can use it to take long exposure shots and keep your ISO low.
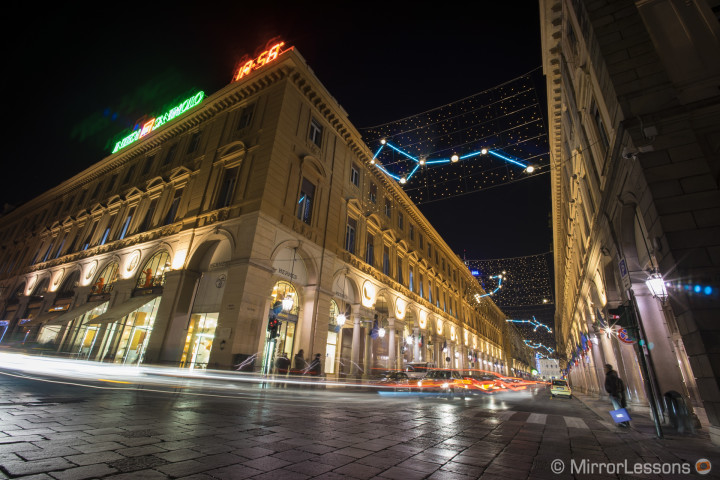
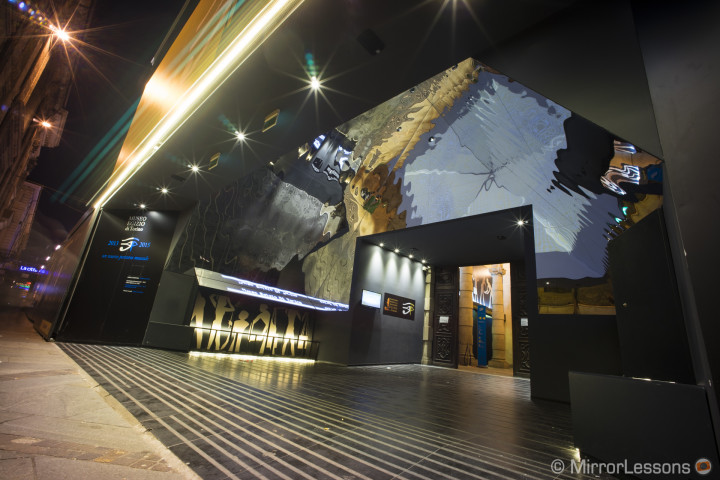
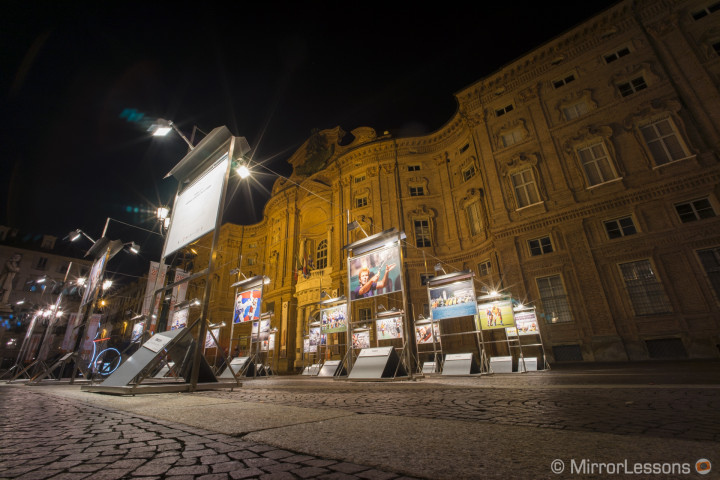
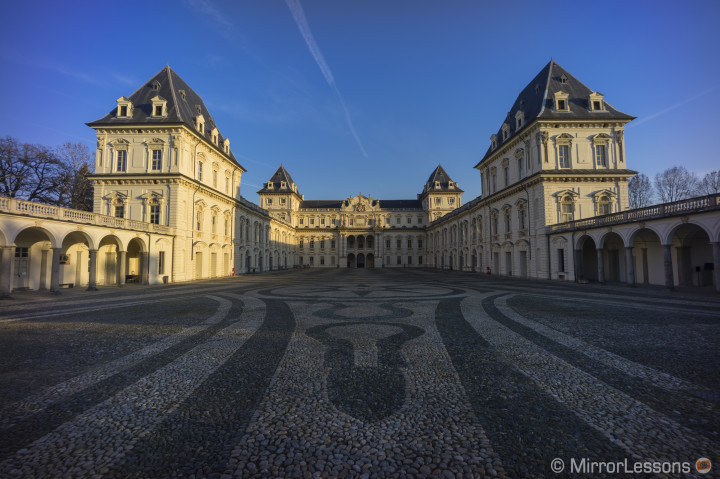
Using the lens on the Sony A7 isn’t all fun and games. If you take a close look at the long exposure shots above, the lens suffers from ghost flares. The other big thing you’ll notice with OOC JPGs is that there is visible vignetting which of course you will find in the RAW files as well.
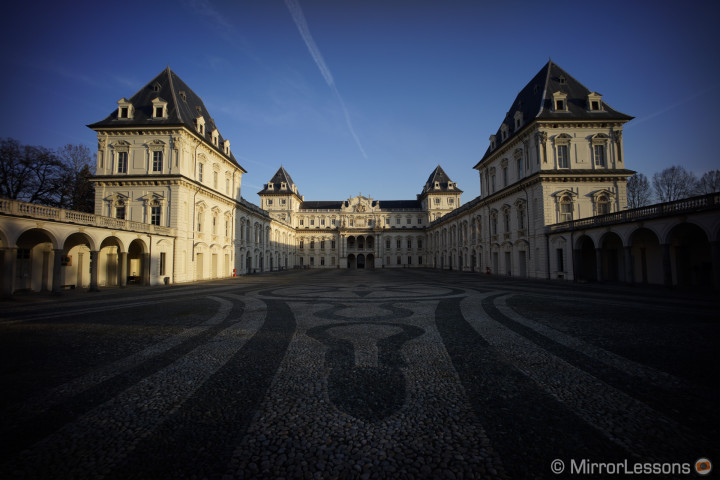
With Lightroom 5.3, I managed to remove most of the vignetting using the Manual Lens Correction tab. I think it works well for quick adjustments. The important thing is to always expose correctly or even slightly overexposed the photograph in order to have sufficient detail in the shadows and recover them without losing quality. The automatic removal of chromatic aberration also works well.
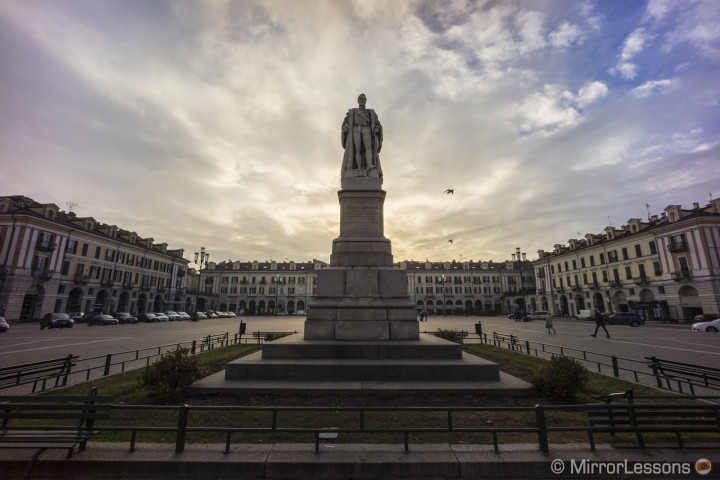
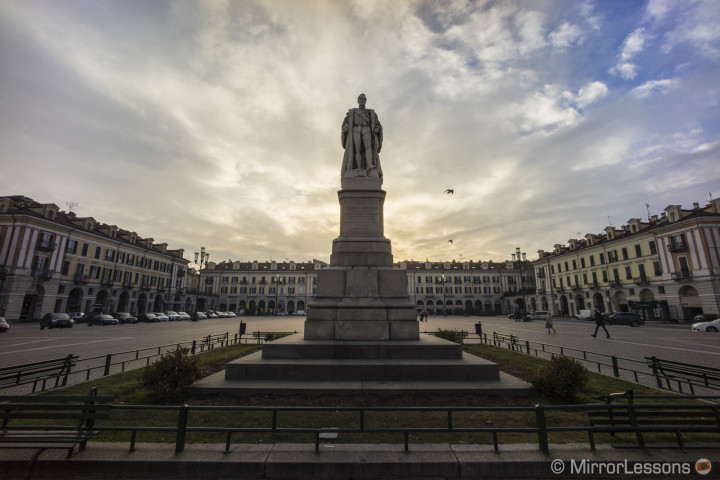
With vignetting you might also notice peripheral colour shift in the corners. It is a minimal colour alteration than can come with the vignette, where you have a darker corner with a slight magenta tint. I managed to eliminate it by using the Radial and Graduated Filter in Lightroom and moving the tint toward green.
If you want a more precise and deep correction, there are software and plugins that can make it work. Adobe Labs offers a plugin called Flat Field, but the process requires you to take a sample picture in addition to the actual photograph that will work as a reference. This apparently works well but I also saw people suggesting that you take a reference sample for each different light situation, which can complicate the process. There is also a software called CornerFix which works in a similar way.
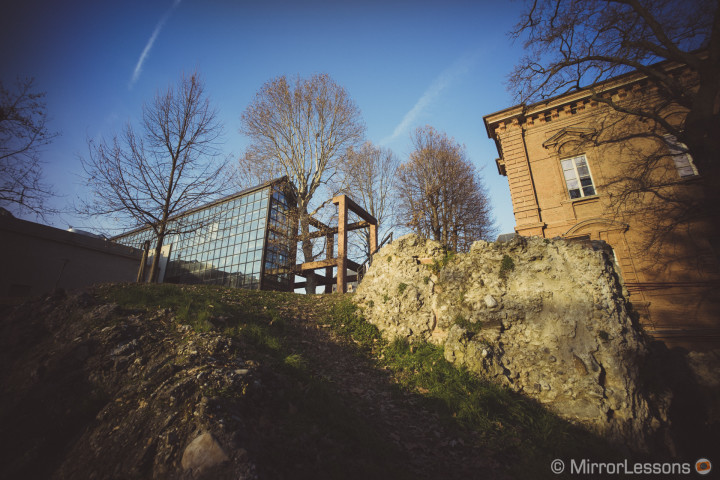
The lens is very sharp at the centre even at its fastest aperture but there is a severe loss of details at its borders. Don’t expect any shallow depth of field due to its slow aperture and short focal length. A wide angle like this isn’t always easy to use and sometimes some of the distortions can be unpleasant but otherwise it is a very nice lens if you like extreme wide angles and are happy to correct vignetting. Actually, vignetting can also act as part of creative post-processing like in the three examples below, where I used the Rebecca Lily Presets to give it a more vintage look.
The Nokton 50mm f/1.1 and the adapter issue
The 50mm f/1.1 is a ‘bokehlicious’ lens made by Voigtländer for the Leica M mount. Its super fast aperture is certainly the most attractive aspect. The lens is also very well-built, a tad heavy but with a very nice feel.
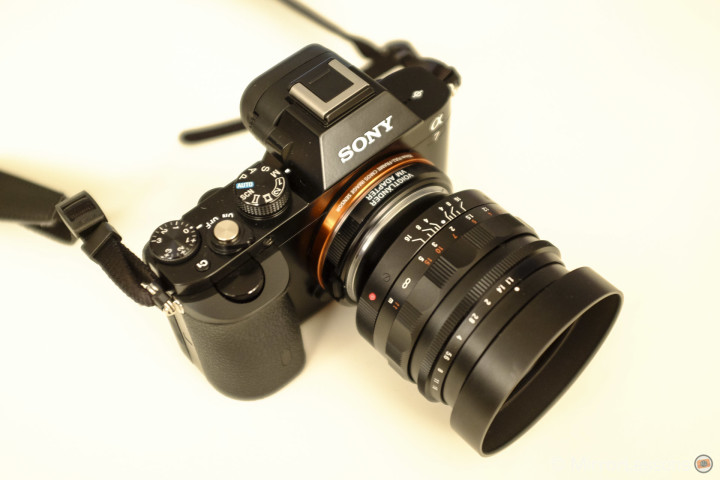

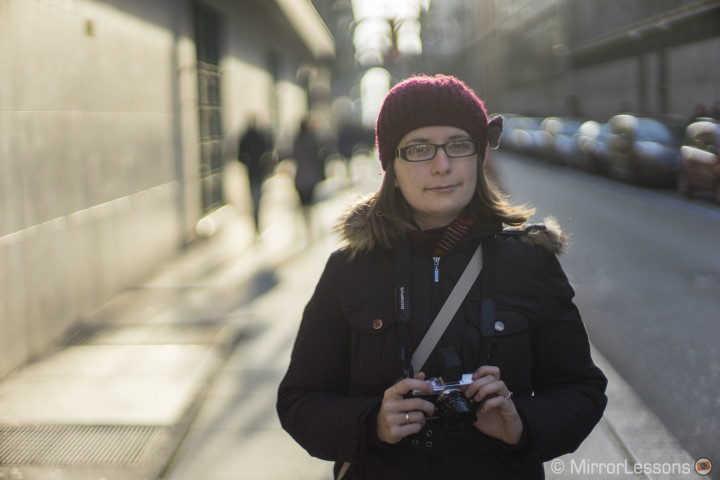
Shooting with this lens made me realise that my Voigtländer VM to E-Mount adapter actually could not handle it well. At f/1.1 it shows more vignetting than expected but even at closed apertures like f/8, there is still some vignetting in the extreme corners. At fast apertures, if you correct the vignetting the corners will be blurred.
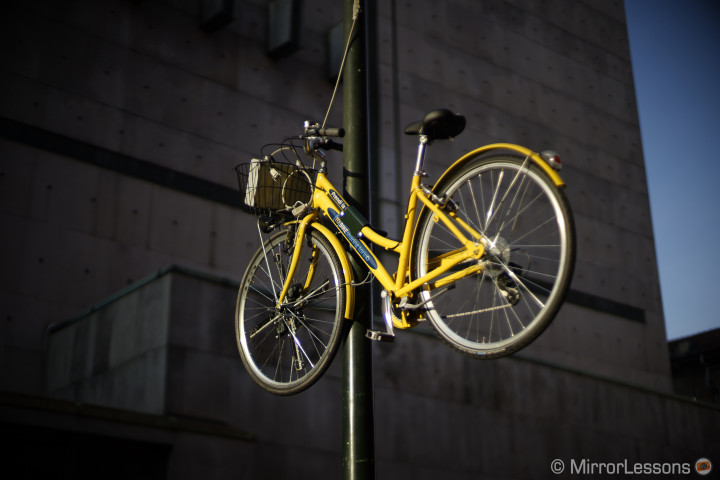


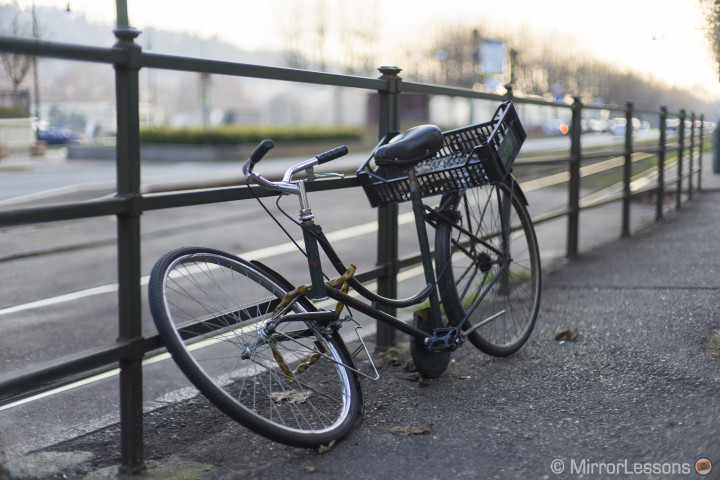
Thanks to Luca in the Sony A7/A7r Italia Facebook group, I discovered that the adapter has an issue with this lens and three others (in total two Voigtländers and two Zeisses). You can see the official statement here.
While I find the vignetting at f/1.1 not completely unpleasant as it adds a nice vintage effect, this shows how important it is to find a good adapter and the most expensive doesn’t necessarily perform better than a cheap one. I got my sample second hand at local store in France because I didn’t want to wait for a delivery as I only had a couple of days with the Leica glass and was away from home. But it is a very expense adapter that you can find new at around $200!
Anyway, the real vignetting issue is at the extreme borders and a little crop solves the problem. The rest can be corrected in Lightroom.

Overall, the 50mm is a gorgeous lens. Manual focusing at f/1.1 is very hard, even if you use the peaking and focus magnification features. The depth of field is so short that you can easily end up with an out-of-focus image. Also, at this focal length without optical stabilisation, I had to be more careful with the A7 than with other cameras at the same focal length.

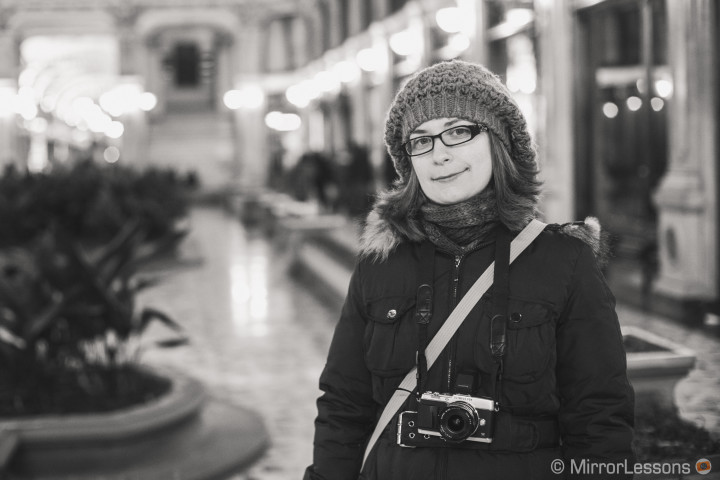

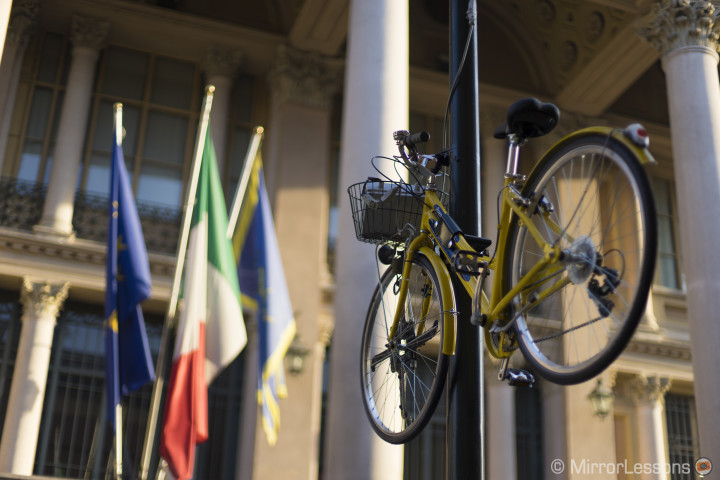
The difference between 1.1 and 1.4 is very subtle. The lens will give you a sharper result at f/1.4 while I find it a little bit soft at 1.1. Its fastest aperture is really more attractive for the number than anything else, but that aside, I love the bokeh rendering, the colour and the contrast of this lens. If you like manual focus lenses, this is definitely a lens to consider. The lens costs around 1000$ new but it is worth every penny if you can find it second-hand at a more attractive price. Otherwise for the same price there is the Zeiss FE 55mm f/1.8, a native lens made for the A7 and A7r. True, it is 1.8 rather than 1.1 but it is a superb lens and built especially for this camera. And you get autofocus, which is still something useful to have. 😉
Have you ever used manual lenses on the A7 or A7r? What was your experience?
