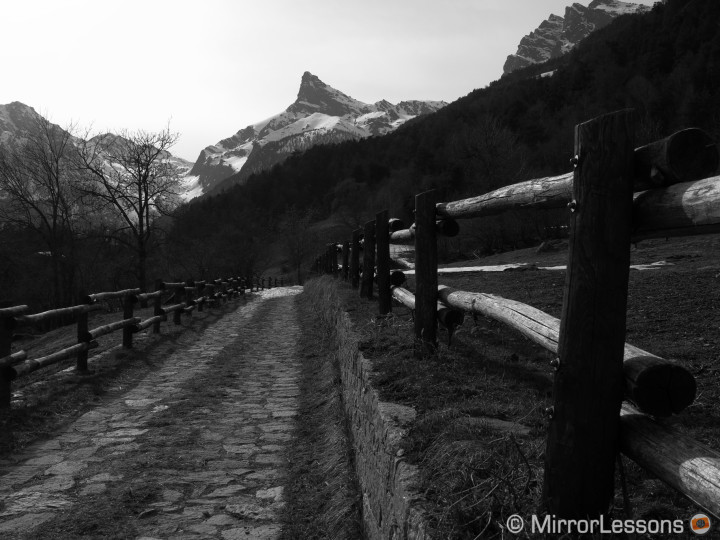
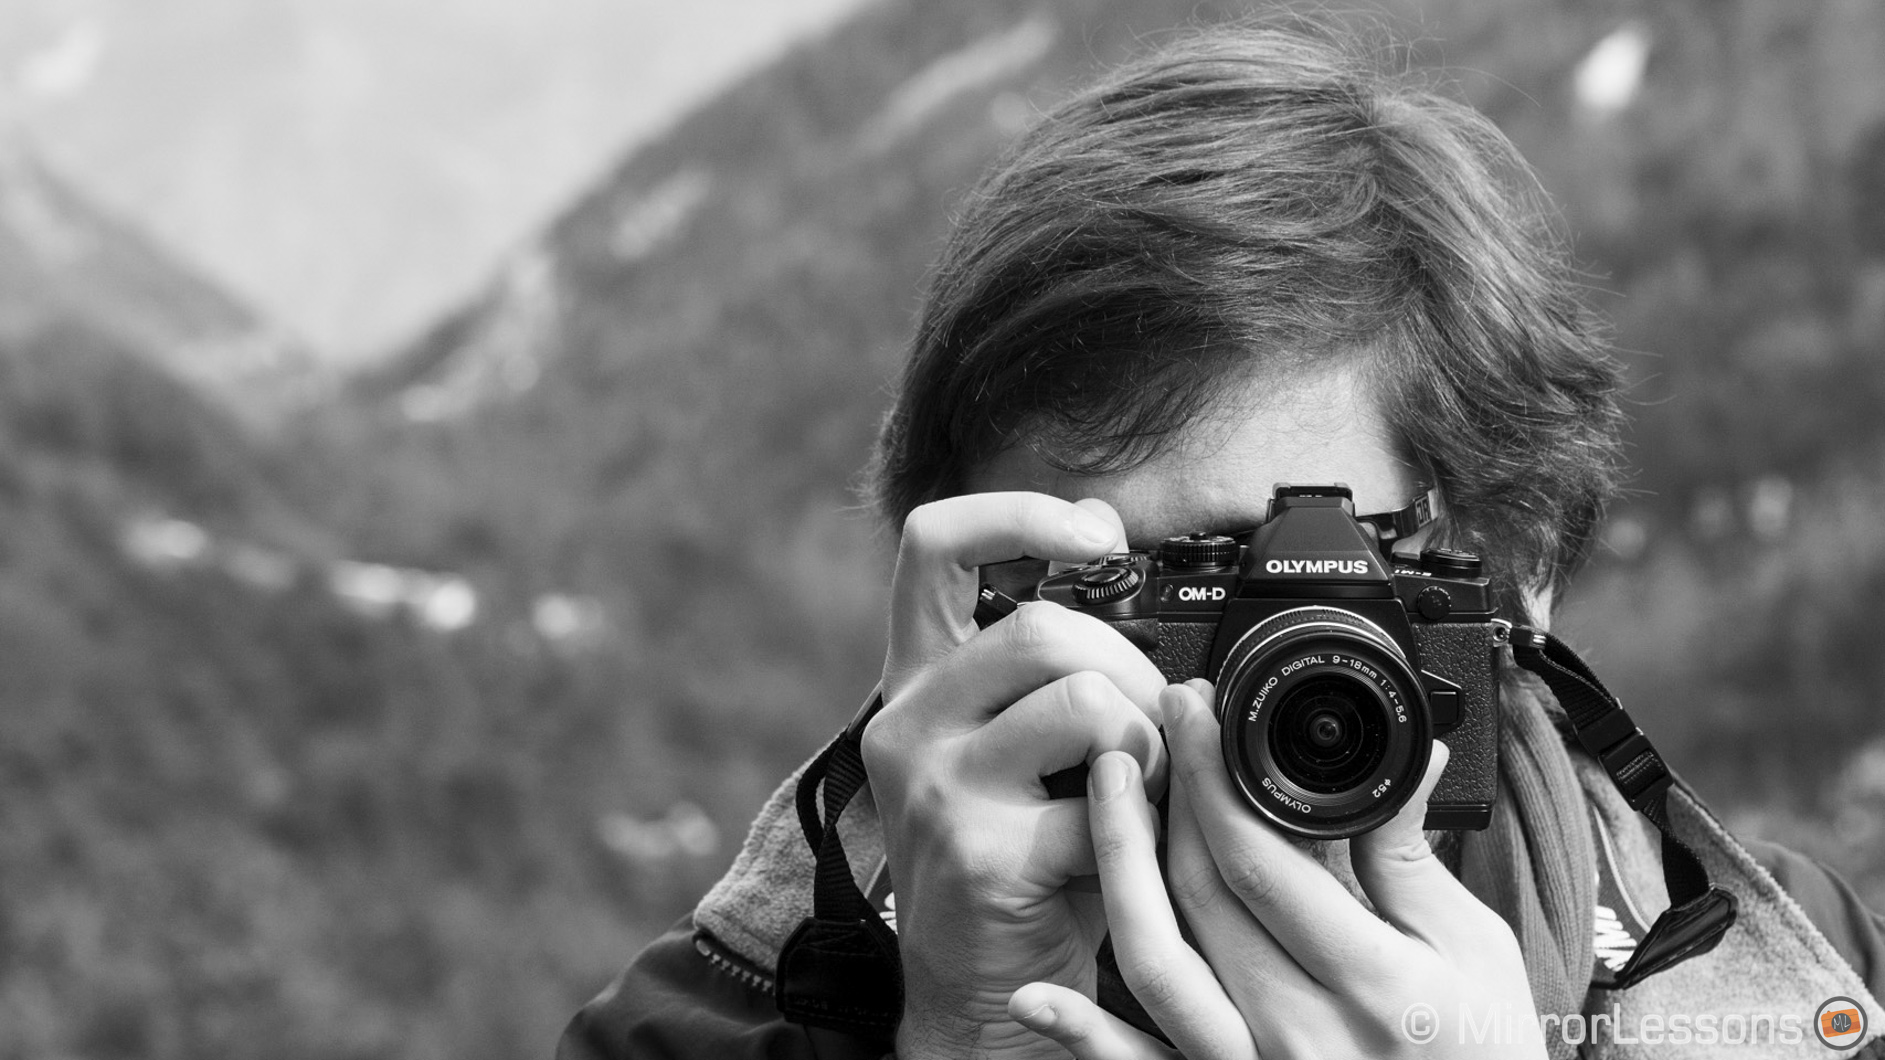
Last weekend we spent Sunday afternoon in Mont Avic in the Valle d’Aosta region for our first “spring walk” in the Alps. It was my first real break after more than a month of non-stop work. That bit of fresh air and silence was exactly what I needed.
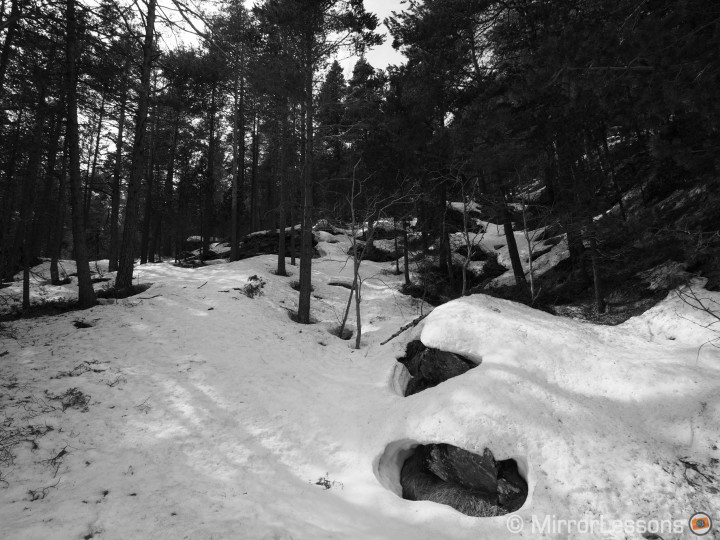
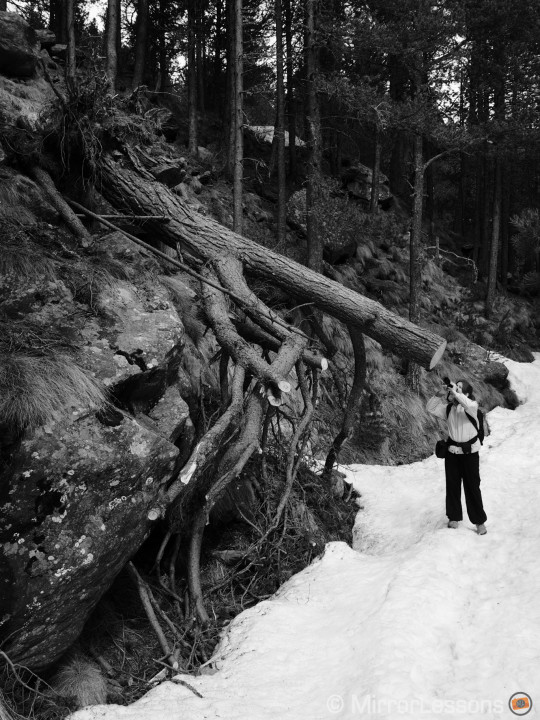
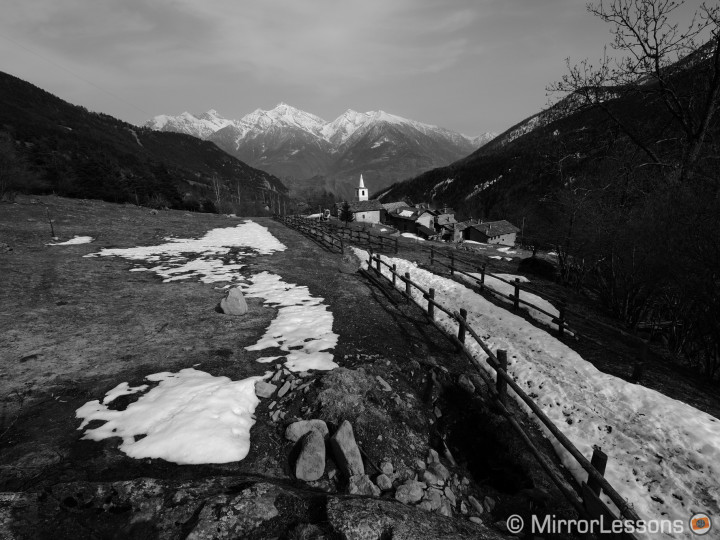
It was a little bit too early for coloured landscapes and nature shots. Snow was still present and the sky was cloudy for most of the day. As such I thought it would be an interesting opportunity to shoot in black and white and try the E-M1 JPGs in monochrome.
All the shots were taken with the M.Zuiko 9-18mm f/3.5-5.6
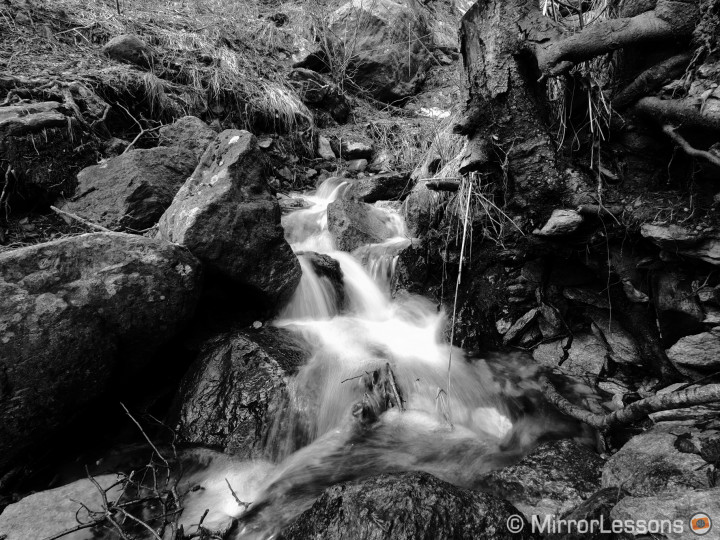
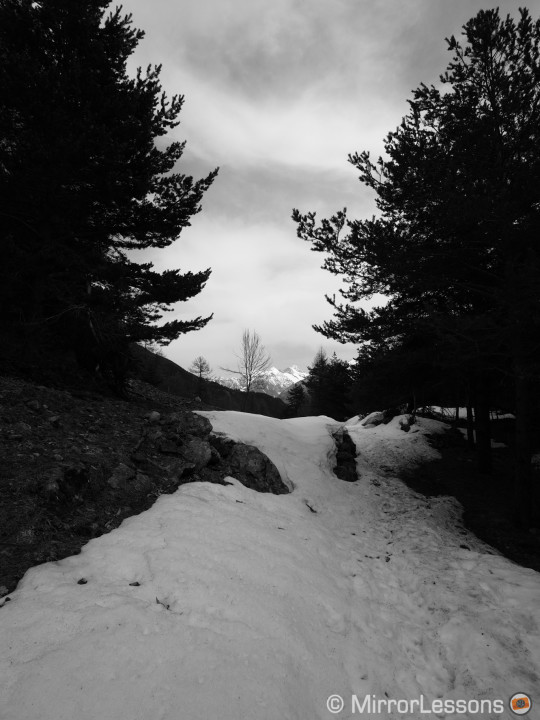
I set the appropriate picture profile and chose the red filter as it gives more contrast to the image, especially for the skies and clouds. I kept a warmer white balance in order to have more brightness while setting the gradation of the picture profile to “low key” for a darker result. Then I played with the highlight/shadow settings that you can access with the Fn2 button. I wanted to see how well and how quickly I could shoot B&W OOC JPGs without the need to post-process them back home.
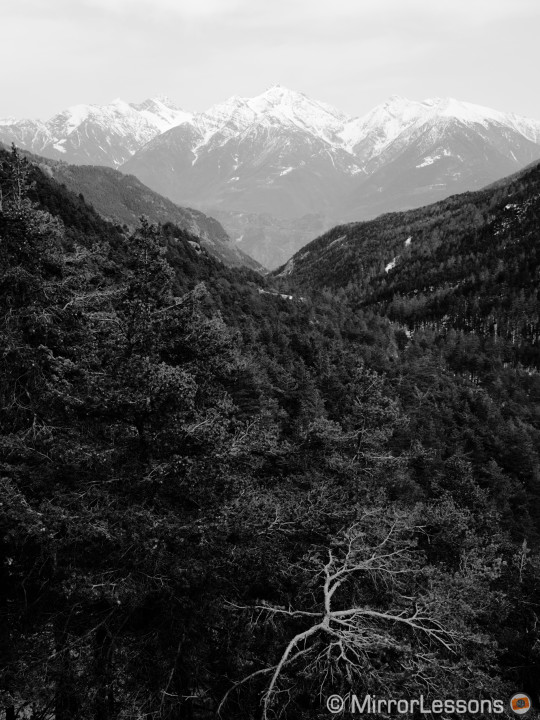
I also tried the creative colour mode, where you can alter saturation and tint with the two main dials of the camera. I desaturated the image completely and then played with the tint but the differences were minimal so I chose to use the shadow/highlight function instead.
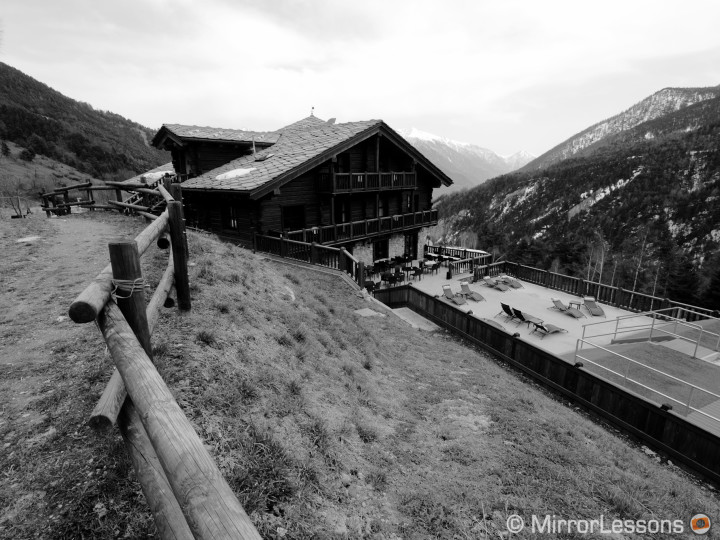
One of the nice things with electronic viewfinders is that you can see all your adjustments right away while taking the shots. The E-M1 EVF is among the best on the market so I could see the contrast in my frame very well and adjust it accordingly.
The best pictures were those with a great amount of contrast in the scene. Especially with a cloudy sky, a basic shot in the woods will give you a flat image and if you try to go too far with the shadows and contrast adjustments on camera, the resulting JPGs will lose some detail as well.
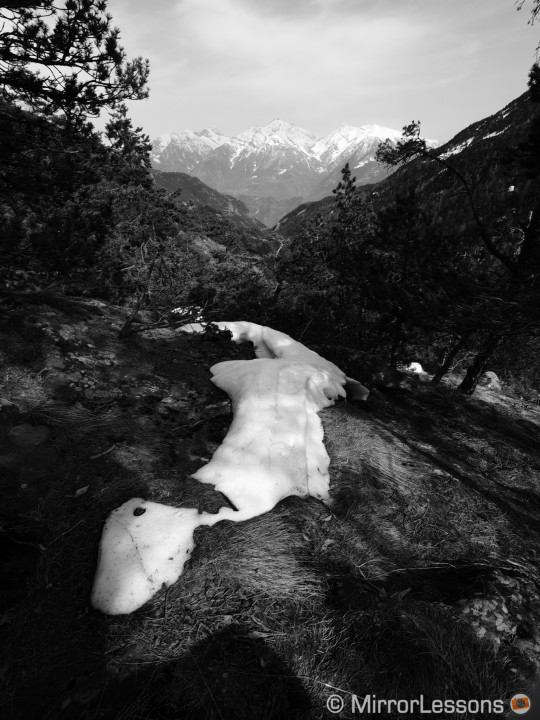
Changing the gradation setting between low, high or normal key would probably have been better but that would have meant digging in the menu all the time. That’s why there is an Auto function that I usually leave to ‘on’ but in this case I wanted to have control over everything.
When we were heading back at around 4 p.m., some sunlight came through the clouds and some scenes became more interesting. In the end, light is always the most important thing.
When there is less light, we can try different settings on the camera but a good shot with a nice 4 p.m. light is probably worth ten times all the “cloudy” shots taken before it.
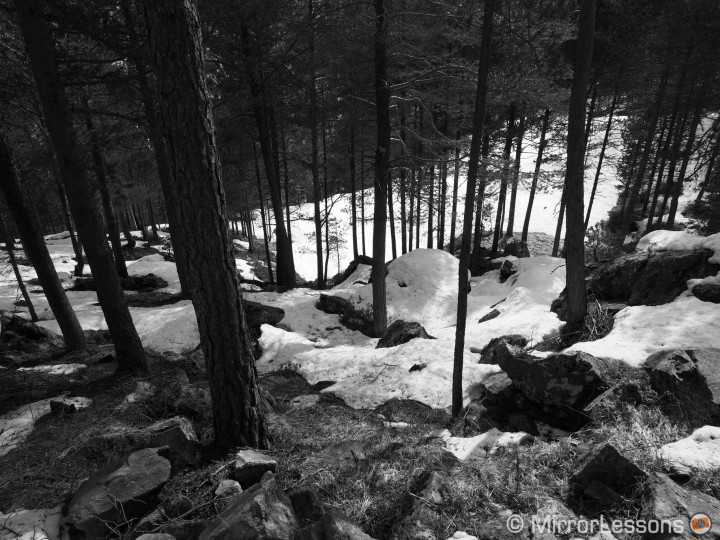
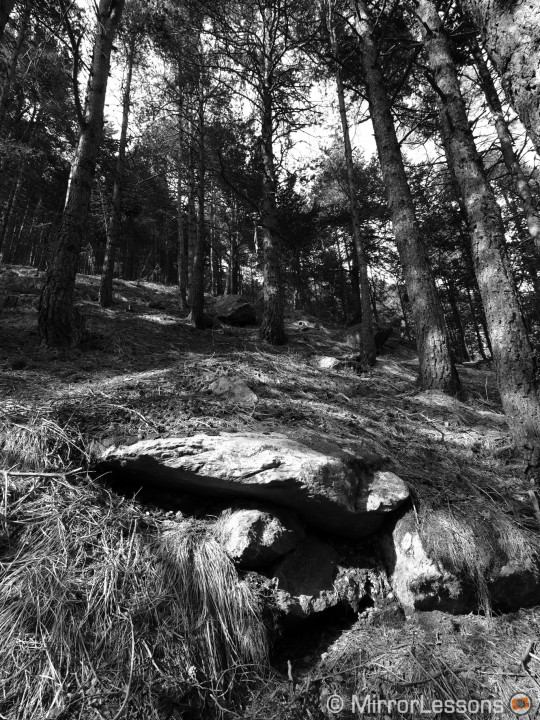
Of course, you might be wondering why I didn’t just shoot RAW and then convert to monochrome back home with my favourite software. Well I actually shot both (RAW + JPG) so that I could compare. Certainly the RAW format gives you more versatility and as good as the Olympus JPG engine is, it remains a compressed format. I am satisfied with the JPG results but some are a little bit darker than I’d like because I paid attention to not blowing out the highlights. Post-processing the RAW format will give more “punch” to the final image.
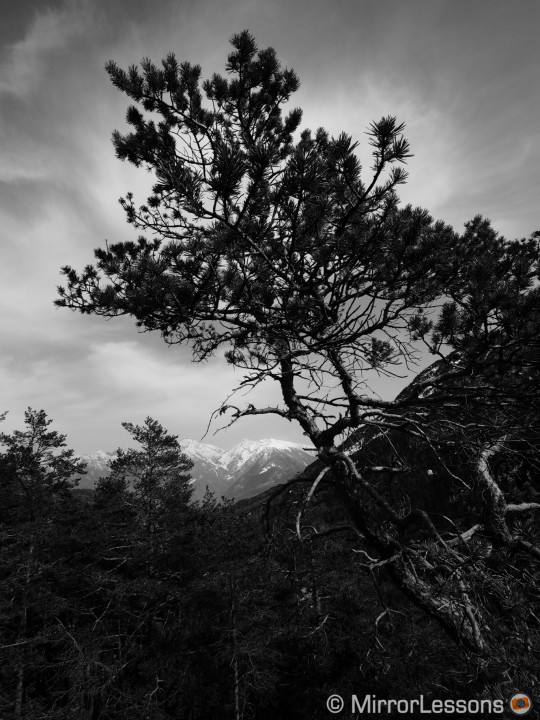
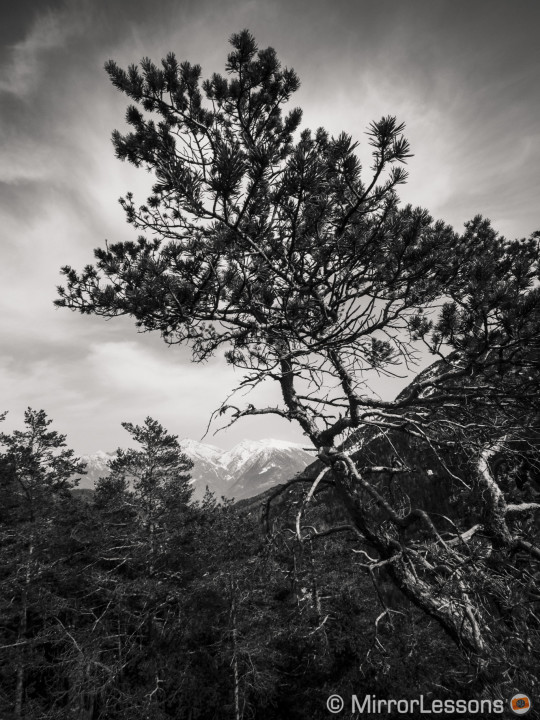
Of course the real exercise here wasn’t only to test the monochrome JPGs that the E-M1 was capable of generating, but it was also an opportunity to see things with a different perspective. When you shoot black and white and see your actual shot in monochrome, you usually have a different approach. While walking you might look for different types of scenes or lines that you wouldn’t pay attention to if you were shooting in colour.
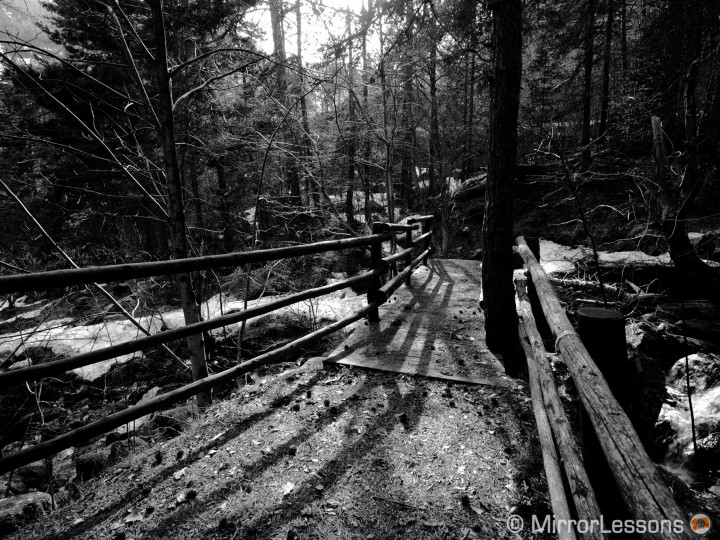
Of course the advantage of digital is that you can reset everything after. Now that I think about it, next time I should shoot in black and white film. That would be an even more interesting exercise.
