These days when we mention the words video and Sony in the same sentence, we immediately think of the brand new Sony A7s and its amazing low-light capabilities. While we wait to receive a unit to review (and this should happen very soon), I thought it could be interesting to write about a film I shot in February with the Sony A7, when there still wasn’t a single rumour about an “s” version.
The amusing thing about viewing these images now is that the video I made was shot entirely in ambient light inside an old underground tunnel in Naples. Dark corridors, low light and dancers moving all over the place. I mean, what test could have been better for the A7s than this one?
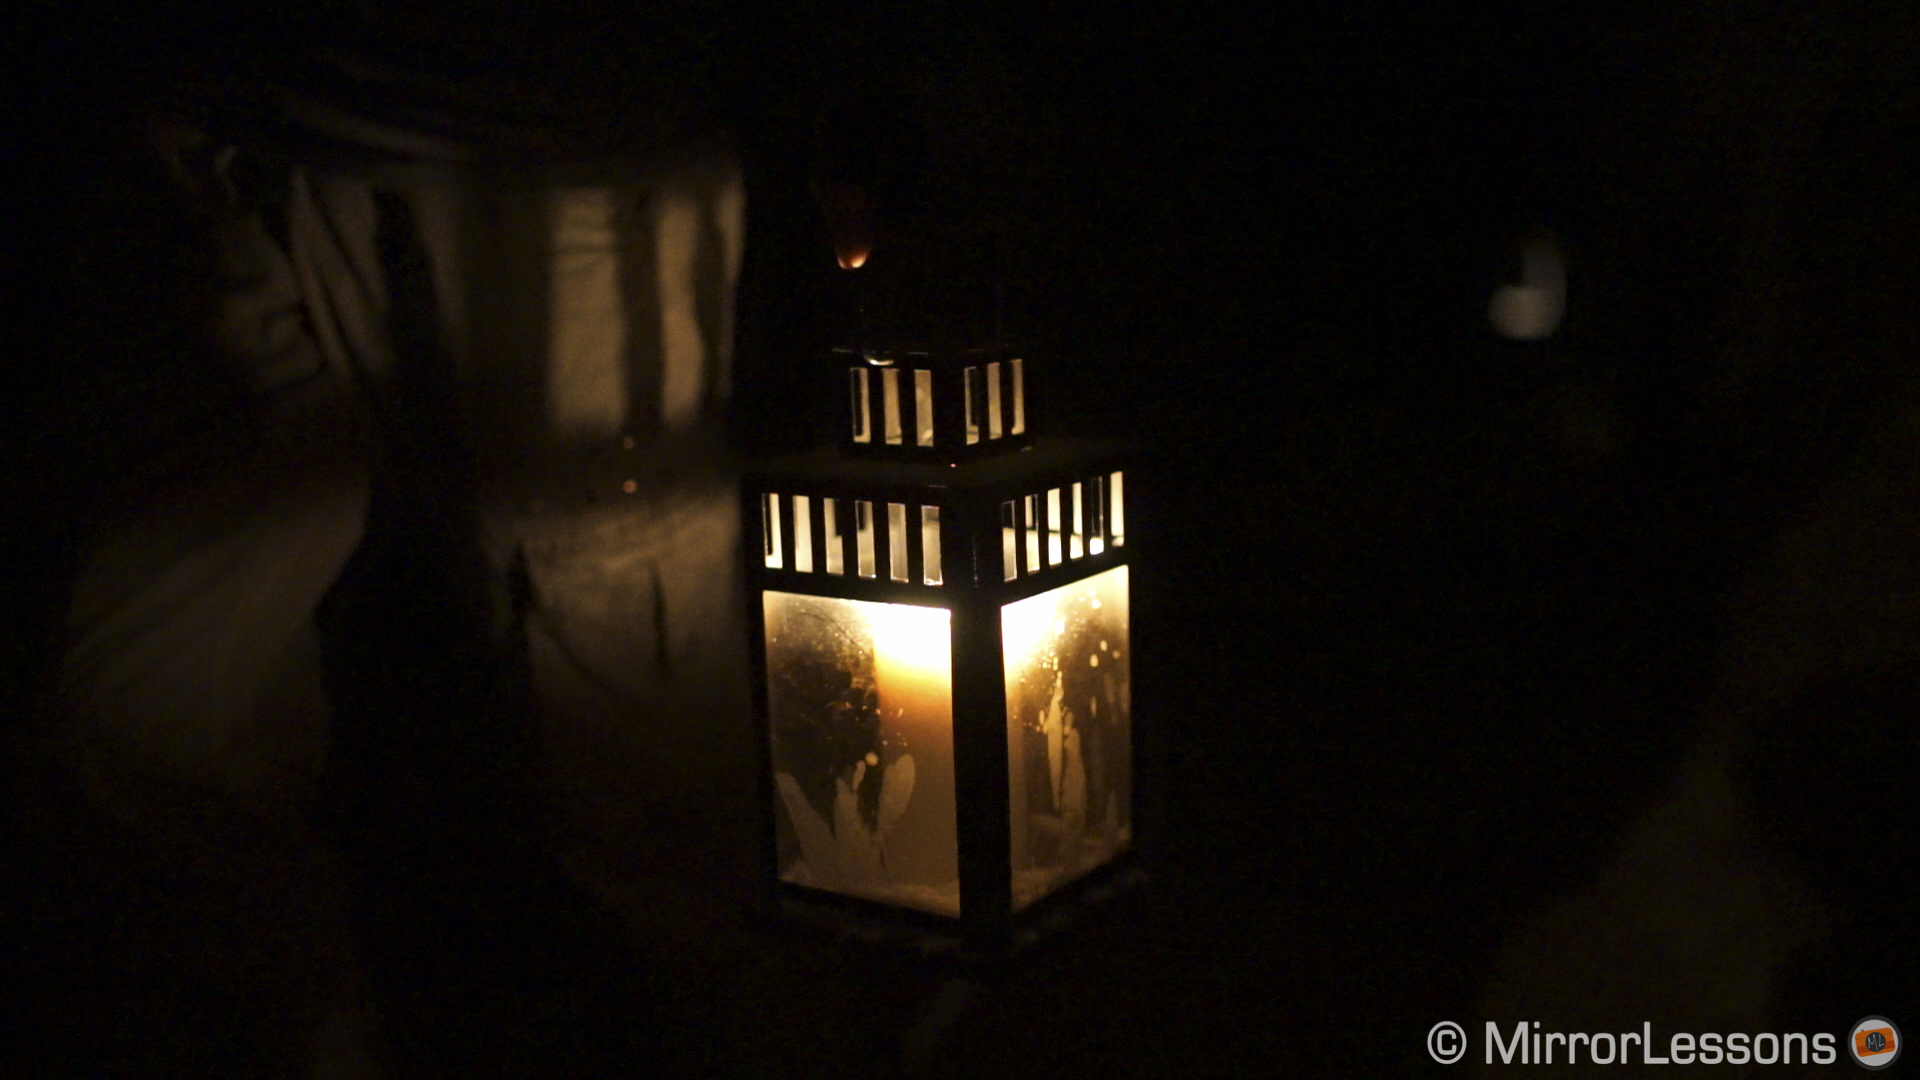
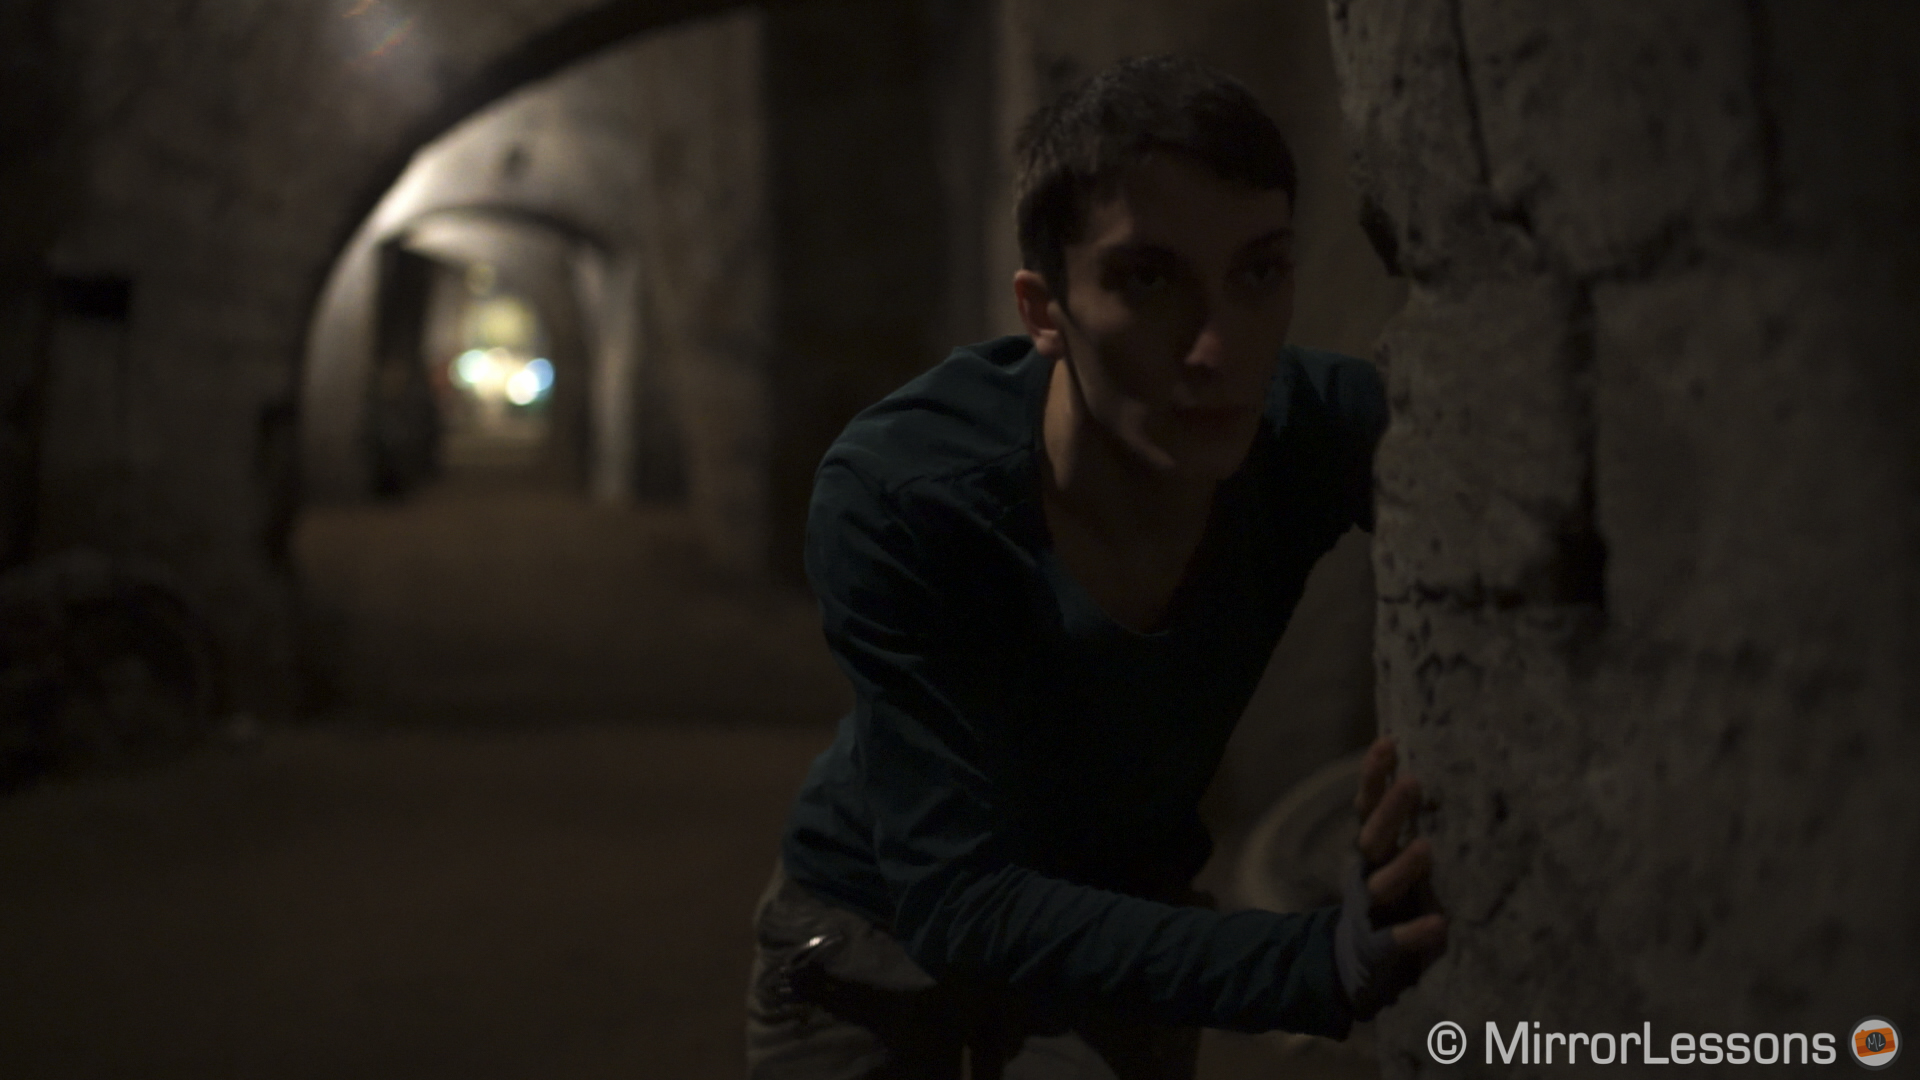
So, just to make it 100% clear, there isn’t a typo in the title. This is an article about the Sony A7, not the Sony A7s. Here you’ll find feedback about using the A7 for video in critical light conditions. And upon seeing the results with my colleagues, some doubt has certainly resurfaced in my mind:
Is the great sensitivity of the Sony A7s a welcome but non-essential feature?
Itinerary for a possible deliverance – The video dance project
When the Egri-Bianco dance company introduced their project to me at the end of 2013, I was fascinated with the idea of shooting in such a special place as the Bourbon Tunnel. It is quite impressive to visit, with 500 years of use as an aqueduct, escape route, air raid shelter, and impound lot. There are still remnants of cars, motorcycles and other elements that make the place come to life.
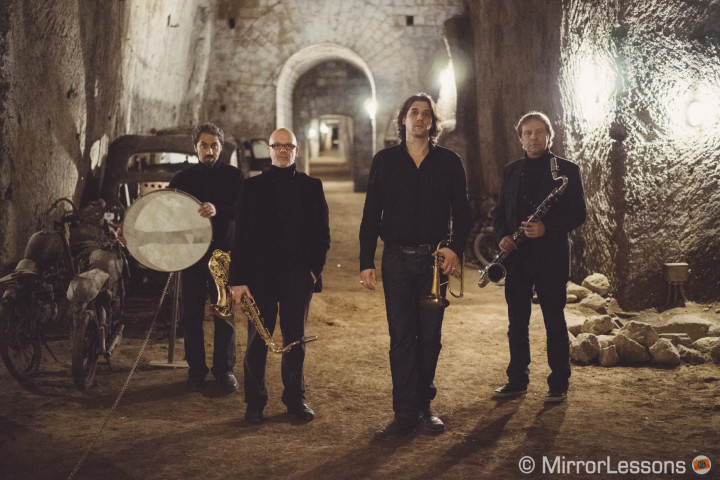
Choreographer Raphael Bianco created an interactive show where the dancers’ movements are a mix of dancing and fighting and where the public is part of the show. The performers divide themselves into groups and accompany the audience into different underground tunnels before reuniting them in one place in the end. Italian composor and musician Ivan Bert and his band played live music in different areas of the tunnel during the show.
When I had to decided in late January which camera to bring with me, I immediately thought of the A7. I needed something small and light since I had to shoot hand-held and because the location was filled with narrow tunnels. Also, I knew that the full-frame sensor of the A7 would give me better performance than my GH3.
Choosing the appropriate gear
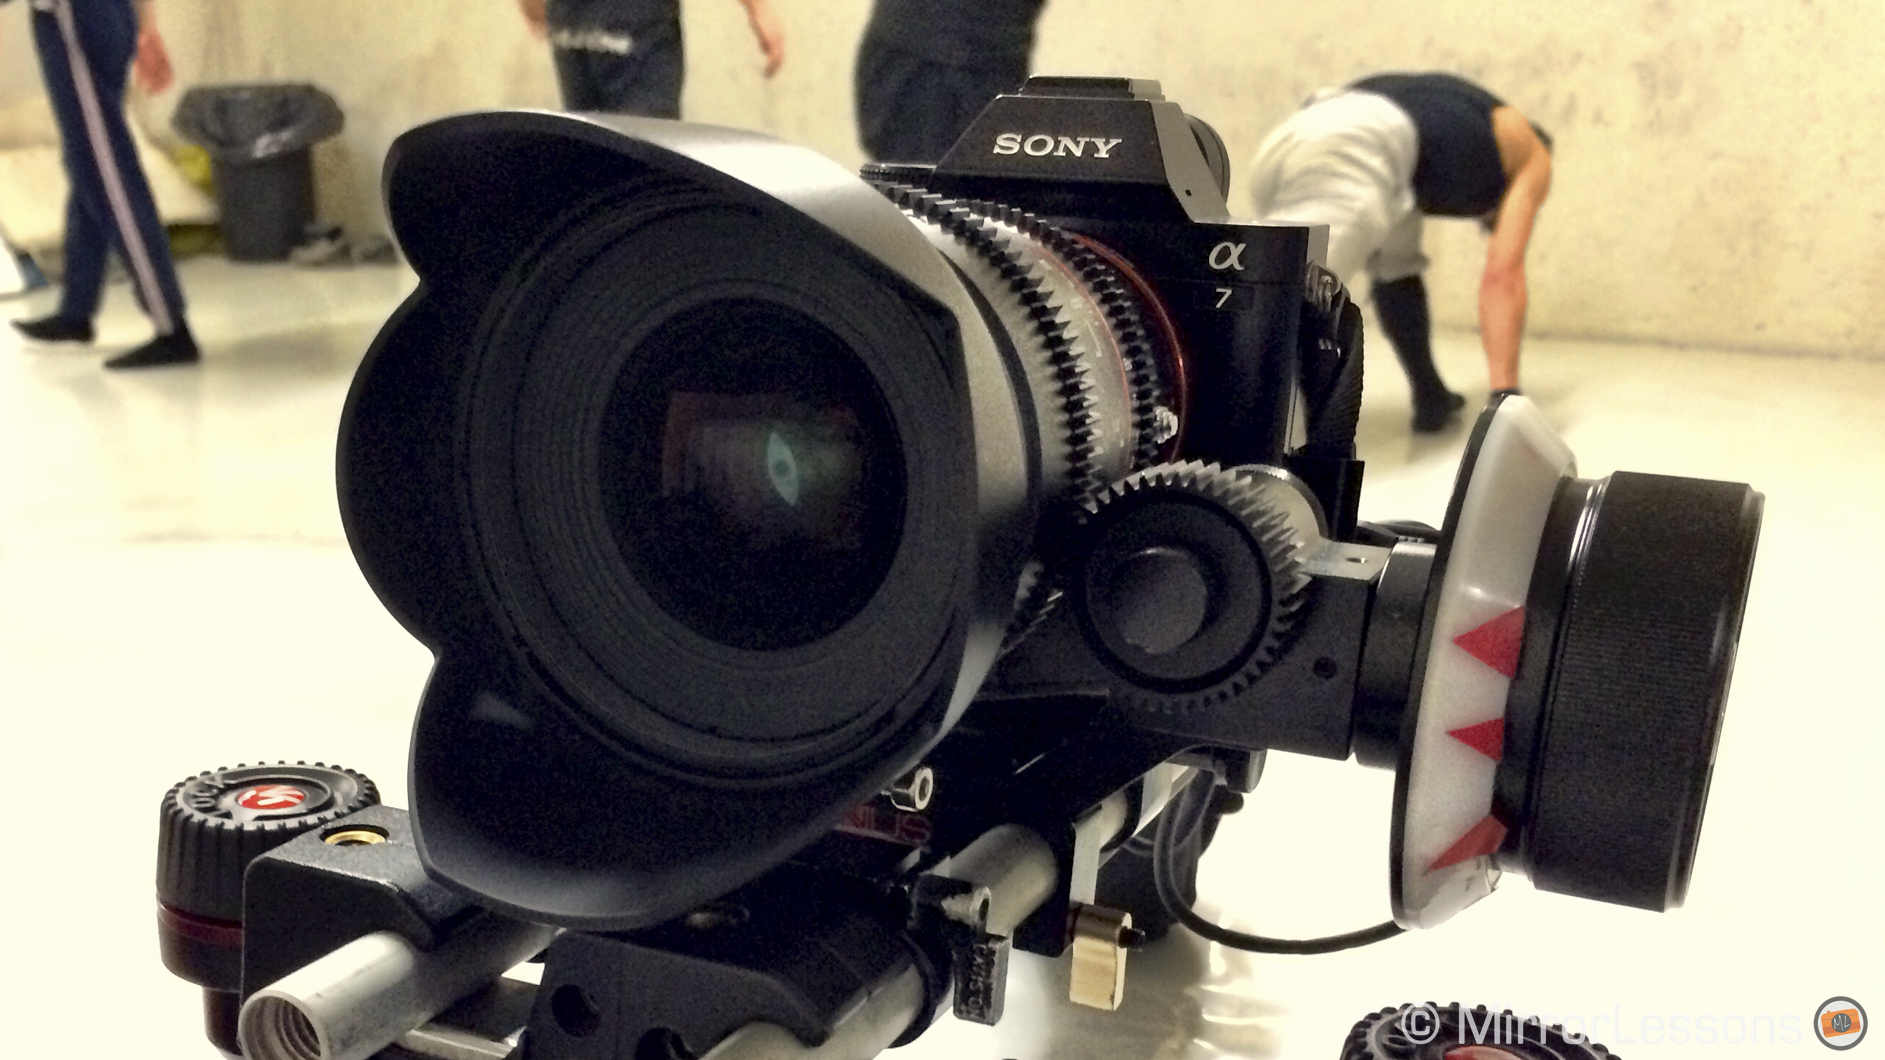
The first challenge with the Sony A7 was to rig the camera properly in order to make it comfortable to shoot video with. I decided to strictly only prime lenses to take advantage of the fast apertures. Since at the time there were only three lenses available for the Sony mirrorless alpha system, I decided to use Samyang cinema lenses, courtesy of Manco Video Professionale.
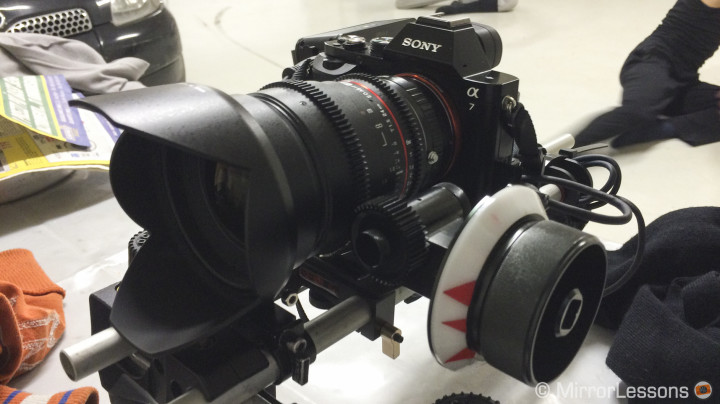
The lenses have a Canon EOS mount so I bought a Fotodiox Eos to E-mount adapter. It isn’t really expensive and the construction seem imprecise. The Samyang lenses are manual focus only and are the cinema version of the Samyang SLR lenses. The optical design is the same but the aperture ring is smoother without hard stops and the focus ring has a longer excursion. On the A7 make sure to turn on the “Release without lens” option.
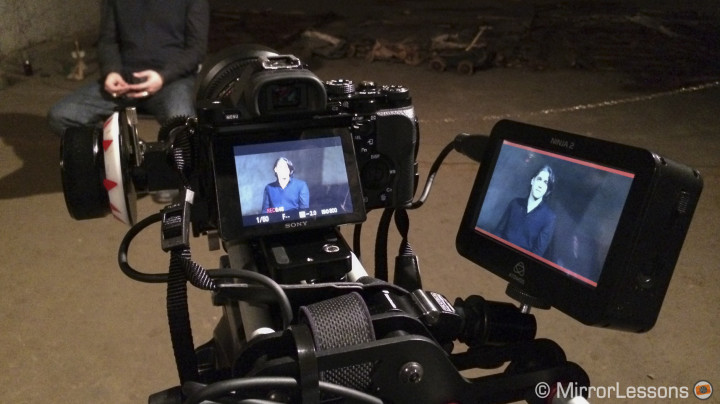
I also brought an Atomos Ninja 2 recorder with me. Connected to the camera’s HDMI output, I was able to record a 422 8 bit signal into Apple Prores files. I also recorded in AVCHD on the SD card in order to have two copies. As I will mention further on, this actually saved my footage.
I used a Chrosziel lightweight support and a Genus Follow focus. To be more comfortable for shoulder shots, I also had the Manfrotto Sympla rig kit.
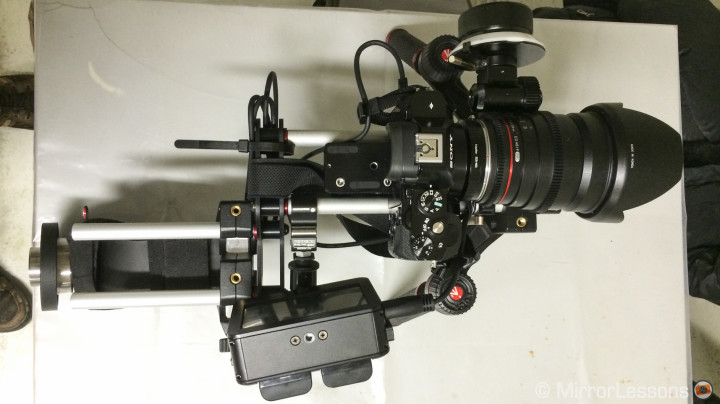
The Sony A7 is a very small camera and isn’t easy to rig properly. I had to try several combinations in order to achieve an optimal balance. In the end I chose to use my Chrosziel support instead of the Manfrotto and adapted the shoulder and hand support only. The final combination wasn’t perfect but was comfortable enough.
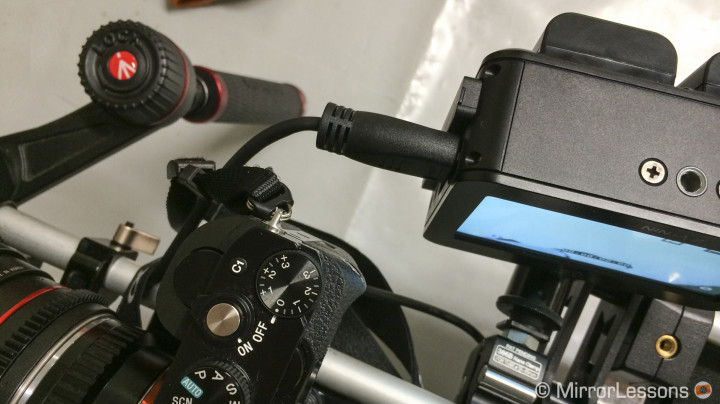
I also took care to tighten the HDMI cable to the rig so that it couldn’t accidentally detach itself during the shoot. HDMI isn’t a professional connector and can easily break.
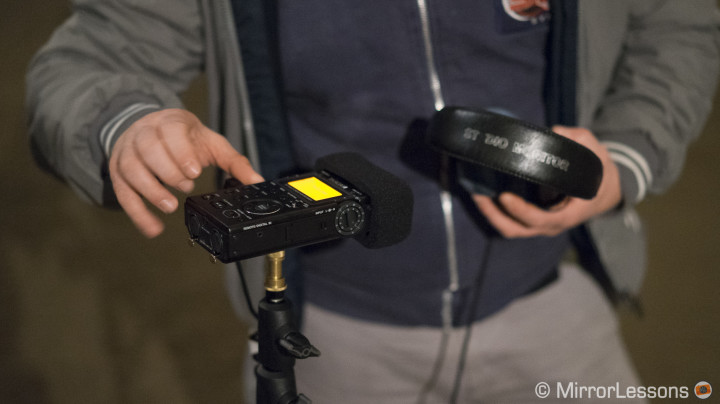
For the audio part, my colleague Marco and I decided to record audio separately. We used the Tascam DR-100. There wasn’t the time or the budget to design a better solution for audio. Being an itinerary show with different musicians in different places at the same time, it was complicated and we decided to simplify the set-up and concentrate on the action.
Shooting with the A7: settings and thoughts
The camera was set to manual mode with a fixed shutter speed of 1/50. It is important to turn off the Auto Slow Shutter function for movie (otherwise the camera will adjust shutter speed automatically). I recorded in 25p1080 both internally and on the external recorder. I used the standard picture profile without altering its settings and white balance was set manually too. The dynamic range optimiser was turned on. I used a range of ISO between 3200 and 6400. A couple of times I used 1600 ISO and there were also a few shots where I was forced to go up to 12800 like the ones at minute 0.59 and minute 1.24.
The Sony A7 has some interesting settings for video but the package is still incomplete for fine tuning. The A7s has more options regarding profiles and other useful options such as timecode and black pedestal.
For instance, on the A7 we can find Zebra pattern (from 70 to 100+) but it won’t display during an HDMI connection. Low ISO is limited to 200 so you cannot take advantage of 100 and 50 (not that I needed it in this particular situation). Also, like most cameras and DSLRs, there is a limit of 29 minutes of continuous recording due to Europe regulations.
As for audio, there is a mic input 3.5 jack and a headphone output. Audio monitoring can be displayed on the screen and audio rec levels can be controlled manually but as with other cameras such as the Lumix GH3, the limiter is always in operation.
The show took place two times in total and that allowed me to shoot it again with a different lens. Since I had only primes with me, and changing lenses in the middle of the show wasn’t an option, I used the 24mm T/1.5 the first time around and the 35mm t/1.5 the second time. Then we did some specific shots for the video without the audience, as you can see at the beginning and the end with the musicians. This allowed me to shoot some interesting details with the 85mm t/1.5 and a couple of dances that I couldn’t cover during the show with the 14mm t/3.1. This lens is very interesting but isn’t as fast as the other ones. It was at this moment that I had to increase the ISO up to 12800.
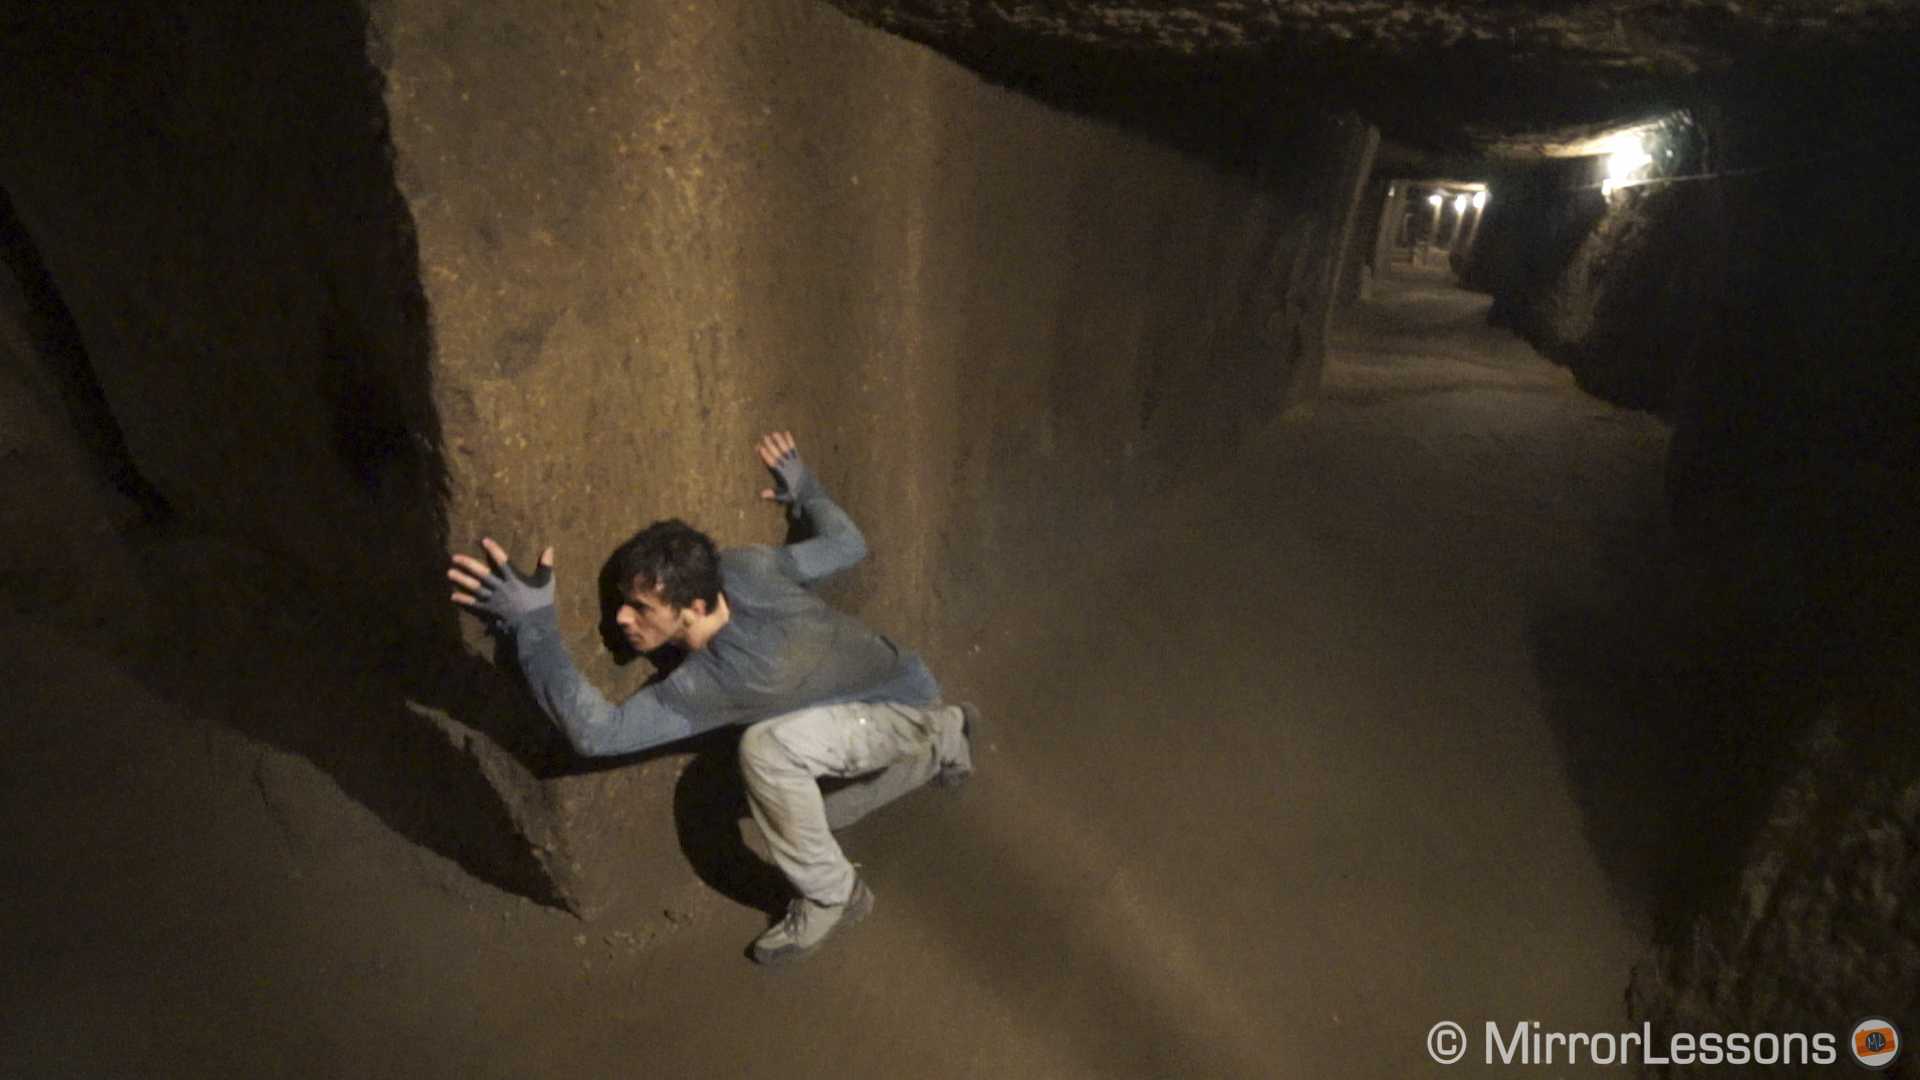
At the beginning I used focus peaking to help me focus but with fast apertures I didn’t find it precise enough and quite confusing on some occasions. So I turned it off and used the LCD screen as my only reference. As you can see in the video there are some imperfections regarding focus accuracy but that is also me having trouble accurately following the dynamic movements of the dancers.
Unfortunately the MF assist (magnification) cannot be enabled in movie mode. It wouldn’t have been of use really during the show but it would have been a nice feature for the interviews I held. To use the magnify function, you have to switch to still mode, check the image, then switch back to video mode.
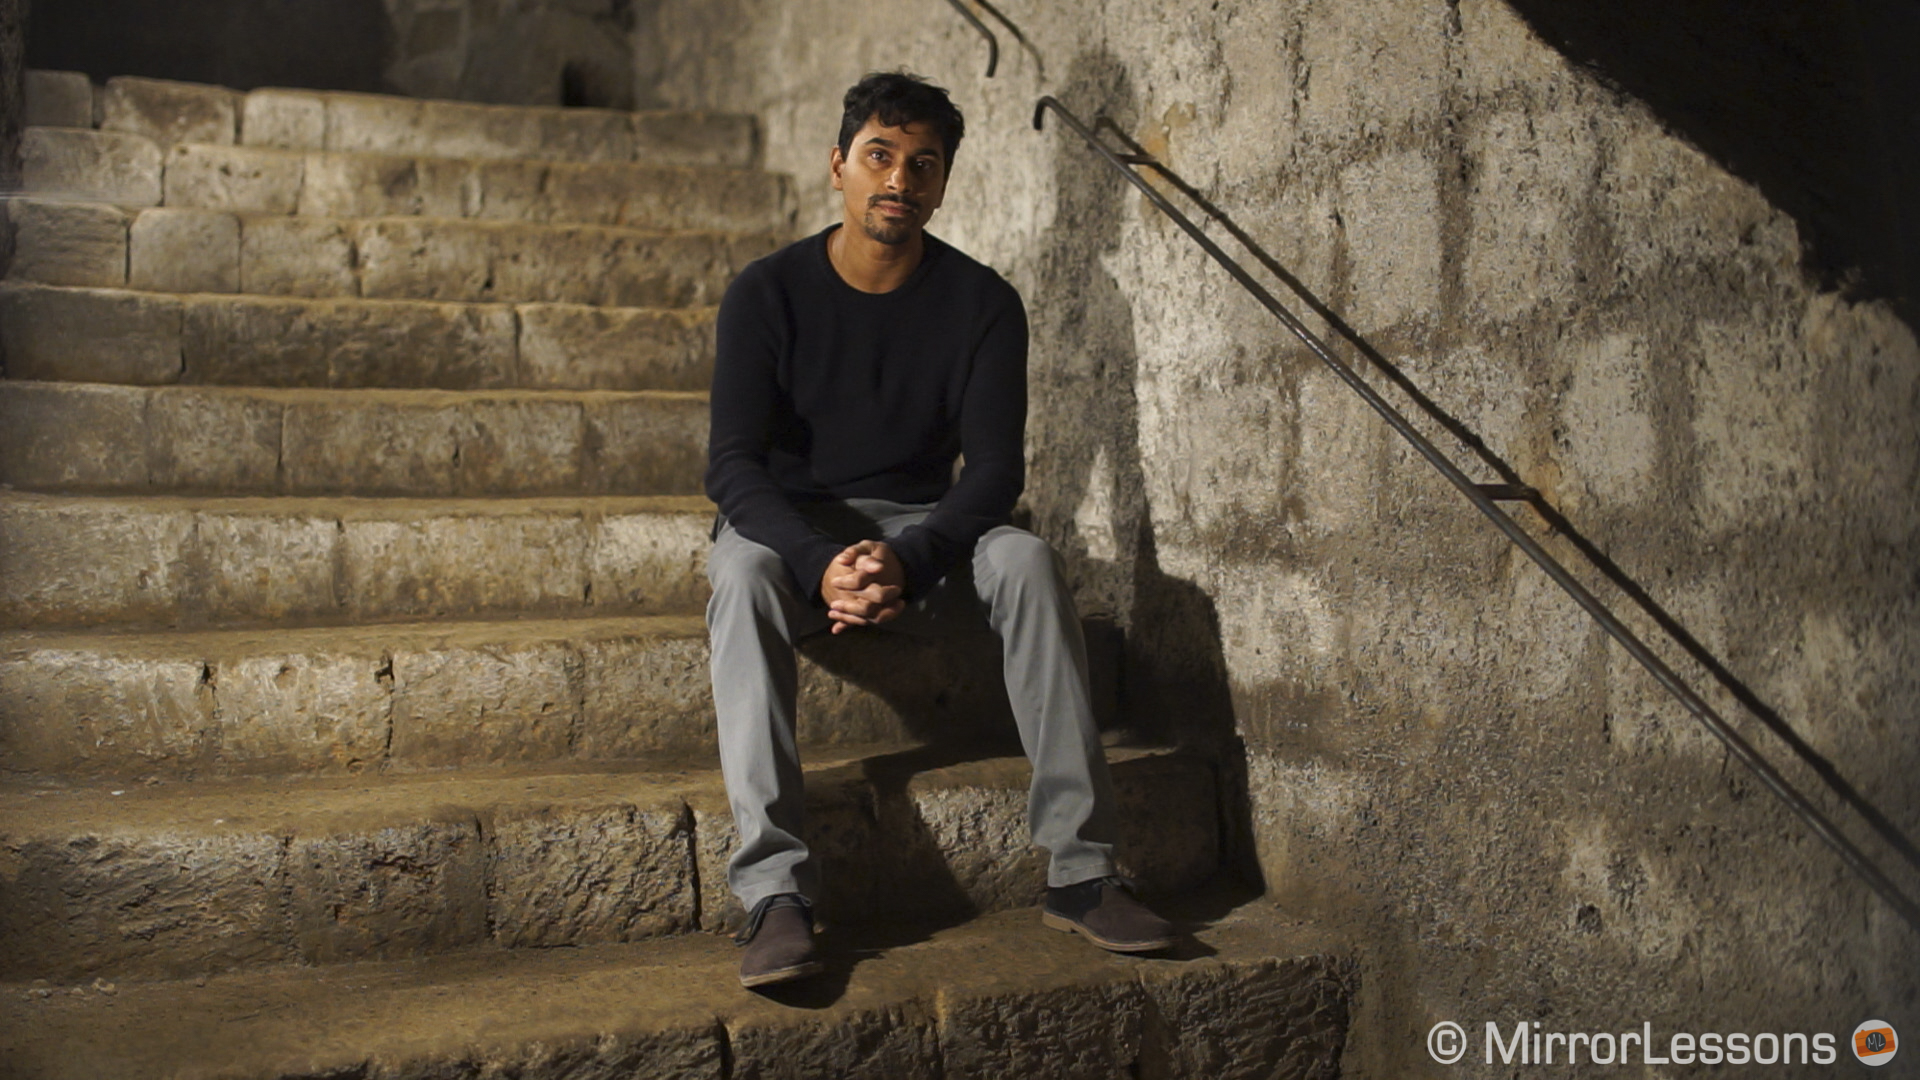
Frame grabbed from the original footage
One big flaw on the A7 that I found at the end of the first day when I backed up and played backed the footage, is that the HDMI isn’t clean if certain settings are turned on. There is a specific setting that turns off all information on the display (Menu > Setup > HDMI Info. Display), but for example the face detection remained activated.
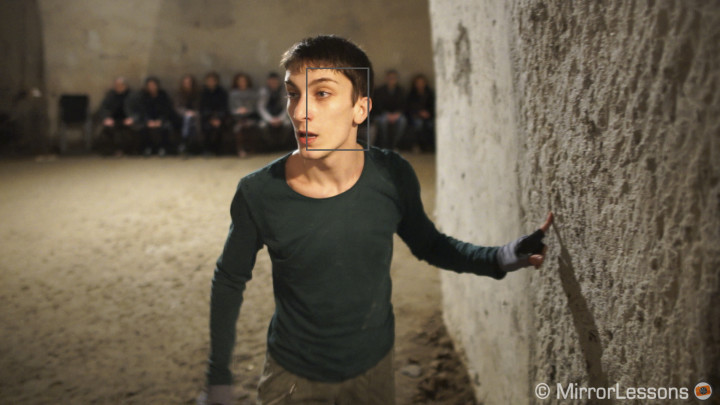
Frame grabbed from the original PRORES footage
This resulted in having the footage parcelled with grey rectangles appearing on the dancers’ faces. So if you ever shoot with this camera, turn off not only the display output for HDMI but also face detection if you don’t want nasty surprise. Thank goodness I also recorded AVCHD internally on the SD card.
Image quality and editing
With the exception of the face detection surprise, I was impressed by the results. The A7 did manage low light conditions very well. Up to 3200 ISO the image remains clean enough, while at 6400 and especially 12800 noise is visibile. It isn’t a fine and grainy noise but more digital, which can make it less pleasant in certain shots. The camera also tends to soften the image a little bit and the noise reduction is sometime aggressive.
Otherwise, I like the colours of the standard profile, the skin tone rendering and the sharpness.
The only problem I noticed is the same that happened with stills and is related to greenish ghost flares. The Sony A7 suffers a lot from it and it is noticeable in the video as well like the example below. This is really a disappointing characteristic of the A7 and I hope that the A7s doesn’t suffer from the same issue. Being mainly a low light camera, it would be a big limit.
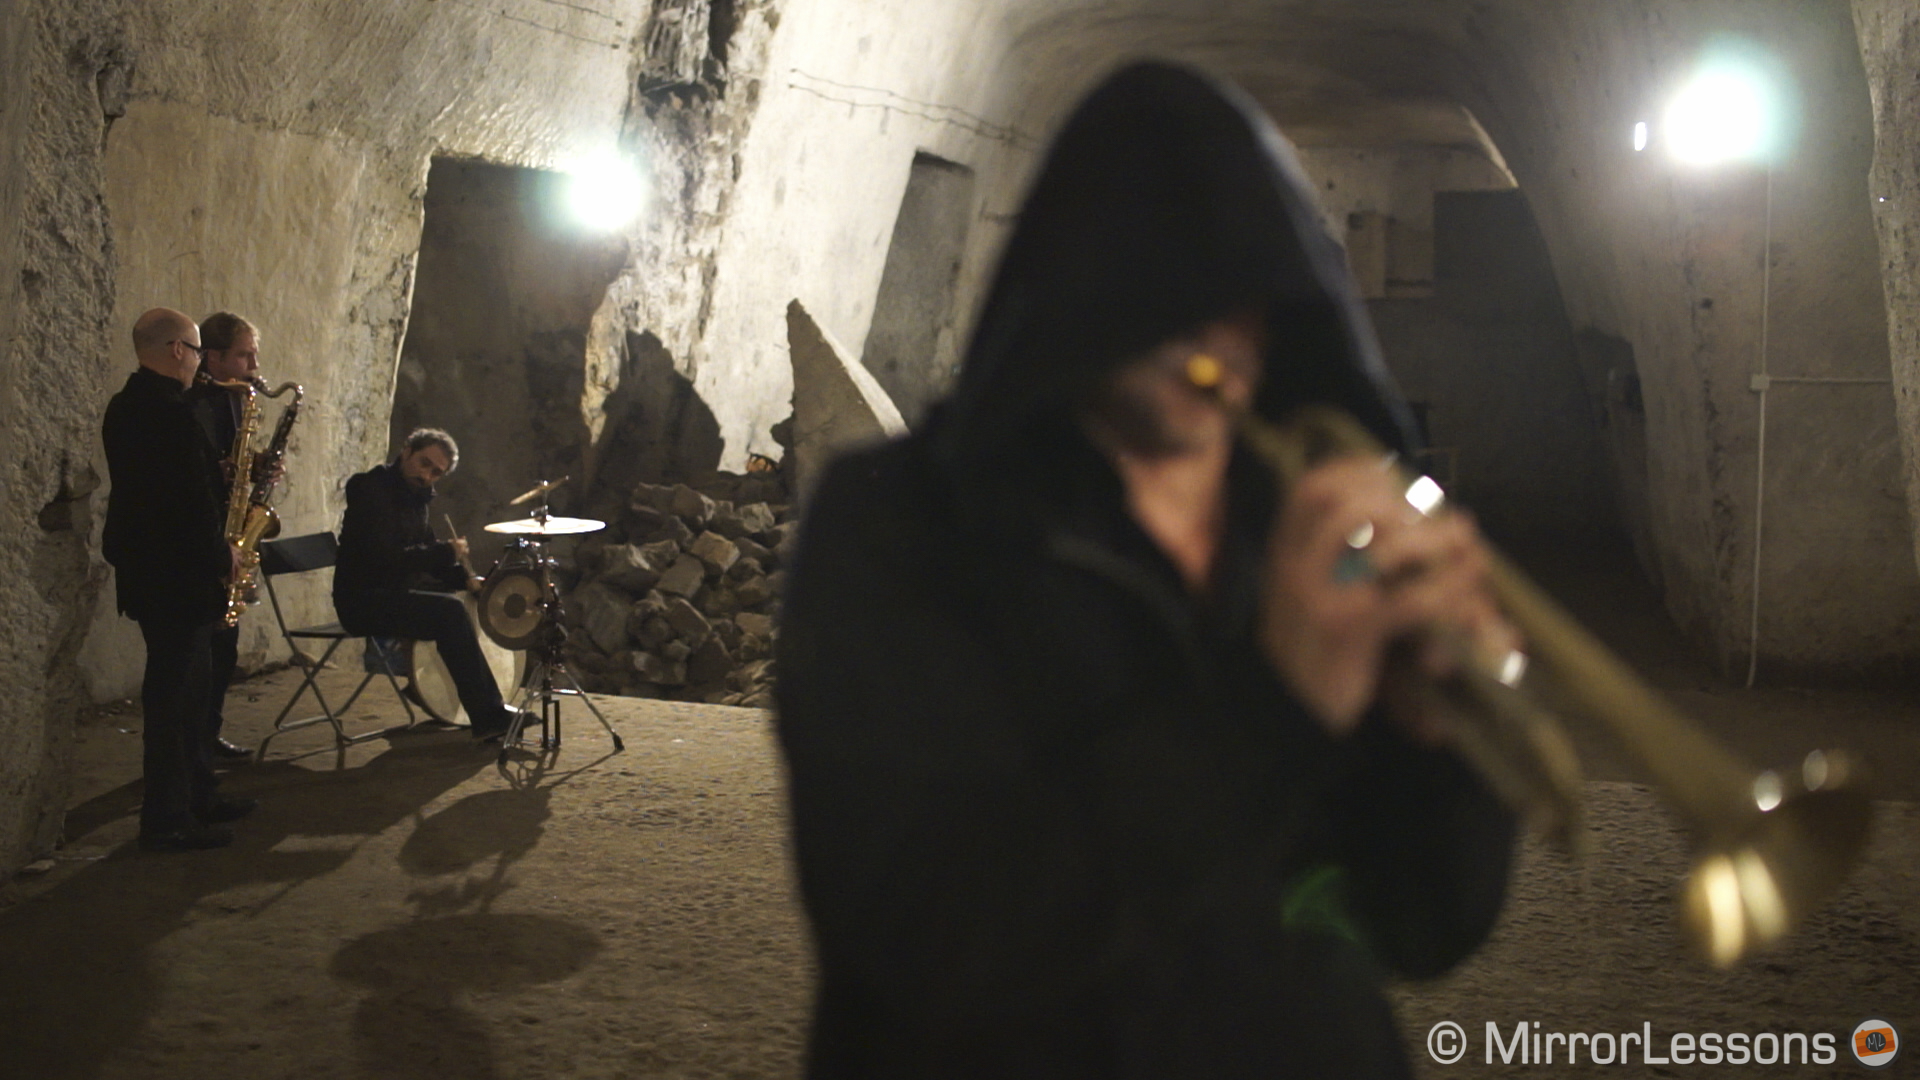
Frame grabbed from the original footage
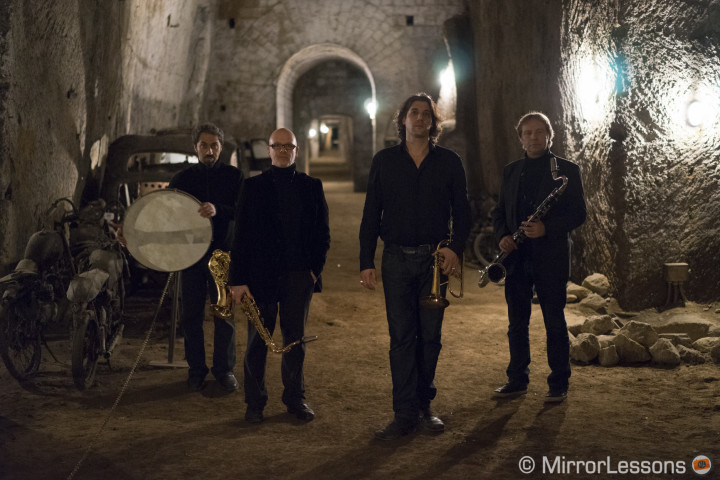
ILCE-7, 1/60, f/ 1.8, ISO 6400
I didn’t do much with colour grading as I was already satisfied with the colours the camera produced as they were natural enough in relation to the setting. I just slightly corrected highlights and contrast in some shots.
I didn’t find a huge difference between the AVCHD and Apple PRORES files. Certainly the Prores version, being a 422 colour sampling footage, provides more flexibility for colour grading and colour correction but it still remains an 8bit signal like AVCHD. I didn’t use the Prores footage in the end and stuck with AVCHD because of the face detection display problem.
The result and conclusion
Personally I am very satisfied with the results from the Sony A7. From a pure storytelling point of view, the video I made reflects the spirit of the show and original intentions of Raphael and his team.
The A7 proved a good choice from an image quality point of view even though it has some flaws. It is a camera mainly designed for stills, and its compact build makes it difficult to adapt for serious video shooting. But if you are willing to accept some compromises, the quality is high and that full-frame look is a welcome addition.
Probably the A7s, which is more video-oriented, would have given me better results especially beyond 6400 ISO (better colour accuracy and less noise).
The result obtained with the A7 can only lead me to think that the A7s will be the perfect tool for a job like this, minus its ergonomics as they are the same as the A7.
Can the A7 be considered for general video work?
Sure, the quality is there: full frame, good ISO performance, good colour rendering. I think it depends on what kind of work you’ll be doing and if you will be using it as a main camera or as a second body. It lacks some options that would be welcome and it isn’t always easy to operate as described above. It isn’t without moiré, aliasing or rolling shutter. Personally, I still find a Lumix GH3 or GH4 a more complete option for general video work. But it is up to the filmmaker to understand which tool can work best for him or her.
