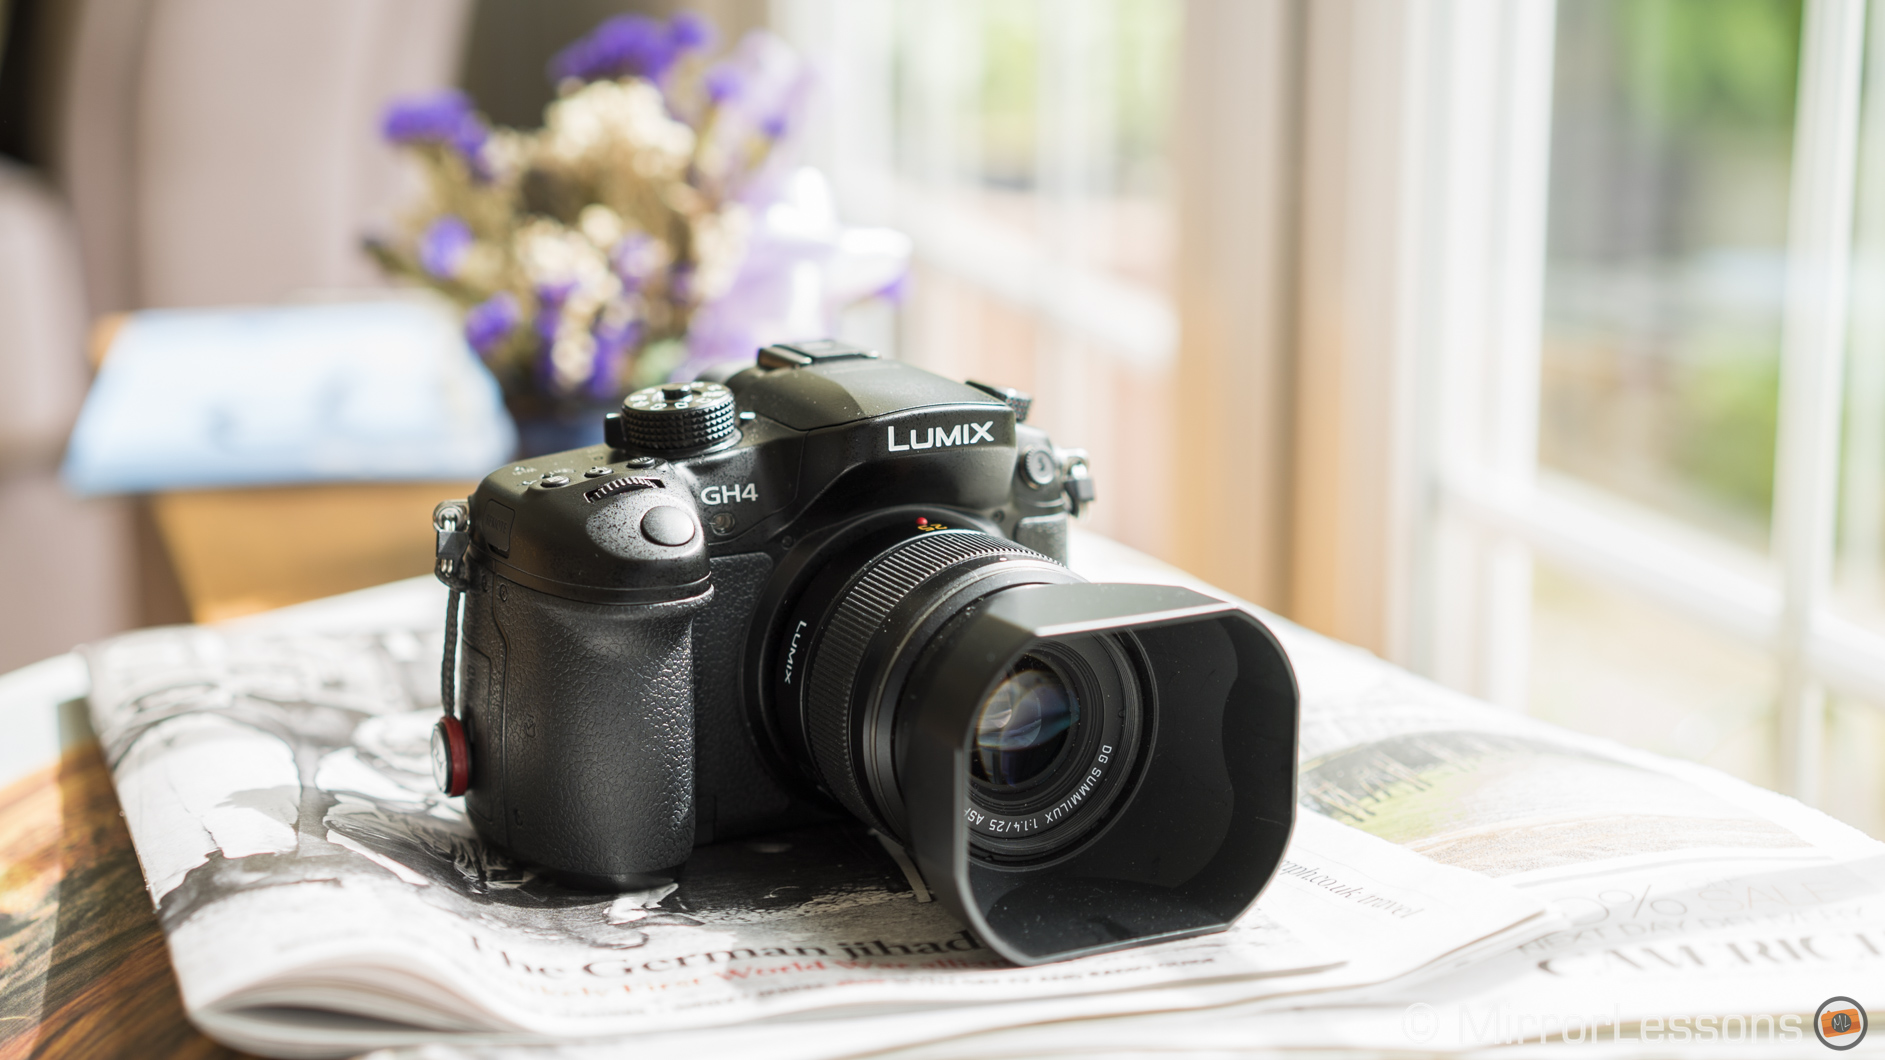
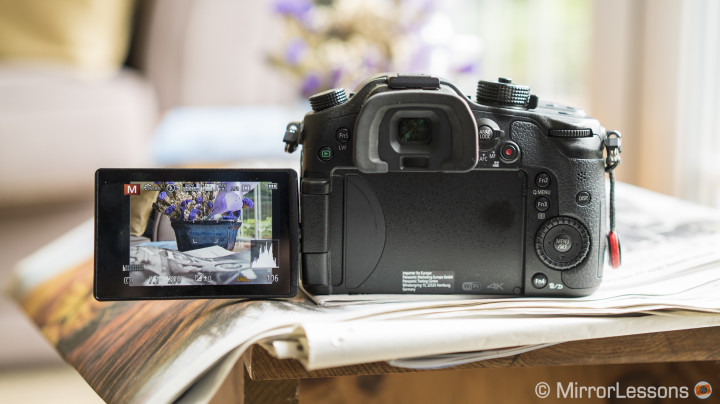
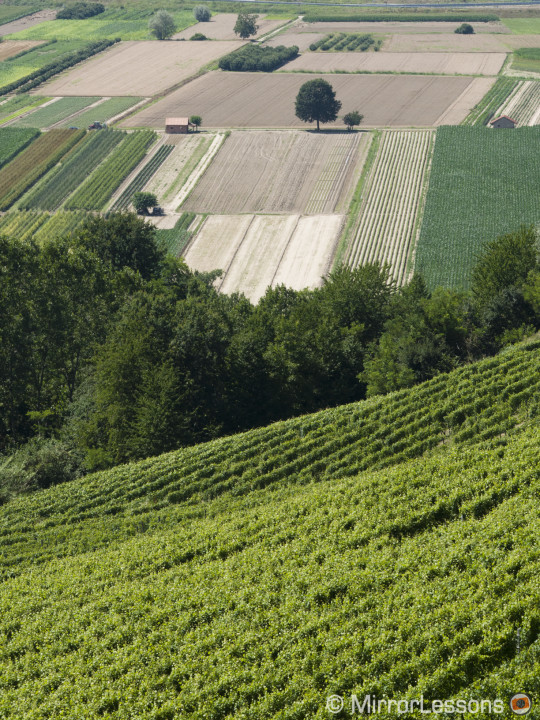
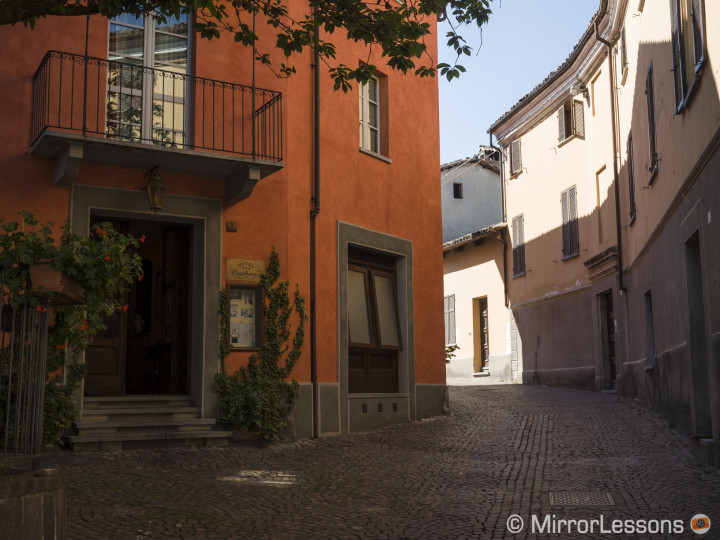
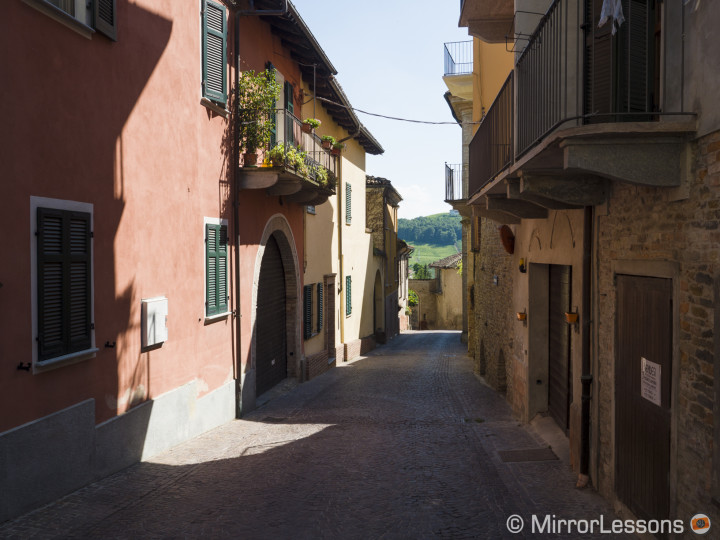
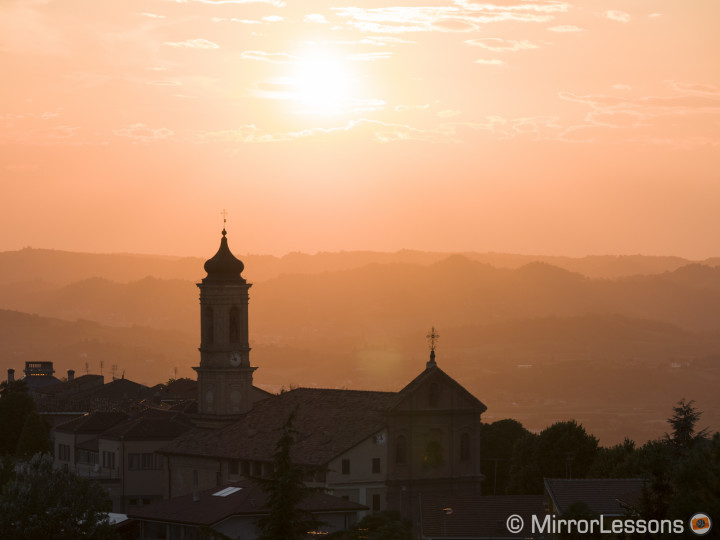
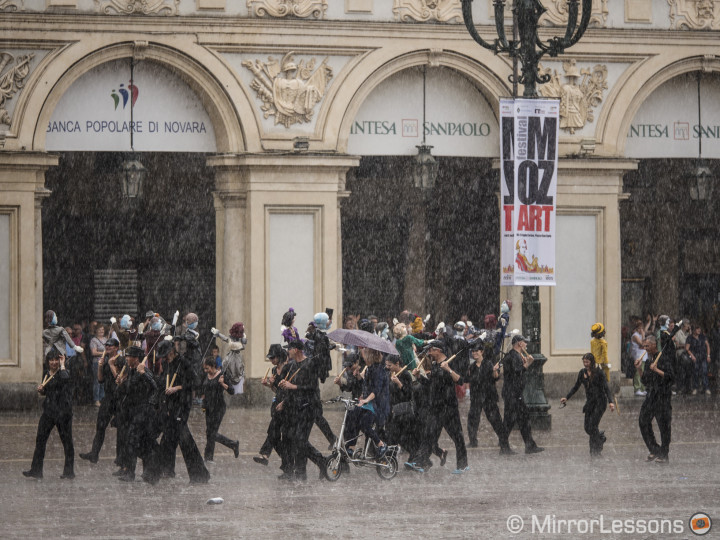
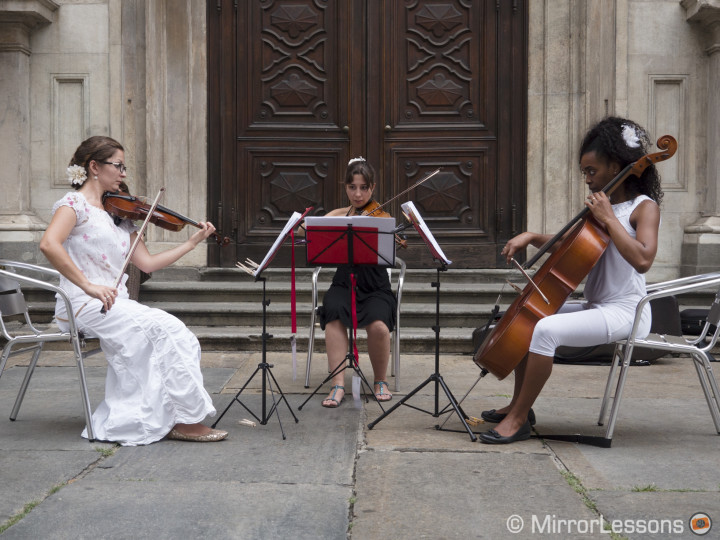
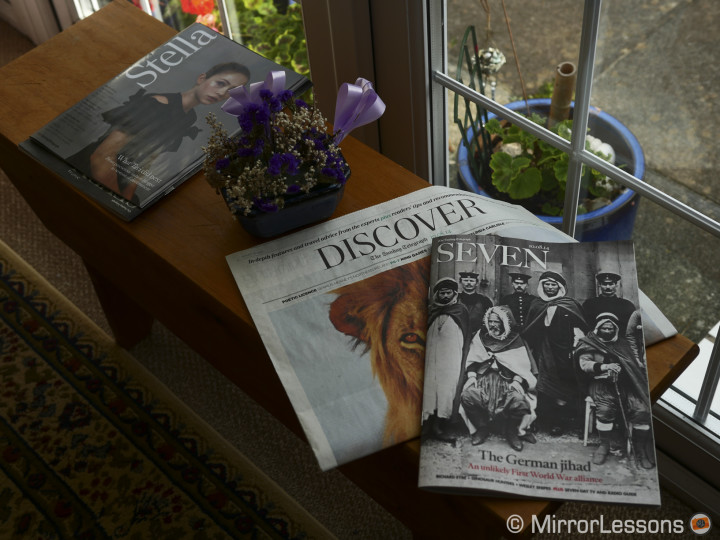
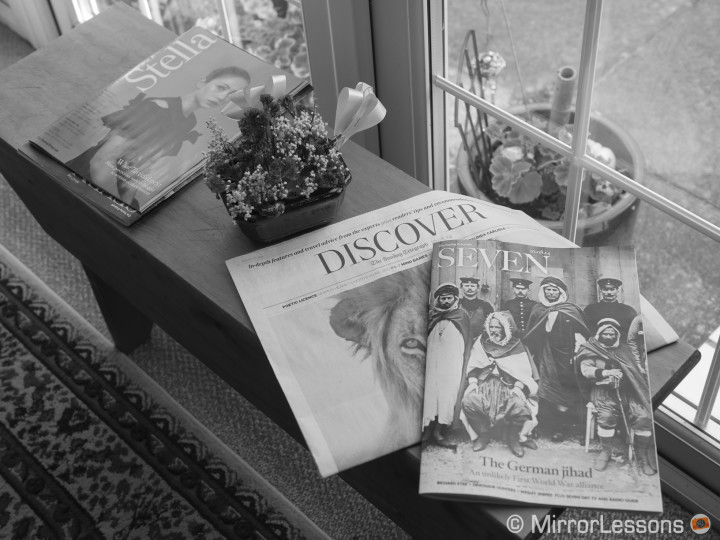
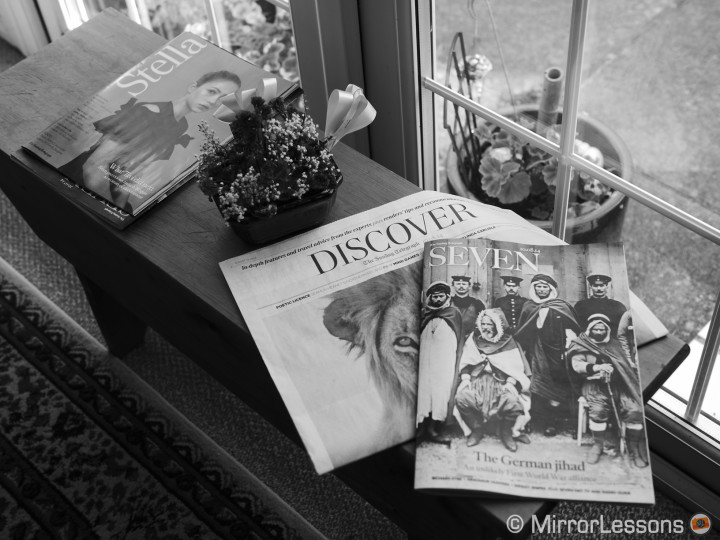
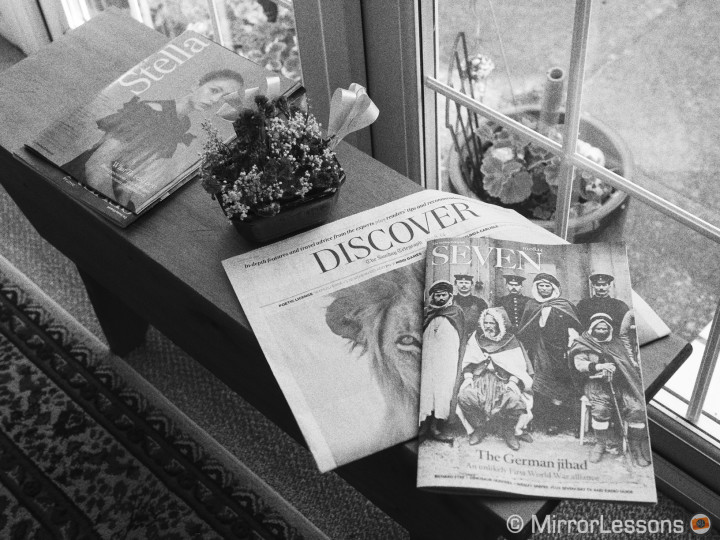
The Micro Four Thirds system has certainly reached its maturity in the last two years. The new Panasonic Lumix GH4 is the latest example of how advanced the system has become. I feel that this camera in particular is more important than any other MFT camera because it represents a great step not only in terms of stills but also video recording.
Actually, the video capabilities are so advanced on this camera that people seem to focus their attention more on this aspect than any other. But the GH4 is also a great stills camera and while the upgrades from the GH3 can appear less obvious than the video upgrades, they aren’t any less important.
This is why I decided to write two distinctive reviews: one for stills and one for video. With that said, I welcome you to Chapter I of our GH4 review.
Update: Part 2 is now online!

Panasonic GH4 Main Specs
- Sensor: 16 megapixel 4/3 Live MOS Sensor
- Lens system: Micro Four Thirds interchangeable lens system
- Weatherproof: Yes
- Internal Stabilisation: None (compatible with selected OIS lenses)
- Autofocus: Contrast detection AF with 49 autofocus areas
- Continuous shooting: 12 fps (AF-S), 7,5 fps (AF-C), 40 fps with electronic shutter
- ISO Sensitivity: 200 – 25600 ISO (extended 100)
- Viewfinder: OLED Live View Finder with 2,359K dots and approx. 100% FOV coverage
- LCD Screen: articulated 3″ OLED touch sensitive monitor (1036k dots)
- Movie recording: Cinema 4k, UHD, Full HD
- Built-in Flash: Yes
- Extra Features: WiFi, NFC, Creative controls, Variable frame rate, Timelapse, Stop Motion animation, HDR, Multiple exposure
- Dimensions: 132.9 x 93.4 x 83.9mm
- Weight: 560g (including battery and memory card)
[toc heading_levels=”3″]
A smart and balanced camera
Ergonomics and functionality
What I love about Lumix cameras is how easy they are to use straight out of the box. Actually, there were very few things I had to change or customise in the menu, one of them being the colour space setting and another, the Auto Review option, which I deactivated. That aside, the camera has all the buttons and assigned functions you need at hand.
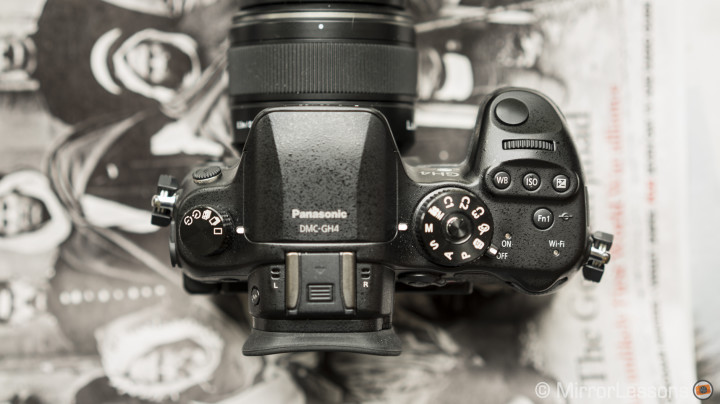
There are dedicated WB, ISO and exposure compensation buttons on top and a drive mode dial on the left.
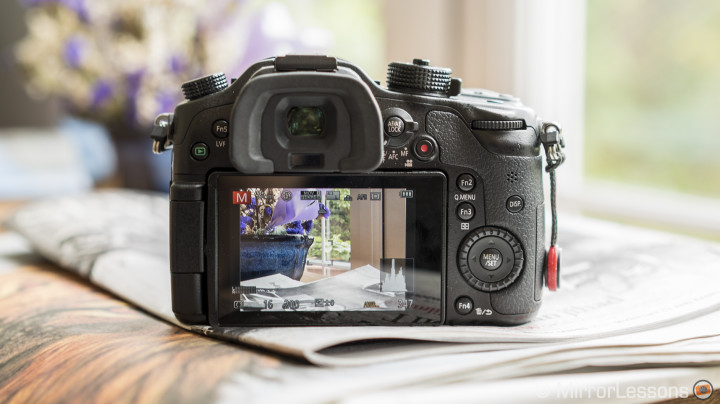
On the rear there is a switch that allows you to quickly change between AF-S, AF-C and manual focus, and the centre button of the switch can be used to either lock AF or exposure. The other customisable buttons are already preset with the functions that I consider the most useful. The Fn2 button works as a quick menu, which is very handy for changing the other important settings (including recording quality for both video and stills). The Fn3 button will give you all the AF options from multi to pinpoint. Even the “Shoot without lens” option is already on. When you switch to manual focus, the Fn3 button used to select the AF mode will let you change the peaking level instead. There are also 5 more custom virtual buttons accessible at the right edge of the screen.
It looks like the camera has been designed to be pulled out of the box and used from the word ‘go.’ There is no need to spend hours customising or changing anything on it, or even to read the manual.
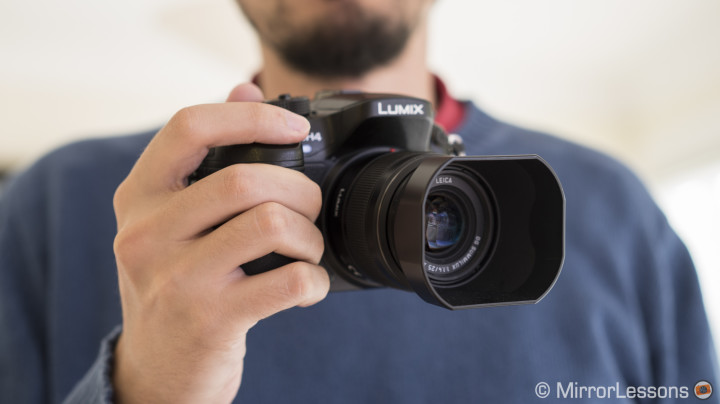
From an ergonomic point of view, the GH4 is very similar to a DSLR. It is something that I like and don’t like at the same time. On one hand, it is comfortable to hold and use especially for video, whereas a small camera can be more problematic to balance with lenses and accessories. On the other hand, because of its larger size, I enjoy carrying it around less as my daily camera. I am probably too used to small and compact MILC cameras, so much that suddenly the GH4 seems oversized to me. That being said, if I look at the system as a whole (and that includes MFT lenses), it is still lighter and smaller than a DSLR system. Also, for video, I much prefer working with a body that size than something smaller.
In comparison to its predecessor the GH3, the weight is basically the same (the GH4 is 10g heavier) and it is larger in width (around 2mm). The welcome upgrades from the GH3 include a far better electronic viewfinder: it is more detailed, bigger and with less corner smearing (although it is still slightly present). The SD card port is now more solid and won’t accidentally open every 10 minutes like on the GH3.
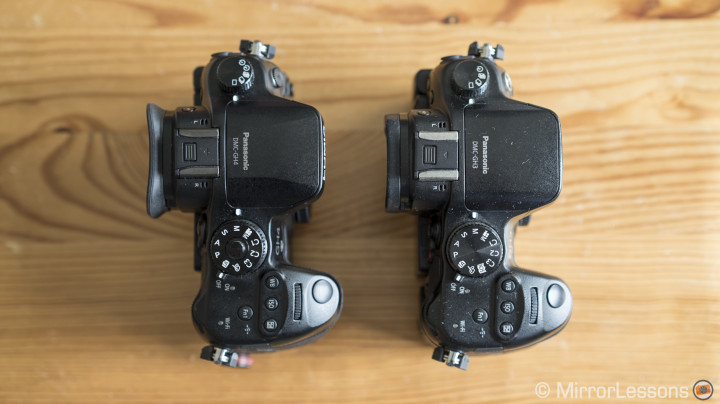
As for other differences, the mode dial is slightly bigger on the GH4, and the lock button is in the centre. The drive dial on the top left also has more options now, such as the timer mode. Otherwise, the two cameras are almost identical.
I like to call the GH4 a ‘smart camera’ not only because it includes many simple yet useful functions, but also because it has a variety of terrific features you won’t find on other cameras.
One simple characteristic is the articulated LCD that can make your shooting experience easier in different situations for both stills and video. The downside for video is that if you are using the HDMI or headphone port, they can block the 180° flipping option. The screen is also very detailed and crisp.
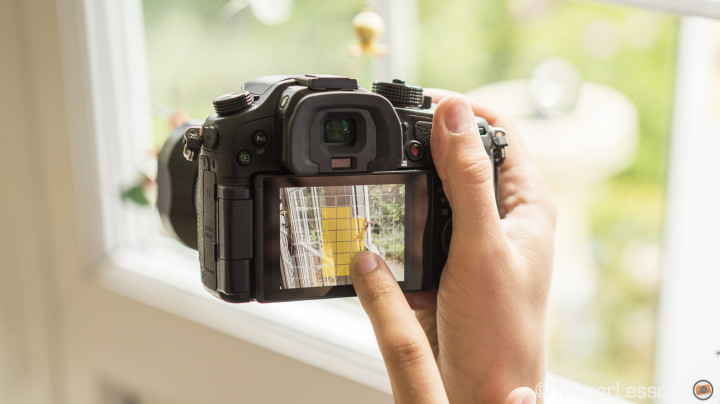
The options found on the touchscreen are also more advanced than on any other mirrorless camera, with the exception of the Leica T. For example, if you enable the touchpad AF option, you can use the whole touchscreen to change the focus point even when the screen is deactivated and you are only using the viewfinder. You can use it either when the screen is flat against the camera body (the natural position for a screen on most cameras) or flipped out to the side. The downside when choosing to have it sit against the camera body is that my nose inadvertently touches the screen and causes the focus point to change when using the EVF. To really enjoy this function, it is recommended that you keep the monitor flipped out to the side and set the “Touch Pad AF” to offset, meaning that camera will place the AF focus point just beside the point where your finger comes in contact with the screen.
Some of the other operations you can perform with the touchscreen are focus magnification, focus point size adjustment, histogram relocation to wherever you want on the screen, and customisation of the multi AF area function. The last one is very easy to do as you simply use your finger to select the AF areas you want activated.
Finally all the playback functions and the menus can be navigated either by using the circular pad on the rear or by using your fingers on the screen.
Honestly I only use a few of the total number of touchscreen functions. For example, I don’t feel the need to use the extra custom buttons. I guess I am a little bit ‘old school’ in that way and prefer to work with dials and buttons. But it is nice to see that the camera gives you basically two ways to set things, either using physical buttons or by using the touchscreen.
When it comes to functionality and ease of use, the GH4 is hard to surpass.
It is solid, comfortable, smart and intuitive–all aspects that were already great on the GH3 and have been improved on the GH4.
Micro Four Thirds at full power
Image Quality
The GH4 probably possesses the best MFT sensor on the market since it is the most recent flagship MFT camera. Without going into direct comparisons for the time being, I can safely say that it is on the same level as the OM-D E-M1 and Lumix GX7, if not better.

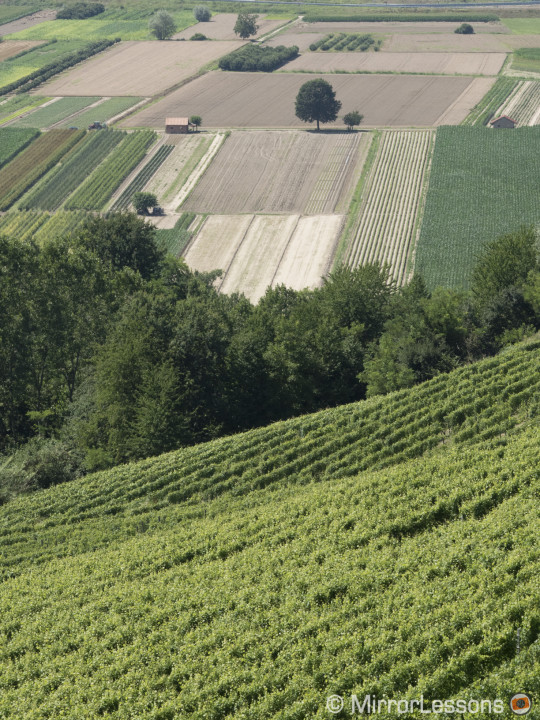
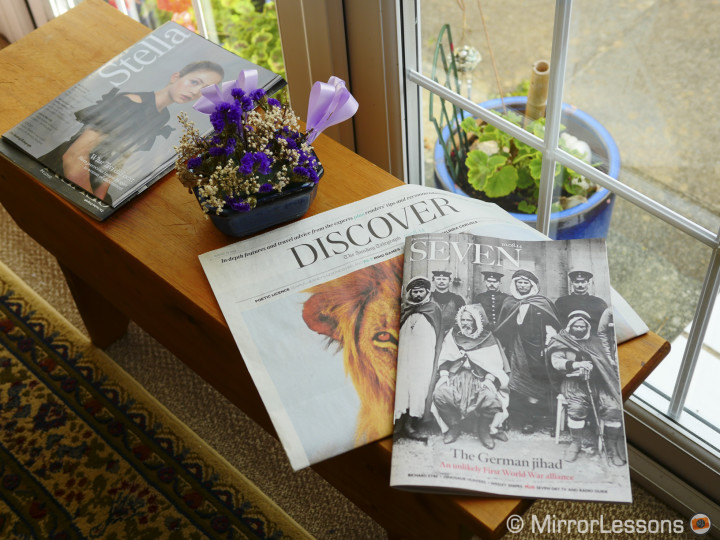
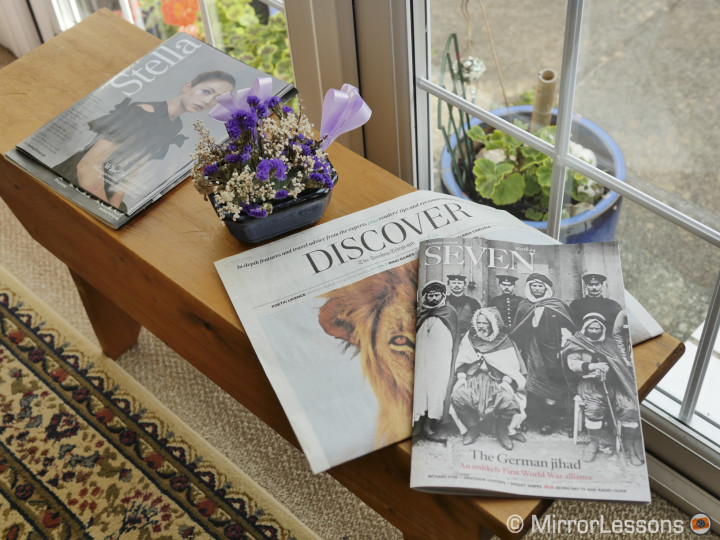
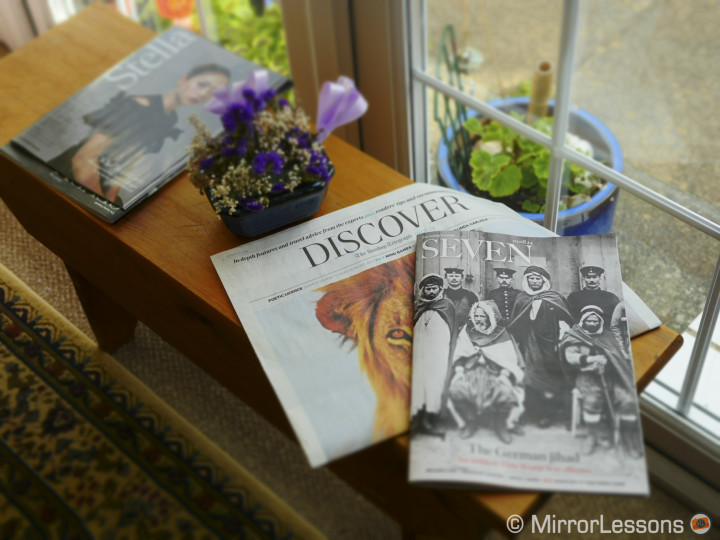
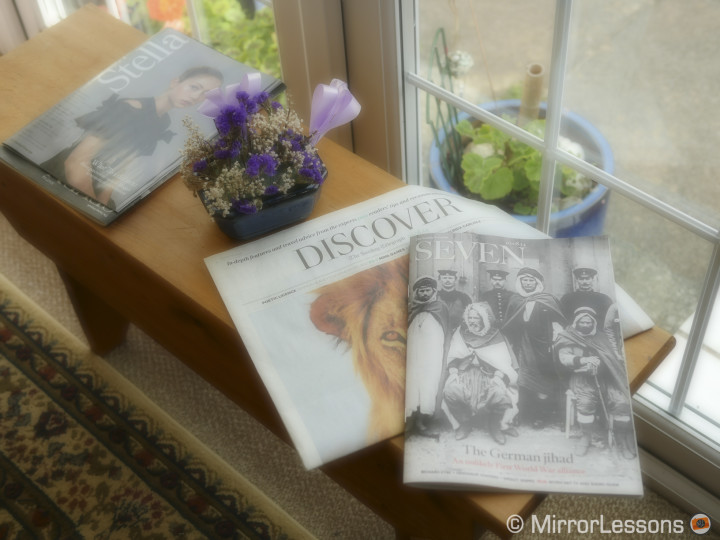
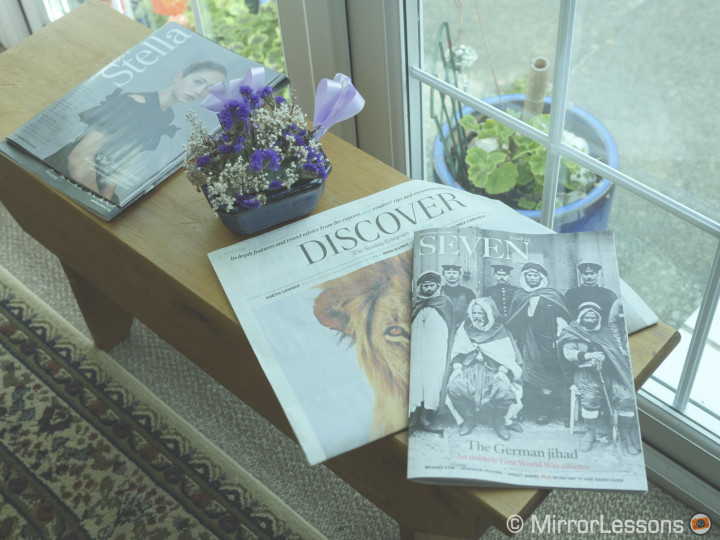
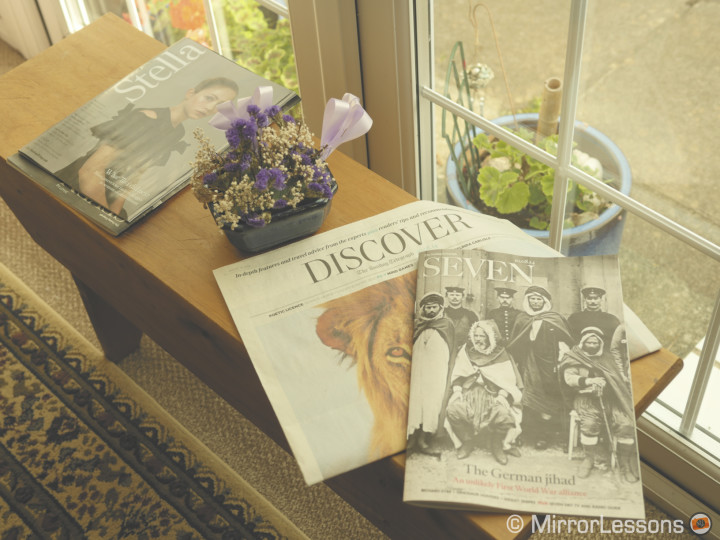
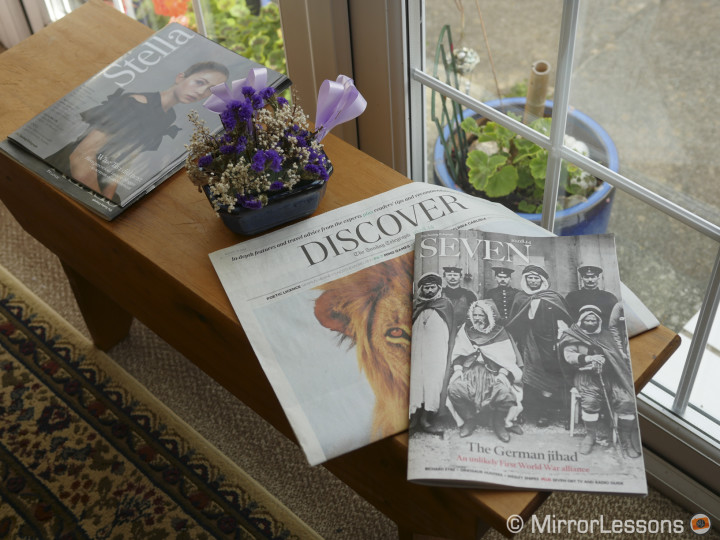
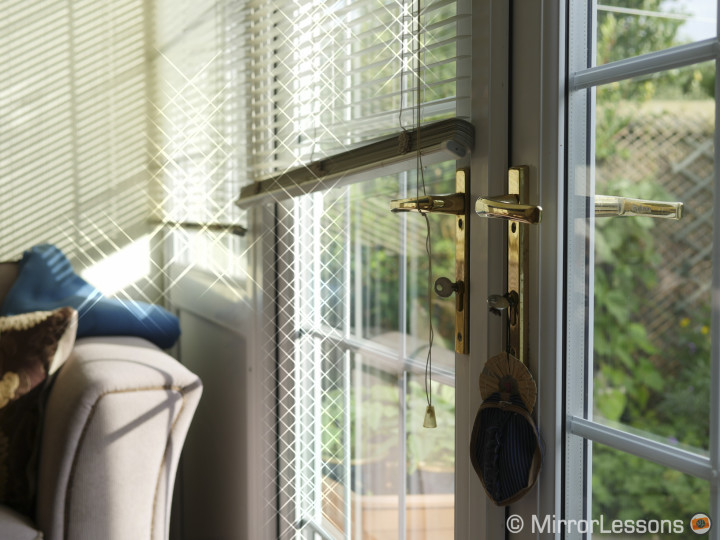
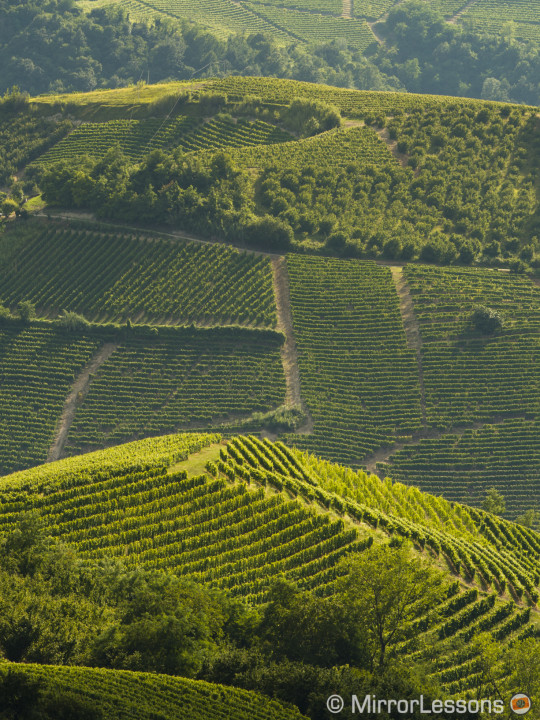
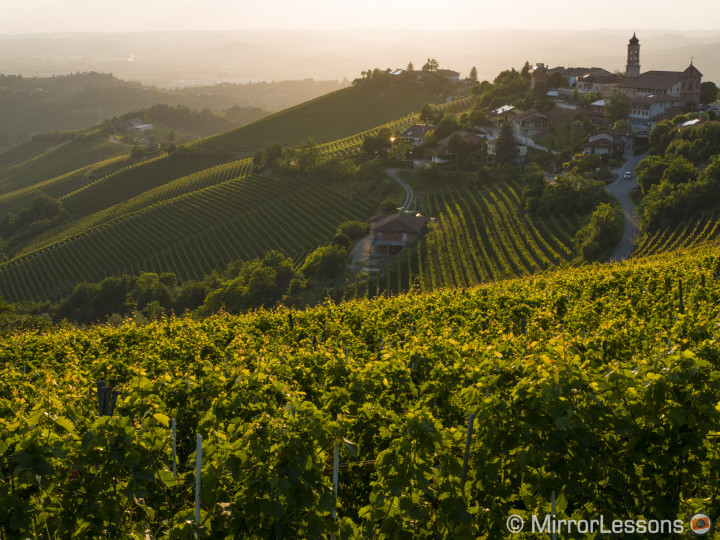
I’ve always had mixed feelings about the colour rendering of Lumix cameras. There are some photos which I really love straight out of the camera (JPG) like this one…

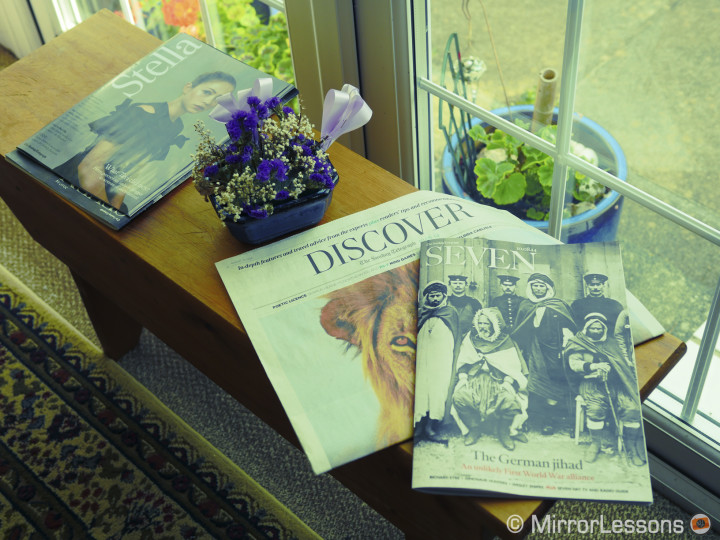
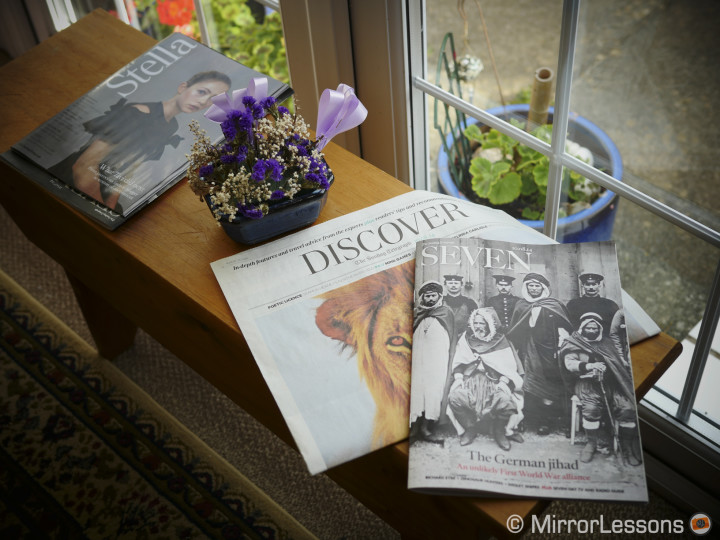
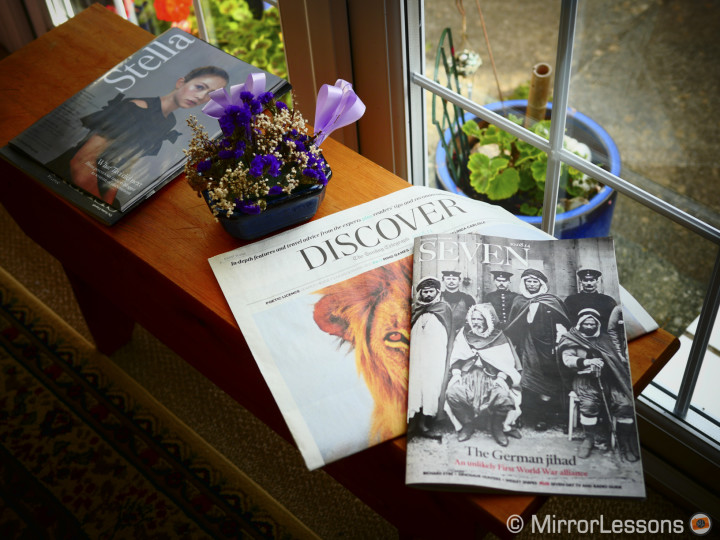
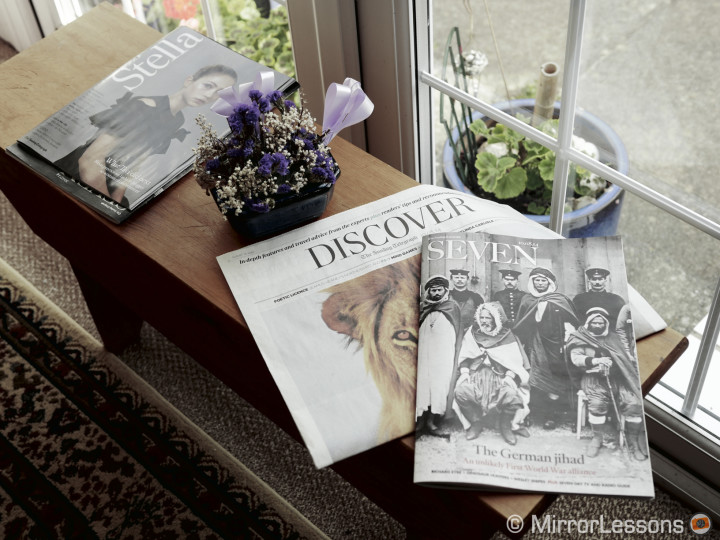
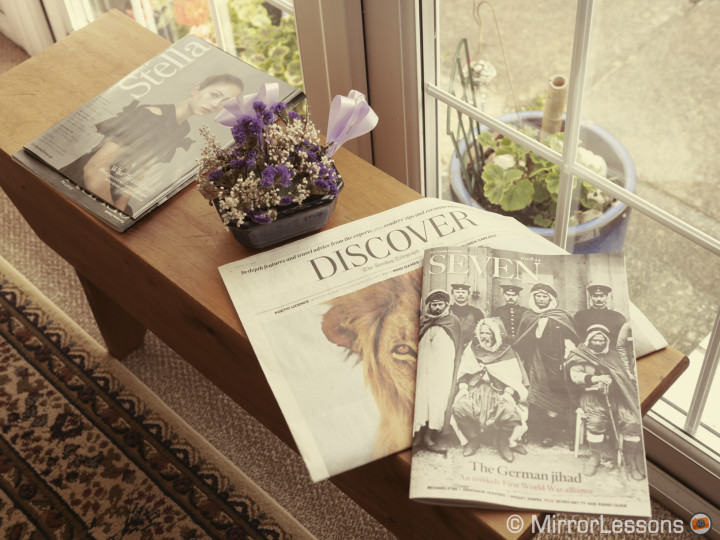
…while others are less to my taste like the one below–it is simply way too cold. Note that the white balance was at 6900°k which is supposed to be very warm:
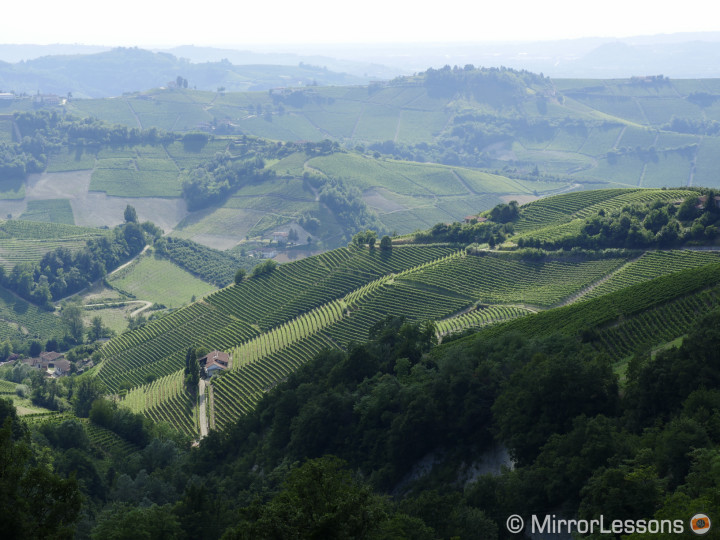
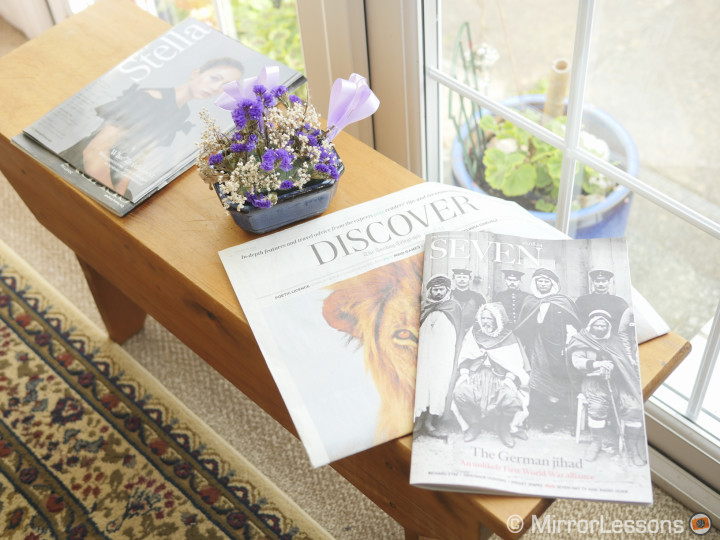
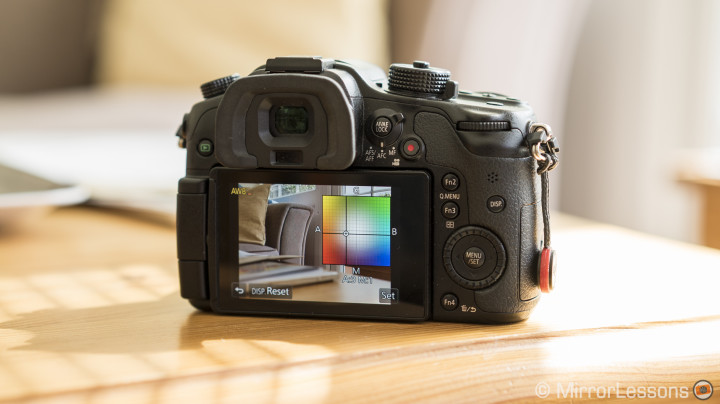
I guess it is a purely personal feeling but the reality is that I find that colours need to be customised more than on other cameras to achieve an overall warm feel. Generally I find the rendering a little bit too cold or too digital. So one of the first things I do is customise the Auto White balance and bring it slightly towards the warm tones (red and orange).
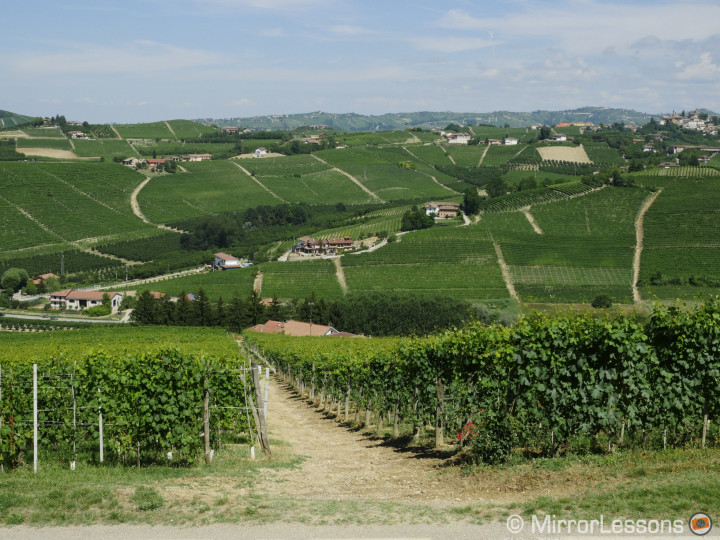
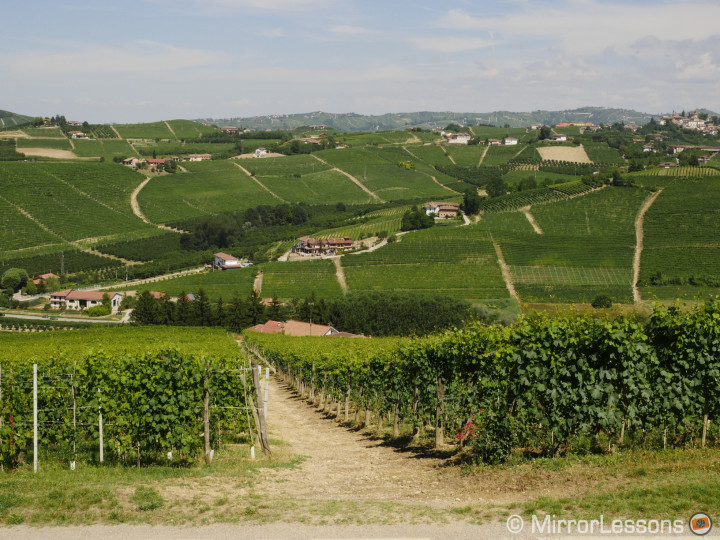
N.B.: if you wonder why some of these sunny landscape pictures were taken at 800 ISO, it is because I forgot to change the setting from the previous day. Carelessness 1 – Mathieu 0
The GH4 offers the usual settings for each picture profile (Photo Style) like sharpness, saturation, contrast and hue. My favourites are the natural and vivid profiles. The natural profile gives you the most balanced tones and colours.
The natural and portrait profiles are nearly the same, with the latter giving a slightly warmer tone to skin tones.
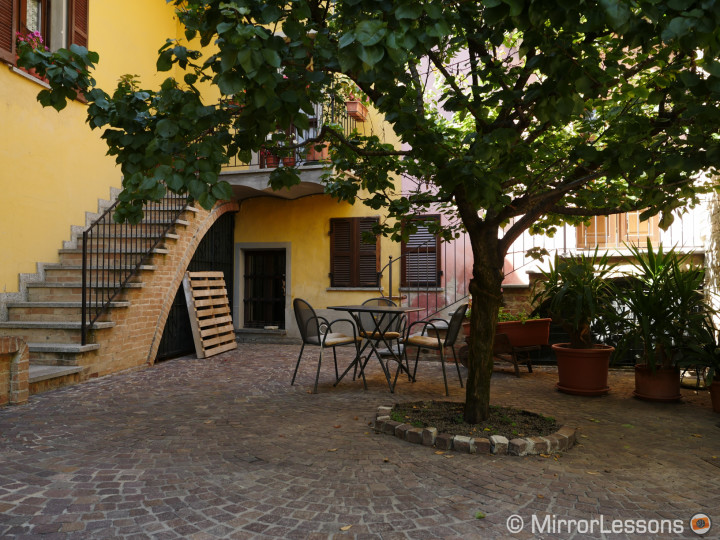

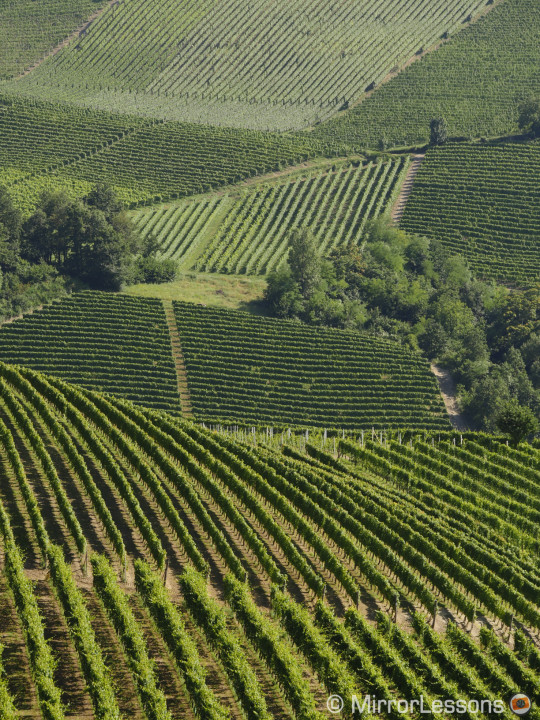
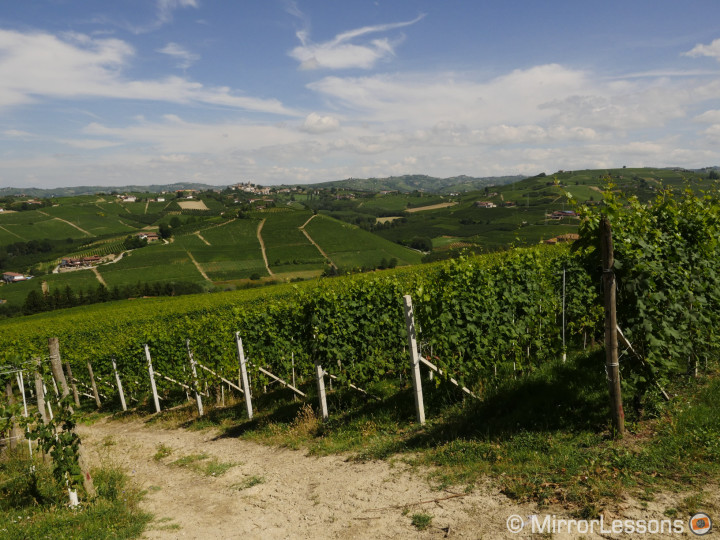
The truth is that once you’ve found the most desirable settings, the camera is fine and can render some very nice colours.
I always tend to use WB Auto for convenience but setting it manually can give you more accurate results. One thing that I would have been curious to try for stills are the two picture profiles Cine-Like D and Cine-Like V that Panasonic implemented from their professional broadcast camcorders. Unfortunately you can only activate them for video recording. There is also the monochrome profile which is very basic. By tweaking the contrast settings a little bit you can obtain nice results.
The raw files will give you a more flexible and flat version of the photo to work with. With Lightroom I’ve made the same observations regarding colours but if I use the Huelight Color profiles for the GH4 from Colour Fidelity, I can bring back those lovely warm tones.
So, in the end, I prefer to work with the raw files on the GH4 for my daily workflow.
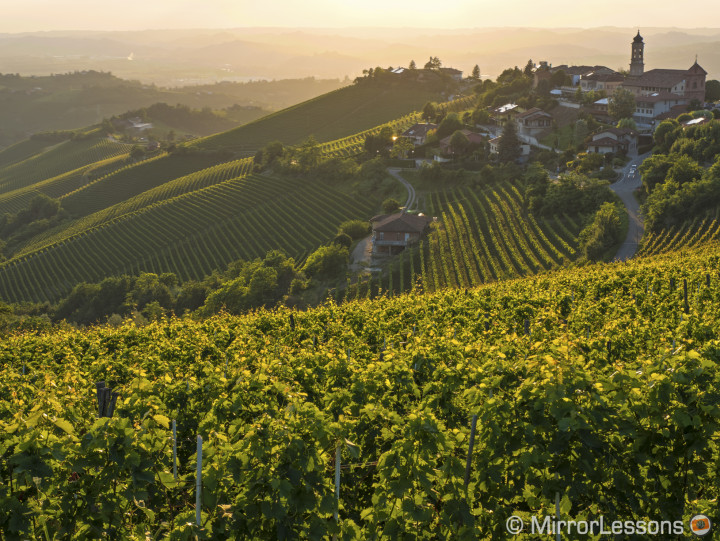
But let’s not forget that the result depends on the light around you. A brilliant sunrise or sunset can give good results on almost any camera.
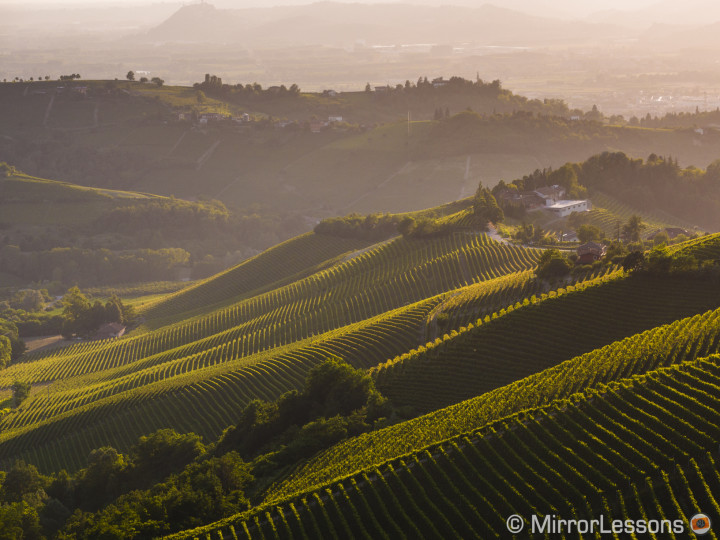

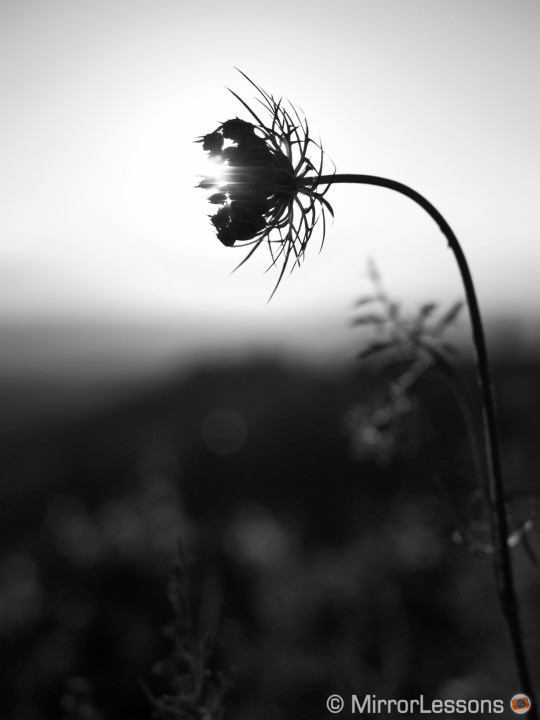
On the dynamic range side, we get what we get on almost every high-end Micro Four Thirds camera. The performance again is very good with the usual strength in shadows and weakness in the highlights. That being said, the camera can handle some backlit situations like a sunset very well, even without merging multiple exposures into an HDR image.
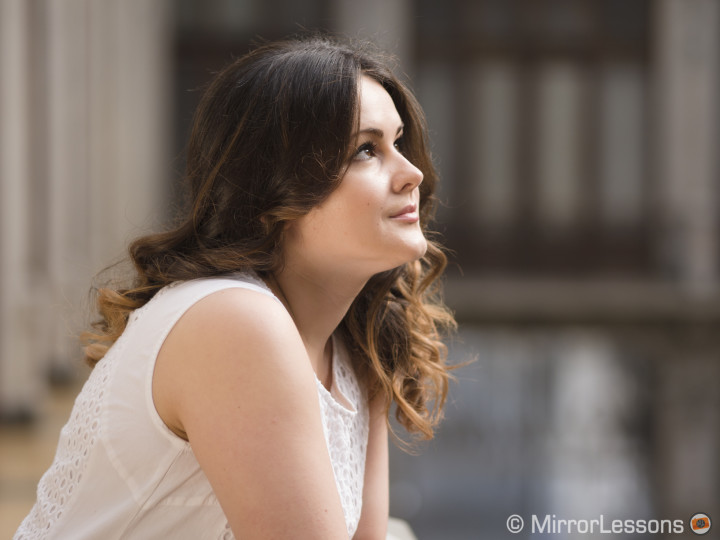
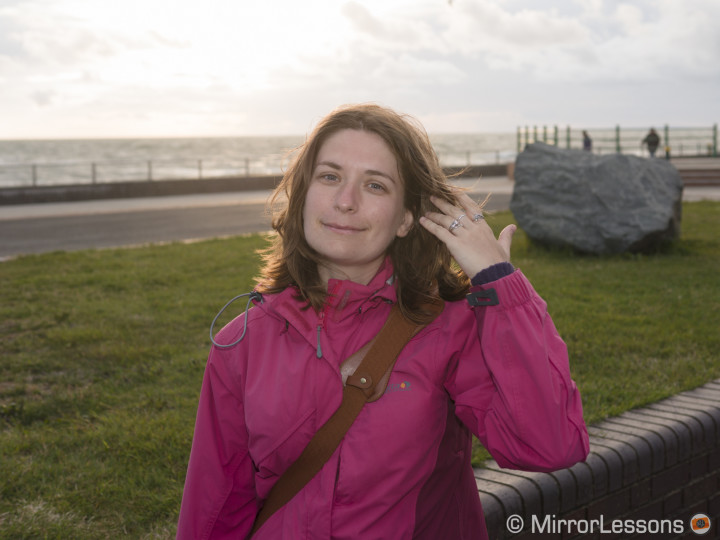
I like how the camera renders skin tones; it is very natural especially if you use either the natural or portrait profiles. I haven’t found any sort of magenta or green tint dominance so the GH4 can really be a very good portrait camera, especially if you combine it with that wonderful 42.5mm f/1.2 that I reviewed earlier this year. Unfortunately I didn’t have it with me when I shot a portrait session with the GH4, so I used the M.Zuiko 75mm 1.8 instead, which is another gorgeous MFT lens for portraits.


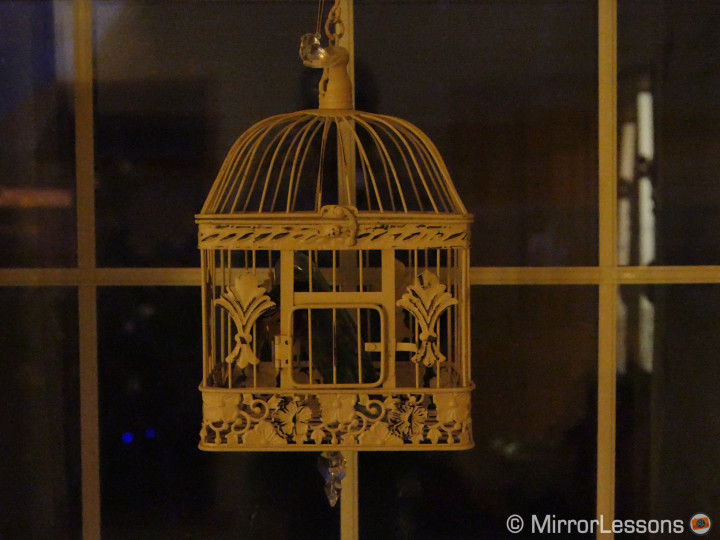
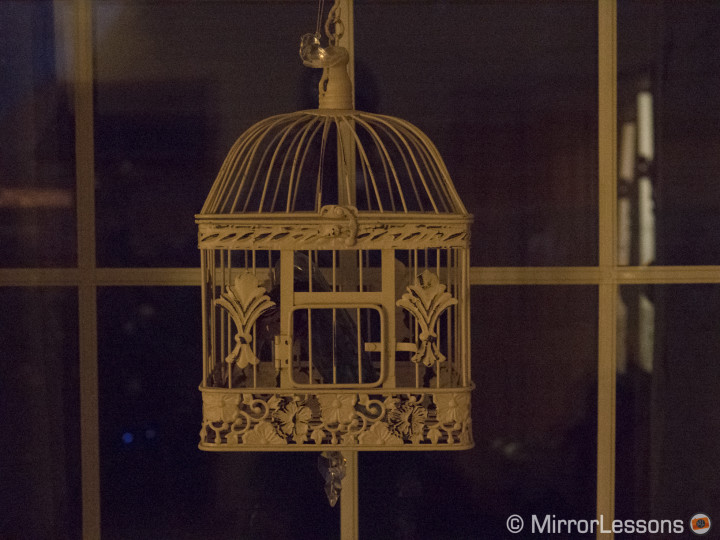
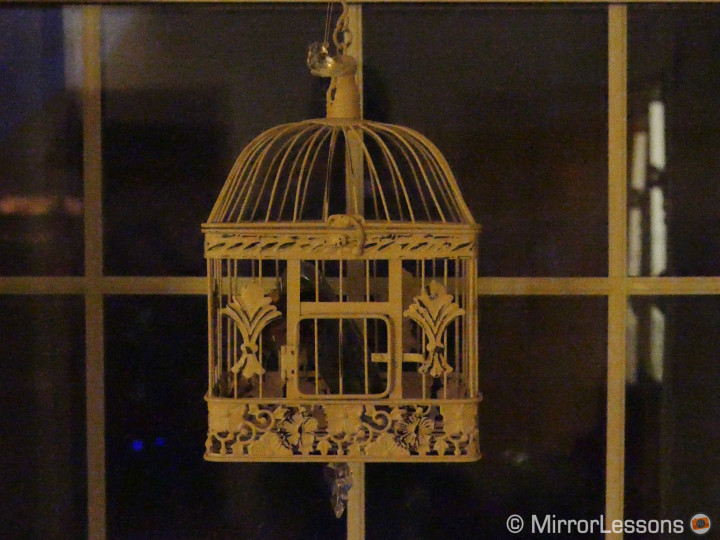
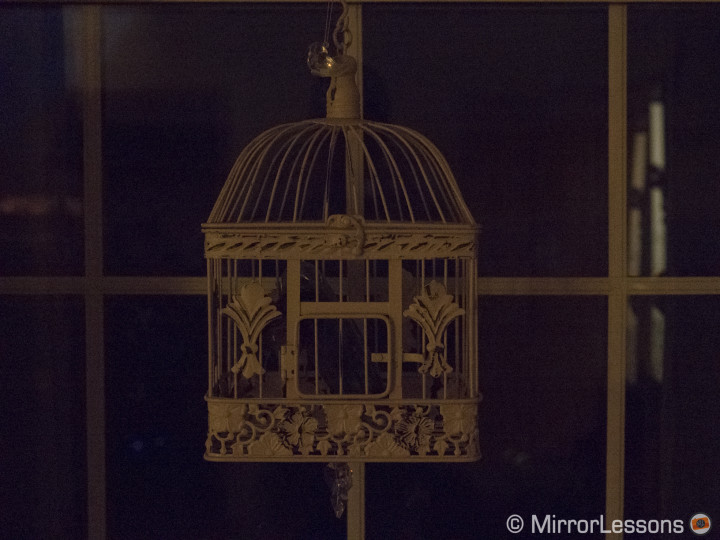
When it comes to low-light performance, the GH4 can achieve some of the best results among MFT cameras. Up to 3200 ISO, images remain very clean with very little loss of detail and sharpness as the ISO value increases.
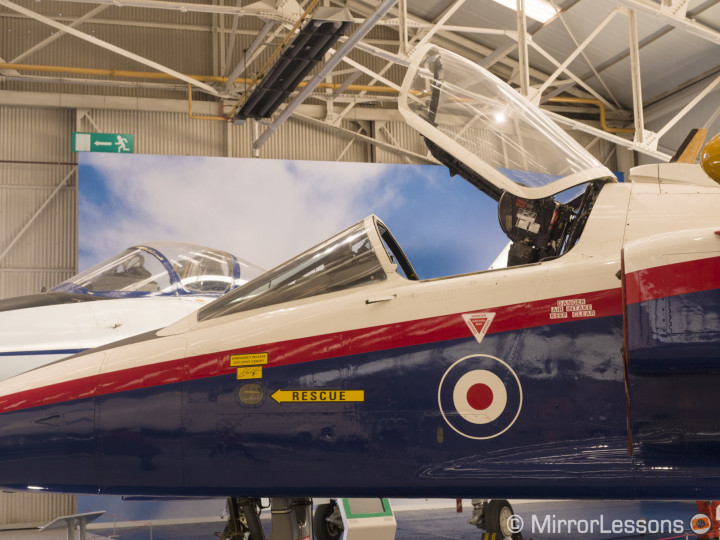
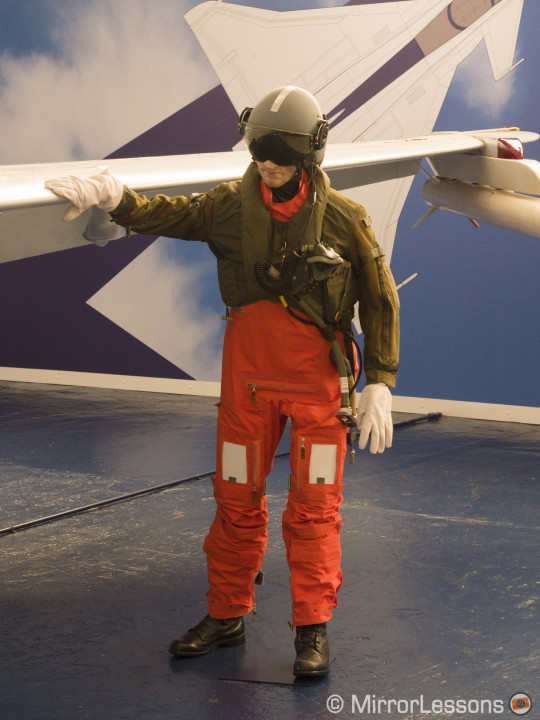
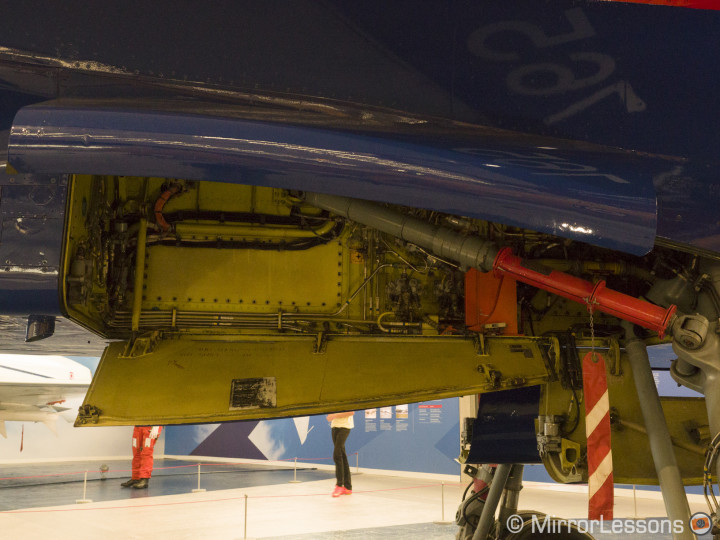
At 6400 ISO and even 12800 the images remain very usable. At the RAF museum, I took some shots where I could have lowered the shutter speed and opened the aperture in order to keep lower ISO values but I had the 12-40mm 2.8 which isn’t stabilised. Since the GH4 doesn’t have internal stabilisation I preferred to keep a safe shutter speed and a slower aperture to ensure maximum sharpness. Having ISO values that are that good allows you to have more flexibility in situations like this where the light was decent, but a far cry from daylight conditions.
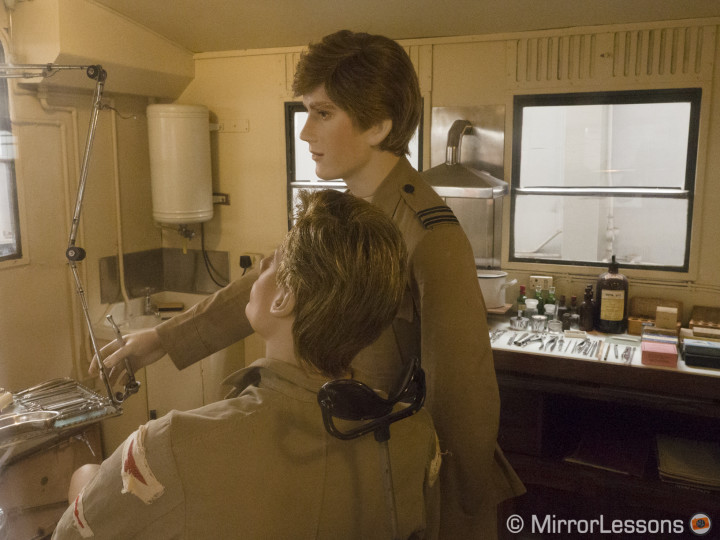


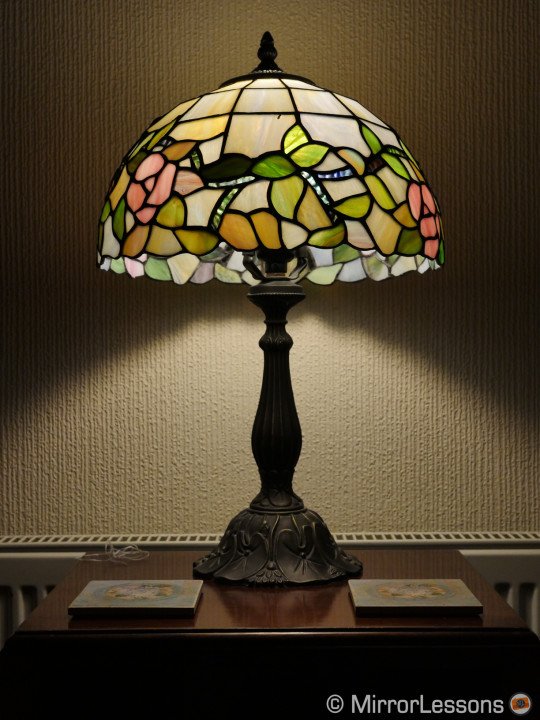
Even in more difficult conditions, the high ISO values are usable. You can see proof of this below in a few homemade OOC JPG shots. While there is a loss of detail in comparison to the raw versions (which is normal), I find that the JPG engine does a good job with the JPG compression as long as you keep the NR (Noise Reduction) level to 0 for every picture profile.
I never used the highest value because I noticed, thanks to our reader Eric from the Google + community, that the GH4 will give you that extra stop of exposure only with the JPG. If you see the example below, the first two shots were taken at 12800 ISO, and then 25600 ISO. For the second I increased the shutter speed accordingly to maintain the same exposure as the first picture. The second picture is an OOC JPG and shows the same exposure as the first picture. The third picture is the raw version of the 25600 shot and is one stop under in comparison to the first two pictures. This leads me to the conclusion that 25600 is an extended ISO level, not native.
The fastest “Pro” Mirrorless camera
Autofocus and continuous shooting
The Lumix GH4’s autofocus is certainly among the fastest in the mirrorless segment. In AF-S mode it never misses a shot, and I mean never. Ok ok, there may have been a couple of times but I can count them on one hand.
It is quick and precise with every lens I use, be they zoom or prime lenses from Panasonic or Olympus.
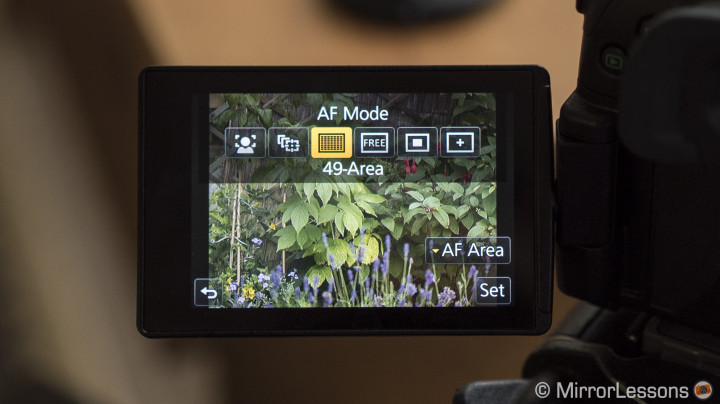
The GH4 has different AF area modes. There is the classic single point where the size can change and the position is manually adjusted. The multi option lets the camera automatically choose the focus point from the 49 available. There is face/eye detection that works well for people who are close enough to the camera, tracking mode (more about that later) and pinpoint AF mode that lets you select a very precise and small area to focus on in your composition. Finally as mentioned before, there is also a very cool feature where you can select a custom AF area among the 49 points available by sliding your finger around the touchscreen.
When it comes to AF-C, the camera does a very good job as well. The GH4 has a new feature that the GH3 does not have called DFD, which stands for Depth from Defocus. This new technology allows the camera to determine the camera’s distance from the subject by evaluating two images with different depths of field. It then evaluates that information along with the characteristics of the mounted lens to deliver the best possible results. And of course all this is done in an instant (approx. 0.07s) so it doesn’t slow down operations.



I would say that the AF-C mode delivers 80/90% in-focus results.
I did find that on different occasions, it tends to focus on a point that is slightly closer to or further away from the subject than it should be. Moreover, the autofocus will tend to hop to a new subject if it appears in the foreground in front of the subject you are actually following.
Of course when shooting in AF-C or tracking mode, you often combine your chosen AF mode with the burst capabilities of the camera. The GH4 can shoot up to 12fps in AF-S mode and 7.5 fps in AF-C mode. There are actually four options in burst mode. SH is the fastest and works with the electronic shutter and JPG only for a maximum of 40 fps, which is honestly way too much in my opinion. You end up with 100 pictures in a couple of seconds which is insane. 12fps is more than enough and even 7.5 fps in AF-C and tracking will give you great results and enough photos to work with, especially because the buffer capabilities of the camera are more than fine.
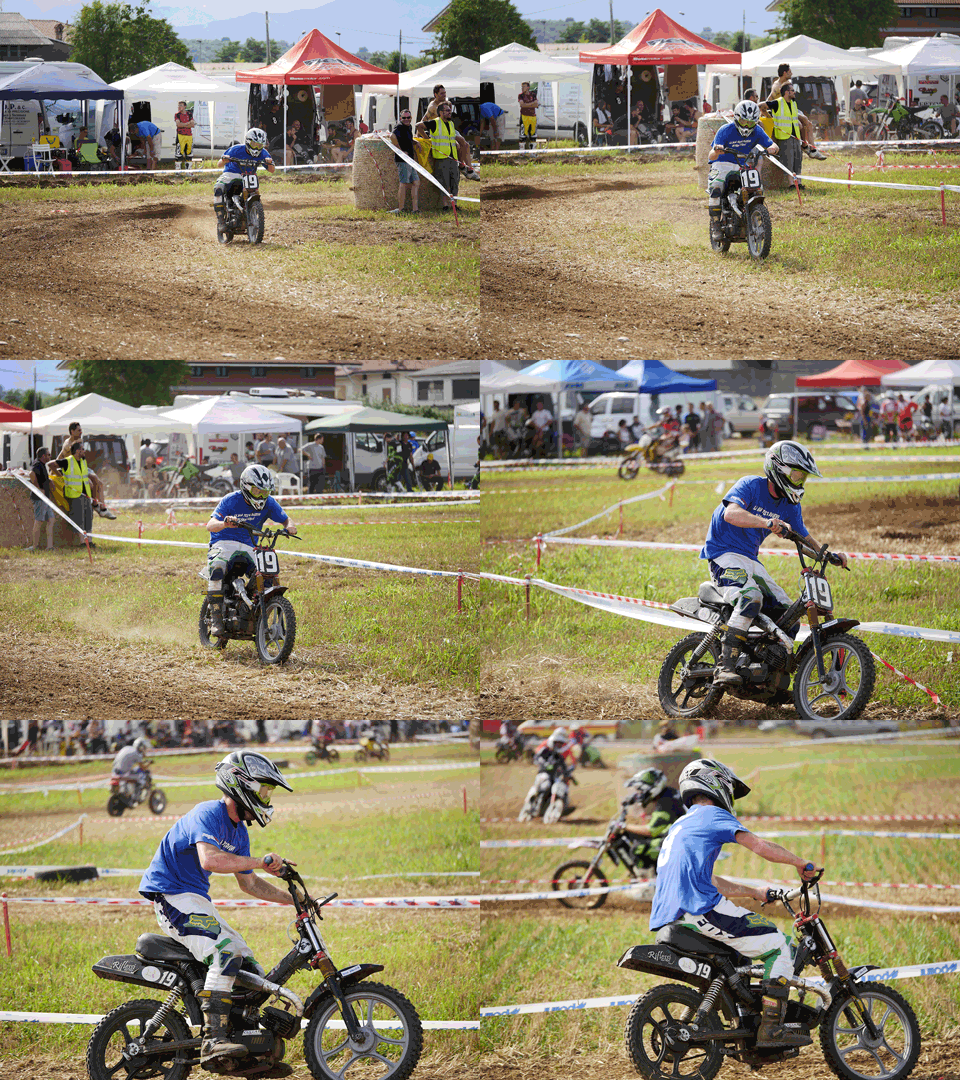
The other burst mode varies depending on the availability of live view: with the H mode it isn’t available so you only see the pictures you are recording in the viewfinder but not the live action. This is why the M mode is the best as it keeps live view activated. The L mode will only record 2 frames per seconds.

That said, there are two aspects concerning the continuous autofocus capabilities of the GH4 that haven’t convinced me.
The first is the tracking mode, as it has trouble locking onto the subject in the first place. When it locks, it works really well like the standard AF-C but unless you have a very distintive subject with one main colour that differentiates it from the background, you will have more trouble using the function. I often found myself switching to AF-C only with a single large central point.

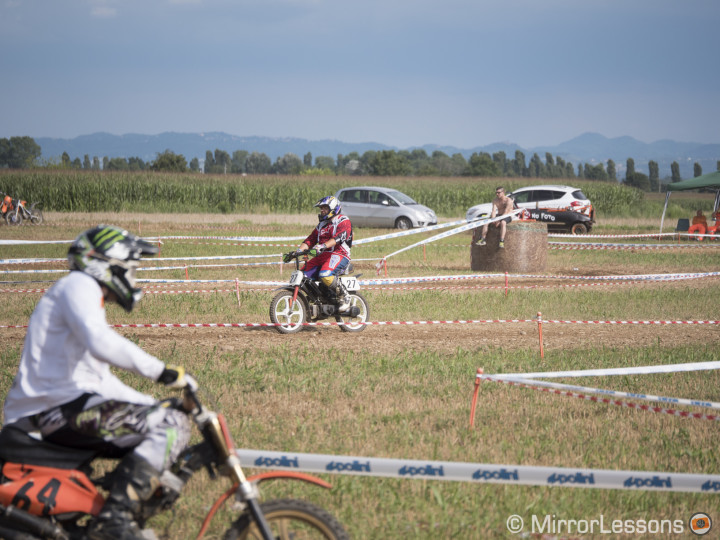
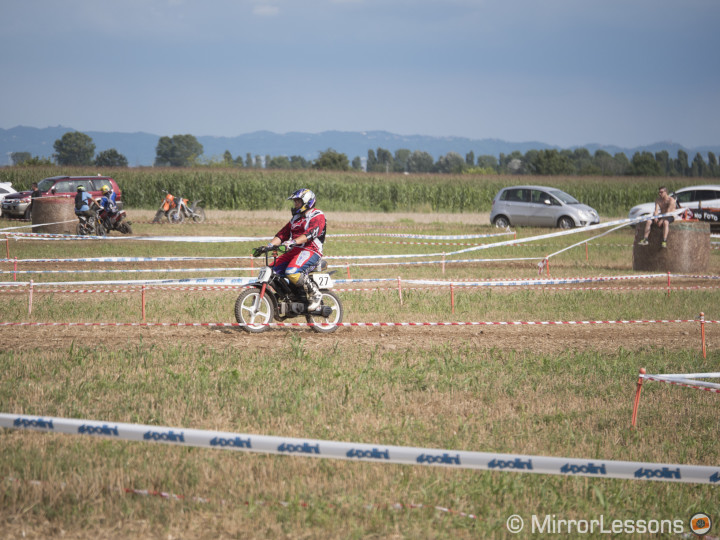
But in other situations, such as when you want to track the subject moving perpendicular to the camera, the tracking can be useful like in the example below.

Again, once it locks, it works, but in this motorbike race, for example, I experienced a 60% success rate with tracking AF.
The second problem I found occurs when using a zoom lens. Let me explain this with an example: if I am following a subject that is closing in on me using a telephoto zoom lens and I want to keep him in the frame, I will shorten my focal length when he gets closer. With the GH4, as soon as you change focal lengths, the image becomes completely out of focus. What’s more, if you are doing this while shooting in burst mode, the GH4 will take several seconds to recover the appropriate focus distance. In the example below, after the seventh shot I changed my focal length from 100mm to 85mm to the final 62mm you see in the last shot.
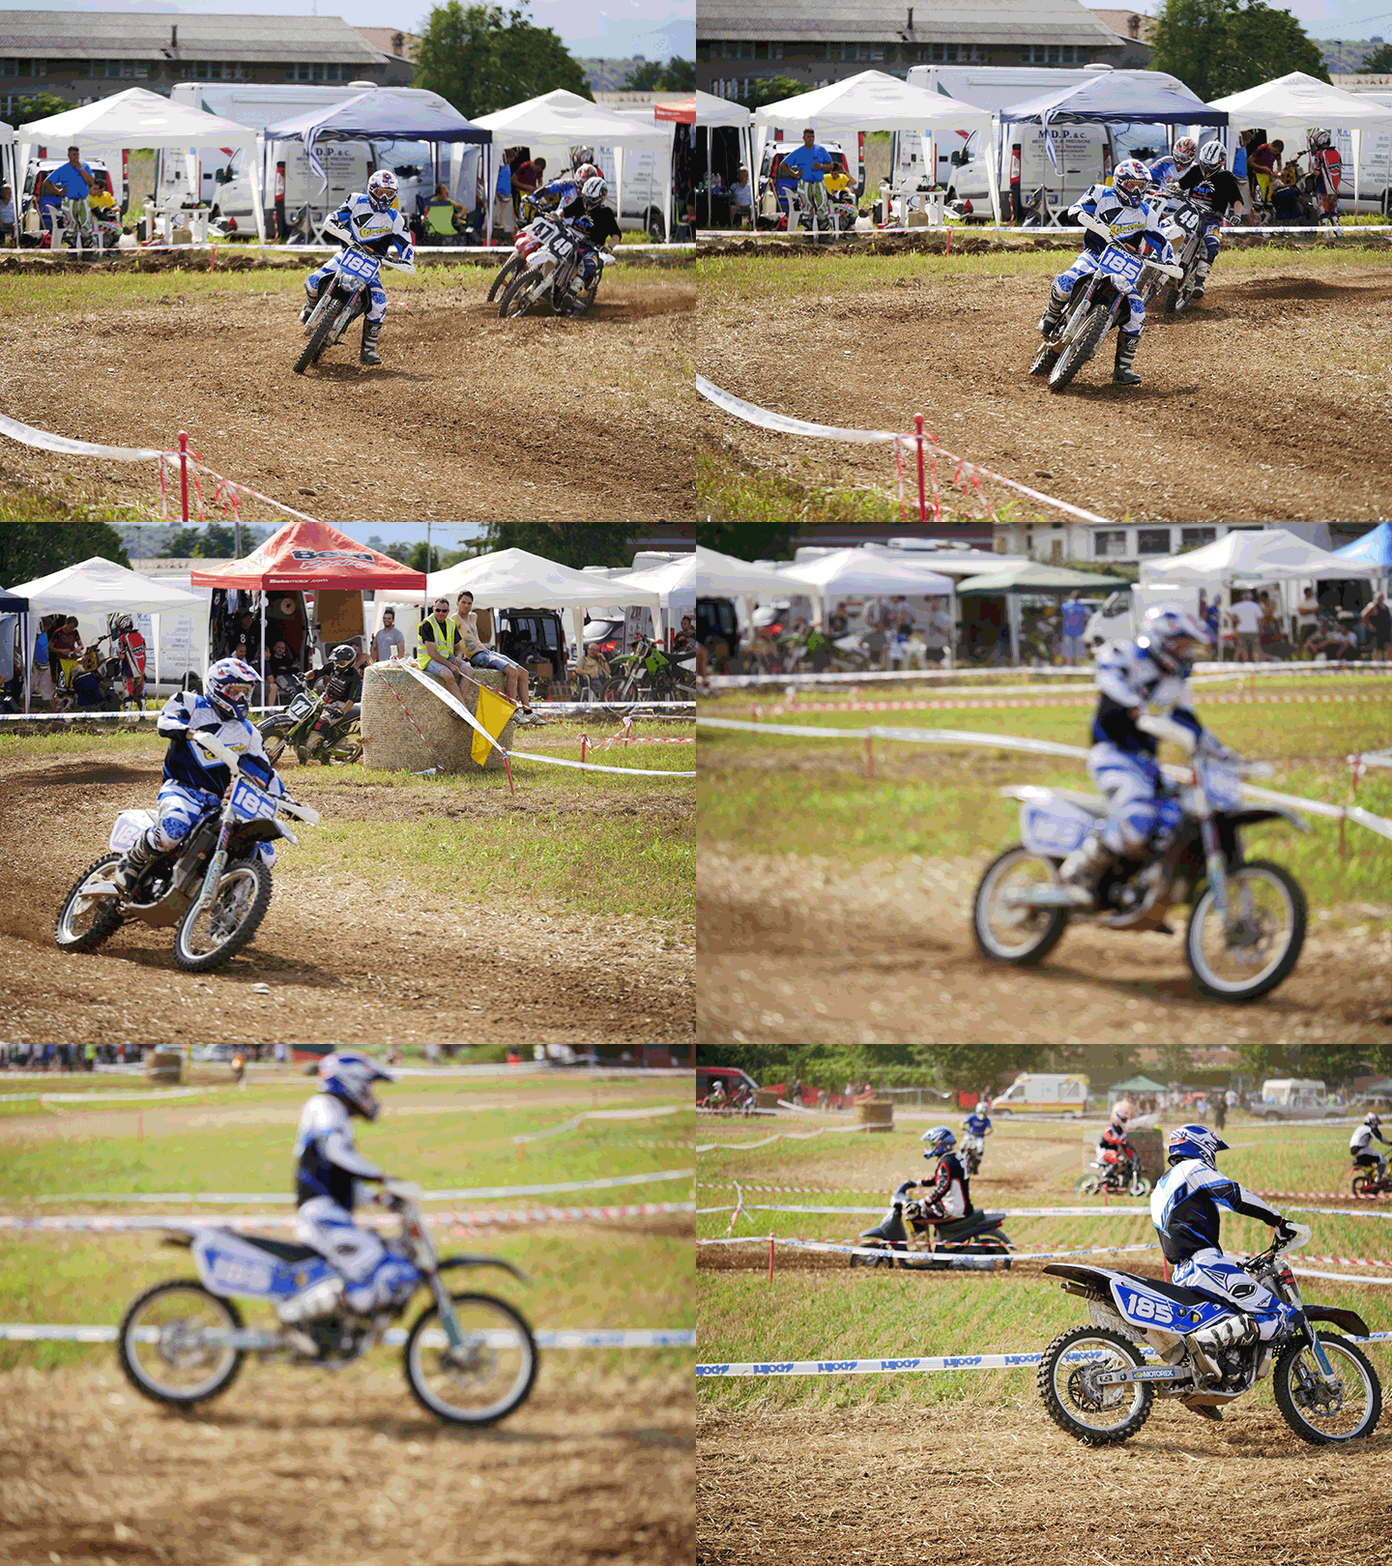
As such, in order to make it work, when you want to change focal lengths, you have to stop pressing the shutter button for an instant, change your focal length, then resume pressing the shutter button.
The reason for this issue may well be related to the DfD technology. I am not 100% sure as I am not an engineer but I think it makes sense. As explained before, in a fraction of a second the GH4 first has to compare two images with different depths of field, and then compare that data with the specs of the lens being used. Since the camera is evaluating the distance from the subject in order to select the correct focus, the exact focal length being used is certainly a piece of information contained within the data. As such, if that focal length suddenly changes, it looks like the GH4 has to recalculate everything from the start. Not only, but it cannot rapidly handle the operation while shooting. Once you get used to it, results will improve significantly but for sports photography, it can be annoying.
This small quirk aside, the GH4 can still be a great action camera once you learn how to master it perfectly.
The only real weakness is the tracking mode which can deliver good results when it locks, but can also behave unpredictably. This is the only function I wouldn’t trust completely.

The GH4 autofocus system also has some interesting secondary settings. For example you can activate the “Eye Sensor AF” meaning that every time you look through the viewfinder, the camera will focus and be more ready to shoot the action. Likewise, the “Quick AF” option lets the camera constantly focus but will drain more battery life.
Secondary but very useful functions
Silent mode, manual focus, WiFi
There are some secondary options on the GH4 that can be very useful. The first that I want to highlight is the Silent Mode, a function that Heather and I already appreciated on the Lumix GX7. Using the electronic shutter, the camera becomes completely silent and I mean 100% silent. This can be very useful for concert, dance or theatre photography when you want to be as discreet as possible without renouncing the possibility of shooting in burst mode for example. The only lens that won’t give you a 100% noise free experience is the Lumix 25mm f/1.4. This lens is known for its “rattle snake” noise cause by its aperture changing constantly with the live view. It seems that this particular lens won’t allow the camera to have a fully silent mode (unless shooting at its fastest aperture).
https://instagram.com/p/rp7fIoQeE-/
While most of the camera’s main functions remain unaltered in silent shutter mode, there are some limitations: the ISO range is limited to 3200 ISO. This is something I would have hoped to see improved on the GH4 since it is newer than the GX7. What’s more, the brand new Sony A7s has the same function, and is able to use its entire ISO range with the silent shutter activated. When using the electronic shutter, you should be aware that some banding (horizontal stripes) may appear on the image if there are artificial lights (fluorescent or LED) in the room.
Another function that works really well is the manual focus assist. There are both peaking and magnification. With the peaking option you can choose between two levels (low or high) and up to three colours (blue, orange and white). While I don’t need manual focusing with native MFT lenses (except for some macro shots) I found the peaking function really helpful and precise with video shooting especially outdoors. I keep the level to High and choose the blue color for most outdoor situations.
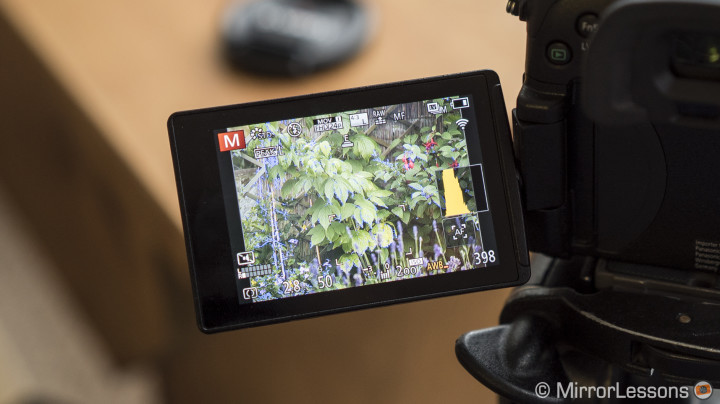
There is also the magnification function–it works really well and gives you the possibility of dragging the magnified area all over the touchscreen. You can either activate it when turning the focus ring lens (for autofocus MFT lenses) or with a function button (default is Fn3). Note that peaking and magnification can work simultaneously.
Finally, there are the WiFi and NFC options that are now a default feature on almost every new mirrorless camera. Given that the GH4 is a very complete camera in terms of functions and settings, it is natural that the mobile app be as complete. Available for both iOS and Android devices (not Windows phones unfortunately), it will let you remotely and manually control the camera, with all the settings accessible from your device. You can of course transfer pictures from the camera to the mobile device or view them from the device itself.
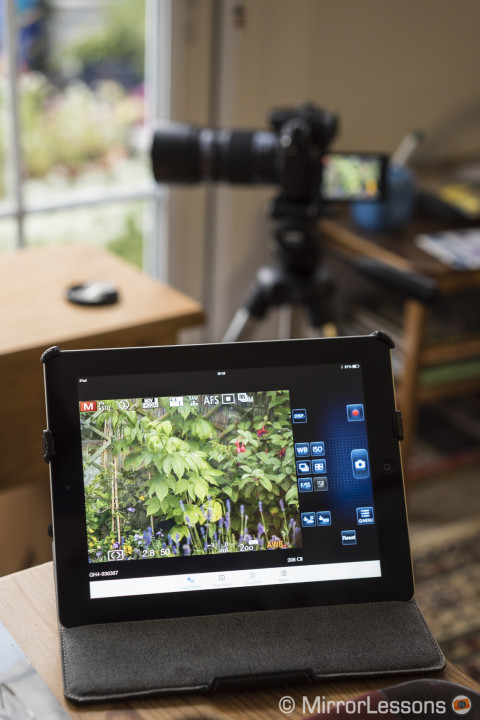
The WiFi also allows for a couple more options like printing your pictures wirelessly if you have a PictBridge (wireless LAN-compatible) printer, and transferring images to a PC or SNS. I haven’t tried any of the social media options (that doesn’t include the most popular like Facebook but other proprietary services like the Lumix Club). The only operation that I still find complicated is connecting the camera to my Macbook Pro. No matter which option I try, it always fails. With Windows there is the option to use the PhotoFunStudio software but there isn’t a Mac OS version. There is probably some internal setting I have to adjust on my Mac computer but this operation should be easy and quick in my opinion. This is why WiFi in this case is really meant to work with mobile devices.
Additional considerations
A final consideration about the GH4 concerns its battery life, which is excellent.
It lasts a little bit less than the GH3 despite using the same exact battery type, but this is normal as the GH4 certainly consumes more power due to its higher capabilities, and bigger and sharper EVF. However, you can easily go through a day of shooting with one battery alone, and that is a big plus in comparison to many other mirrorless cameras.
I also found the metering system of the camera very well balanced and always very accurate in all light conditions and shooting modes.
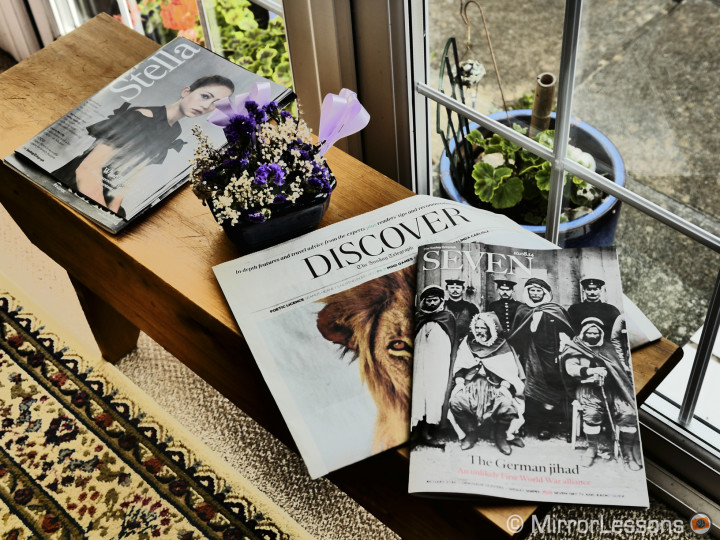
Though it is Panasonic’s flagship camera and one of the best mirrorless cameras for professionals, it also includes some simple and more amateurish features like the Creative Control Mode for instance. I’ve included an example below called star filter–you will understand if I don’t comment further… 😉
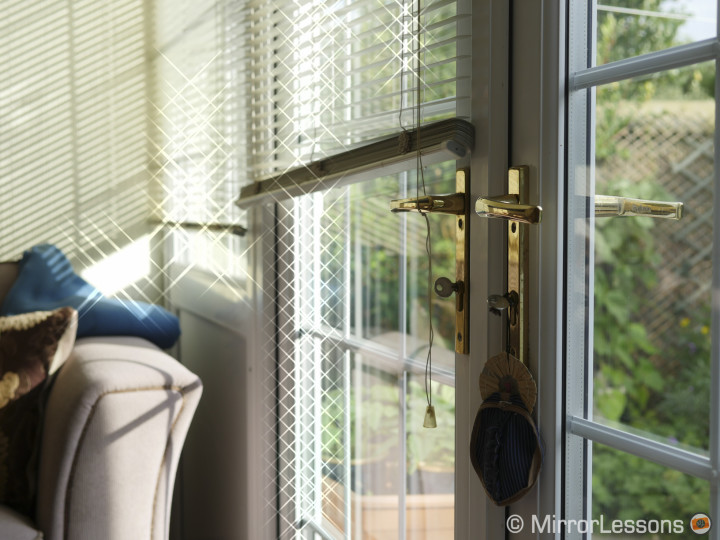
Not all of them are bad and might prove useful in a couple of situations where the photographer wants to be more creative on site, maybe to share the photos right away for screening purposes for example (and that’s when WiFi capabilities become useful). I can see this being a fun addition for a wedding assignment for example. Below is a gallery of the different effects you can find on the camera.
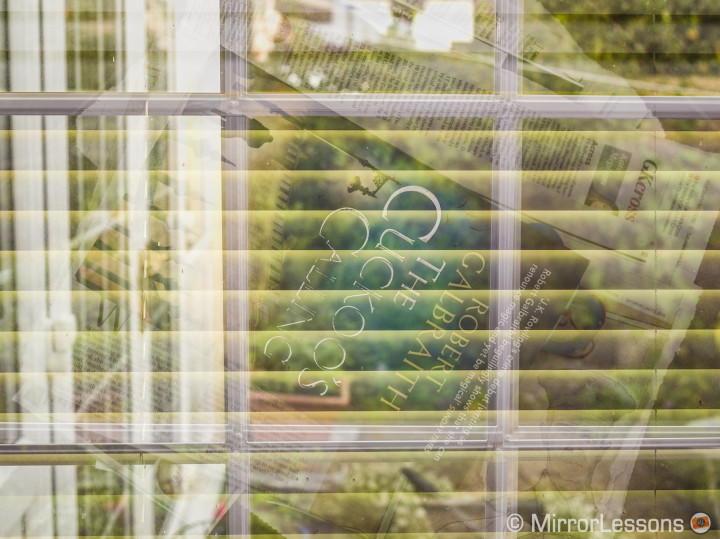
Among the other creative features there is also the multiple exposure option that lets you merge up to 4 images in a single shot. You take the first picture, then move on to the next. If you are not satisfied you can go back one step and retake the picture. The results are always shown live while taking the pictures so finding a good composition is easy and fun. There isn’t any panorama mode, perhaps the only function that is missing from the GH4. Not that this is an essential feature as you can take the pictures manually and then merge them automatically with Photoshop or another photo editing software.
The GH4 has a built-in flash that pops up on top of the viewfinder and occasionally proves useful. On the standard hot-shoe you can mount any compatible flash from both Lumix and Olympus. I tried it with my Olympus Fl-600r and it works perfectly with full TTL functionality. The synchronisation speed goes up to 1/250s.
Finally, there are lots of playback functions including complete raw processing that works really well. (I used it a lot to show some OOC JPG colour examples for this article).
Conclusion
It is impossible not to give the Lumix GH4 a glowing review. It is the most complete mirrorless camera you can find on the market. It is great for stills, it is great for video. It offers tonnes of customisable functions, and turns the touchscreen into something useful, not just a tech tool to fill up official brochure content. It has a fast and reliable autofocus with only the tracking mode that didn’t convince me entirely.
The Panasonic Lumix GH4 is certainly a big improvement over the GH3. While from an image quality point of view, the differences might be more subtle, the overall experience of using the camera will make you appreciate every aspect of it, from autofocus to burst speed to overall functionality.
 What I like about the Panasonic GH4
- Image quality on par with the best MFT cameras
- Perfectly set up right from unboxing
- Autofocus, speed and buffer capabilities are among the best you can find today on a MILC
 What I don’t like about the Panasonic GH4
- Colour rendering needs some in-camera customisation to be optimal
- AF Tracking is only reliable half of the time
- One of the biggest MILC cameras with a DSLR-like appearance (although the lens system is way smaller and that counts for something)
Now that you’ve reached the end of this review, you might not remember that this is only part one! Yes, because the Lumix GH4 is the perfect hybrid camera. And while the still side is great, the video side might be even more exciting: 4K internal recording, cine-like profiles, slow motion with the most recent and professional video codecs and tonnes of other features.
Go to the second part of this review to check out all the video aspects of this camera.
And just to give you a quick preview, below is a very short video shot in 4k during the full moon with the Sigma 150-500mm, and a grabbed frame from Cinema4K footage for a video I am currently shooting at the time of writing.

