Exactly one year ago, I reviewed the Rebecca Lily Pro Set II for Lightroom. I became interested in these presets because some of them were specifically designed for the Fujifilm X-Trans sensor and at the time, the Adobe software hadn’t yet added the Film Simulation Modes for Fuji RAF files. While completely different from Fuji X camera colour rendering, Rebecca’s set proved a very interesting alternative that gave a nice and delicate filmic look to digital images.
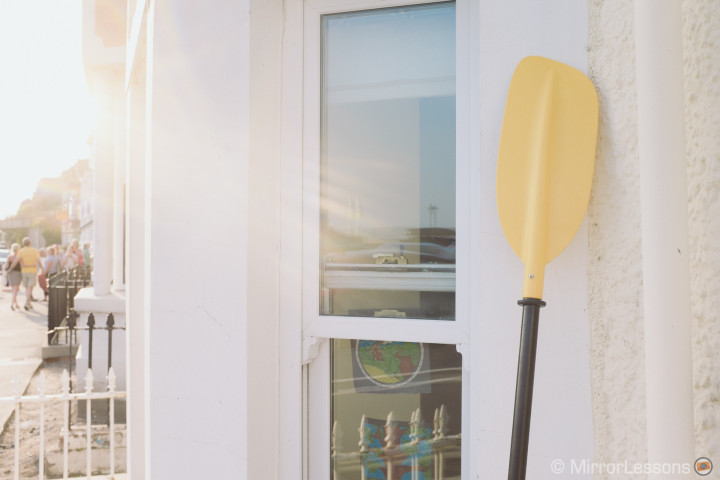
After the review and up until the present year, I found myself using the presets more than expected, not only with Fujifim cameras but with other cameras as well. Whenever I wasn’t satisfied with the native colours of a photograph, I turned to Rebecca’s presets. So when she asked me if I was interested in trying the new Pro Set III, of course I said yes.
Rebecca Lily Pro Set: what they do and what’s new in the third edition
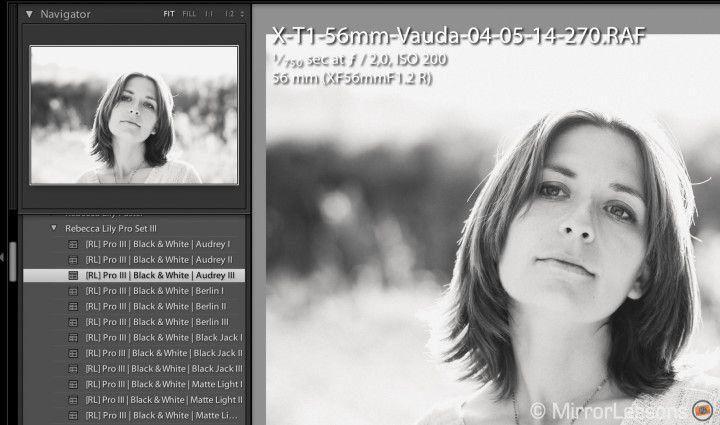
RL Pro Sets are a series of presets compatible with both Adobe Lightroom and Adobe Photoshop. They aim to give the colours of your images a more filmic appearance by reducing the flat and “digital” look that today’s photographs might possess. They are designed by Rebecca and based on her personal experience shooting both digital and film. The presets can be used by both professional and enthusiast photographers who are interested in giving a “delicate” look to their images with just one click, which can be also a time saver if you have lots of photos to post process. They also help give a softer look to photos taken in the middle of the day when the light is harder than at other times of the day.
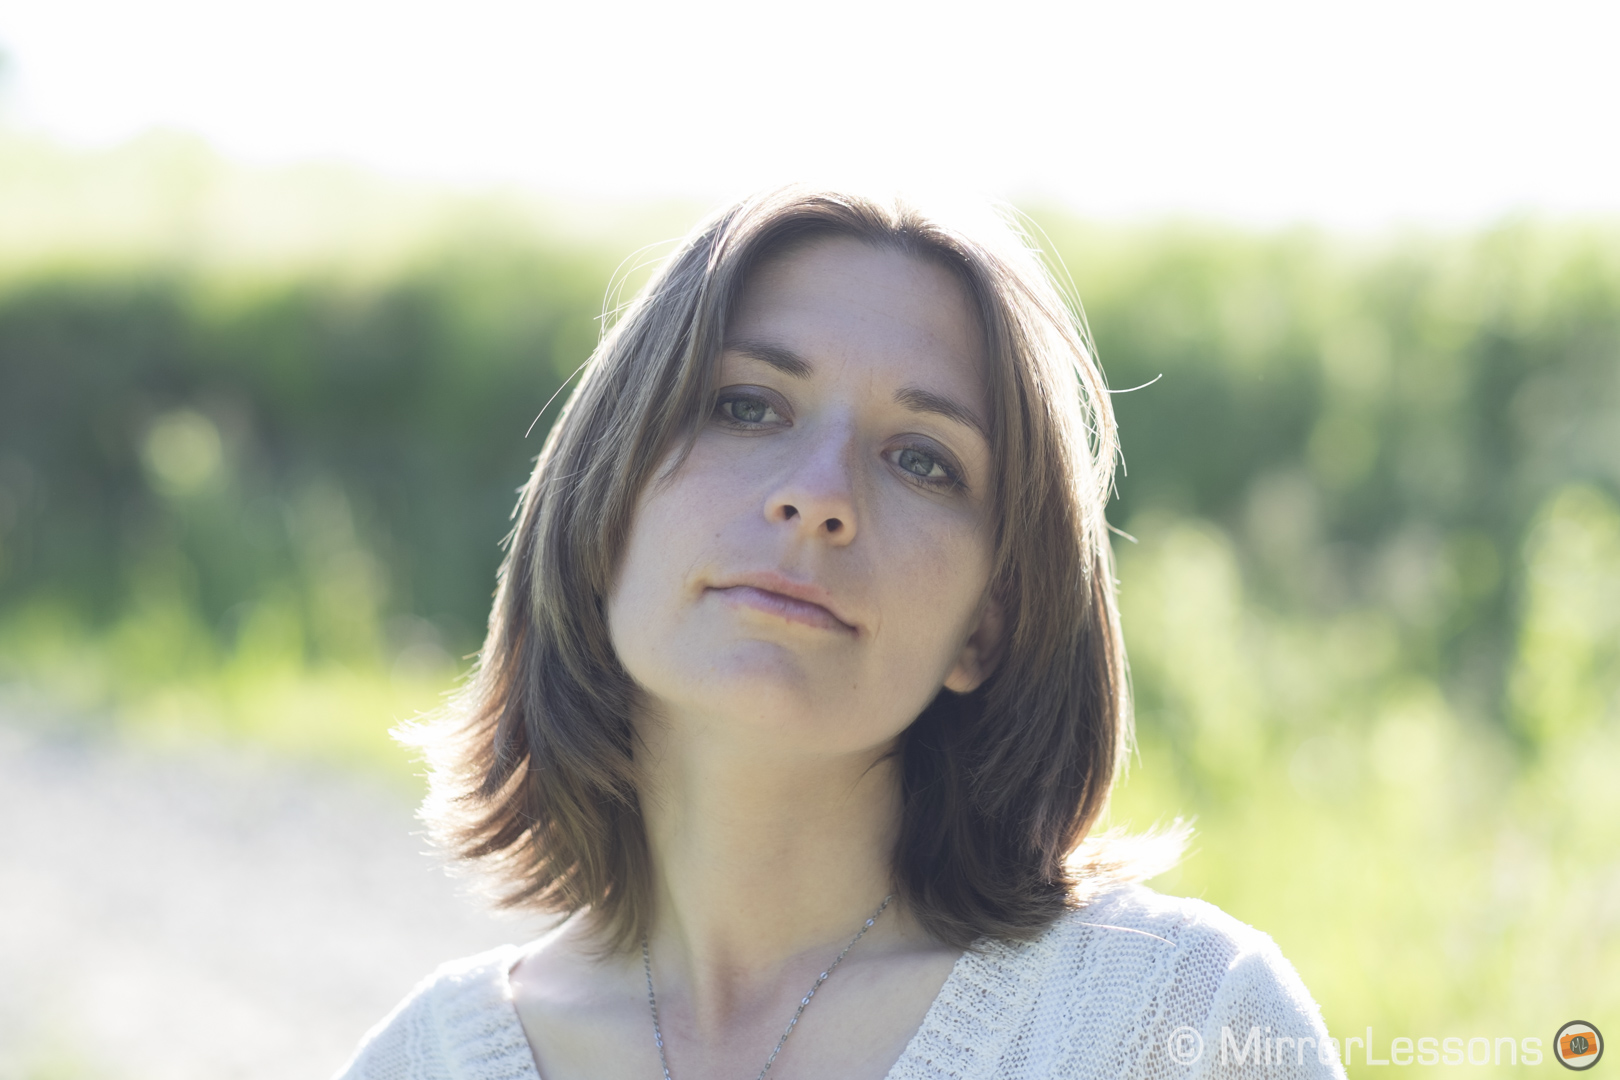
Two quick examples below: move your mouse over to see one of RL’s presets applied or use the thumbnails below if you are reading this on a mobile device.
X-T1: Adobe Standard (left) vs Black & White – Orion II (right)
[twentytwenty]

[/twentytwenty]
E-M1: Adobe Standard (left) vs Mid Color – Filmic III (right)
[twentytwenty]


[/twentytwenty]
There are interesting new features with the Pro Set III. First, all presets have been tested with different cameras by different brands so that they can render optimal results with most digital cameras including medium format cameras such as Hasselblad and Phase One.
I tested them on different mirrorless cameras including Olympus, Panasonic, Sony, Fujifilm, and Nikon and I haven’t had a single issue with any of them.

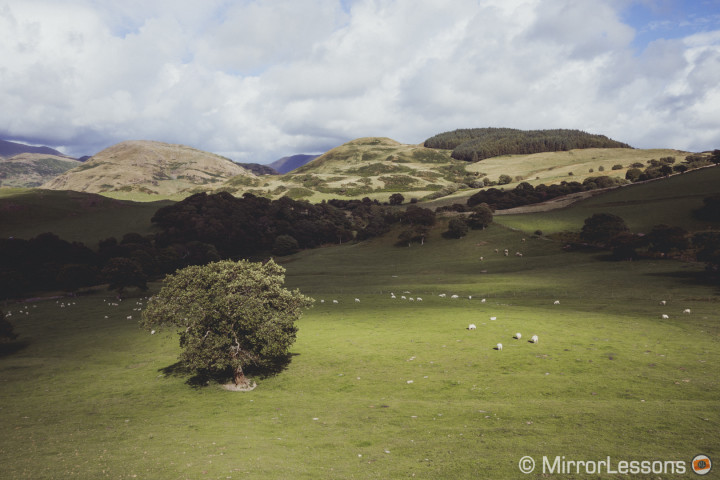
As with Set II, I was amazed by how well the presets can handle highlights. Even with the brightest presets, the clearest zones of the photograph are never too bright or too intrusive. Highlights always merge well with the darker areas of the photograph, which makes a high key or backlit photograph very beautiful to look at.
This is probably one of the characteristics that best shows how Rebecca’s experience with film crept into the final results. You get that kind of delicate and soft brightness that is very common with film.
For an optimal result it is also very important to adjust the desired exposure (and white balance) before applying the preset. Generally they work best on photos that aren’t underexposed but are either perfectly or slightly overexposed.
X-T1: Adobe Standard (left) vs Pastel – Apricot III (right)
[twentytwenty]
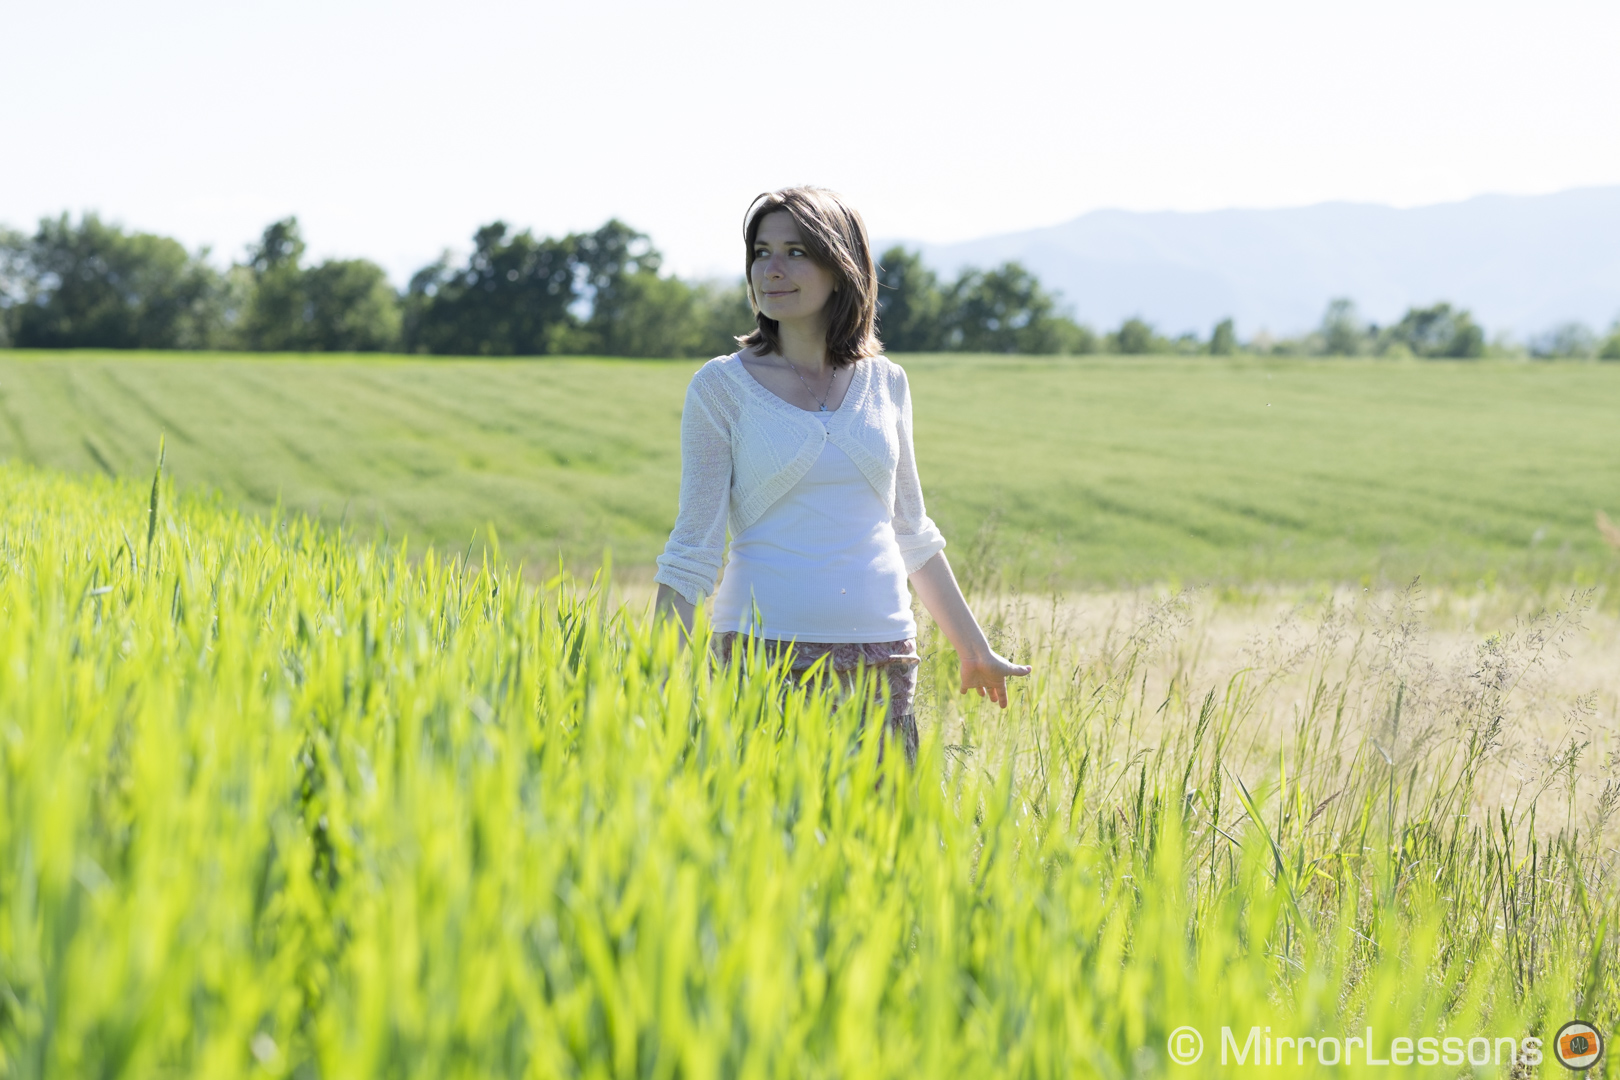
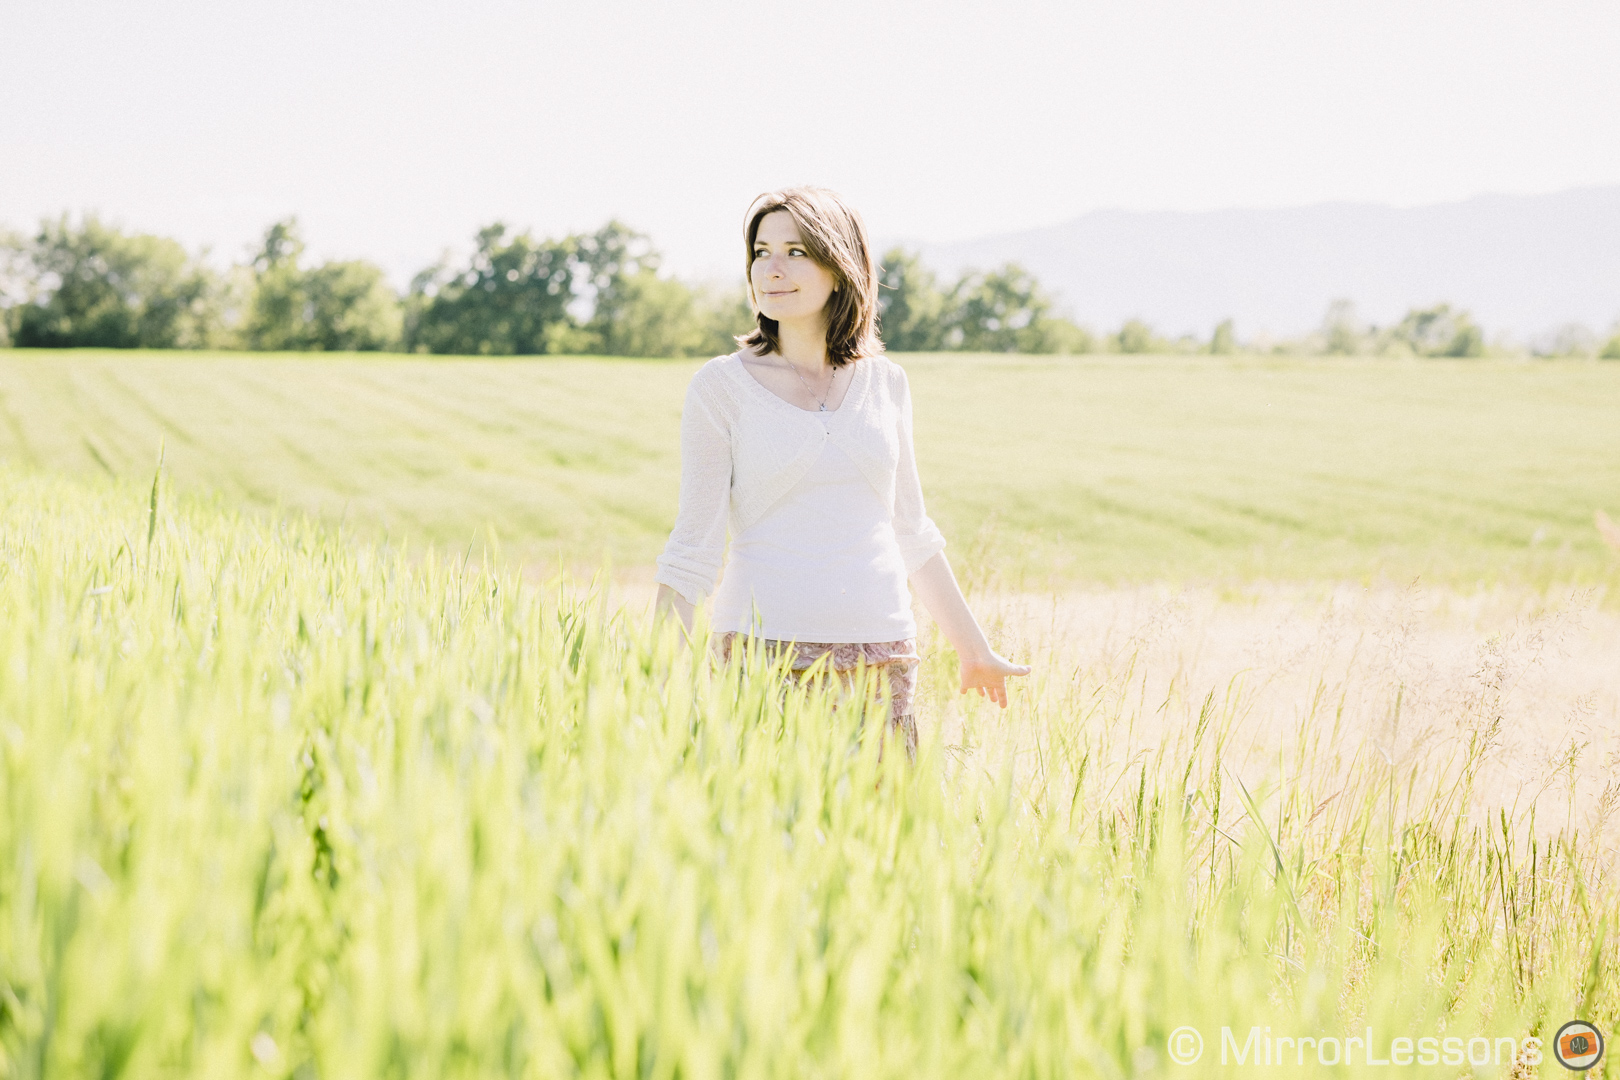
[/twentytwenty]
E-M5: Adobe Standard (left) vs Pastel – La Femme I (right)
[twentytwenty]
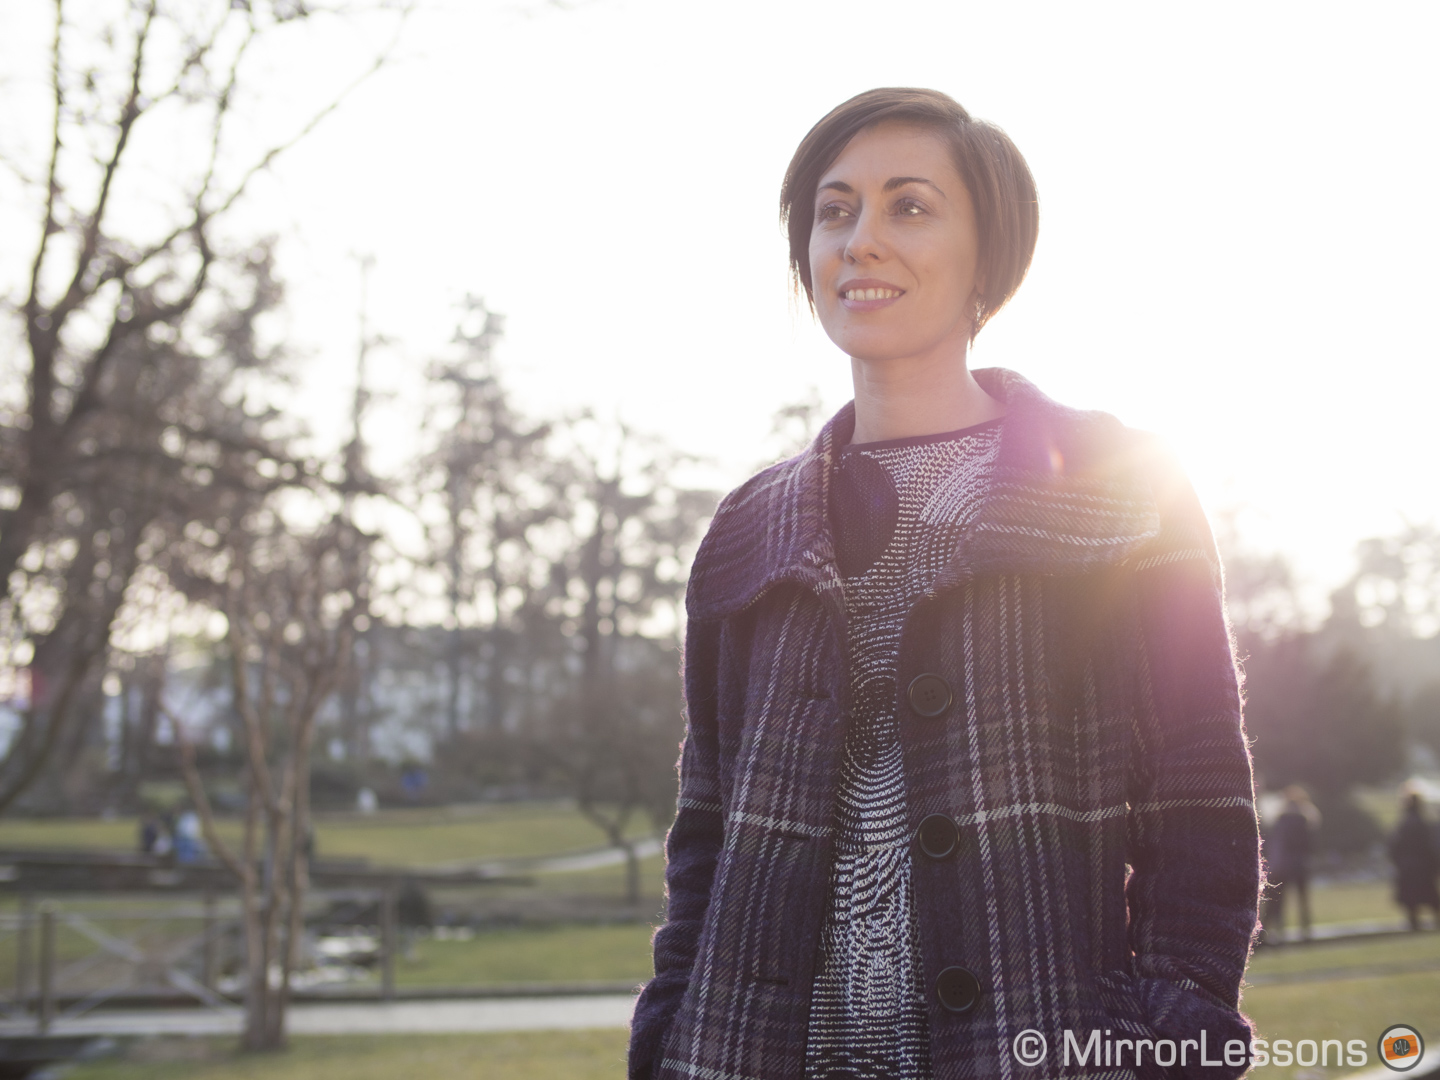

[/twentytwenty]
Another thing that surprised me is that the presets work well even on low-light images taken at high ISO speeds. It is unlikely that you will often use these presets with low-light images as they are meant to be used for other kinds of environmental light but they can sometimes be useful to enhance the look of the images. They work really well with the black and white presets and the only limit I found is finding a good preset that can reduce that yellowish tint typical of outdoor night street shots. While they are not really meant for this kind of use, it shows you how well they have been designed.
There are three versions per singular preset with differences in tone curves to make the effect softer or stronger (for a total of 81 presets). The subcategories are now more straightforwardly organised: instead of illustrative names we can choose between black and white, bright color, mid color, deep color and pastel. The last category isn’t an update of the pastel presets found in the Pro Set II but an entirely new set.
A lot of work has obviously been put into the enhancement of skin tone rendition, one of the major points I appreciated in the Pro Set II.
You can see it even with more difficult situations like the two examples below. In the first example, the main light comes from the left and the model’s face is a little bit underexposed.
E-M5: Adobe Standard (left) vs Pastel – La Femme III (right)
[twentytwenty]

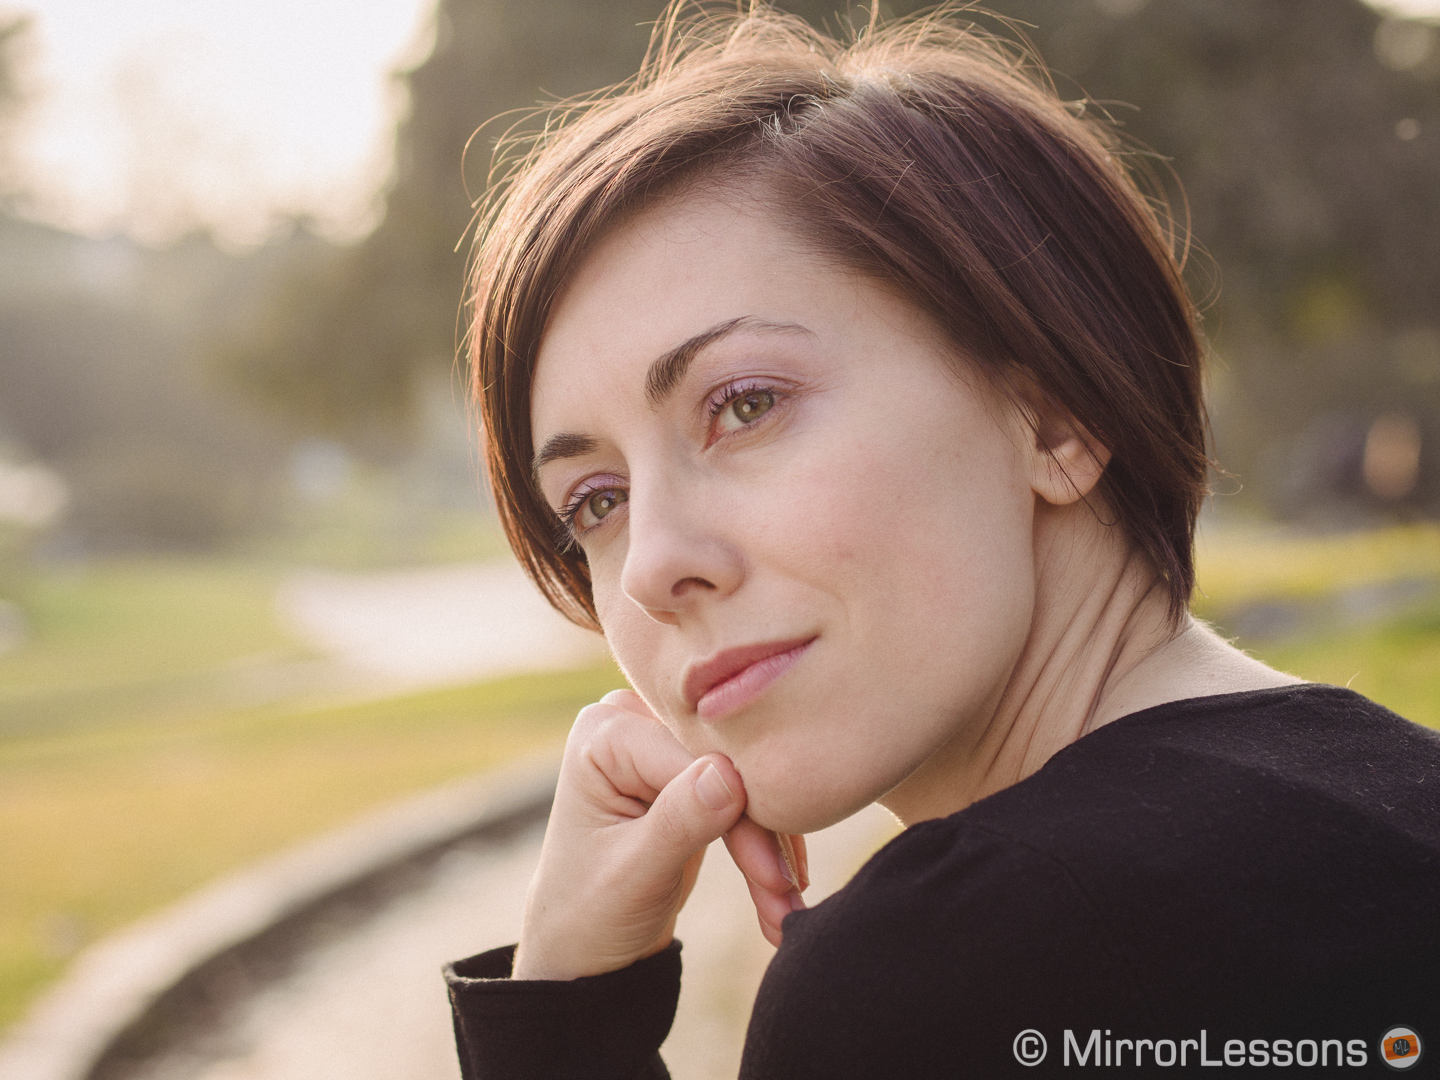
[/twentytwenty]
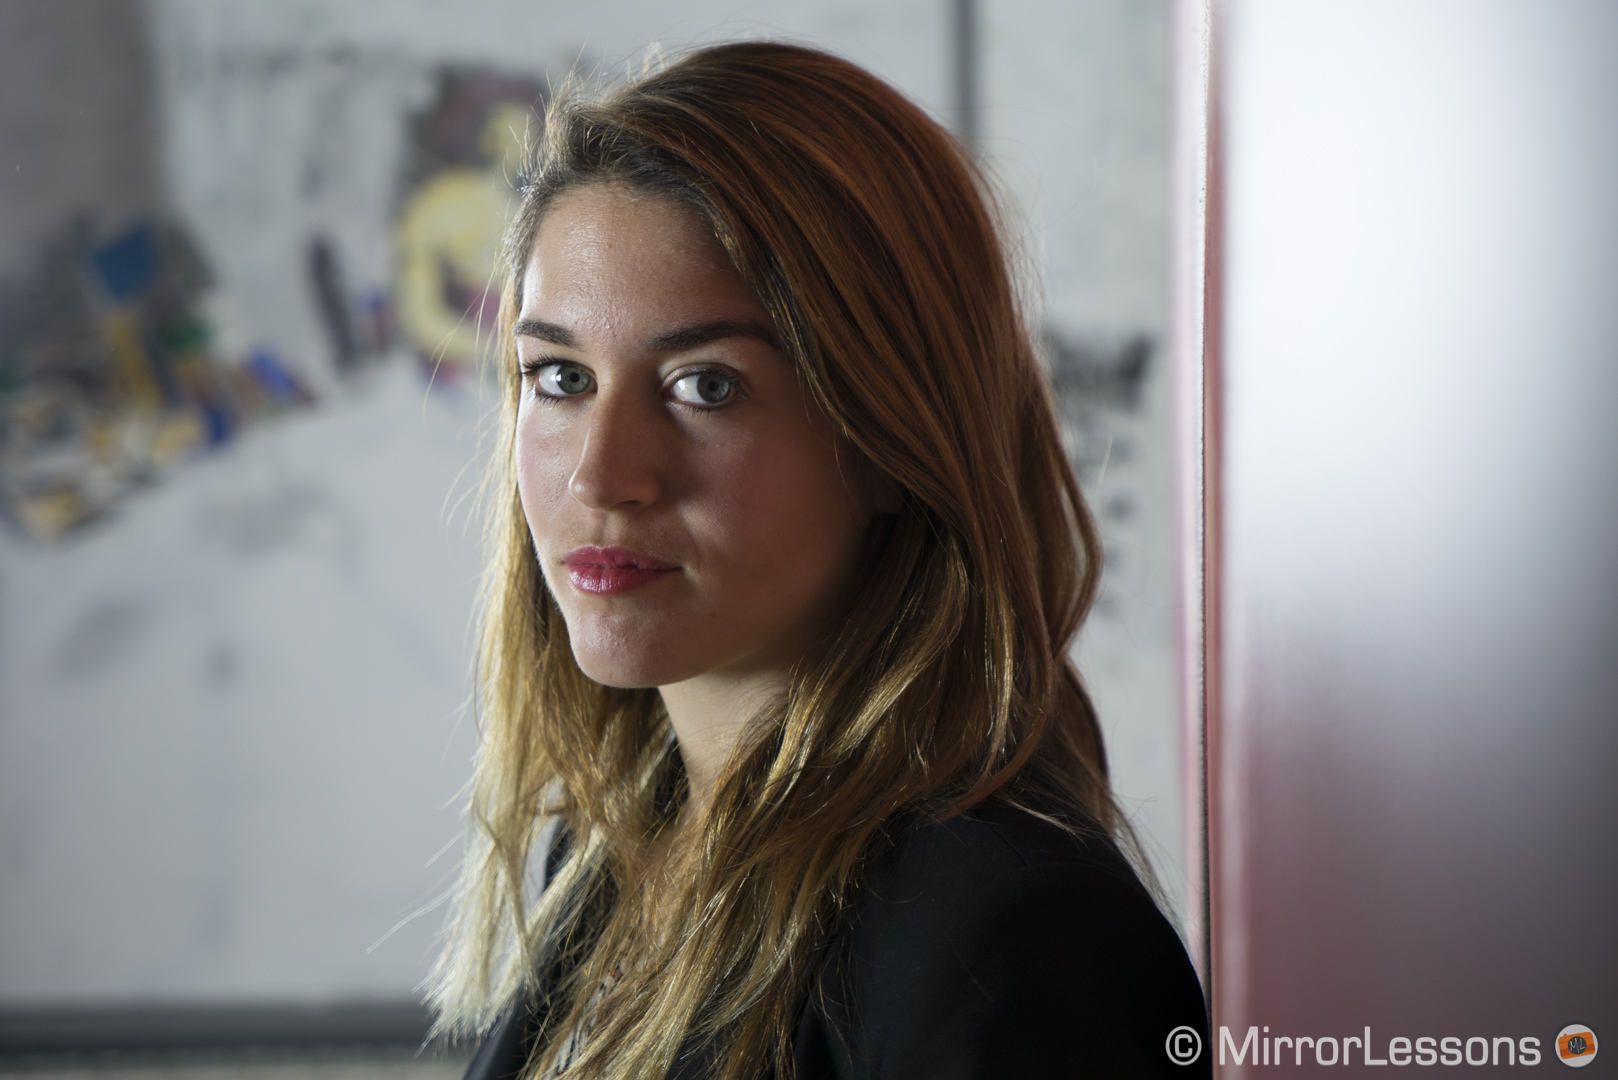
In this second example, there is a lot of contrast on the model’s face with the key light coming again from the left side.
A7r: Adobe Standard (left) vs Mid Color – Rio I (right)
[twentytwenty]

[/twentytwenty]
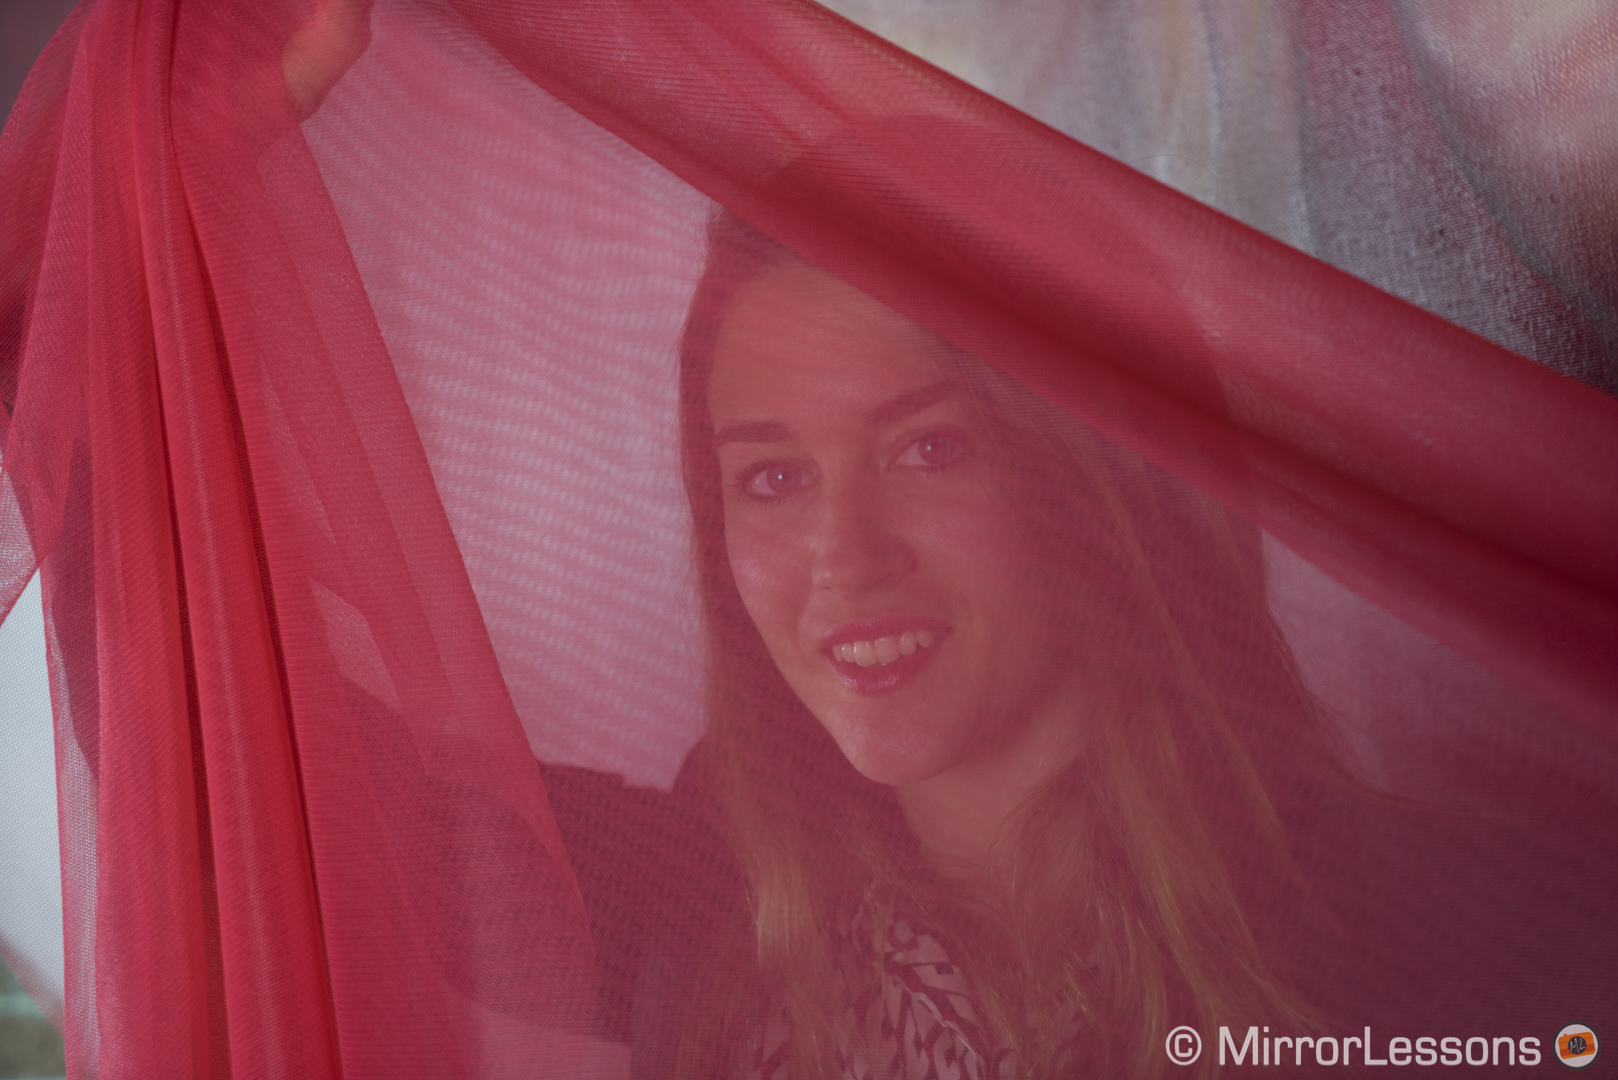
The third example is unusual with the red cloth in front of the model’s face, but you can see how the chosen preset manages to enhance her face while giving an extra pop to the tissue by enhancing its colour and the sharpness that reveals its texture.
A7r: Adobe Standard (left) vs Mid Color – Hudson Bay III (right)
[twentytwenty]

[/twentytwenty]
Below you can see other examples.
For those who like to process their photographs further, the package also includes a toolkit of 44 tools to enhance colours, sharpness, grain and many other things. Like the main presets, the tools apply very subtle changes and can be a good addition once you’ve applied the preset.
The set includes versions for both Lightroom and Photoshop and can be used with either raw or JPG files. Now, while some of these presets might come in handy for the quick adjustment of a JPG file, overall I wouldn’t recommend using them on JPGs. These presets are made to take full advantage of the flexibility raw files can give you. The results with JPGs won’t be the same as they are compressed files, and generally more saturated and contrasty than the raw equivalents. Some results could work out well; with others it could create unwanted artefacts and clipping in the highlights and shadows.
It’s not just about film
There are various reasons why I like to use these presets. The first reason is the human touch that you can recognise especially if you know Rebecca’s work as a photographer and the projects she shares with her husband Johnny Patience. Her experience with both film and digital is translated into these presets.
This isn’t the work of a team of software developers but the work of a photographer.
Sure, this also means that the presets are quite niche, with a very precise colour style that Rebecca obviously likes and has been influenced by. In comparison to the Pro Set II, the differences between each category and preset are more subtle in this new version. You won’t get “vintaged” colour effects as you can find in the previous sets. These are fine-tuned presets for photographers who love this particular filmic look and delicate colour palette.
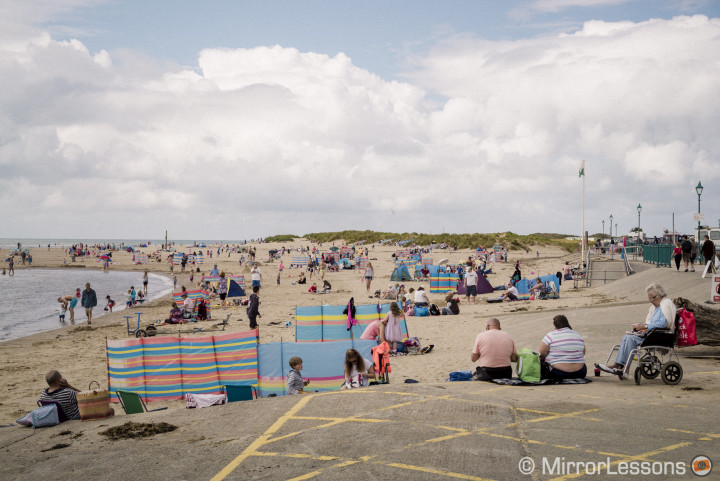
The second reason is that I like to think of these presets as a second view on my photographs. To continue quoting the filmic experience, it is like having your photos “sent” to someone who will develop them for you (or at least give you a very good start) and let you add the finishing touches–a little bit like a photographer who sends his film rolls to a trusted photo lab. I often use the preset as a start, then I increase colour vibrance and saturation if I want a more colourful result, or tweak the brightness to my taste. They work great when I don’t know how to start post-processing a picture or a series of photos.
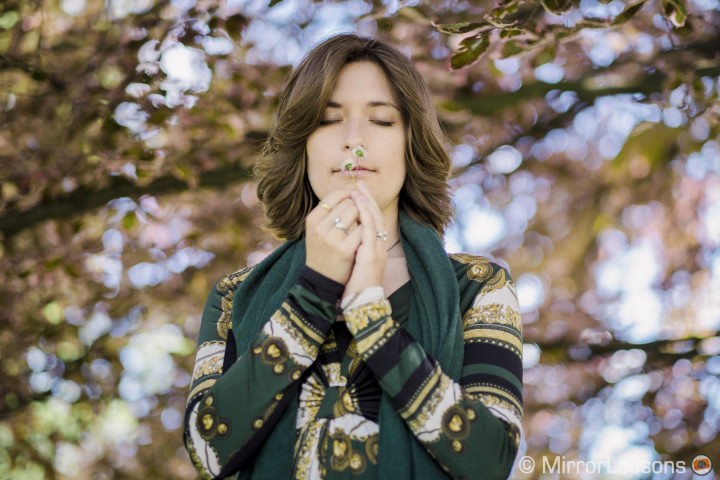
The third reason is that while Rebecca’s work is clearly meant to reproduce the delicate tones and colour palettes she likes with film (and the Pastel presets are clearly inspired by the Fujifilm Pro 400H), they don’t have to be necessarily used with that aim in mind. Certainly they can help photographers who shoot both digital and film and want to match the look of their pictures as closely as possible. Actually, they also help to match photos taken by two different digital cameras for that matter. In my case, I have very little experience with film but I still like to use them not because of the vintage/film trend we often see these days with preset and plugins of this kind, but because they do improve the quality of my photographs. I often use them for personal projects and for work. Being not only a professional photographer but also a camera reviewer, I often keep the original colours of the camera to show my readers how that particular model works in terms of colour rendition. But otherwise I like the possibility to give an alternative look to my images.
It is also important to say that these are not film emulation presets like other post-processing products for Lightroom. Quoting Rebecca’s words:
“The idea behind this was to put all the love for film into a digital product and create a look that might be possible if new film emulsions would still be produced.”
This is why I believe the presets are clearly made to be used in series and not only for single photographs. The two final galleries below are meant to show you exactly that: Heather used the presets to post-process pictures taken with the Panasonic Lumix GH4 while shooting some classical music street concerts in Turin in July. I used them for a portrait session I did for my friend Iryna with the GH4 and Sony A7s.
You can purchase Rebecca Lily’s new Pro Set III on her official website.
And here is the second set.


