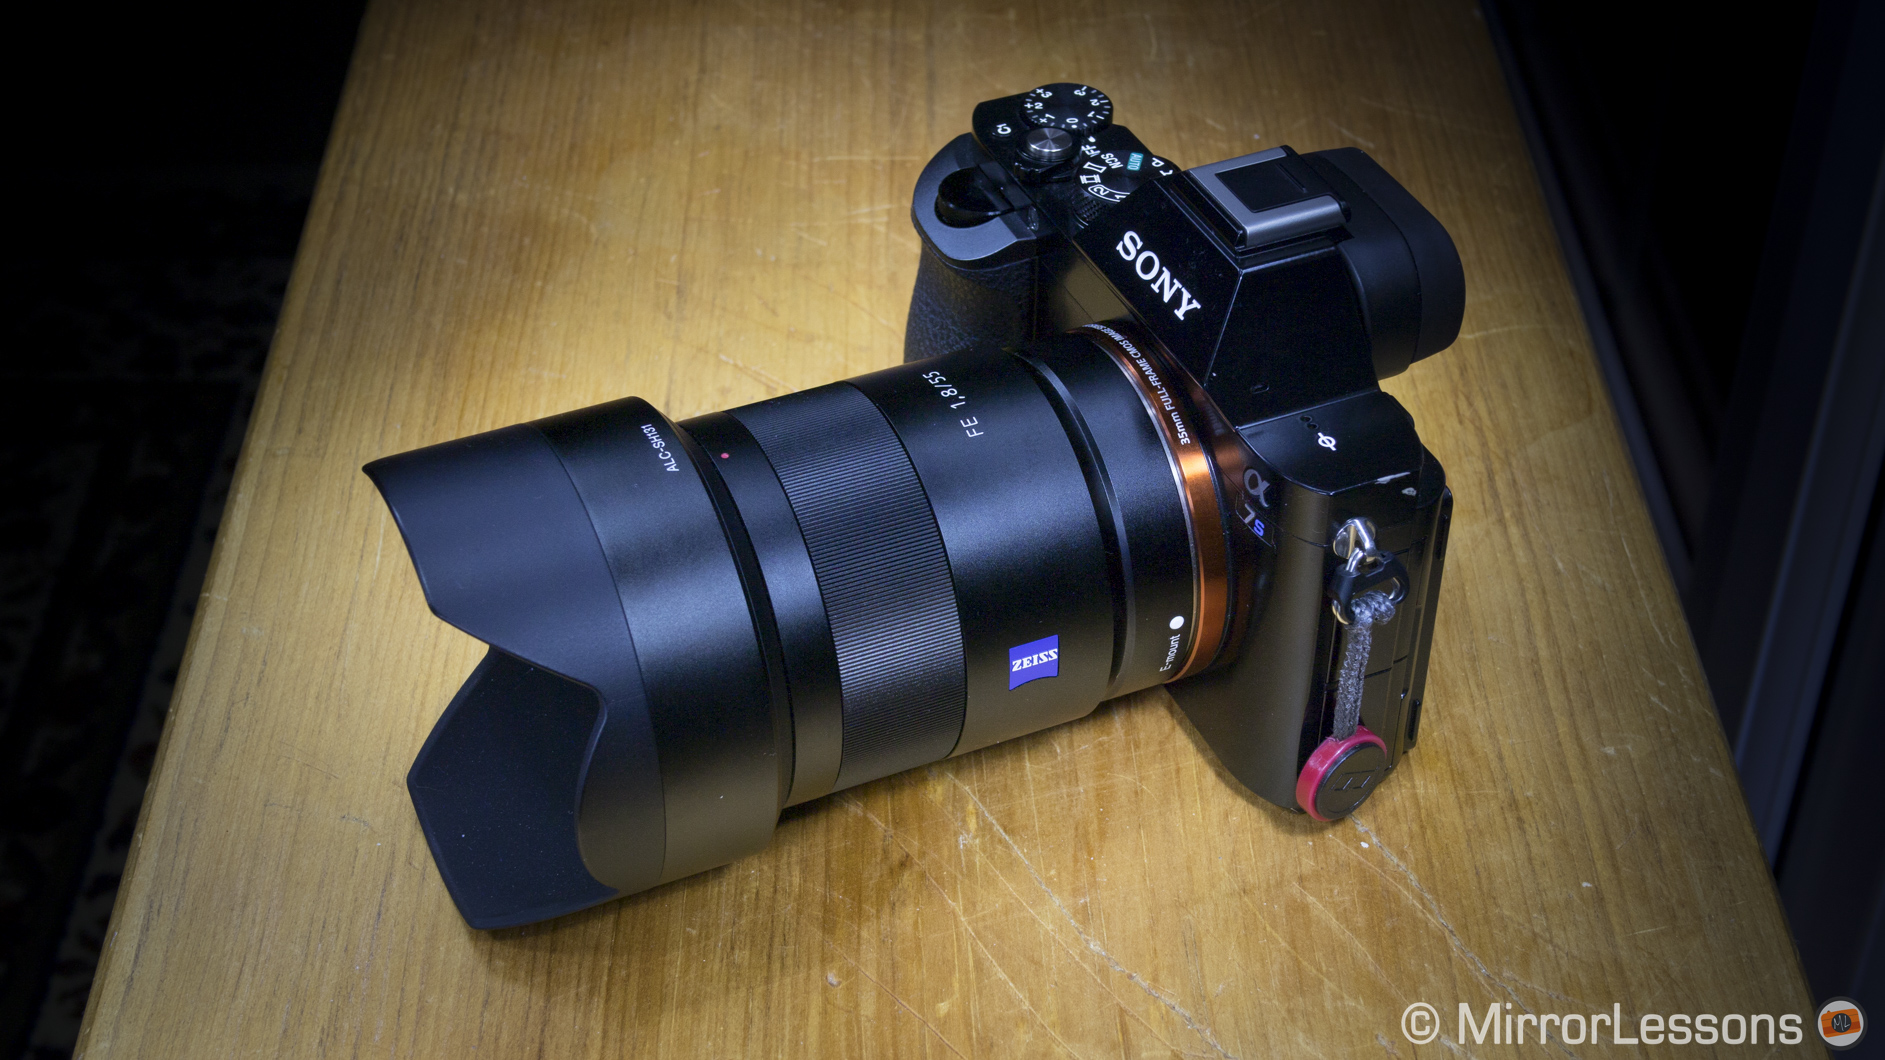
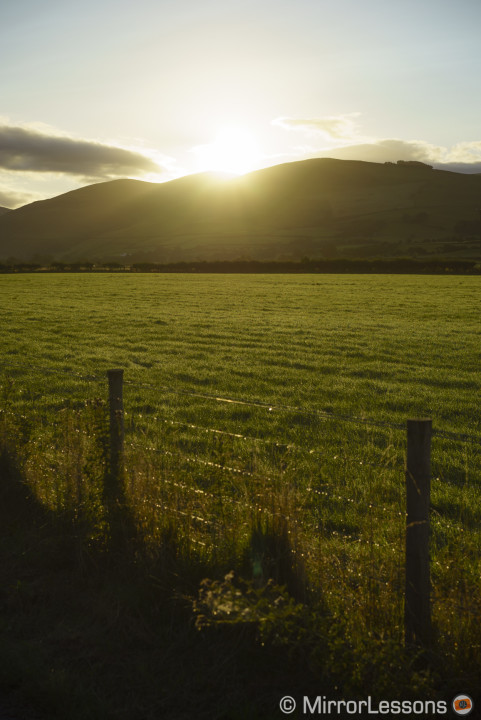
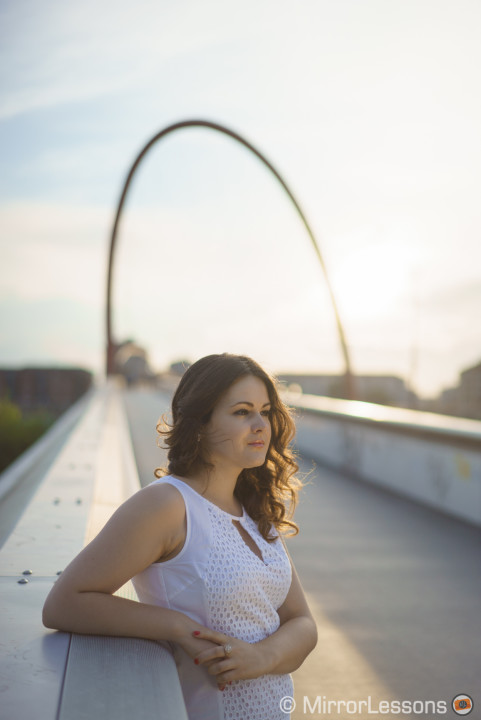
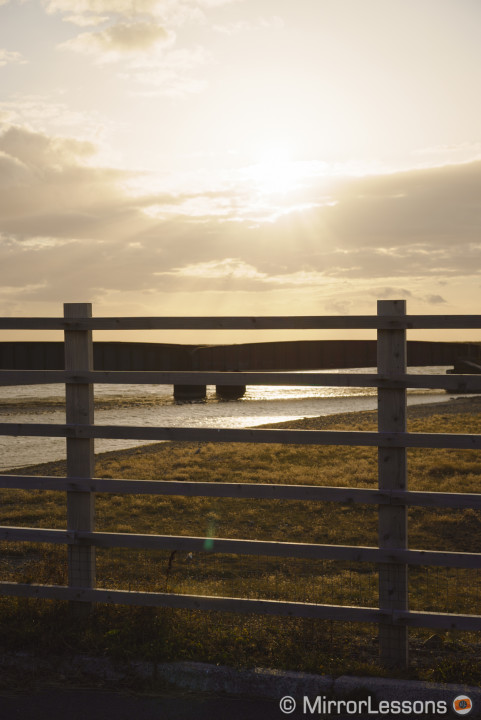
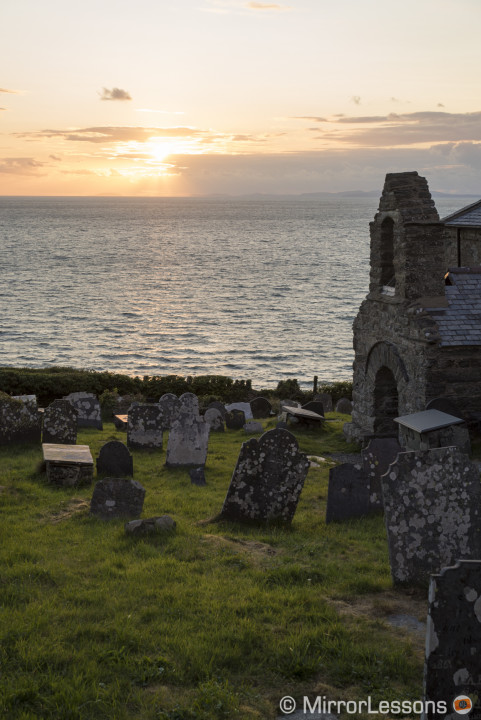
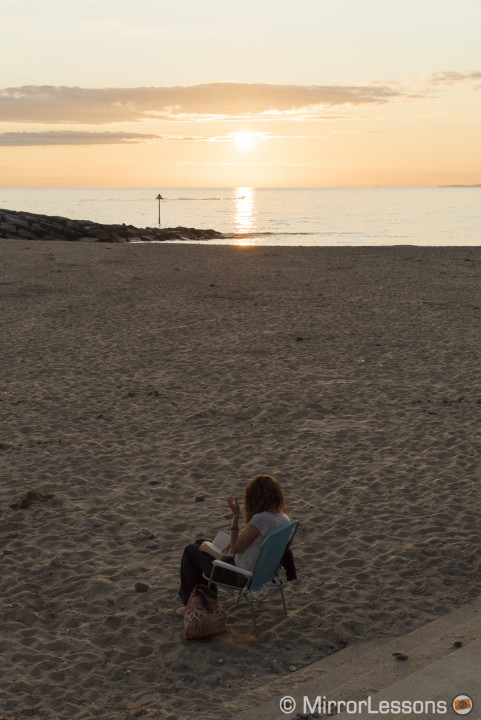
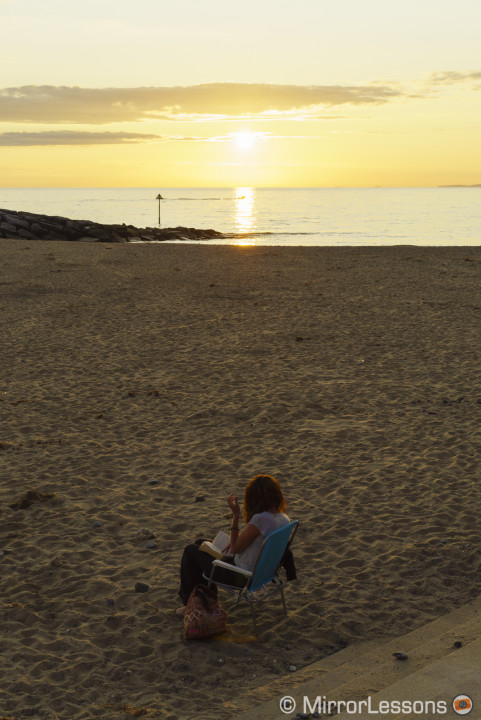
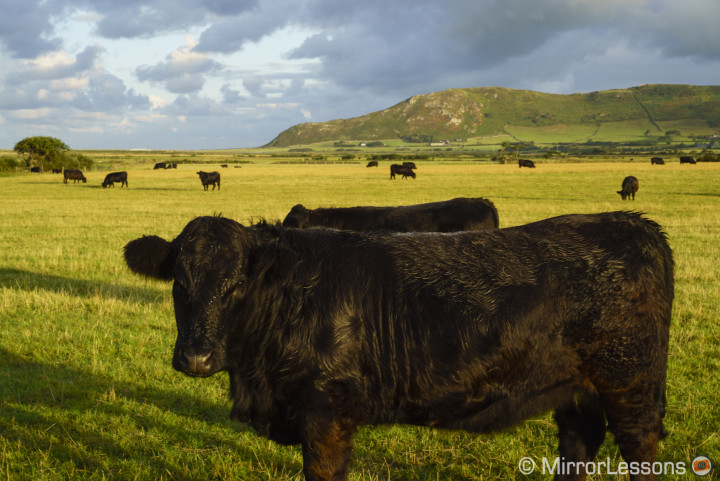
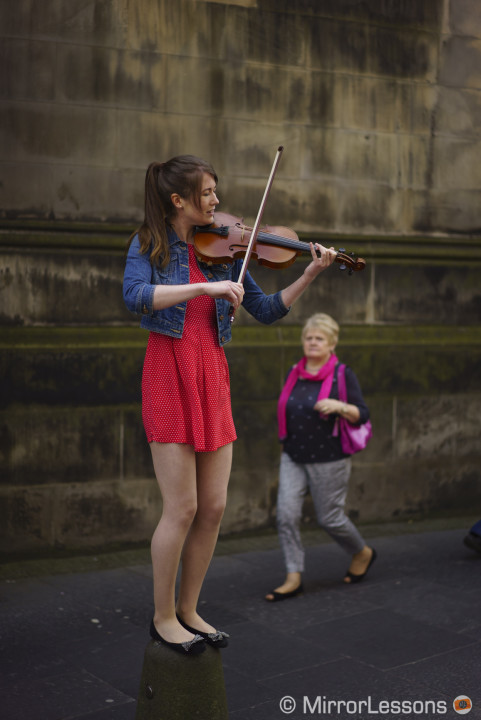
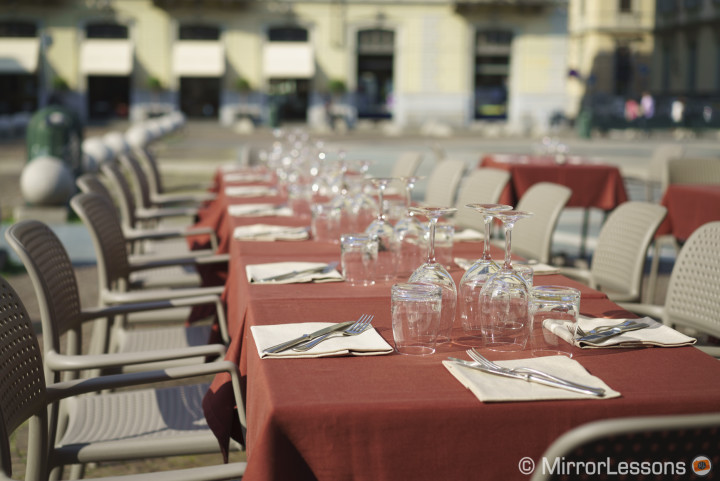
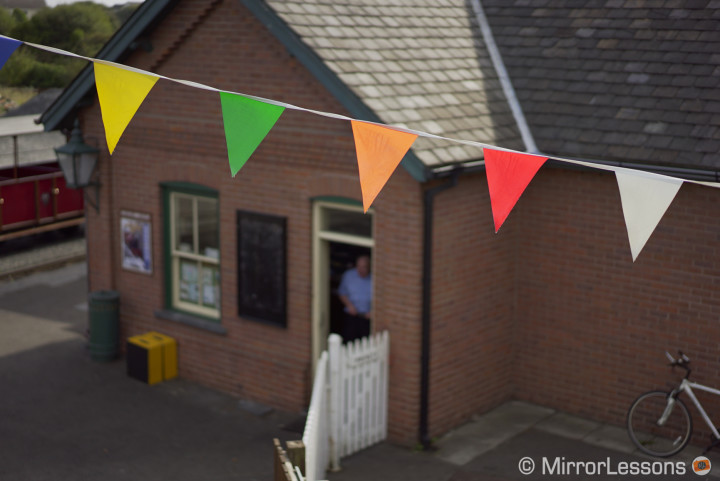
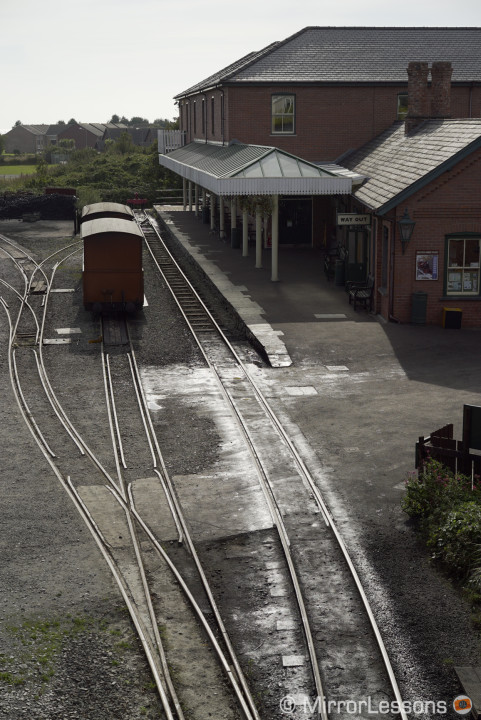
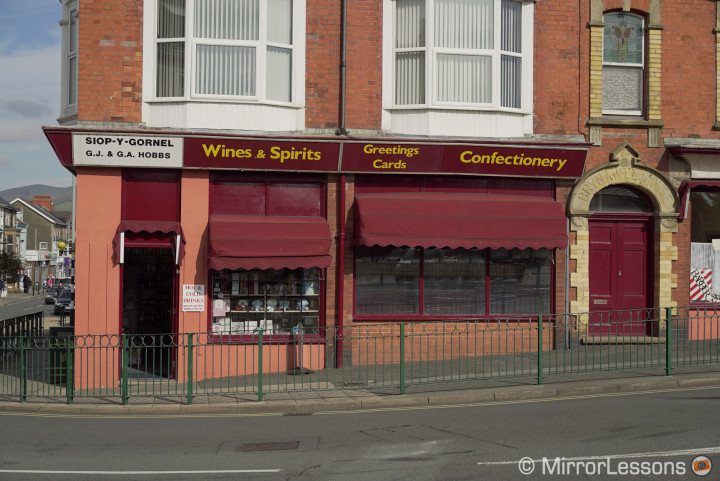
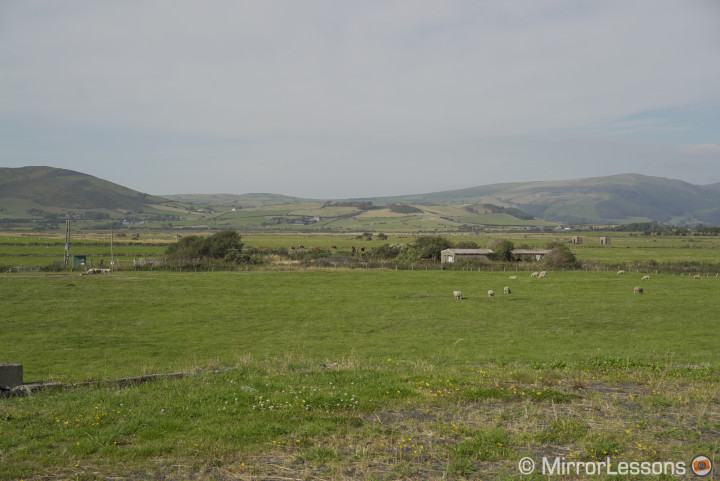
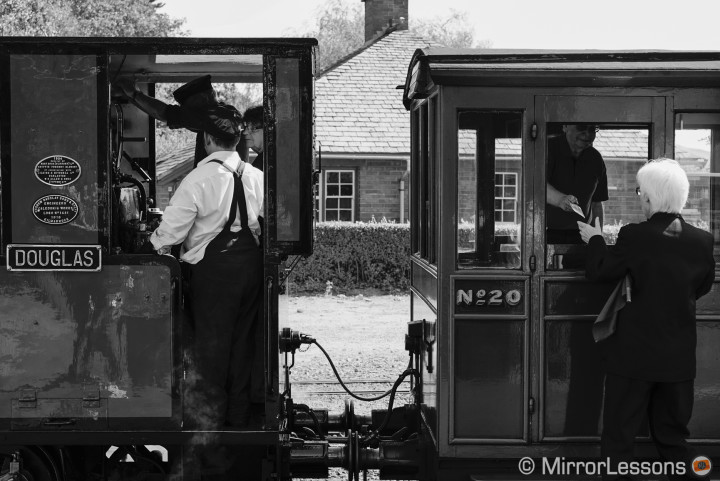
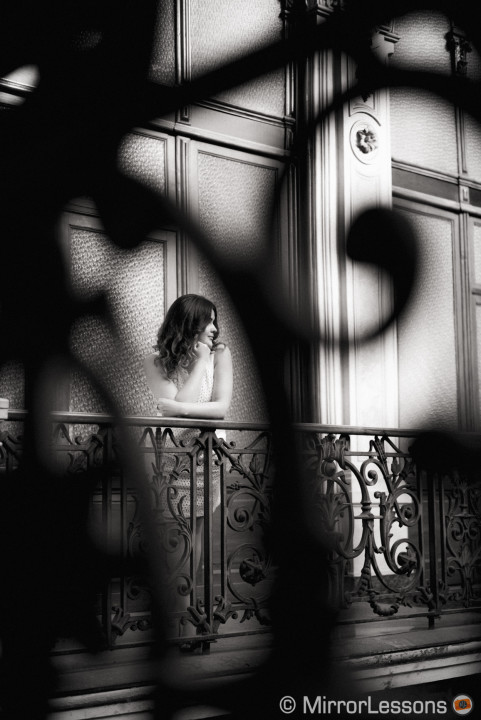
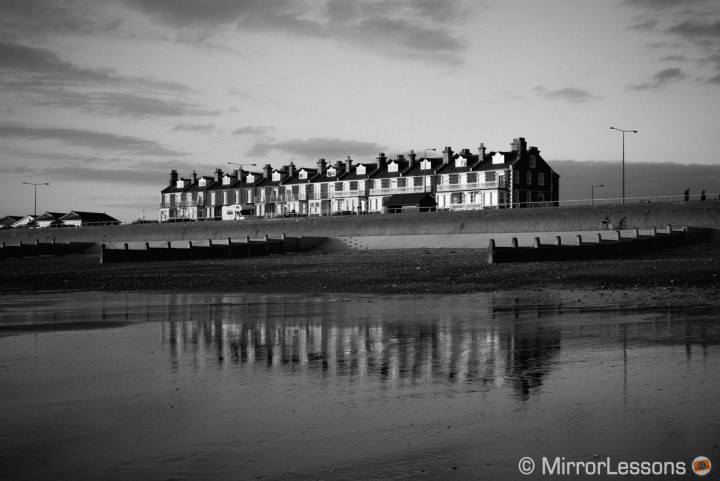
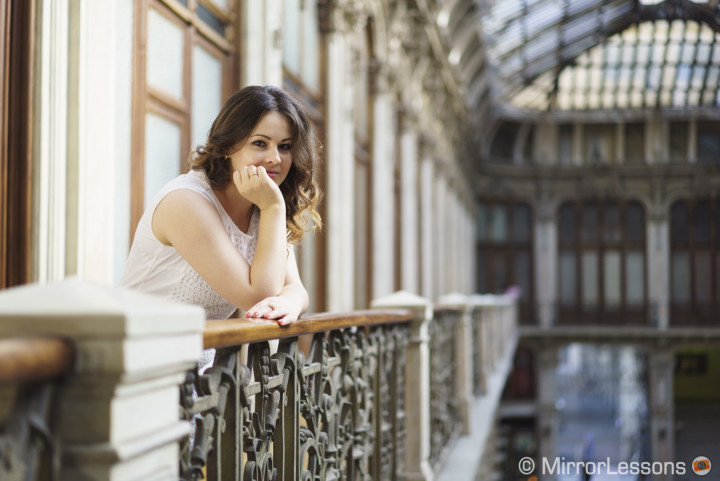
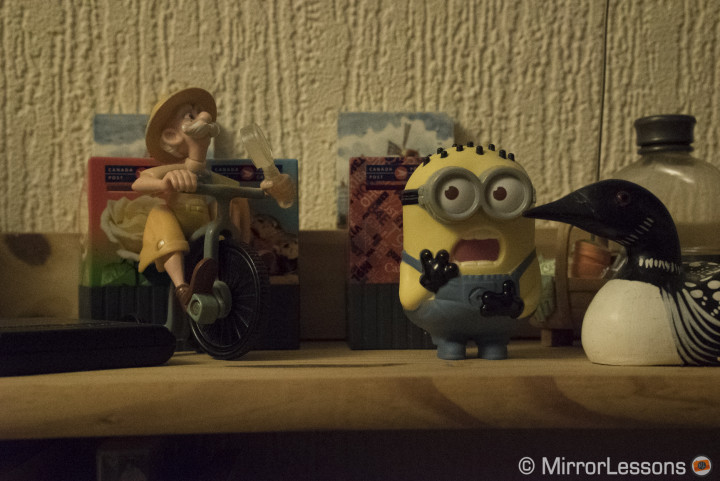
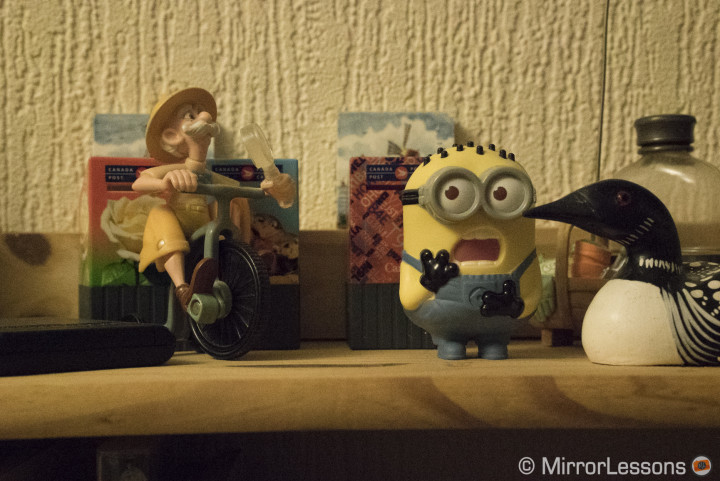
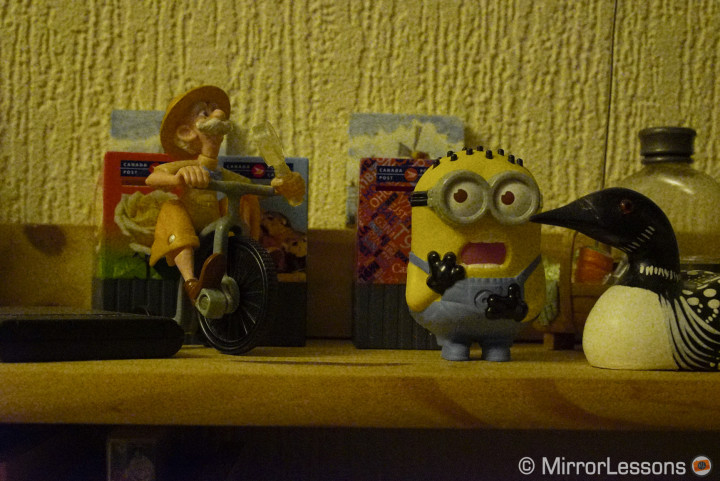
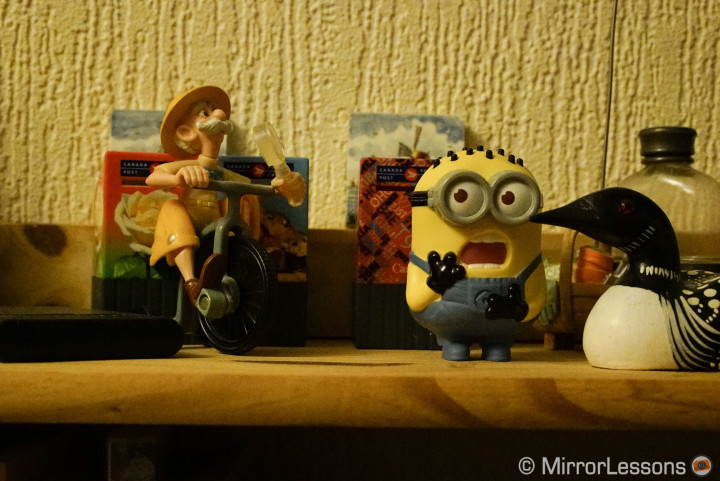
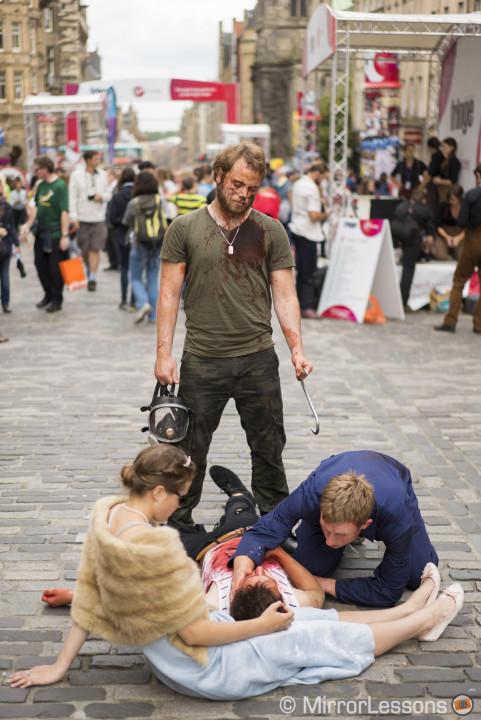
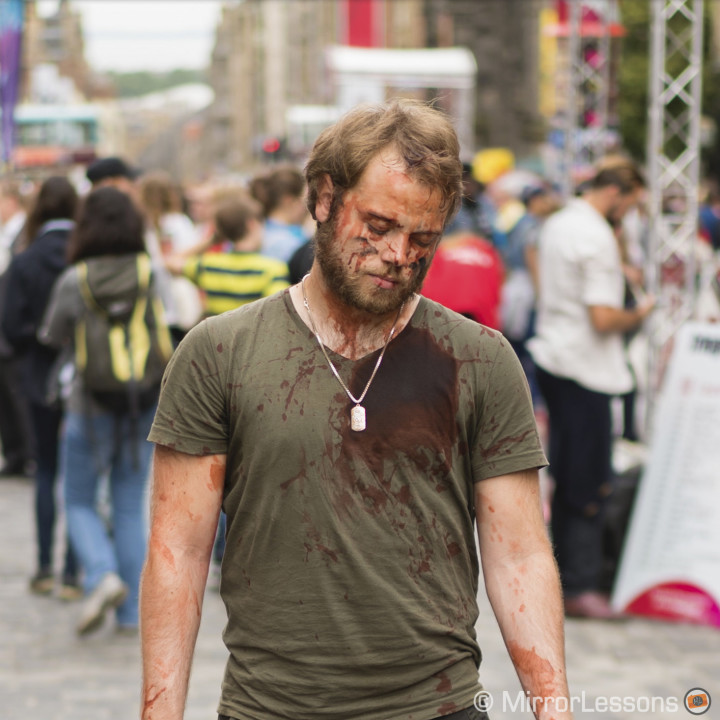
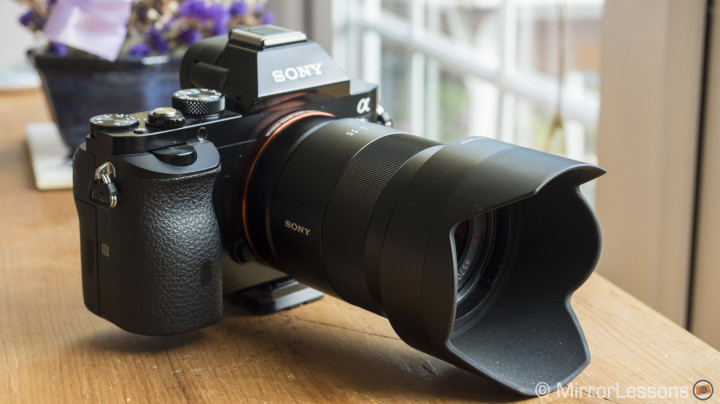
The announcement of the Sony A7s back in April was a surprise for everyone, even the various rumour sites, which are always on top of the most recent leaks. For me, it was the camera I had been hoping to see from Sony, a camera that would concentrate less on megapixels and more on other features. But to desire a camera with specific specs is one thing, to try it and see what it can do in real conditions is another.
It is also important to understand if these new features, however amazing they be, can really make a difference to the photographer. This is why I’ll cut to the chase right now and say that this camera produces outstanding low-light results and that 102400 ISO is usable. You probably knew that already anyway, so I won’t repeat it further.
Now, I’ll admit that during these two months, I almost never encountered a situation where this exceptional sensitivity was crucial to bringing home a good picture.
So, what is the Sony A7s really? Well first of all, it is a camera that loves light and secondly, it produces some of the best image quality I’ve seen on an MILC camera.
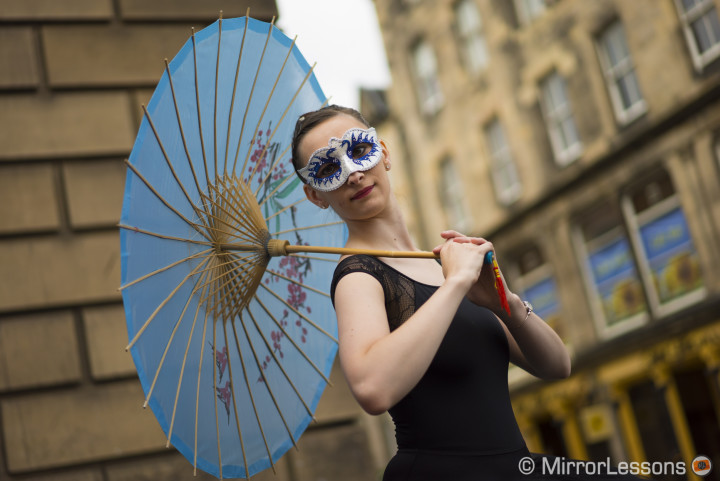
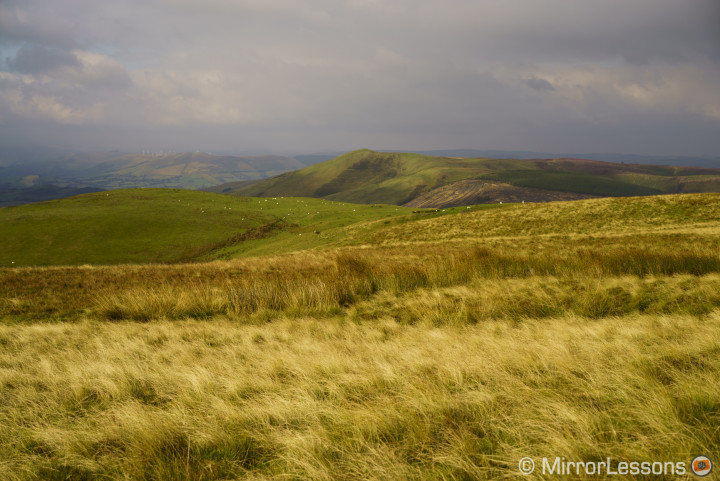
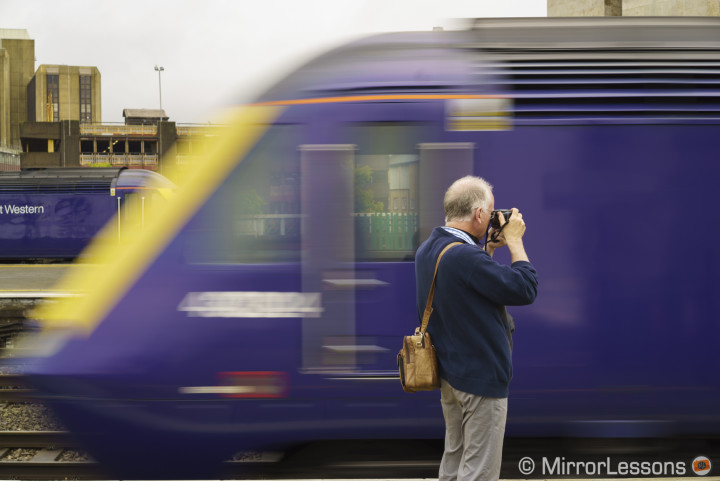
Sony A7s Main Specs
- Sensor: 12 megapixel 35mm full frame Exmor CMOS
- Lens system: e-mount
- Weatherproof: Partial (Splash and dust proof)
- Internal Stabilisation: None
- Autofocus: Contrast detection AF with 25 autofocus areas
- Continuous shooting: 5 fps (AF-S), 2,5 fps (AF-C)
- ISO Sensitivity: 100 – 409600 ISO (extended 50)
- Shutter Speeds: 1/8000 to 30 seconds
- Viewfinder: XGA OLED electronic viewfinder with 2,359k dots, approx. 100% FOV coverage and 0.71x magnification
- LCD Screen: articulated 3″ LCD monitor (921k dots)
- Movie recording: XAVC S Full HD up to 60fps, 120fps in 720p
- Built-in Flash: No
- Extra Features: WiFi, NFC, Panorama, Timelapse, HDR, Multiple exposure
- Dimensions: 132.9 x 93.4 x 83.9mm
- Weight: 560g (including battery and memory card)
[toc heading_levels=”3″]
Note: all the pictures in this article were taken with the FE 55mm f/1.8 and processed from the raw files, unless otherwise specified.
Chapter I: enjoy the light
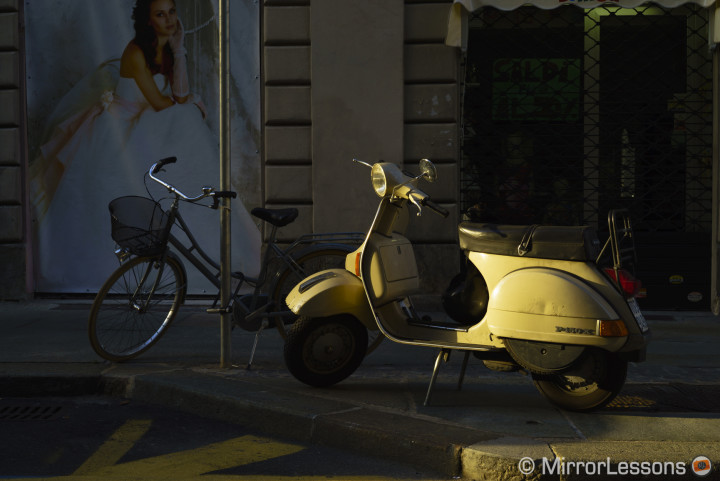
Despite its great capabilities in low light, some of my favourite times with this camera have been during the day, in bright sunlight.
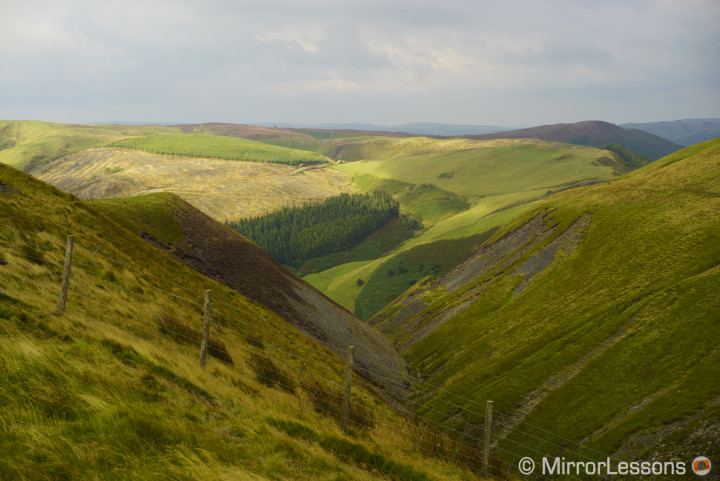
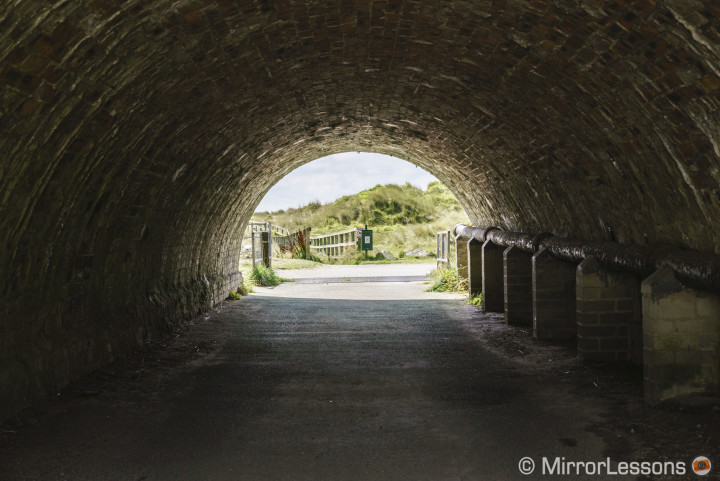
The first thing worth describing are the dynamic range capabilities and the flexibility of the raw files. It is a level of quality I had already appreciated on the Sony A7/A7r and I’ve found it again with the A7s. I haven’t compared the three cameras side-by-side to calculate which one has the best DR of the three. The A7s individual pixels are bigger in comparison to the other two, but the total amount is lower.
Many users had hoped to see better DR with the A7s due to its larger pixels, but as a matter of fact I haven’t seen any real differences. Actually, DxO Mark results show that the A7s is one stop behind the A7r. This means that in a real world situation, there won’t be any noticeable differences worth mentioning.
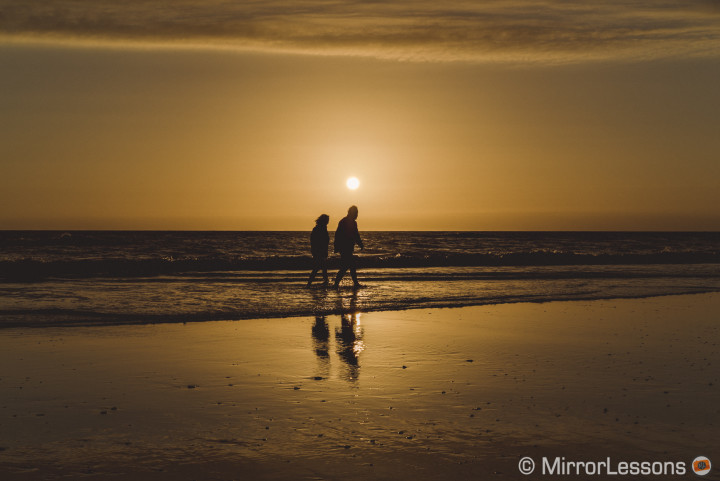
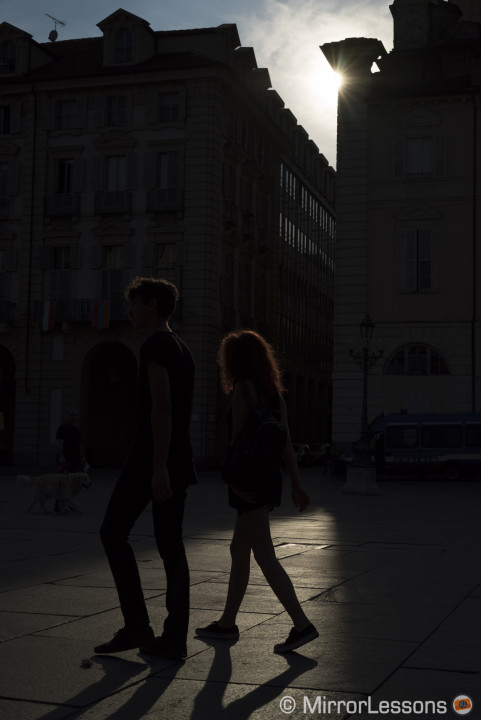
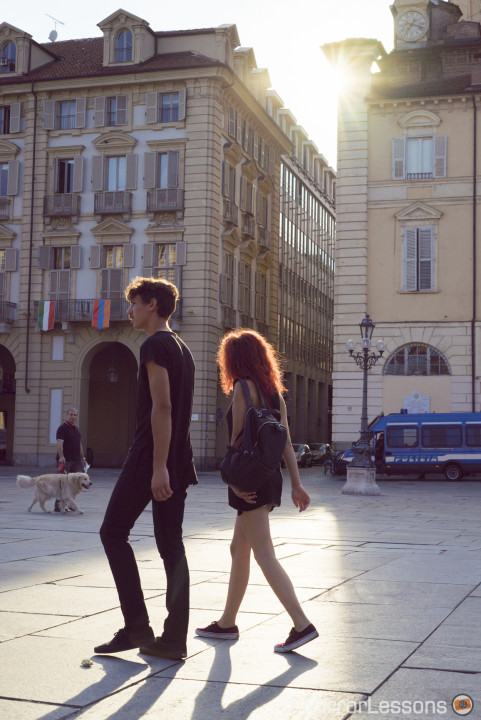
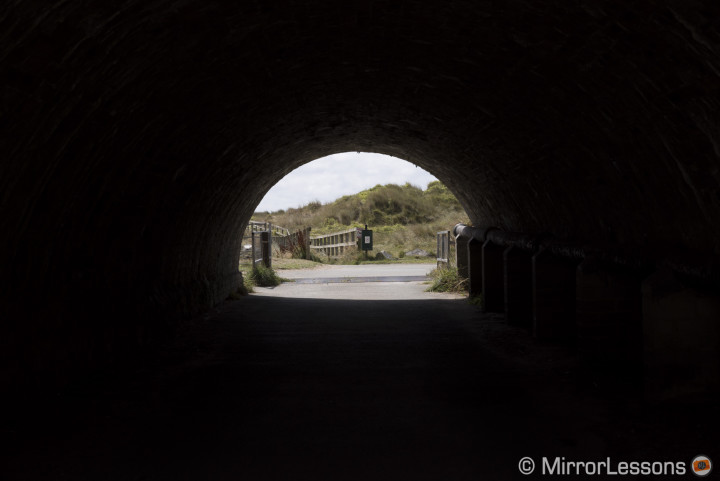
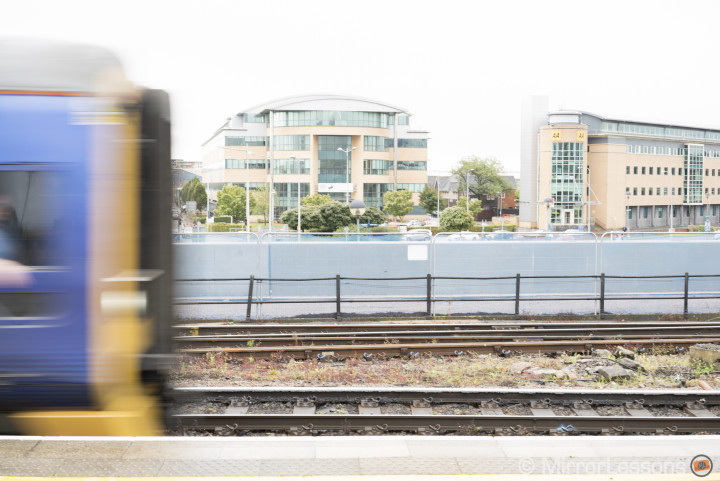
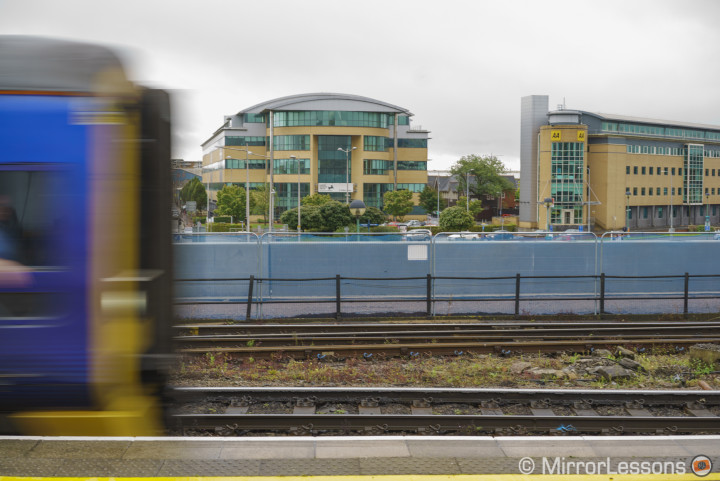
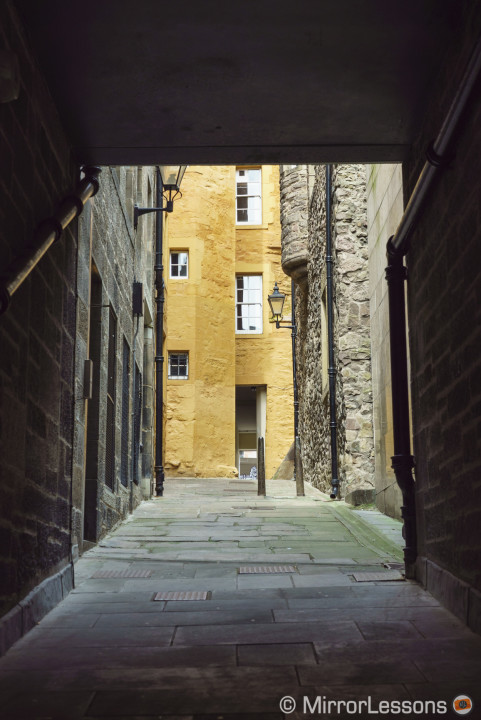
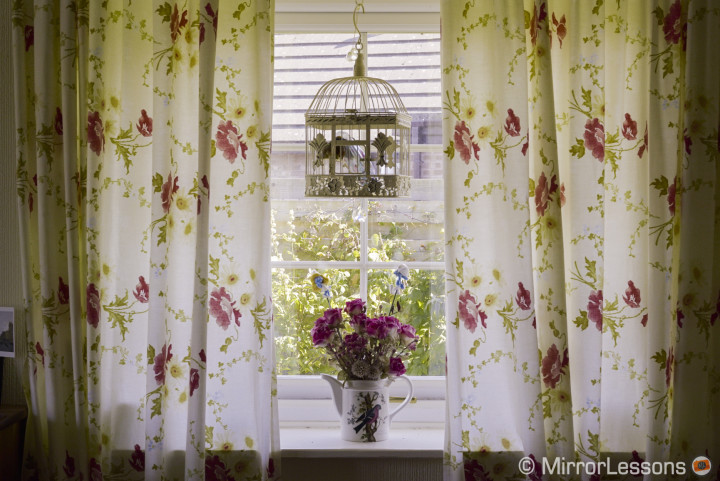
The A7s is capable of stunning dynamic range. In my tests with Adobe Lightroom, I observed that you can recover shadows up to 4 Ev without any major loss in quality or detail. After 5 Ev, you have to be careful when adjusting your curves, or you could end up with shadows that have a purple tint, evidence that the software has reached its limit in recovering details.
With highlights and depending on the situation, you can recover between 2 ev and 4 ev. In a backlit situation, you won’t be able to achieve a full recovery which is understandable.
Of course the examples above are extreme cases. Most of the time you might need to recover 1 Ev of exposure. If you need to recover more, it means that you often get your exposure wrong, and with today’s electronic viewfinders, there is little excuse for that now.
Not only, but the metering of the A7s works well too. So, the key point to take home here is that the camera is powerful in both highlights and shadows. It’s up to the photographer to work with the light, and find nice scenarios where a dynamic range like this can be of great benefit.
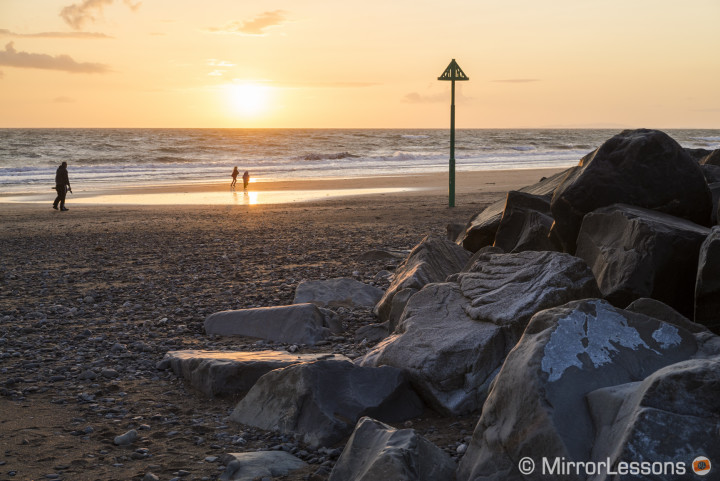
While the best results will of course be with the raw files, the Sony JPG engine offers 6 levels of DR (DRO – Dynamic Range Optimiser) that you can choose from. Otherwise you can leave it to Auto.
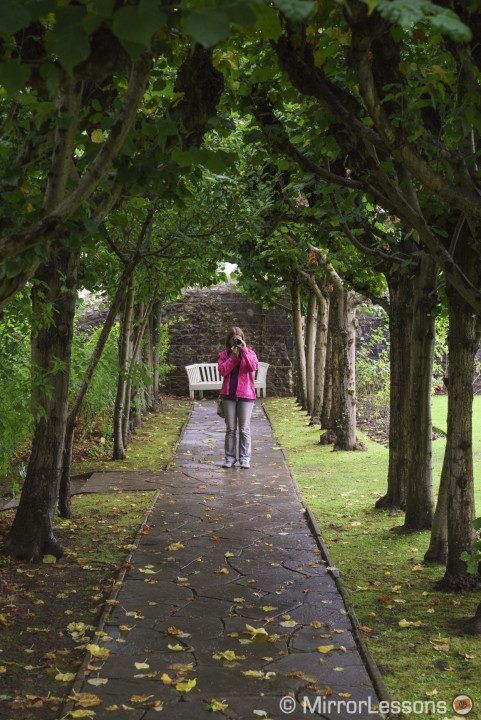
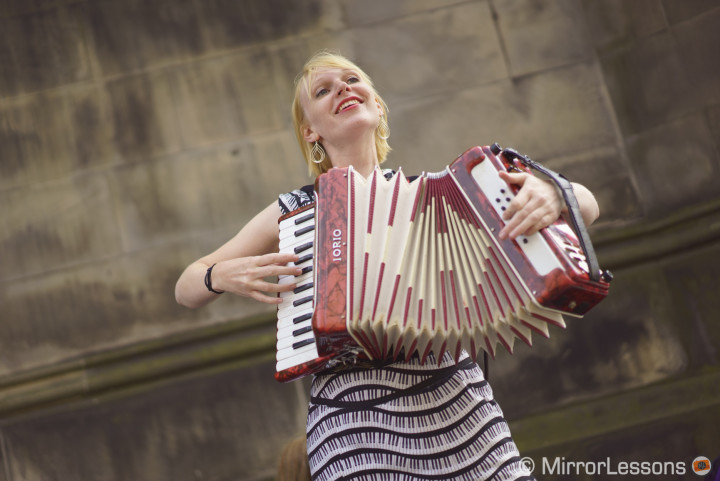
When it comes to colour, the A7s can produce a really beautiful rendering. Colours are powerful and the image processor does a really good job at enhancing images, even no-so-ideal conditions like a cloudy day.
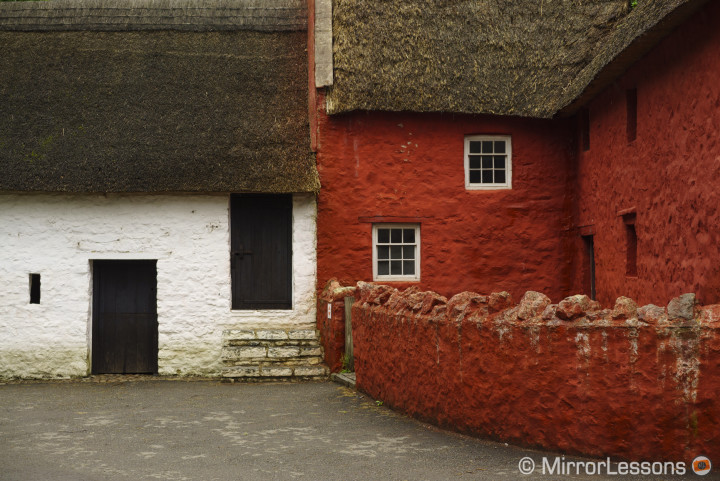
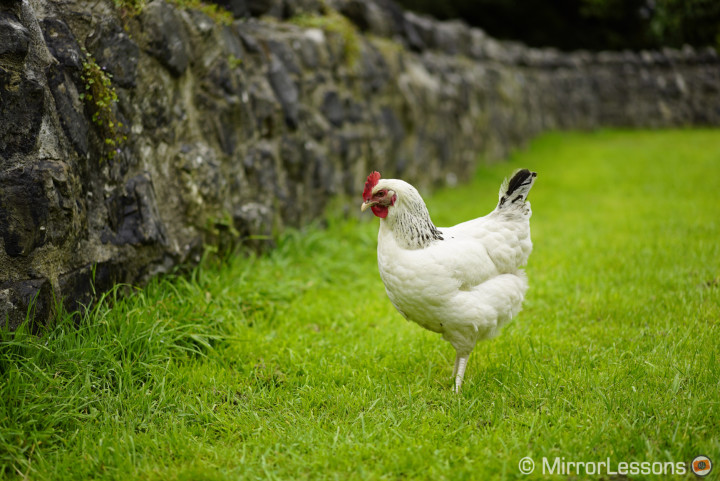

I noticed that colours will tend towards a more yellow/orange-ish tint instead of orange/red. This is also noticeable when post processing the raw files. The Adobe Standard profile, on the other hand, has a reddish rendering.
The Auto White Balance is accurate most of the time. It will occasionally give a colder tint but remains accurate even with artificial light, whereas other cameras will often tend toward a yellow tint too much.
There are many picture profiles called “creative style” available on the A7s. We get the default styles that we find on any Sony camera. My favourites are the Vivid and Deep styles. The vidid style is brighter and has slightly more contrast while the deep style works better when you overexpose your picture a little bit.
Another interesting aspect that is unique to the A7s is a second set of colour profiles available called Picture Profiles. They are related to the video capabilities of the camera and include Cine-like Gamma, colour modes and other settings inherited from Sony’s Cinealta professional camcorders. The profiles are mainly meant for video purposes but can also be applied to stills. They will only affect JPGs. You can select them from the main menu, the quick menu or assign them to a function button. When one of the picture profiles is selected, the camera will only work from ISO 200 and the extended low ISO won’t be available (same behaviour for video recording). Moreover, the electronic shutter becomes unavailable.
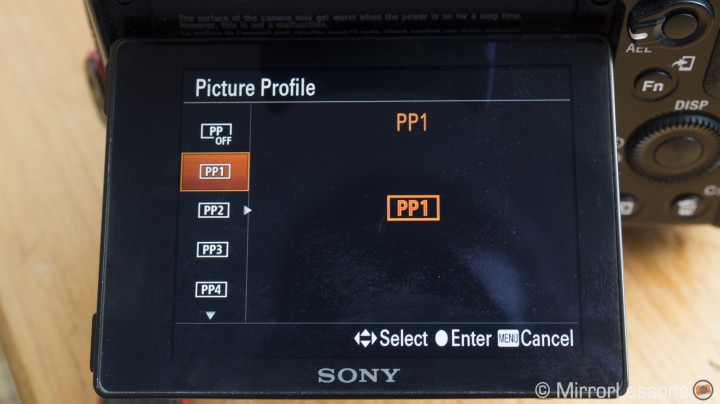
You can use these picture profiles for stills if you want a nice colour palette that isn’t too saturated with an extended dynamic range. There are 8 picture profiles you can set. You can choose black levels, gamma profiles, colour mode and adjust saturation, colour phase and colour depth for each RGB and CMY channel. These settings are way more extended than what you can customise in the default Creative Style profiles.
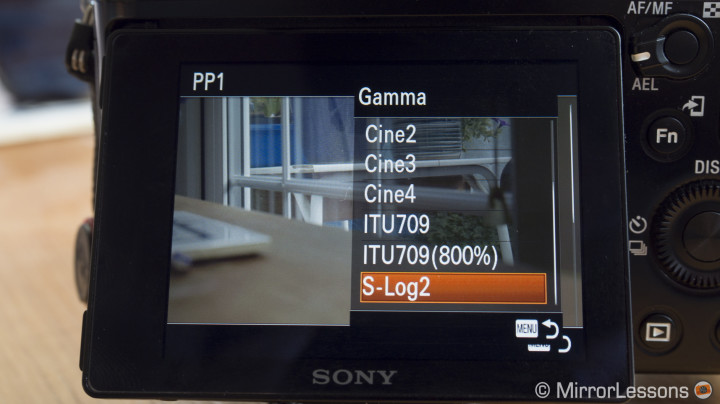
For example you can choose up to 9 gamma profiles and 7 color modes. Two of them are meant to give a very flat rendering with no contrast at all, meaning you can get a vaster dynamic range out of them. These are the S-log2 gamma and S-gamut colour modes. For video, we use it to have more detail in both shadows and highlights to then colour grade the footage. For stills, you can do a similar thing with the JPGs and it works surprisingly well.
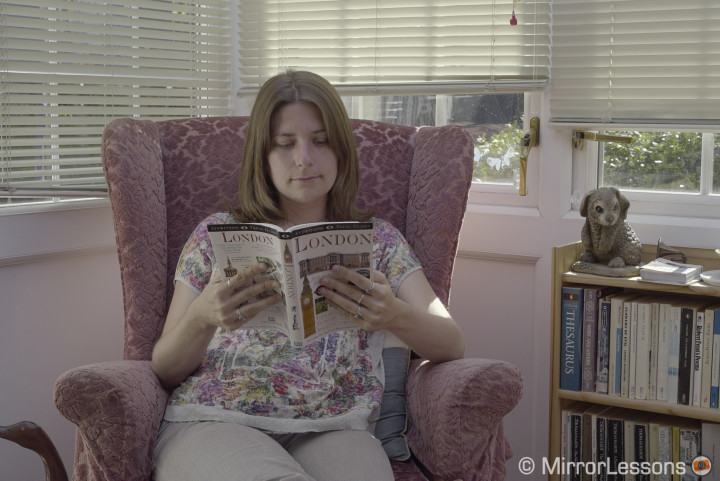
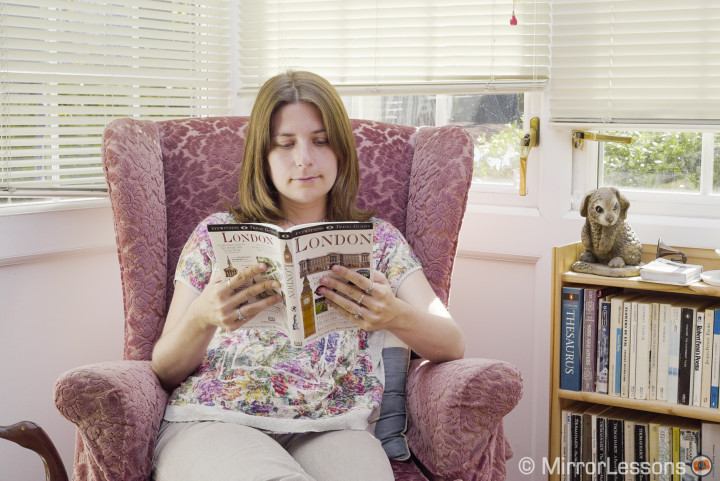
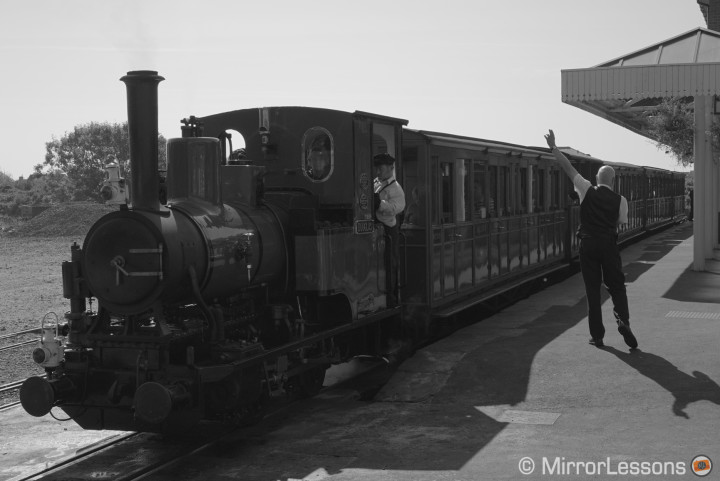
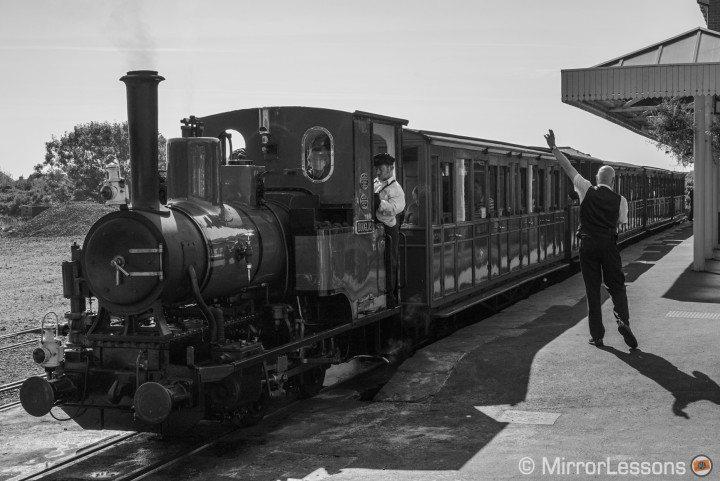
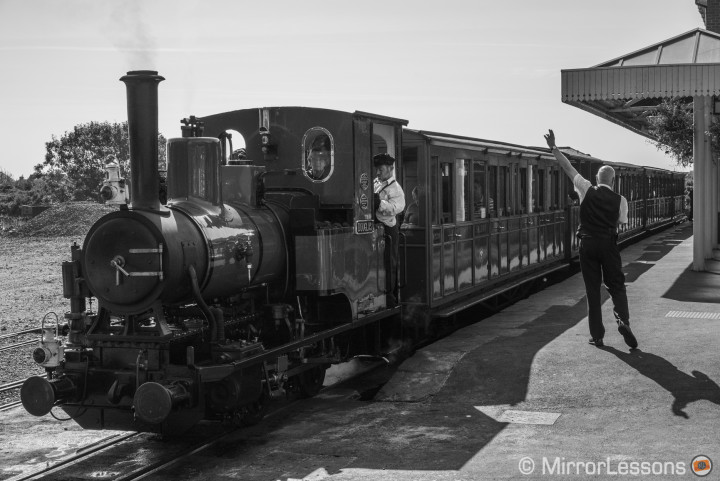
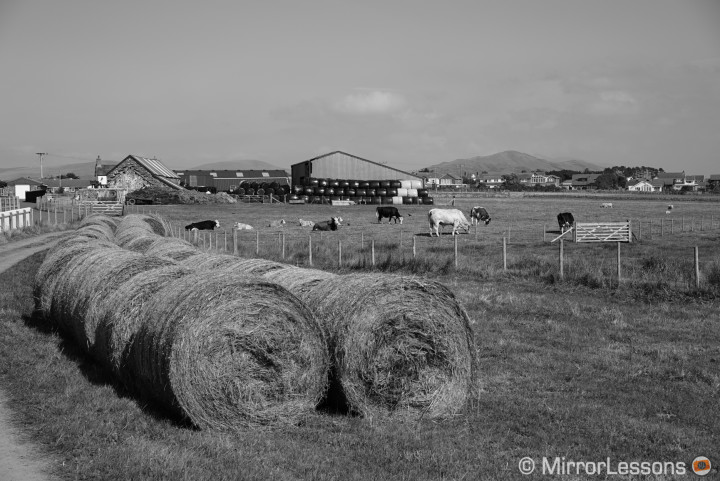
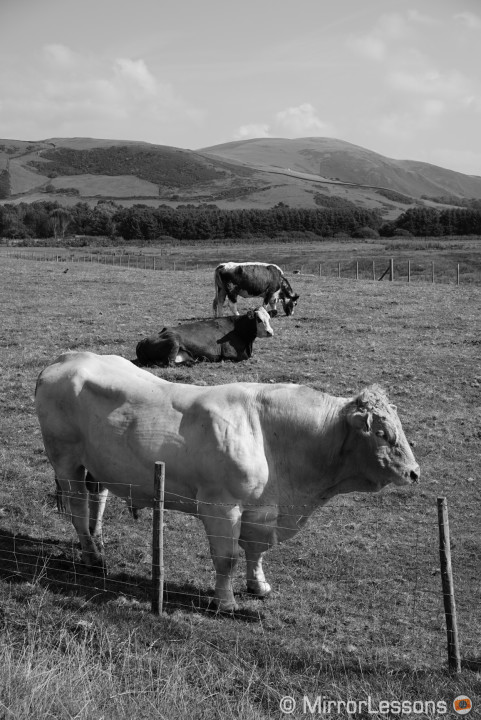
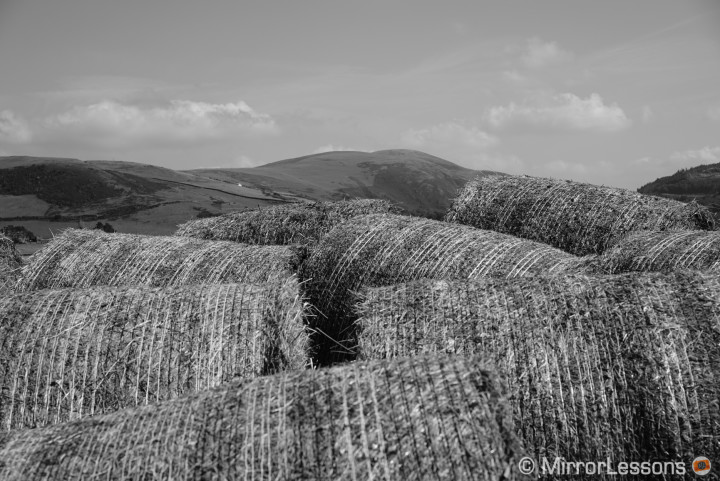
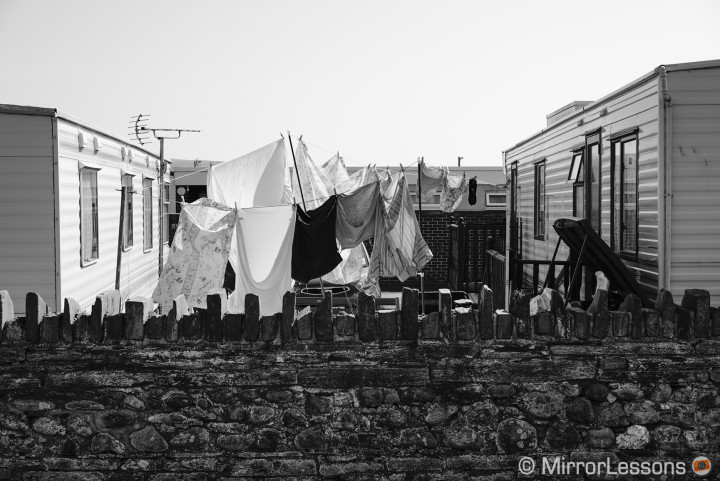
Here is another example but with black and white. The shot was taken at around 1 p.m., when the light is hardest. You can see the original “flat” JPG, the post-processed JPG and the post-processed RAW file with very similar settings.
Note that depending on the gamma profile you choose, the camera might work only from ISO 3200 and above. You cannot select a lower value, which can be a problem if you want a shallow depth of field and there is a lot of light in the environment. 3200 ISO is the native ISO value of the camera and this is therefore the value at which these profiles give the best results in terms of dynamic range.
Below you can see a comparison between the standard creative style and some of the picture profiles I customised. With the exception of the last picture, I kept the other examples at 3200 ISO to match the settings for all the pictures.
I find the use of the picture profiles very interesting and they provide a real alternative to the default colour profiles we find on most Sony cameras.
There are meant for specific use and it takes a while to understand which settings works best for the scene you want to photograph. They can be used for very specific compositions where the photographer wants to fine-tune every aspect of the picture.
Below you can see another gallery with random pictures taken with PP6 which was set as follows:
- Gamma: Cine 4
- Color Mode: Pro
- Black Gamma: middle
- Saturation: +15
- Color Phase: +2
- All the other values to 0
The monotone style also works very well. You can adjust the contrast up to 6 levels and it gives a very nice and balanced black and white result. There are also two additional montone effects with the “Picture Effect” function that only works on JPGs.
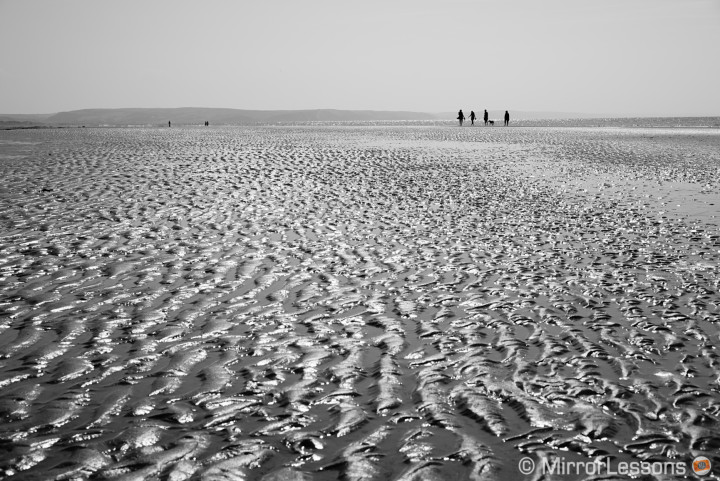
As you can imagine, black and white conversion also works really well with the raw files since you have lots of details and shadows to work with. You can see below some examples where I applied some of the Rebecca Lily’s presets from the Pro Set III.
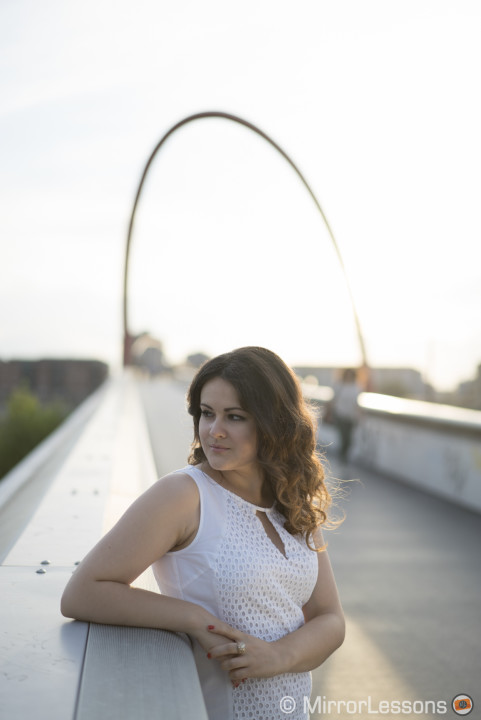
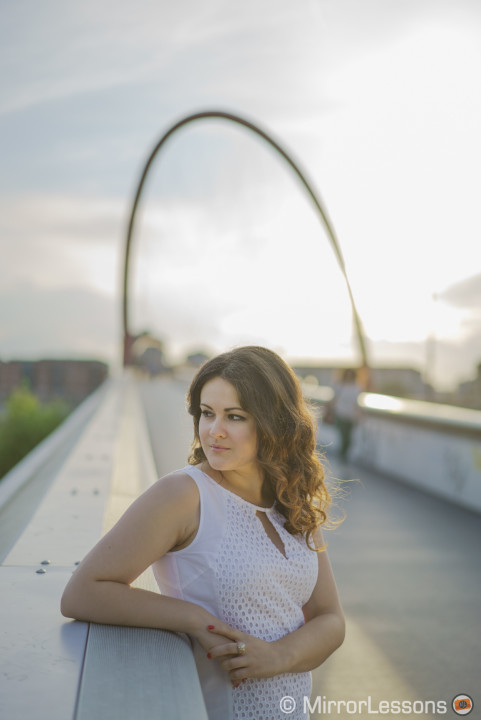
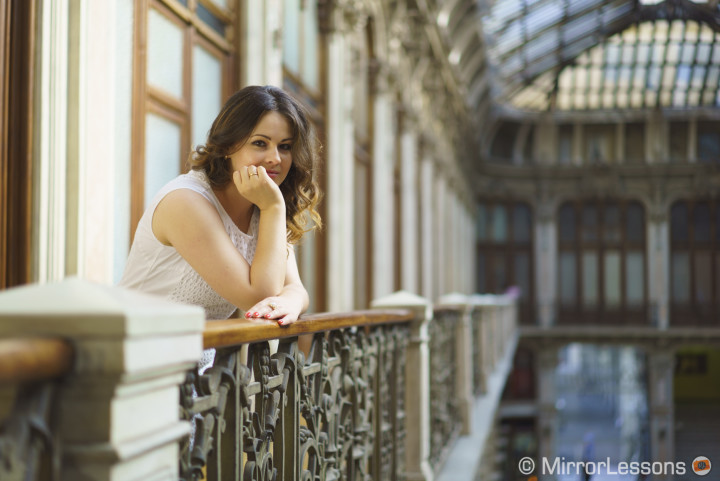
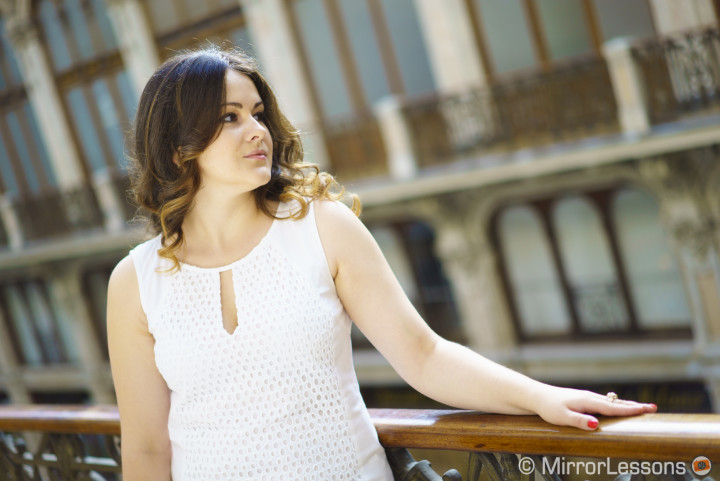
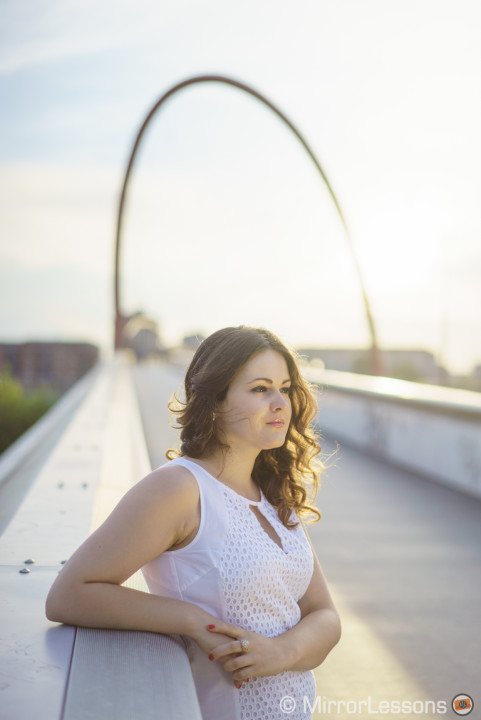
Another interesting aspect to test on this camera is colour depth, meaning the richest colour rendition. This can be interesting for landscapes or portraits. Here again, the A7s did a great job and proved a very good camera for portraits with a very nice colour rendition.
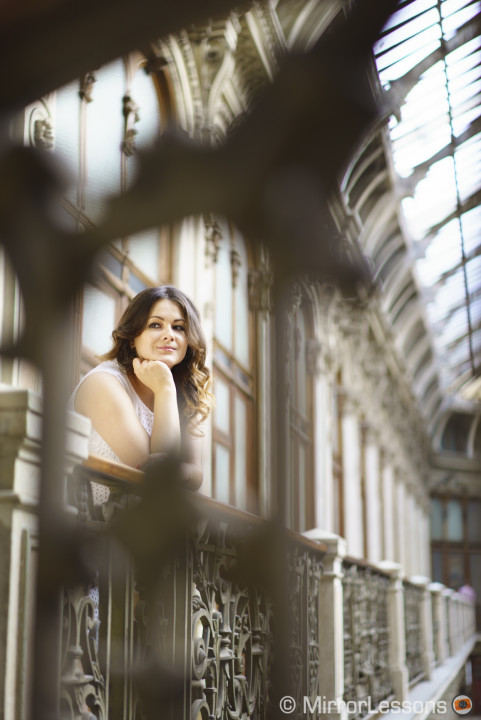
Depending on the light, the best creative style for portraits might not be the default “portrait” style but the neutral or even the Light style. The portrait style can tend toward yellowish tints on the skin which can be unpleasant.
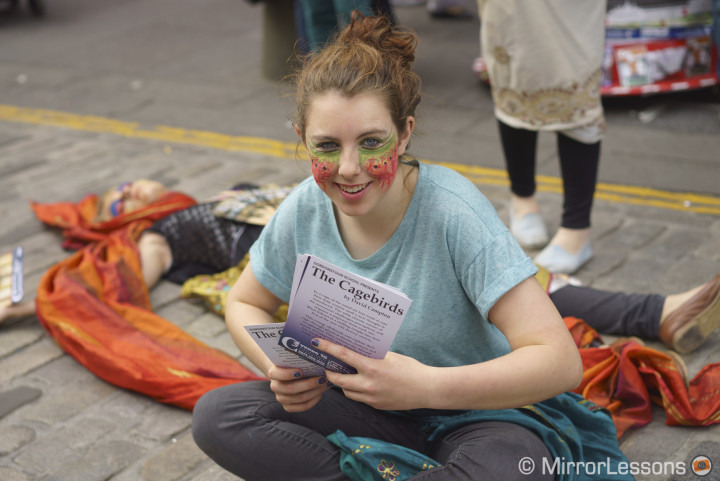
Also, the fact that the A7s has fewer megapixels makes it an even better camera for portraits, especially if you like to work with natural light as I do. The camera can deliver very sharp results without adding too many extra details on the person’s face.
Chapter II: love the dark
So now that we’ve seen what the A7s can do in normal daylight conditions, let’s talk about what it can do in situations where it is supposed to perform better than other MILCs.

I’ll admit that during these two months of testing, I had to actively search for different examples where I could put the A7s’ sensitivity to the test.
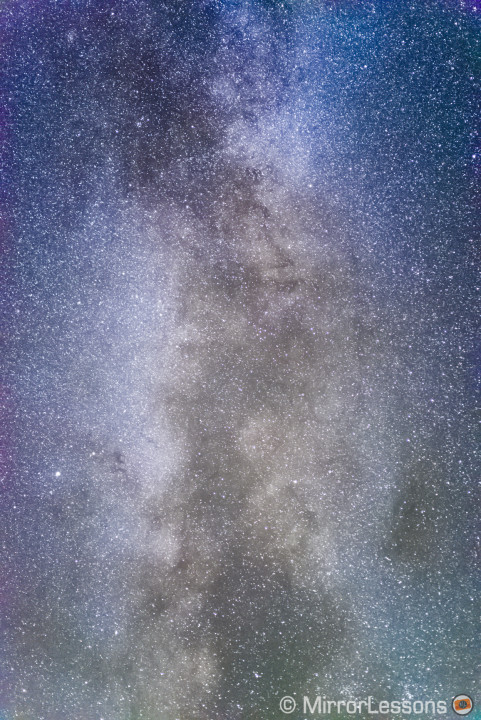
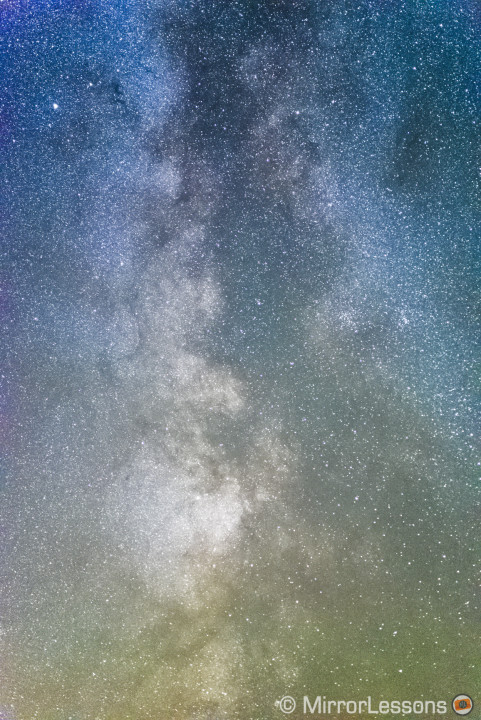
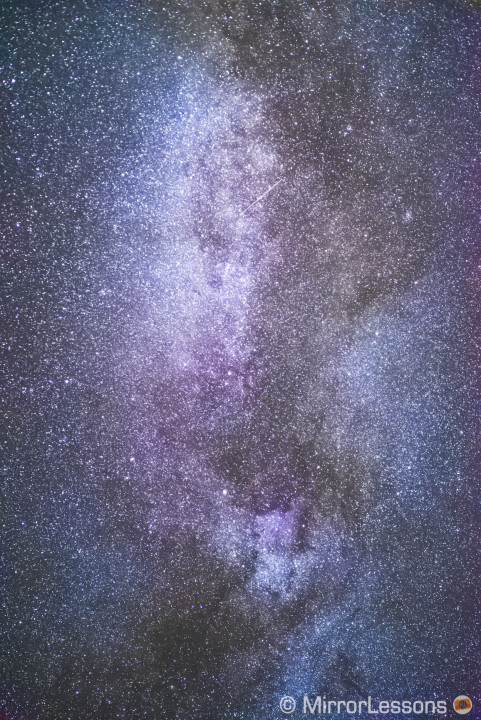
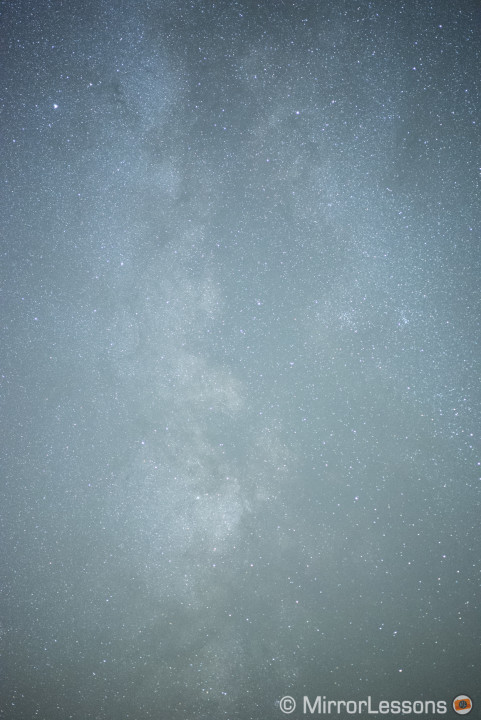
Astrophotography isn’t something new, and photographers have managed to capture the Milky Way or stars in the sky with less technologically-advanced cameras. The point here is that the A7s allows you to push the limits. You can use high ISO values like 32000 without worrying too much about the image quality or amount of noise. I am not an expert when it comes to astrophotography, but the examples above clearly show the sensitivity of this camera and the number of stars I was able to capture. Furthermore, they also show how I was able to push the post-processing to get a colourful and contrasty result. Here is a comparison between the original raw shot and the final version:
I had never shot stars before this summer and the A7s is probably the “easiest” camera to do it with. This is partly because of its great sensitivity in the Live View, which helps you compose the image. I wish I’d had a wider focal length than the 55mm but we can’t have everything, can we?
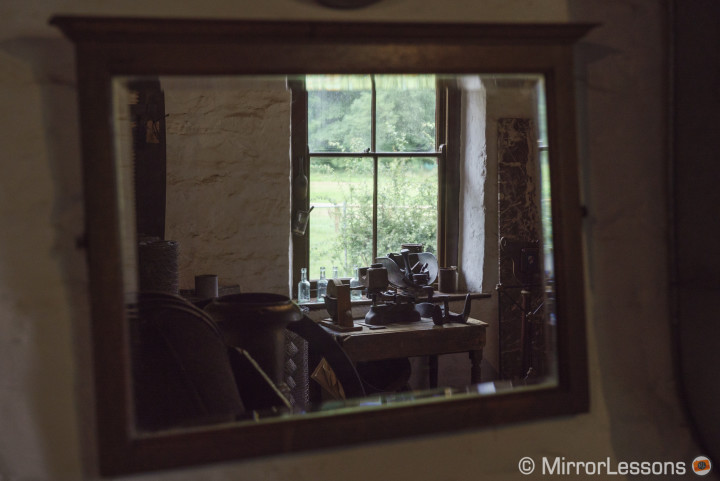
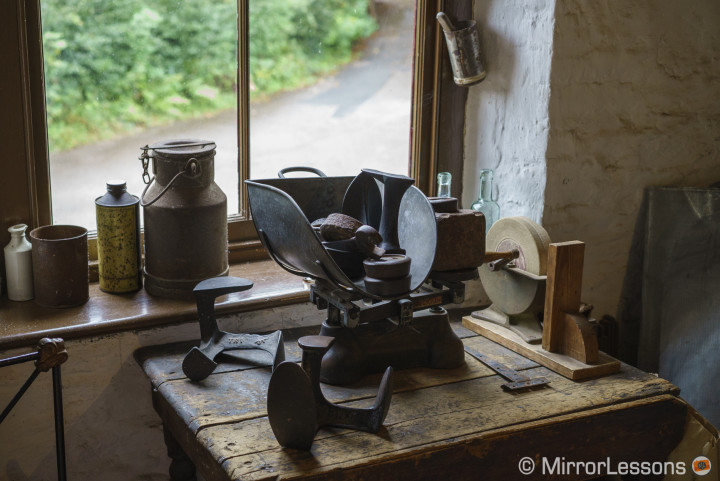
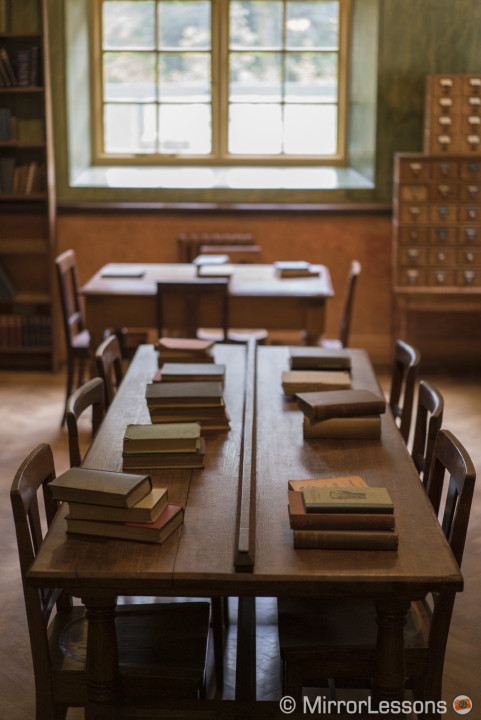
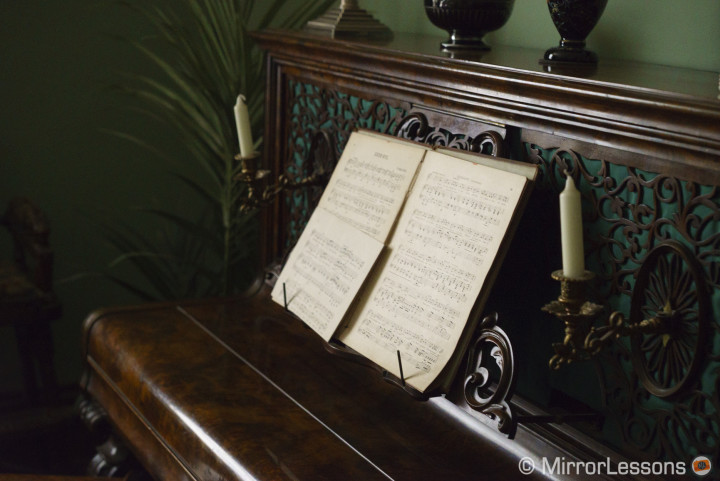
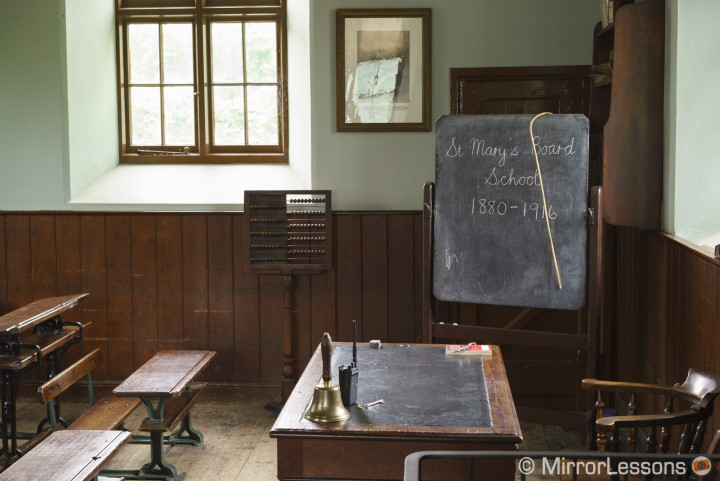
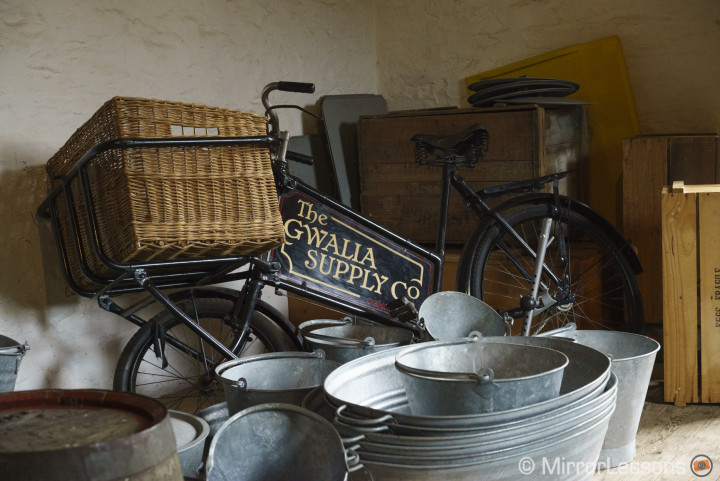
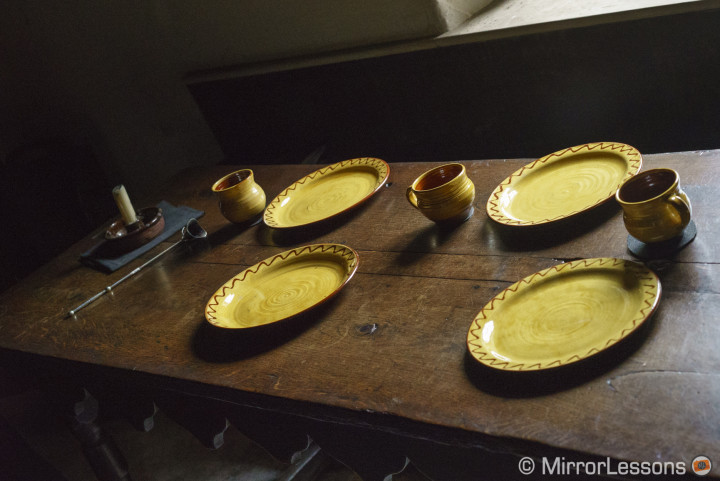
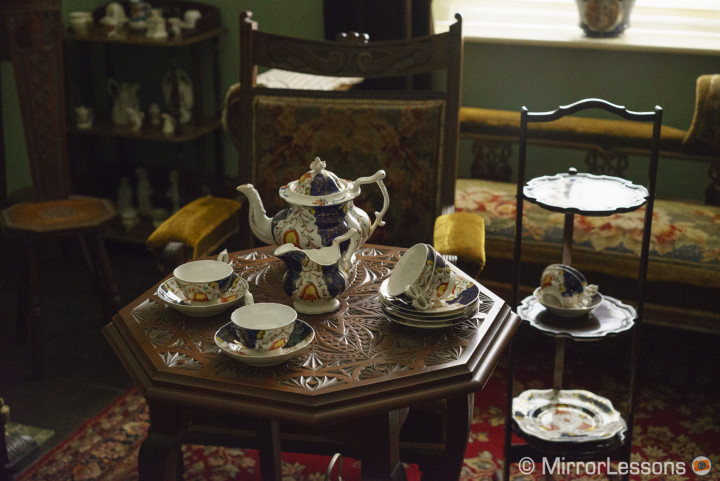
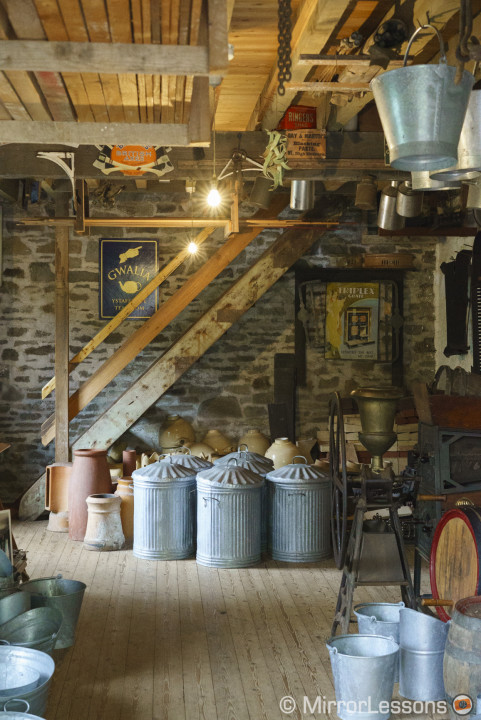
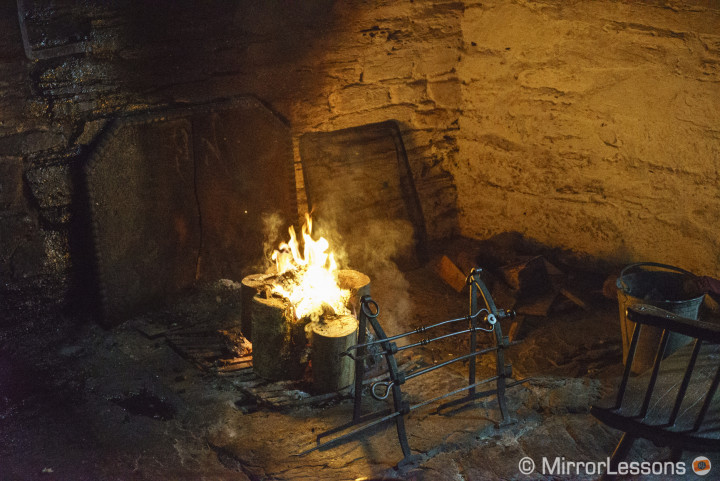
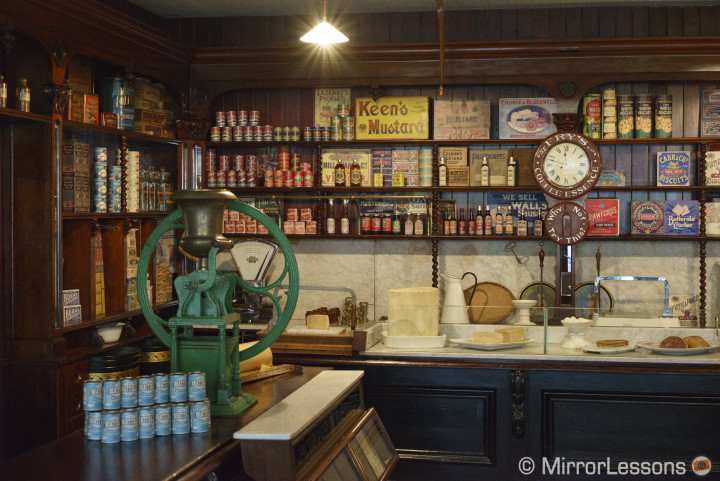
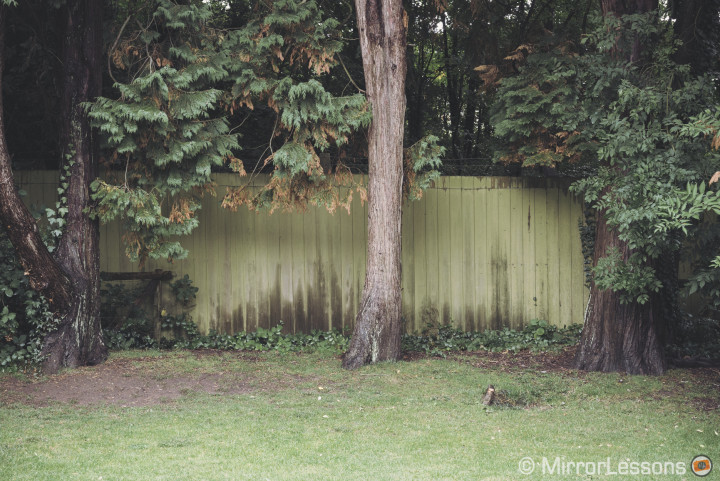
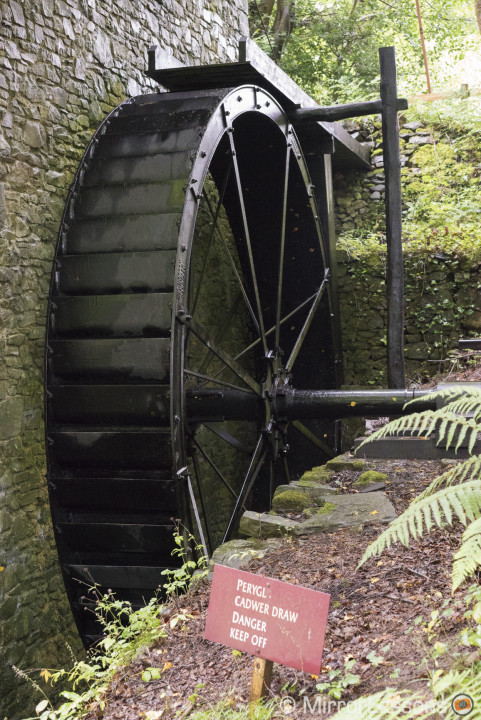
Another interesting example of how the A7s’ ISO performance came in handy was during our visit to Saint Fagans in Wales. It is an open-air museum near Cardiff showing the historical lifestyle, culture, and architecture of the Welsh people. The day was not bright because of heavy clouds and rain. None of the interiors of the different buildings we visited had any sort of artificial illumination so the only light available was the weak one coming from the windows. I had the 55mm with me, which is not an OIS lens, and the A7s doesn’t have built-in stabilisation either. Furthermore, it can suffer from some shutter shock, so I used a minimum of 1/100s shutter speed to ensure sharpness. I set the ISO to Auto and changed my aperture according to the depth of field I wanted.

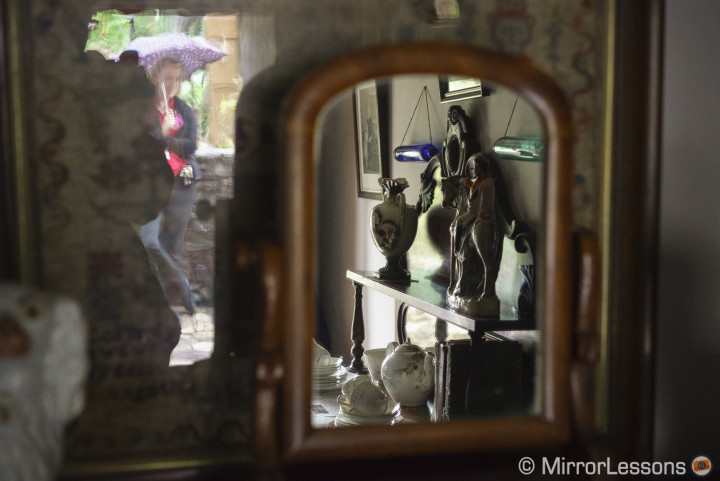
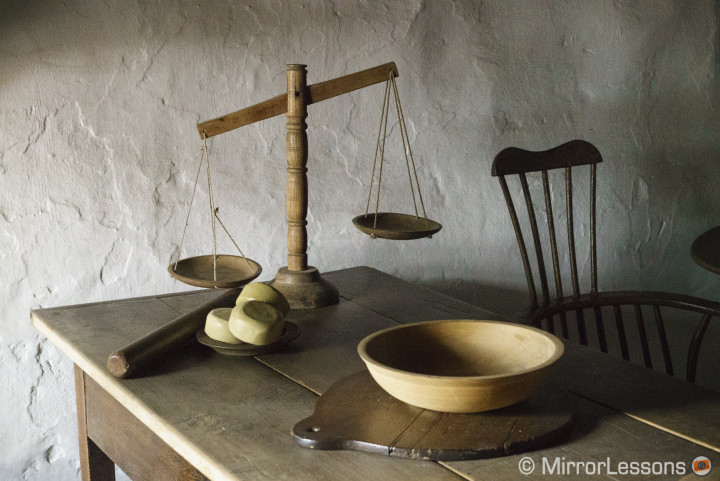
What matters is not just the high ISO value but the A7s’ sensor ability to keep an excellent color depth with minimal noise even at the highest sensitivity. Also, the raw files remain flexible to work with up to 51200 ISO. In the examples above, I managed to recover highlights and increase shadows without affecting the image quality too much. Knowing that your camera has such capabilities gives you more freedom to concentrate on what you are shooting.
Of course, I could have easily taken all these pictures on a tripod. In that case, any camera would have given good results. But it was an unexpected visit and I didn’t have my tripod with me. Plus, working hand-held allowed me to move more easily, be discreet and capture some images at angles I couldn’t have reached with a tripod. Since the spaces were tight, the 55mm wasn’t the ideal focal length and there were also some off-limit zones.
To me, the real benefit of the A7s isn’t to see how much better it can perform against other cameras at specific ISO values, because up to 6400 ISO the results are the same as the A7 or A7r. I review many cameras with different sensors sizes and here is a list of cameras that I find usable up to 6400 ISO, where usable means a picture I would give to one of my clients if there weren’t any better conditions to shoot the scene in the first place:
- Olympus OMD-EM1/E-M10
- Panasonic GH4
- Lumix GX7
- Fuji X100s/X-T1/X-E2
- Sony RX100 mk II
- Sony A7 and A7r
Yes, to me all the cameras mentioned above (and I am probably forgetting other models) have excellent ISO performance. I am not saying that they all produce the same exact image quality at that sensitivity, but that they are all usable at the ISO level. Good performance at ISO 6400 is a today’s standard on most if not all enthusiast, semi-pro and pro-level cameras. The A7s simply has a higher standard which allows the photographer to easily set ISO to Auto and forget about it, whereas with any other cameras, you have to be more careful. (Funnily enough, the A7s will produce very clean images at ISO 2000 or ISO 10000 outdoors when you forget to turn Auto ISO off!)
This means I don’t have to sacrifice a slower aperture if I want more sharpness in my image (remember that with a 35mm sensor, the shallow depth of field is more visible). I can also shoot with a relatively safe shutter speed, even with non-stabilised lenses. Now apply this to the various genres of photography and you will start to realise why it can be a great tool to work with. Think of reportage when you often switch between outdoor and indoor environments. Think about weddings for those who like to work in natural light or when the bride and groom choose a location that is very dark. Think of indoor sports photography when the light is often poor and you have to use slower shutter speeds than you would like.
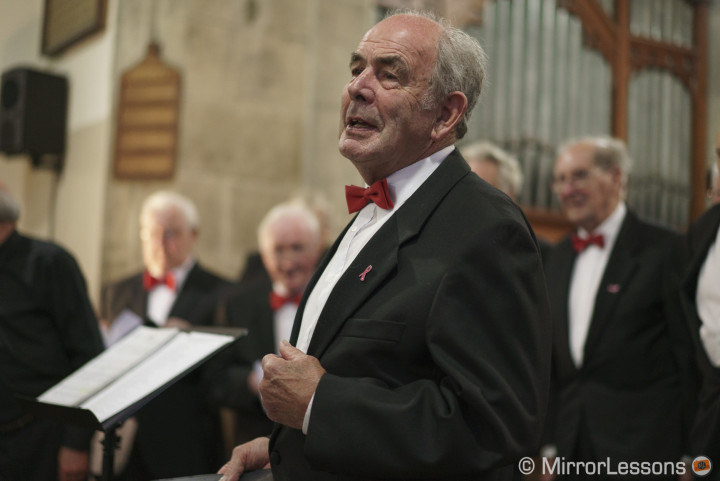

The A7s’ low-light capabilities aren’t related to a series of numbers, but to the benefits the camera can give to its users in a real world situation.
Another camera that is a good example regarding this is the Olympus OM-D E-M1. Now I am sure you are going to say:
What does the OM-D E-M1 and its MFT sensor have to do with a low-light king like the A7s?
Well, the reason is that the OM-D E-M1 has a unique feature called 5-axis stabilisation. This feature has allowed me to take sharp images hand-held down to 1 second of exposure. I could have easily taken all the shots in Saint Fagans hand-held between ISO 200 and 500 with the E-M1. That to me is another example of a great low-light camera. Its limit is that, to match the quality of the A7s, you need a very slow shutter speed and a low ISO. In other words, it won’t work in scenarios with moving subjects. Also, the Sony FE system does have some OIS lenses like the FE 24-70mm and this pushes the A7s’ limits even further.
Of course, just for the sake of proof, it is worth showing a couple of examples shot in complete darkness:
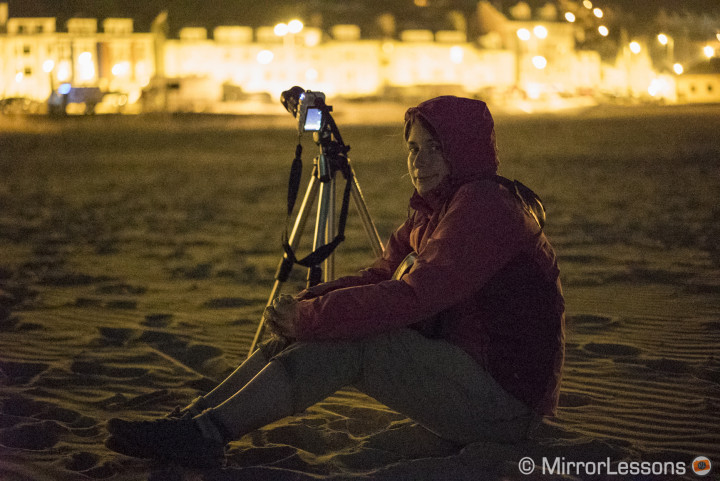
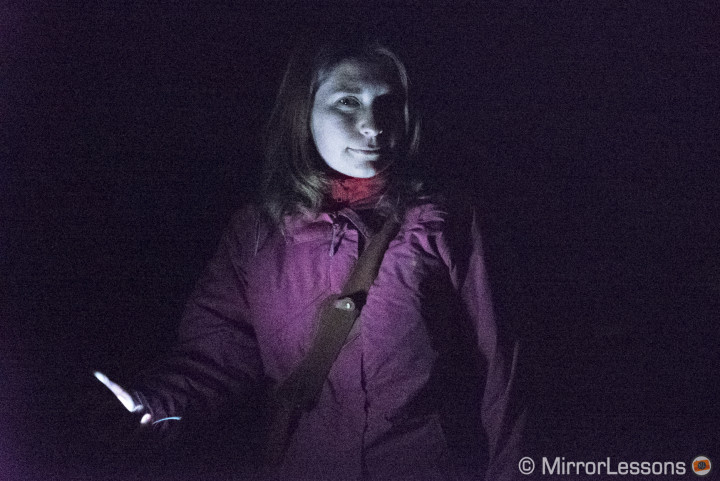
On a more technical note, the best results at high ISO can be obtained with the raw files. With the JPGs, you can choose between three levels of noise reduction applied by the camera software. ‘Off’ will give you more colour noise, ‘Low’ will keep a good average between details and noise, while Standard will reduce the details and sharpness. I keep it to “Low” and it does a very good job up to ISO 102400, after which it starts to become more destructive.
When you use the electronic shutter, at high ISO levels it has an effect on both raw files and JPGs. Basically it will make the picture brighter and also slightly increase the noise. It’s nothing dramatic and I don’t see this difference as very important but it is still worth mentioning. Also the OOC JPGs tend to more saturated with a different white balance result (warmer) under artificial light and the amount of noise seems lower (with NR turned off).
Finally, there is also a function called Multi. Frame NR that works only when JPGs are selected. The camera takes three pictures in a row and merge them to obtain a very clean file but it does loose little bit of sharpness and details in comparison to the normal JPG.
Ergonomics & functionality
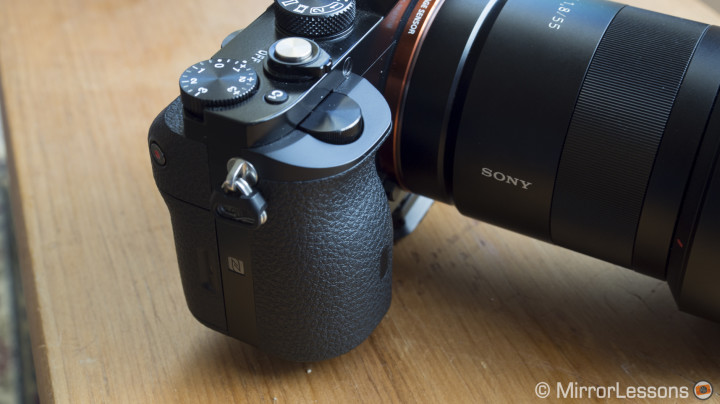
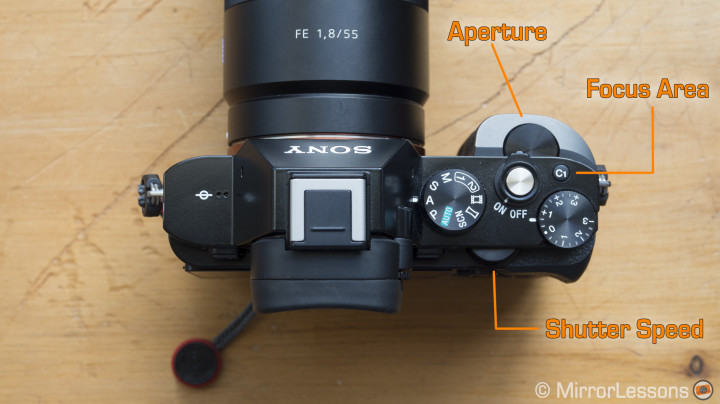
The A7s, as with the A7/a7r, is a very well-designed camera with only a few flaws in my opinion. First, I find the protuberant grip excellent. It is solid and makes holding the camera quite comfortable. The dial on top of it makes shutter speed/aperture adjustments very easy. The thumb grip on the back is also good and overall the camera is comfortable to hold with small and medium-size lenses.
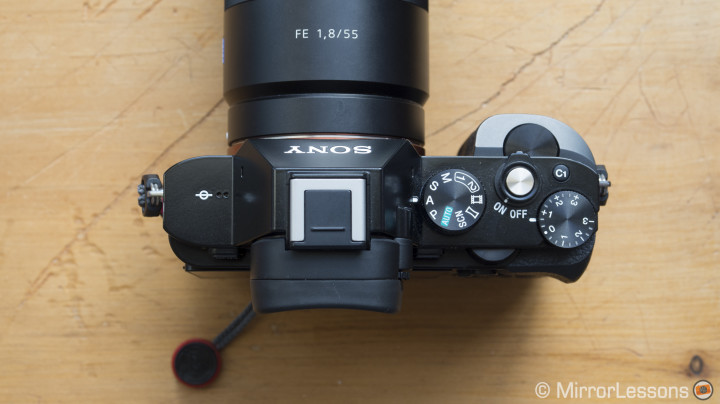
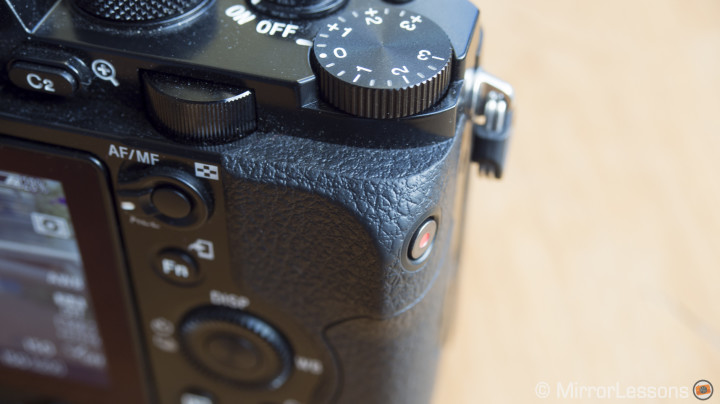
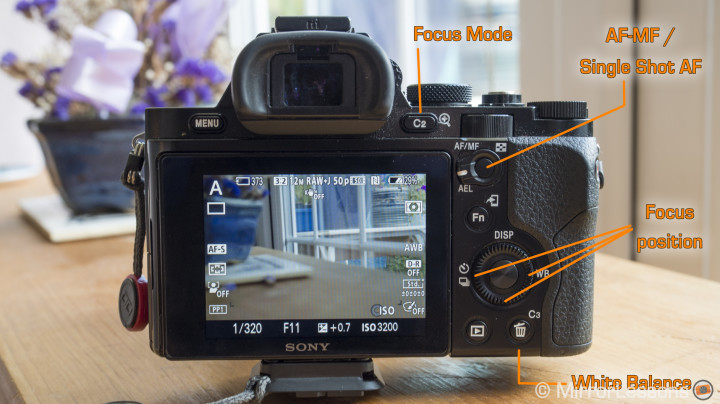
The button and dial layout is also clever. The exposure compensation dial on top is very useful, as is the second main dial on the rear. The only button that I find uncomfortable to reach is the C2 button because it is too close to the viewfinder, especially when composing your picture with your right eye attached to it. I would have also preferred to have the menu button on the right so that I could perform all the operations with one hand.
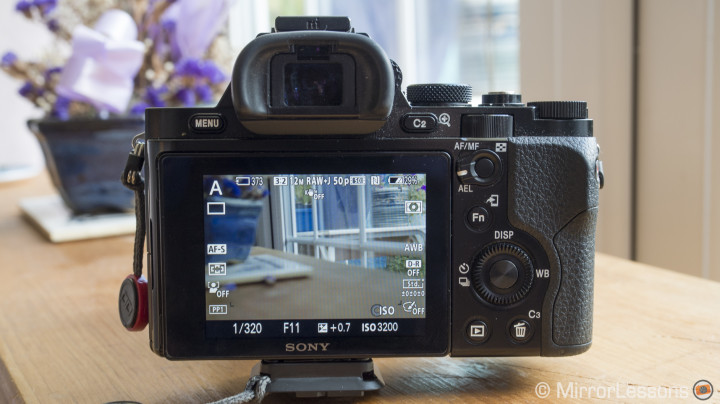
On the contrary, the video recording button is well-placed on the exterior of the thumb grip to prevent unwanted pressing. The menu wheel is comfortable–I use it to quickly change ISO settings.
There are three customisable buttons, and the four buttons of the wheel can be customised. The Fn (function) button can be customised by choosing up to 12 settings you want to access quickly. Below is my favourite button and dial customisation.
On the mode dial on top there are two memory recall functions where you can save different settings that you may want to access very quickly. Let’s say you have some favourite settings for portraits or low light–you can activate them very quickly by choosing 1 or 2 on the dial. You can also save additional versions on memory cards if you are very precise in selecting a memory card for a specific shoot.
Overall the button layout isn’t the best I’ve used on a MILC but once you’ve customised every aspect of it, it becomes almost perfect. As for the menu system, I can say the same thing. It isn’t my favorite and I sometimes need to scroll through two or three times to find a setting I want to change, but as with every camera menu, it is just a matter of routine.
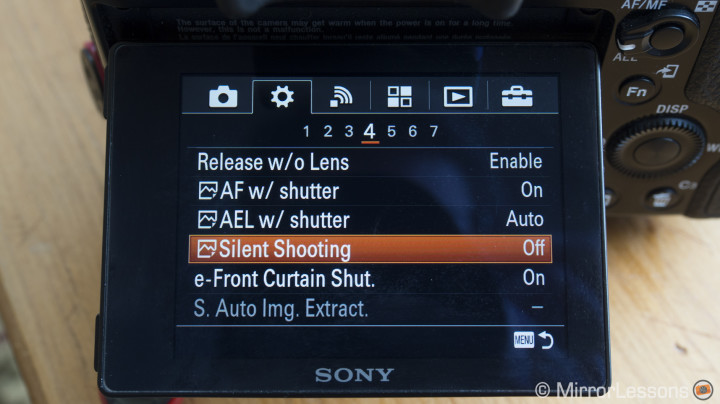
One thing missing and that many users complained about it is the possibility to assign the silent mode to one of the custom buttons. It would be much easier to activate instead of digging in the menu every time and having to remember that it is in the second menu (gearwheel) and fourth page. Let’s hope Sony is listening and will fix this with a firmware update.
The battery can be accessed underneath the main grip and doesn’t interfere with tripod plates, which makes it easy to change batteries when using a tripod without having to unmount the plate first. I am so used to it now that I can easily change the battery without tuning the camera upside down.
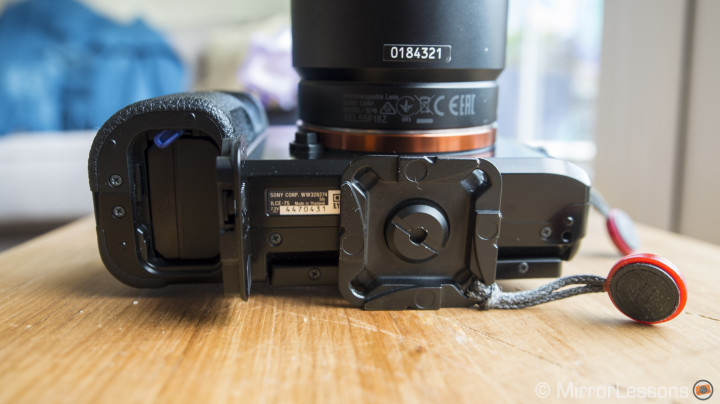
As for LCD and EVF, they are both excellent as well. The LCD has all the resolution you need. It can be tilted but isn’t touch sensitive. The EVF is one of the best. It doesn’t beat the Fuji X-T1 EVF but it is big enough with an excellent resolution (2,359k dots) and 0,71x magnification. It doesn’t have the best frame rate in comparison to the best EVFs on the market. This is the only “weak” spot I found.
Autofocus and performance
One big improvement that I saw on the A7s in comparison to its twin sisters is the speed and accuracy of its autofocus in AF-S. Actually, the A7s autofocus is one of the fastest I’ve tried. It might not beat the one found on the GH4 or the Sony a6000, but it is on par with if not better than any other MILC camera. I use the large or medium flexible spot mainly but the zone and wide areas also work well.
More importantly, the A7s won’t let you down in low-light or dark conditions (even with AF illuminator turned off) which is usually the weak spot of any other autofocus system. It might slow down a little, and it might occasionally miss a spot, but it is more than usable in dark conditions. This is a very important aspect, as it makes the whole “low light capable” feature of the camera even more significant. It also shows that contrast detection AF with “only” 25 AF points can still work really well, as Panasonic has shown with the GH4 as well.
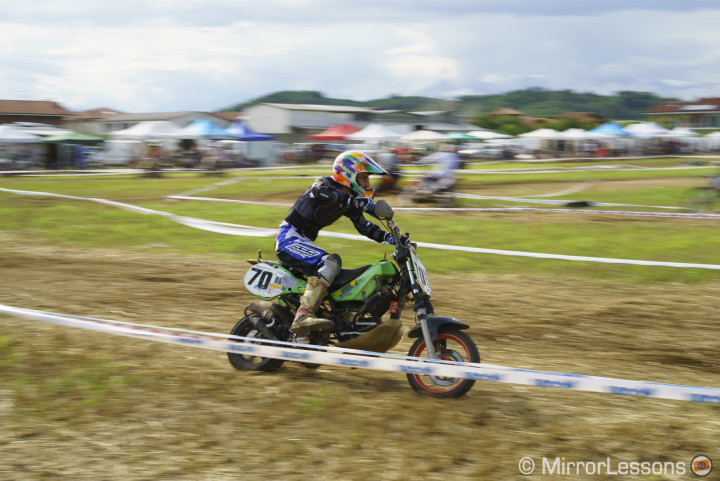
Where the camera struggles is with its continuous focus capabilities. The burst mode is 5fps in AF-S. It isn’t the fastest speed you can find today but it can work for different situations. In AF-C and tracking, the speed decreases to 2.5 fps, which is slow. Second, the tracking isn’t completely reliable. In a way it is a shame because this camera has lots of characteristics that could make it very useful for indoor sports photography thanks to its high ISO performance, as well as theatre and dance shows thanks to its completely silent mode.
The tracking mode isn’t the smartest to activate. First it is called Center Lock On AF instead of “tracking af”. You have to activate the menu, then select on, then point the AF in the direction of the subject, then activate it. Once the camera looses tracking, you have to repeat all these steps again.
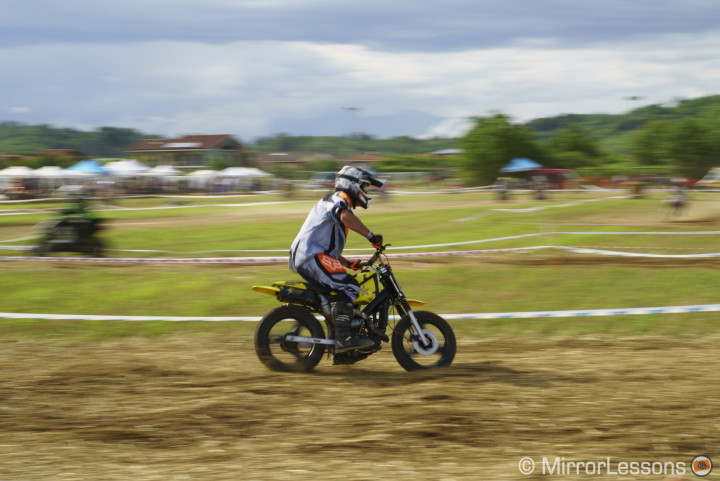
The A7s doesn’t have built-in stabilisation but relies instead on Sony’s optical stabilisation called “Steadyshot”. Not all the native lenses have optical stabilisation and it is likely that only the zoom lenses will have it like the current 28-70mm f/3.5-5.6, 24-70mm f/4 or 70-200mm f/4. Now, I’ve found that the camera still suffers a little bit from the same shutter shock issues that the Sony a7 and A7r have. This is why it is important to use a safe shutter speed of 1/100s. I’ve obtained good results at 1/50s but I need to be very steady. From 1/100s, it is more unlikely but it isn’t 100% shock free. Activating the electronic front curtain certainly helps.
Then there is another great characteristic of this camera and that is its silent mode. The A7s has an electronic shutter option and this means it can take photos without emitting any sound. Unlike other cameras that offer similar capabilities, the ISO range isn’t affected so you can still choose between 100 and 409600 ISO. Only the extended low ISO can’t be used.
https://instagram.com/p/sxyS3ZwePM/
The benefits of an electronic shutter are many: you can be totally discreet when doing street photography in a calm environment, or take photos in burst mode during a contemporary dance show without the need to worry about the audience around you. But there are some limitations you need to be aware of: first, in artificial light like LED lights or fluorescent light, it can produce some unwanted banding on the image. Second, an electronic shutter can produce an unwanted “rolling shutter” effect with fast moving subjects, meaning that the vertical lines become diagonal. So I advise you strongly to take some shot tests before taking it out on a sports shoot.
The battery life is a weak spot. I always have four batteries with me, two originals that I got with the camera and two third party Patona batteries. You can easily end up using three in one day. For an entire day of video shooting you might need more. Thankfully, Sony provided a proper charger with the camera and two batteries instead of one. Finally!
Chapter III: light and dark at 25 frames (or more) per seconds
The Sony A7s is a camera that has also been designed for professional video and that is another main difference between it and the other two Alpha cameras.
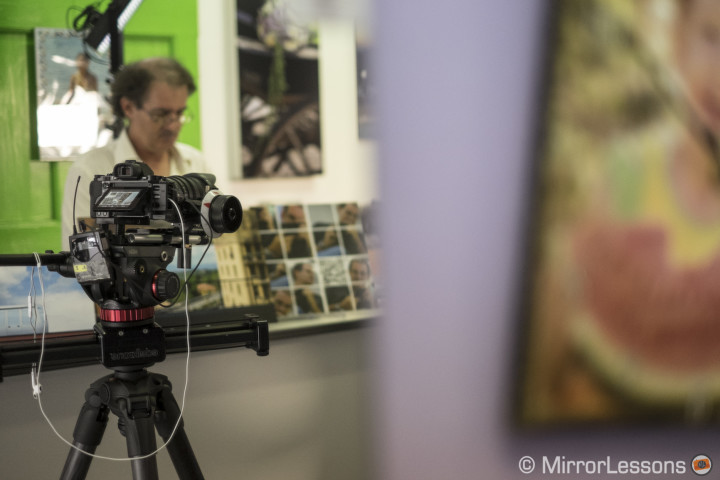
The A7s features a better video codec, the XAVC-S that can record footage with a 50mbps bit rate, which is almost twice what the traditional AVCHD can do. The camera can record in Full HD up to 60fps. It also features slow motion capabilities at 120fps but in HD Ready only (720p). Plus, there are lots of broadcast options included such as timecode, full manual audio control, zebra, marker settings and picture profiles with professional colour gamma.
Note that depending on the country where you buy the camera, you might get a model that is NTSC/PAL or NTSC only.
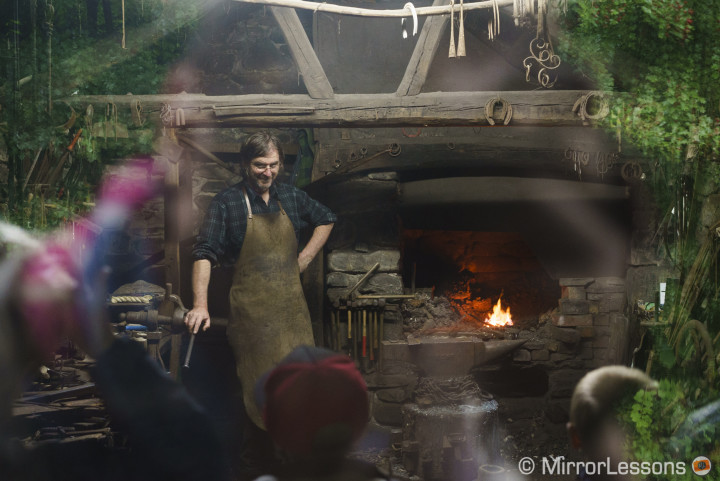
I used the Sony A7s to shoot the pilot episode of our new project, The Printing Series. It was the perfect opportunity to test the low light capabilities of the camera since we had to shoot in a dark room.
For the shoot, I set the camera to XAVC-S at 25fps and chose the flattest picture profile. The A7s incorporates the S-Log2 gamma and S-Gamut colour mode, which can also be found on Sony Cinealta camcorders like the F5 and F55. This mode works really well if you want to leave all colour and contrast adjustments for post-production. The image is very flat, with no contrast whatsoever. But more importantly, it is the profile that takes the most advantage of the sensor capabilities and offers an amazing dynamic range to work with.
You can see an example below taken during the interview: see how the highlights are controlled on the character’s white shirt, which is close to the main LED light source. You can see that on the colour graded version those highlights have been preserved almost entirely. And this is coming from XAVC-S footage, which is still a compressed codec with 4:2:0 color space. I’d never seen a Cine Gamma profile that powerful on a camera like this and with a compressed video codec like this one before.
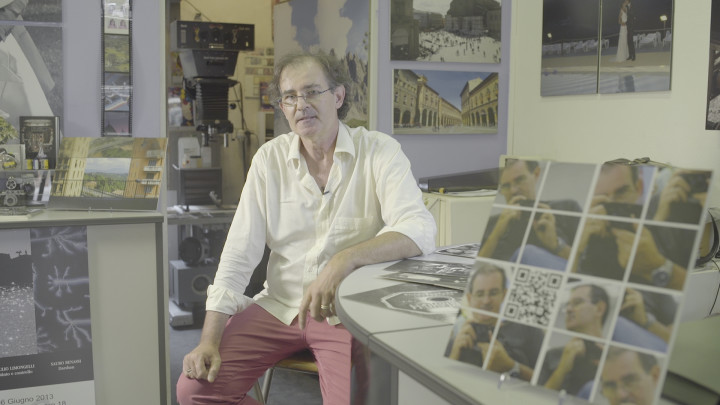
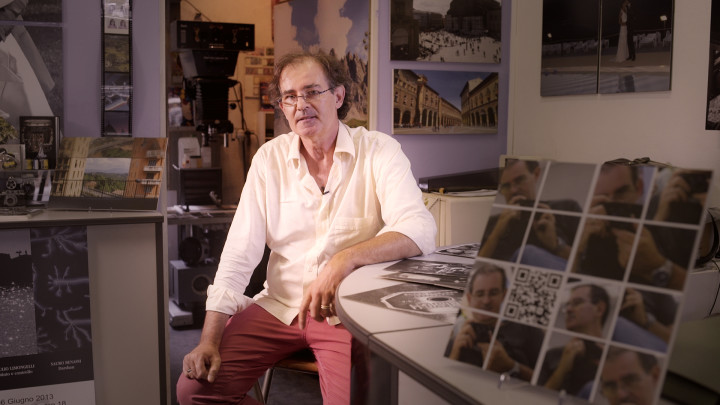
N.B.: if you are wondering what 4:2:0 means, you can find a comprehensive explanation here. As for video codecs, you might find this article useful as well.
One of the disadvantages of this particular profile has already been explained before and that is the fact that the ISO is limited to a minimum of 3200, which is the native ISO of the camera. In my case it worked fine because I was indoors but for outdoor shooting prepare to use heavy ND filters. Of course there are other valid options you can choose instead like four different Cine gammas. The look isn’t as flat as the S-log2 but will still give you some room for a nice colour grade.
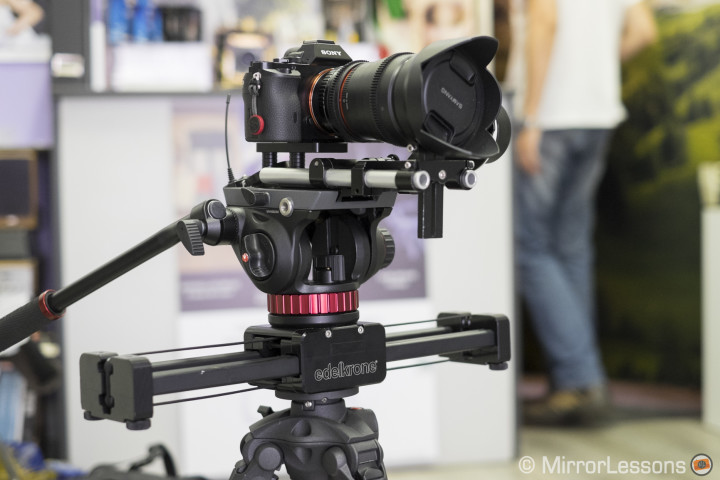
I recorded the audio internally and I am quite pleased with the results, considering that this kind of camera usually has very small preamps. Part of these good results is owing to my friend and sound engineer Marco, who lent me his VT500 Lavallier capsule for the interview with a Sennheiser EW100 transmitter and EW500 receiver. The camera allows you to adjust the audio recording level with 31 levels and and audio monitoring options, which are precise. For a broadcast production with a proper sound engineer, you will probably record on an external device that features more professional connectors than a 2.5mm jack. But I am glad to see that the camera works well and it doesn’t seem to have an automatic limiter as strong as the Panasonic GH4 for example.
The only thing to pay attention to if you use Adobe Premiere Pro for your editing is to change the audio channel from stereo to mono before putting the footage on the timeline. Premiere reads the source as stereo, but it is actually a mono source since I used only one Lavallier microphone. Then when you import the footage into the timeline, you have to delete one of the two mono channels. If you don’t do this, your audio will be in phase shift and the volume will be much lower and the voice quality will also be affected.
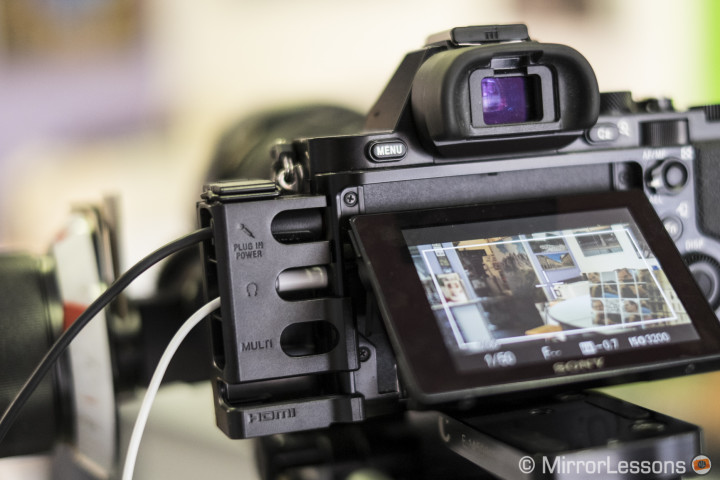
A nice accessory that is provided with the A7s is a cable protector that can be attached to the two connector covers on the left side of the camera (where the multipart terminal, hdmi, mic and headphone ports are). It works really well and prevents you from accidentally detaching one of these connections that, being small, are also more fragile in comparison to professional camcorders.
As for stills, the low-light capabilities of the camera are excellent. All the shots inside the darkroom were taken at ISO 25600, 30000 and 40000 and the noise is minimal. However, the adjustments you can do in post-production are more limited with high ISO levels since XAVC-S remains a compressed video codec.
Editing the video also reminded me that earlier this year I shot an entire video with the Sony A7 in another low-light situation. You can read about my experience using the A7 in low light conditions here. At the time I found the A7 to be a very good and capable camera in low-light. The A7s is even better.
Honestly I haven’t tried all the video features of this camera. The autofocus in AF-C mode seems much slower to react than when taking stills and will tend to move slightly back and forth even if nothing is going on on the scene. Another feature worth mentioning is the HDMI output signal that provides a 4:2:2 4k source. The A7s cannot record 4k footage internally but can output a clean and less compressed 4k signal thought the mini HDMI port that can be recorded onto an external device. Unfortunately there aren’t any portable devices on the market yet than can record a 4k source but the Atomos Shogun, announced the same day as the Sony A7s, is coming in September.
The camera also has slow motion capabilities at 120fps but it is not available in full HD (1280×720 only) and works in APS-C crop. The camera will record footage at 120fps and the files are played at 120fps. You will need to conform them to 25 or 24fps to see the slow motion effect. I did a very simple test that you can see below. The results aren’t bad but there is more noise with the APS-C crop mode than when the camera uses the whole sensor surface.
Features and other functionalities
Among the features of this camera worth mentioning, there are of course the manual focus assist options. We have the classic focus magnify function that enlarges the image in the live view. It is the most precise tool to check focus when using manual focus lenses. There is also the peaking function, with a selection of three colours: white, yellow and red. There are also three levels of intensity. The peaking works fine but it won’t be 100% precise when using a very fast aperture like f/2 or f/1.4.
Other features include a panorama mode, an HDR mode that can either work with AE bracketing up to 5 images with 3Ev or produce a JPG result (Auto HDR).
The camera lacks multiple exposure and more important, interval shooting capabilities. You have to download a time-lapse app from Sony’s Playmemories store that costs $8. Knowing the price of this camera, I feel that Sony could have included the apps with the camera. But we get a proper battery charger, so I guess we can’t ask for too much, can we?
There are other free apps and many will work in conjunction with your smarphone or tablet, taking advantage of the Wifi/NFC capabilities of the A7s. The basic Playmemory app can only be used to transfer images from the camera to the smart device. You will have to download a specific app to control the camera remotely, but fortunately this one is free.
The A7s, the 55mm f/1.8 and third party lenses
All the shots I took with the A7s since I got it were with the FE 55mm f/1.8, which is one of two native autofocus prime lenses for the system available at the time of writing. It is also the best autofocus lens I have ever used within that focal length. I find the A7s/55mm combo a real joy to use. It is true that I sometimes missed having a shorter focal length but I decided not to invest in other lenses before Photokina. Zeiss just recently announced the Loxia lenses, which are manual focus lenses designed for the Sony full frame E-mount system. The first two focal lengths aren’t that exciting since they are a duplicate of what we already have (35mm f/2.8 and 55mm f/1.8). But more lenses will come (certainly next year). In the meantime, I am waiting to try the 16-35mm f/4 that should be announced at Photokina–it would be a much more interesting lens for my purposes.
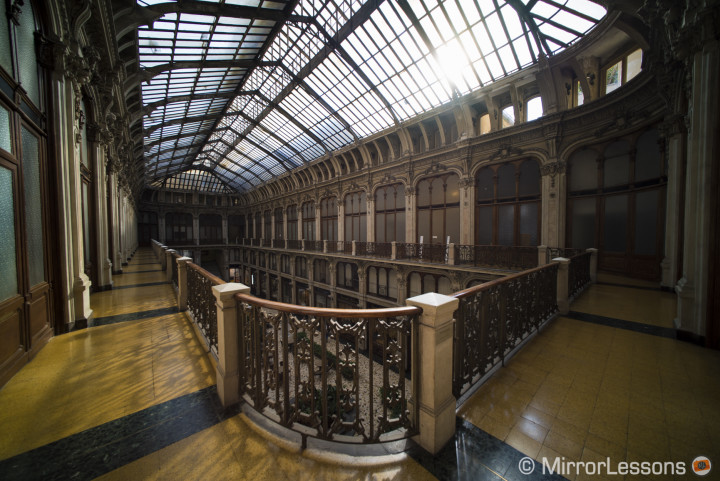
In my first impressions review of the camera, I also tried the A7s with a Voigtlander 12mm f/5.6. The lens worked really well and overall it seems that the A7s works better than the A7 and A7r with third party lenses, especially wide angle lenses. Unfortunately I haven’t had the chance to test this aspect further.
A7s vs. A7/A7r
With three full-frame mirrorless cameras released in six months, it is natural to ask ourselves which one might best suit our needs. As you might have already guessed if you have read as far as this point, the A7s is my favourite out of the three cameras, and this is because it suits my needs well. I prefer a better low-light sensitivity than a myriad of megapixels.
The camera that made me appreciate a full-frame sensor and all the features that go with it (shallow depth of field, dynamic range) was the Nikon D700. It had a 12 megapixel sensor and a native ISO sensitivity of 200 to 6400 ISO. I loved that camera and did a lot with it. I shot many reportages, incentive travels and events, weddings and portraits. I also did an exhibition for the first Italian Cheerleading team in Turin, with pictures printed in 100 x 70 cm and 70 x 50 cm. When the D800 came out I wasn’t interested in all those megapixels. The only camera that I could consider was the D3s, and then the D4 for their high ISO performance, something that could have been very useful for most of my work at the Cinema Museum. But those bodies were too expensive.
Then the mirrorless switch happened with the Olympus E-M5/E-M1 and I never looked back. But when the A7s was announced, I saw it as a potential complement to my gear for professional use.
The truth is that I don’t print a lot and when I print it usually doesn’t go past 20 x 30 or 40 x 50.
What’s more, I actually love the rendering of the A7s sensor: it can be very sharp but there isn’t an abundance of detail, and I really like that look.
Of course, the characteristics of the A7 and A7r might be better suited to other needs. A 36 megapixel sensor can render a beautiful and powerful image, I won’t deny that, and it certainly helps with printing.
There is another interesting characteristic of these new full-frame cameras, and that is the homogeneous appearance of the system. Once there are more lenses available, you can have one body for a purpose and a second body for another purpose with two cameras that look exactly the same.
I guess it is a question of priorities and personal needs. To simplify, I would divide the three cameras into the following categories:
- A7r: for fine art, still life, studio work and landscape photographers who also print frequently on a large scale;
- A7s: for street, natural light portraits, low light and video needs;
- A7: for those who hesitate between the other two
Conclusion
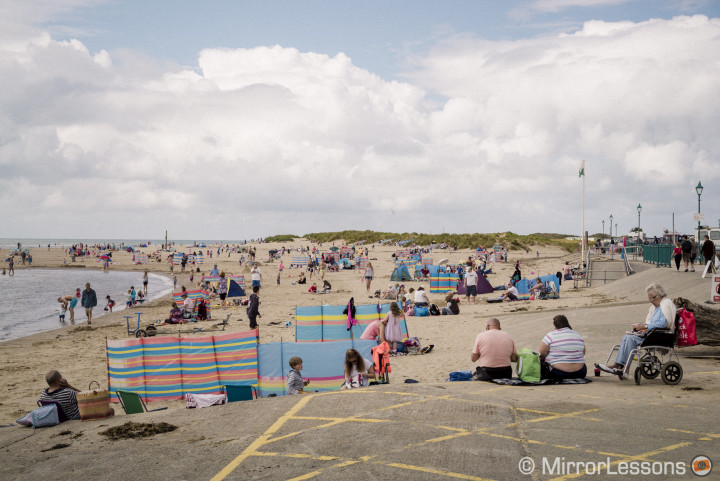
I have been shooting with the Sony A7s for almost two months now, and the truth is I have really been delighted with it. For me it has everything I could ask for in a digital camera: superb image quality (especially regarding colours and dynamic range), superb low-light capabilities, fast and reliable autofocus, excellent ergonomics, a silent mode and flexible raw files that won’t fill your hard drive quickly.
There are many cameras today that claim to be the ultimate “carry-around camera” because of their size, design and features.
But shouldn’t the camera you bring with you everywhere also be a camera you can trust and use in every situation, even the most unpredictable? Well, the Sony A7s may well be the best option you can possibly find today if you are looking for complete reliability.
 What I like about the Sony A7s
- superb low-light performance
- superb colours and dynamic range
- superb video quality
- fast and reliable autofocus even in near complete darkness
- great ergonomics
- complete silent mode
- mount a compact prime lens to it, and you can bring this camera everywhere with you
 What I don’t like about the Sony A7s
- the burst mode is limited to 2.5fps in AF-C, which is a shame as the camera could be a great indoor sports photography because of its ISO performance
- still a limited choice of native lenses, but let’s see what happens at Photokina
- silent mode cannot be assigned to a function button
- weak battery life
- you have to pay for extra features like built-in timelapse
