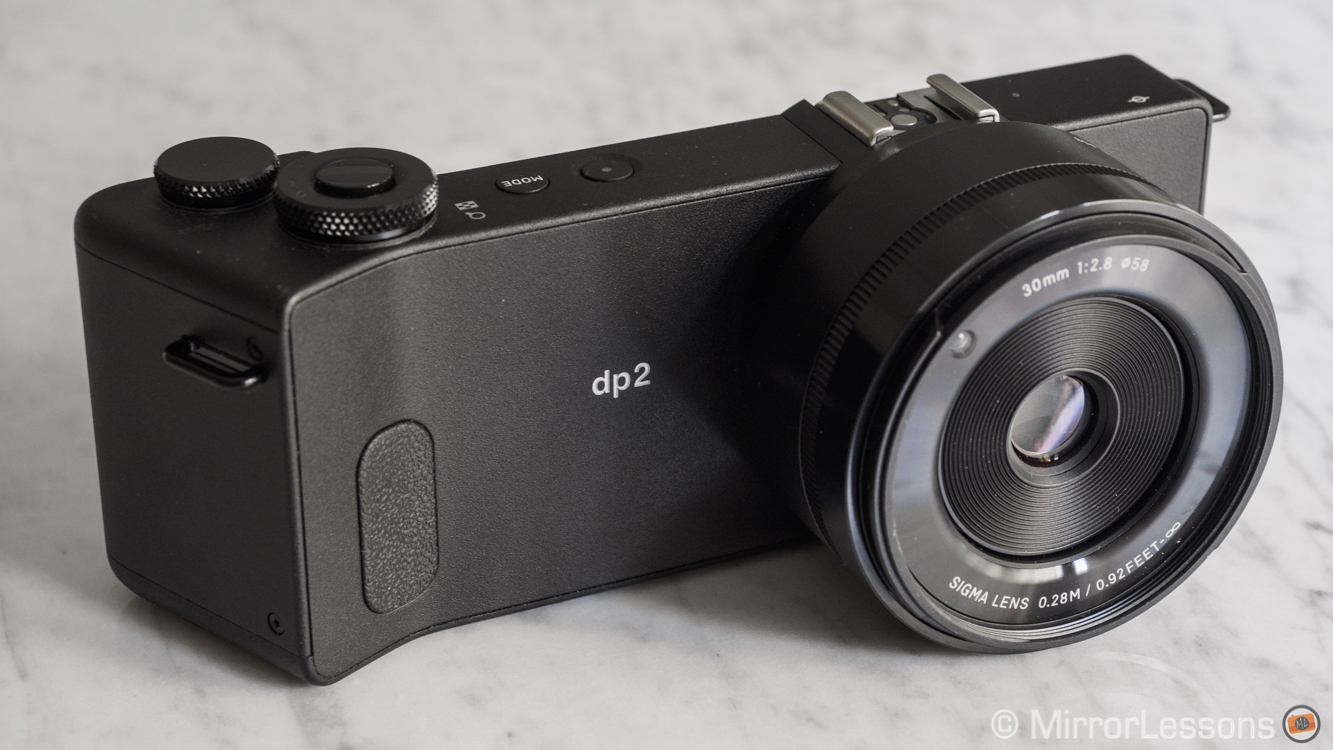
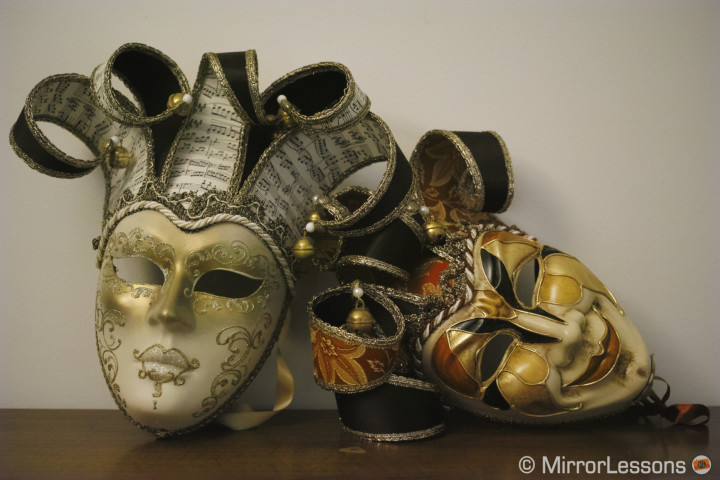
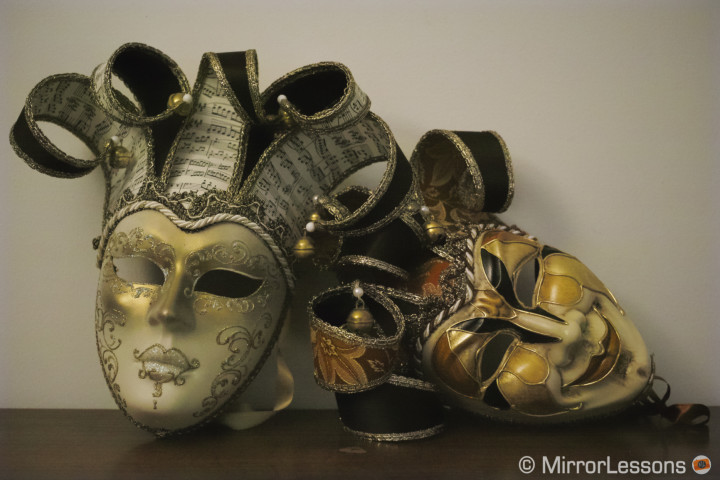
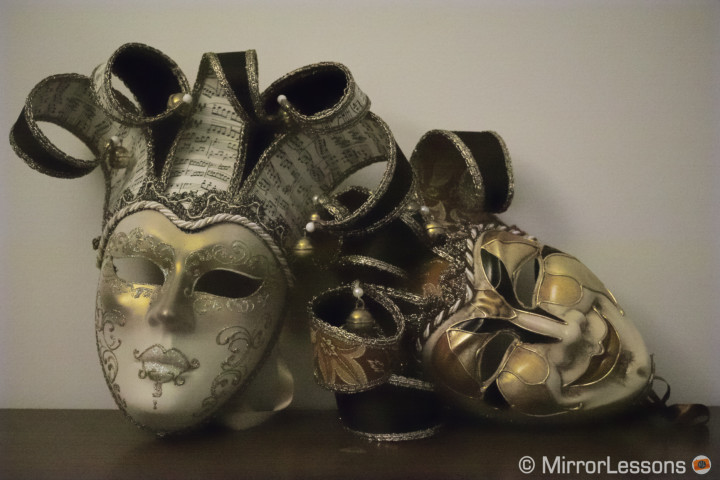
The term image quality is generally used to refer to the technical aspects of a photograph generated by a camera. It defines how good an image is from a purely technical point of view: sharpness, colour accuracy, details, noise, dynamic range and so on.
However there is also another side to image quality that is less technical and more related to what the photographer does with the camera. It is more subjective (but not any less important).
With the latest generation of MILCs, regardless of whether they have a Micro Four Thirds, APS-C or Full-Frame sensor, I increasingly feel that that the differences between them really aren’t that big from a less technical standpoint. Especially when I look back at the reviews I’ve written and the number of images I’ve taken, I can’t help but think that I could easily compile an album of my work from these photos and stylistically, they would all look good together. Yes, the technical differences are there, can be noticed and will certainly matter to many of you, but today more than ever I think that the real difference a mirrorless camera can make to a photographer’s workflow has to be found elsewhere: the ergonomics, the ease of use, the general performance and most importantly, the system into which the camera fits.
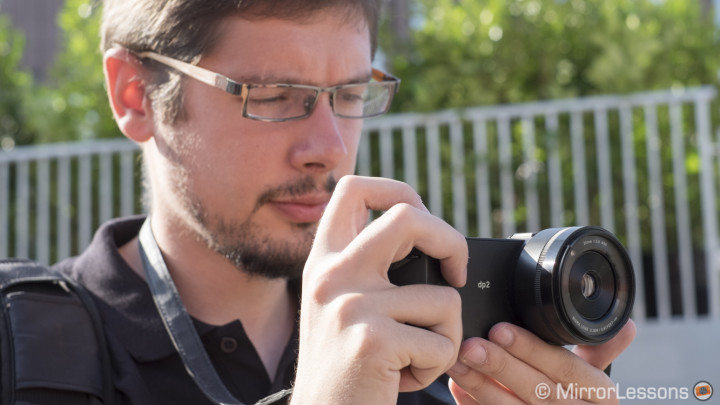
And then came along the Sigma DP2 Quattro and somehow I find myself having to reverse that final sentence. When it comes to the latest Sigma Foveon camera, image quality is what matters the most. Actually it is the only thing that matters and the only reason you’d want to buy this camera.
So, what is it about the image quality of the Sigma DP2 Quattro that makes such a difference?
Sigma DP2 Quattro Main Specs
- Sensor: 29 megapixel APS-C Foveon X3 (CMOS)
- Lens system: fixed 30mm f/2.8 (approx. 45mm equivalent on 35mm format)
- Weatherproof: No
- Internal Stabilisation: None
- Autofocus: Contrast detection AF with 9 autofocus points
- Continuous shooting: 3.5 fps, 4,5 fps with lower resolution
- ISO Sensitivity: 100 – 6400 ISO
- Shutter Speeds: 1/2000 to 30 seconds
- Viewfinder: none
- LCD Screen: 3″ LCD monitor (920k dots)
- Movie recording: none
- Built-in Flash: None
- Extra Features: Interval-time shooting
- Dimensions: 161.4 x 67 x 81.6 mm
- Weight: 395g (without battery and memory card)
[toc heading_levels=”3″]
Image Quality, part I: Introduction to Foveon technology
With image quality being the only reason you’d want to buy a camera like this, this review simply couldn’t start with a different chapter. But what is so great about the Sigma DP2 Quattro? Well, simply put, it produces a richness in detail and colours that I haven’t seen on any other mirrorless camera currently on the market (except the other Sigma Foveon cameras). The comparison could be extended to other systems as well but I won’t go outside our league.
The reason behind these stunning results are related to Sigma’s unique sensor technology called Foveon. Traditional CMOS sensors have a single horizontal layer of pixels (the single points that will compose your photograph). Each pixel is sensitive to one of three RGB colours (blue, red or green). In order to get a natural colour rendition, an interpolative process (or demosaicing process) is required to reconstruct the final coloured image. The Foveon sensor has three layers of pixels and each layer captures all the information of either blue, red or green. So the Foveon sensor captures colour information vertically in contrast to Bayer filter sensors. This means that at every point on the image, the camera captures the entire spectrum of RGB colours. What’s more, because of this the Foveon X3 sensor doesn’t need a demosaicing process but simply combines the signal from all three layers in order to create the final image.

The DP2 Quattro features a new generation of Foveon X3 sensor. When reading the original press release in February, Sigma stated that this new sensor has an effective resolution of 39 megapixel. Then if you go over the official specs on Sigma’s website, it says that the effective pixel count is 29mp with a total pixel count of 33mp. In other words, resolution can be confusing when it comes to Foveon sensors because of the way it is calculated but also the way it is often misinterpreted.
Let’s start with the facts: in the case of the Quattro, when you shoot RAW, the highest (also called High) resolution you can record is 5424 x 3616 which corresponds to an average of 20 megapixels. These 20MP are the resolution corresponding to the first (so top) of the three layers of pixels that in this case capture luminance and blue colour. The second and third layers (red and green channels) have a resolution of 4.9MP each and are only used to interpret colour information. So, if we summarise the megapixel count of the three layers we get approximately 29MP, which is the same as the effective pixel resolution stated in the official tech specs of the camera. The word “effective” doesn’t stand for the effective resolution of your RAW image but the effective pixels used on the sensor to create the final image.
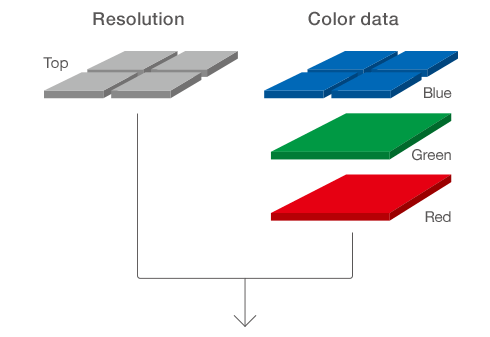
When shooting, as stated above you can shoot RAW at 20mp but also JPGs only at 39 megapixels, a resolution that Sigma calls S-Hi. This resolution links back to the press release statement. But what are these 39MP really? Well, they are an upscaling process created by the camera to deliver double the default resolution, something that we can also call interpolation. So, while with traditional sensors interpolation is a necessity to combine the different colours and create the image, with the Foveon sensor it is an extra option to double the resolution output of the sensor.
Before proceeding further, I want to state that the Quattro is the first Foveon camera I’ve ever tested. Therefore I won’t compare it to the previous generation Merrill. Talking with other photographers who have used both cameras, it seems that the Quattro has some advantages concerning detail and ISO capabilities but loses something for monochrome photography and noise reduction.
Image quality, part II: details, colour rendering and dynamic range
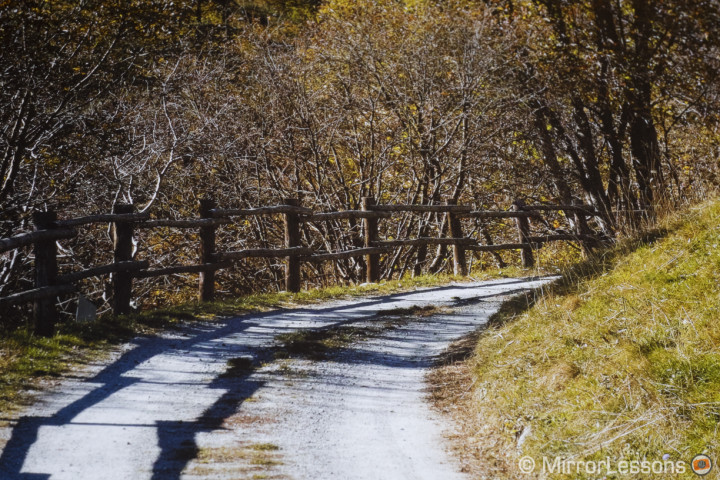
Now that I’ve explained in the simplest way (I hope!) the unique characteristics of the Foveon sensor, let’s analyse what the results are in a real world situation. Let’s start with a few examples below where I also included 100% crops to show you what the level of detail and sharpness we are talking about is. For once, pixel peeping can certainly be a pleasant thing to do when it comes to this kind of files.
N.B.: unless otherwise stated, all the shots are from RAW files.
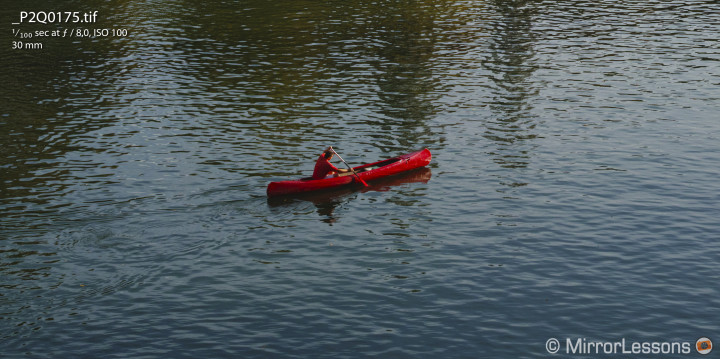
As you can see, the amount of detail the Quattro can reproduce is absolutely stunning with both RAW files and JPGs.
Sharpness is also amazing due to the fact that the sensor doesn’t incorporate an AA filter. I haven’t found a single trace of moire so the processor does a very good job of controlling this. The S-Hi size available in JPG only doubles the resolution and can be used if you intend to print on a very large scale. You can select it on camera (but won’t record RAW) or do it in post-production from the RAW files using the Sigma Photo Pro software. Being an upscaling process, I did notice that details are less crisp than the default resolution of 20MP when compared on the same screen.
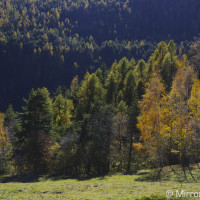
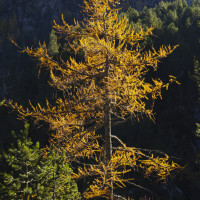
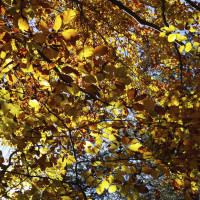
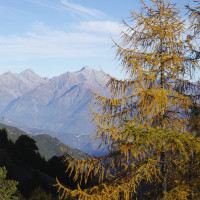
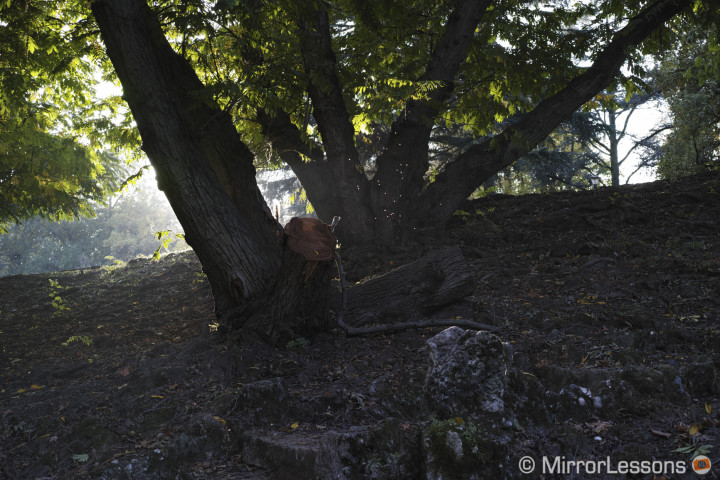
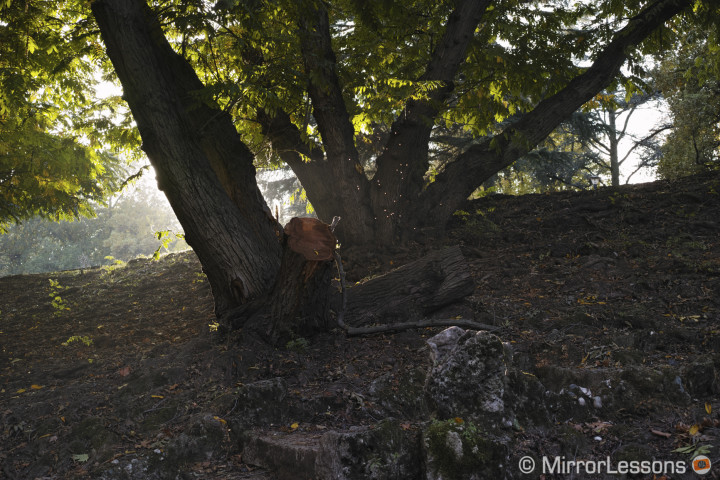
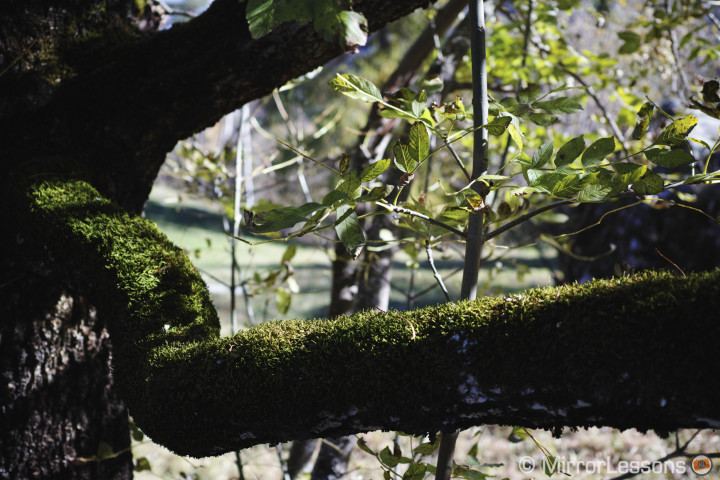
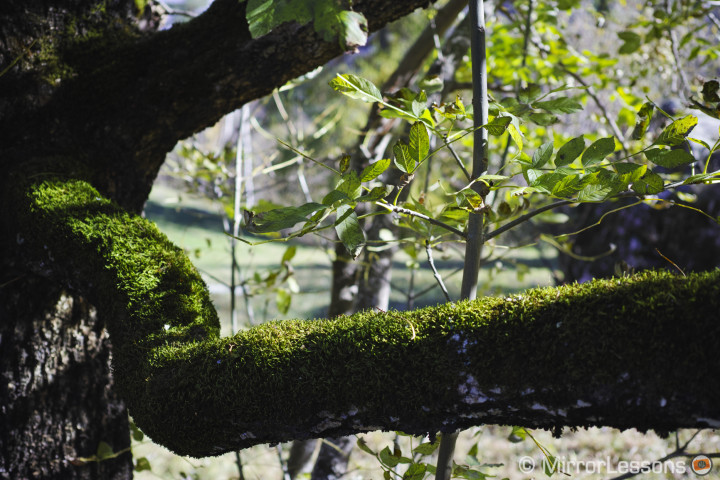
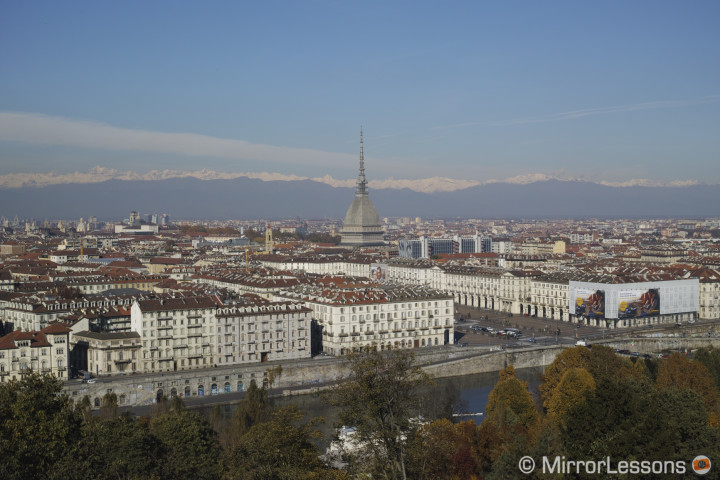
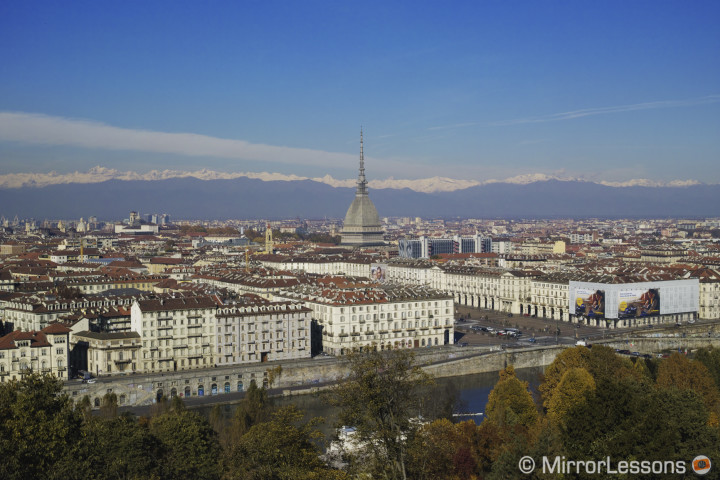
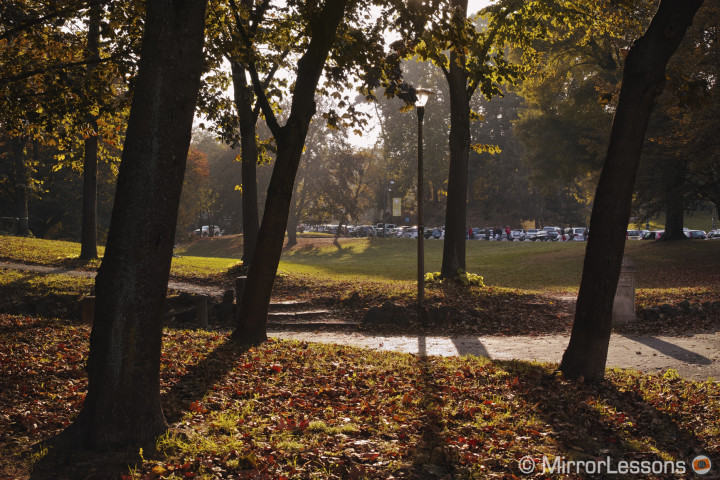
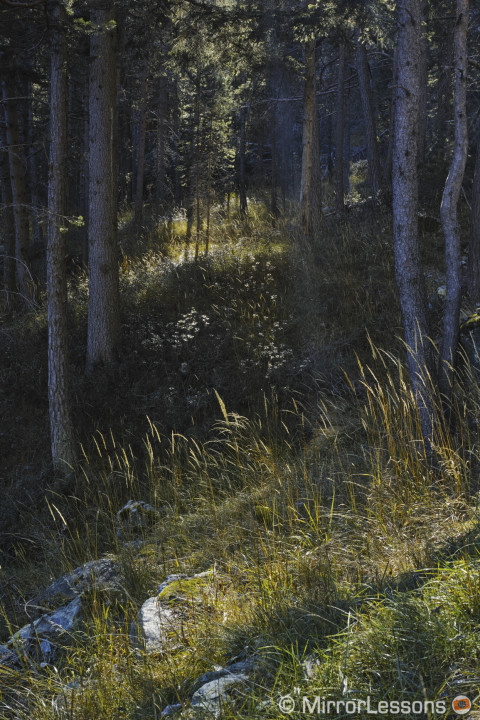
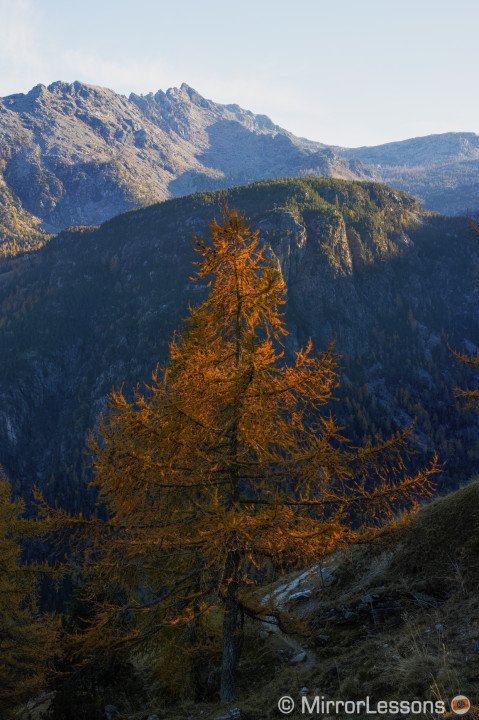
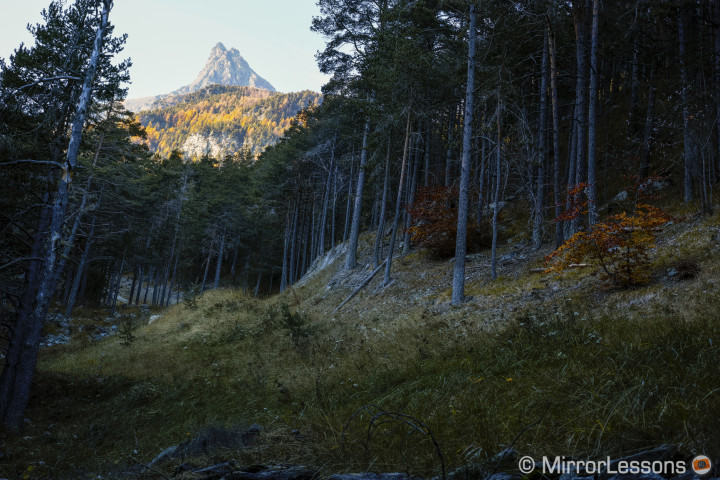
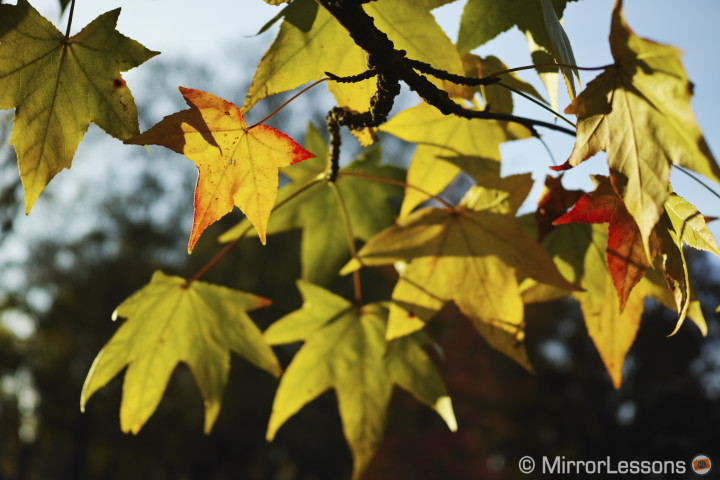
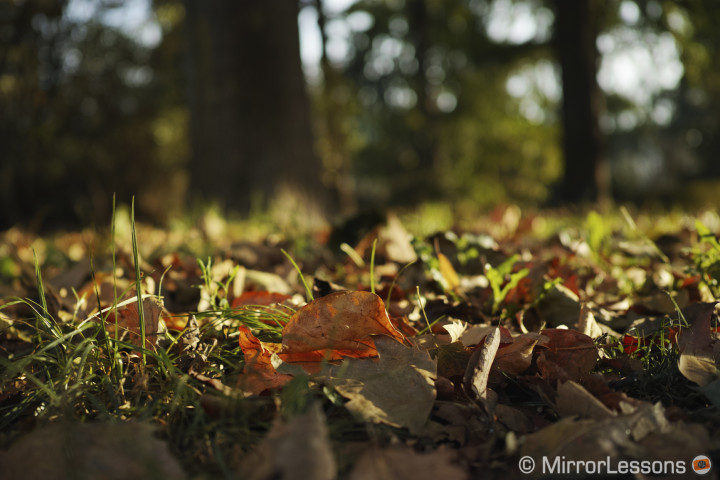
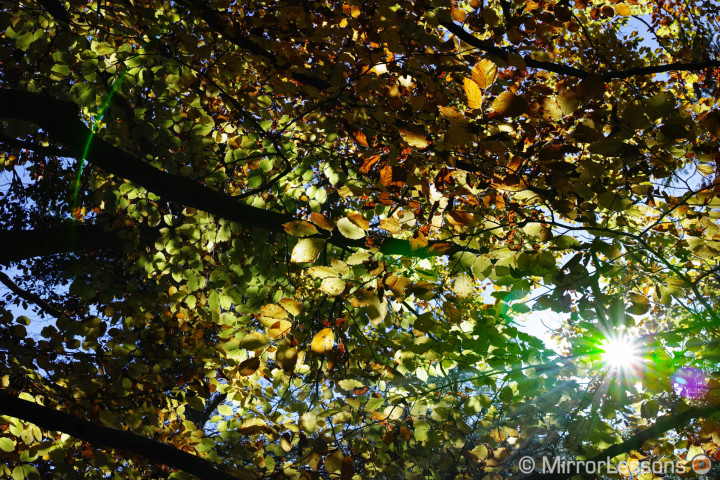
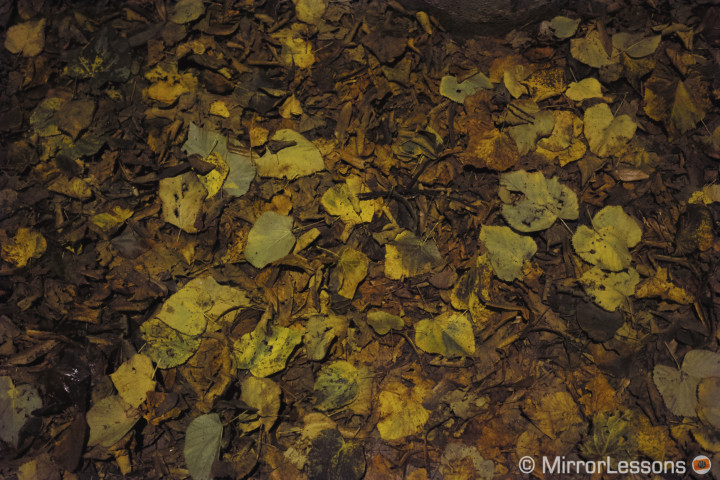
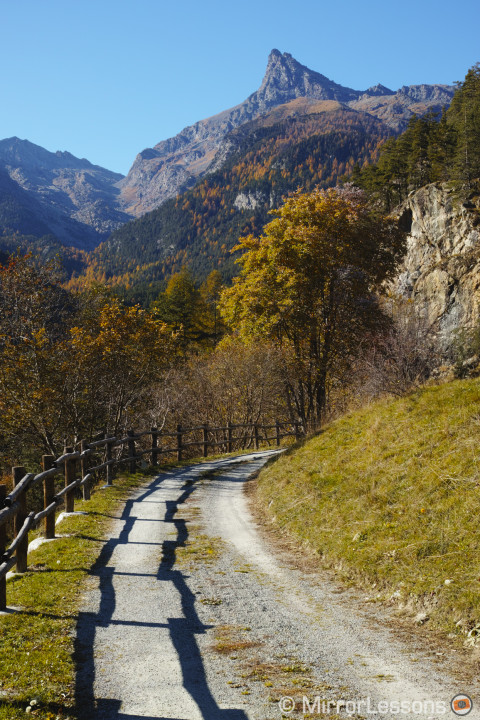
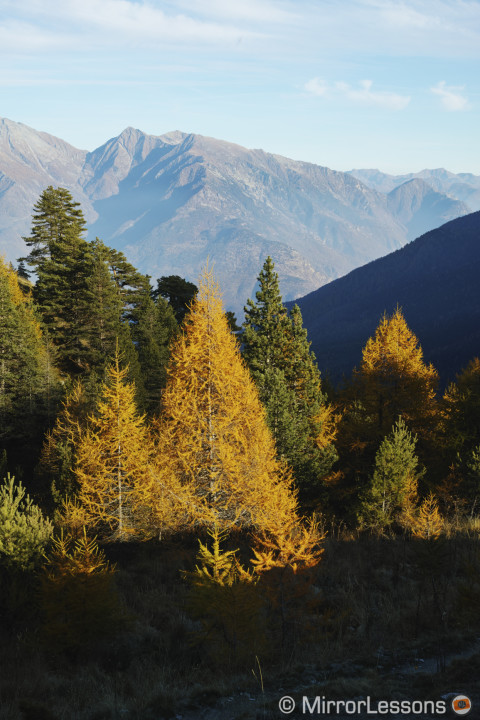
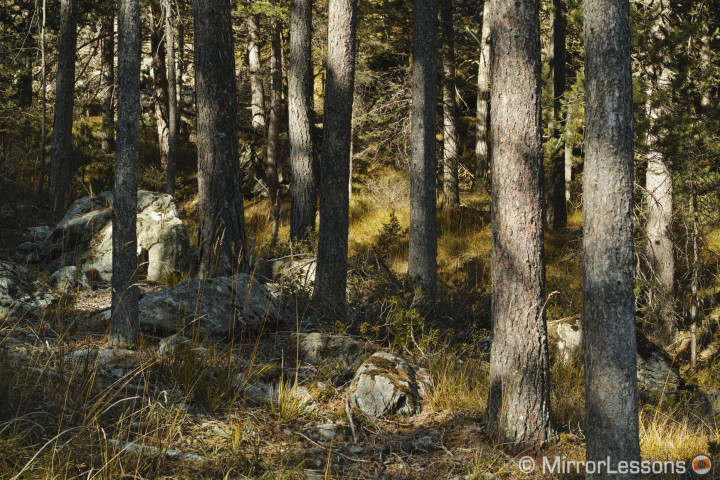
What actually surprised me besides the obvious sharpness and detail was the colour rendering of the DP2 Quattro. Each element is so rich in terms of colour and tonal gradation. With Auto White Balance the camera tends to choose a cooler rendering but once the images are warmed a little bit in post, the colours and overall richness of the image are really wonderful as you can see in the autumn pictures below.
The DP2 Quattro has several picture profiles called Color Mode in the Sigma menu. You get the traditional standard, vivid, landscape, portrait and monochrome profiles but also a cinema profile that gives the image a desaturated look with a green tint dominance. It reminds me some war movie cinematography. You can change the colour dominance by using the color adjustment tool in the PhotoPro software and also bring back a little bit of saturation (too much will make tint dominance to visible).
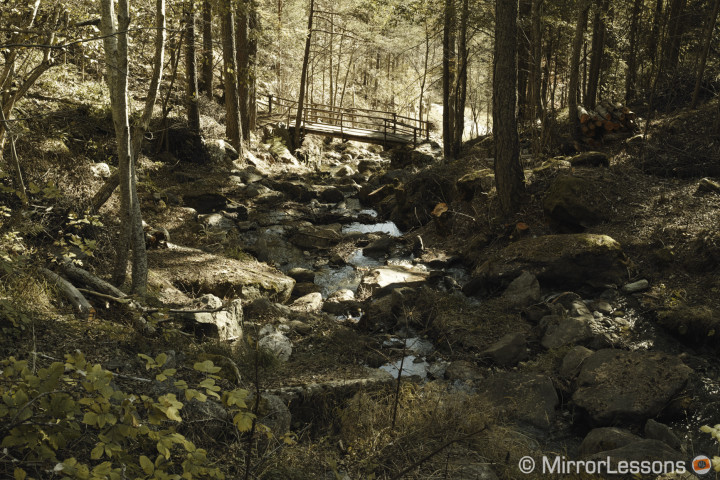
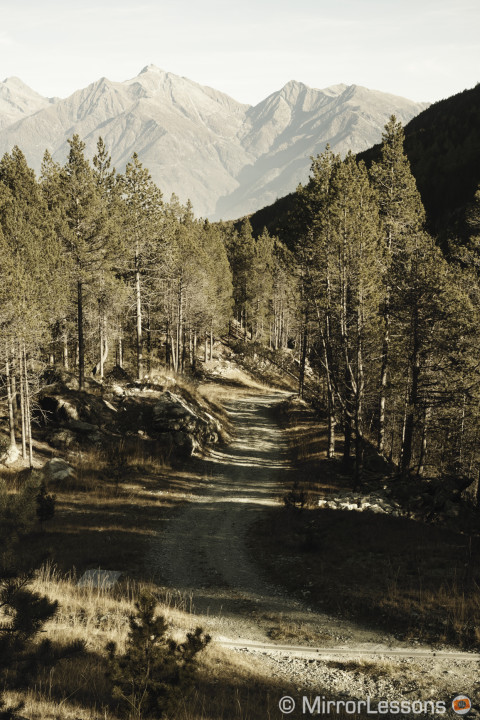
There is also a series of four profiles that have a dominance of one of blue, yellow, green or red. According to the scene, you can enhance the look of the image by choosing one of these colour modes. For example the Red profile can be adequate for a sunset shot while the FOV Classic Blue can make the sky brighter and more saturated. Out of context these colour modes can look like an exaggerated tint applied to the image but with the right type of light they can work really well.
From RAW files (.X3F extension), which have an average size of 50MB and a massive amount of information, you would naturally expect great dynamic range but this is only partially true.
What the Quattro sensor does well is create very well-balanced images with lots of detail in both highlights and shadows when the exposure is correct and when the overall contrast is not too hard. You can also adjust the curve between highlights and shadows during the shoot with the dedicated Tone Control option.
If however you want to post-process your files heavily or want to recover some underexposed areas, the Photo Pro software allows you to recover up to 2 stops in shadows and highlights. The only setting that will help expand the dynamic range is the X3 Fill light setting that will create an HDR-like image if used at its maximum capacity, a look that I personally don’t like.
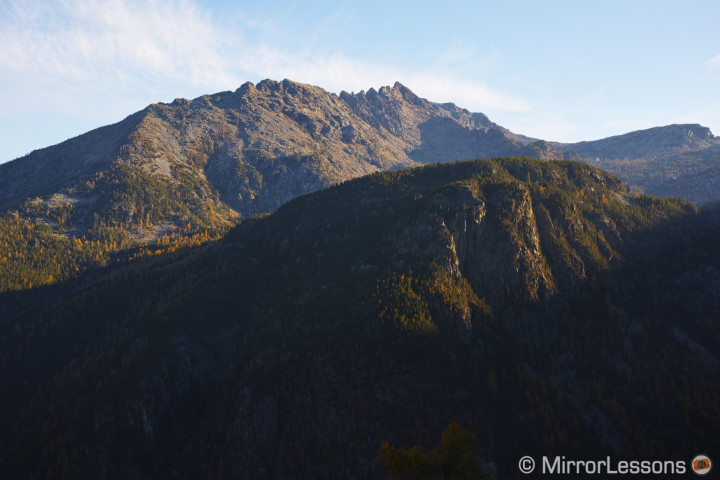
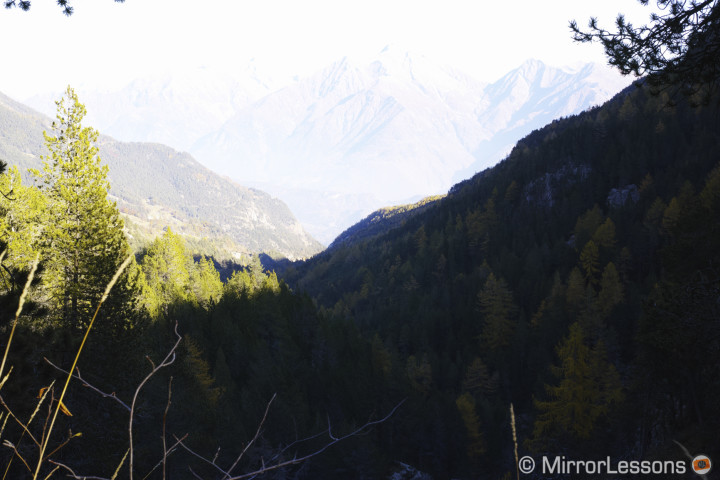
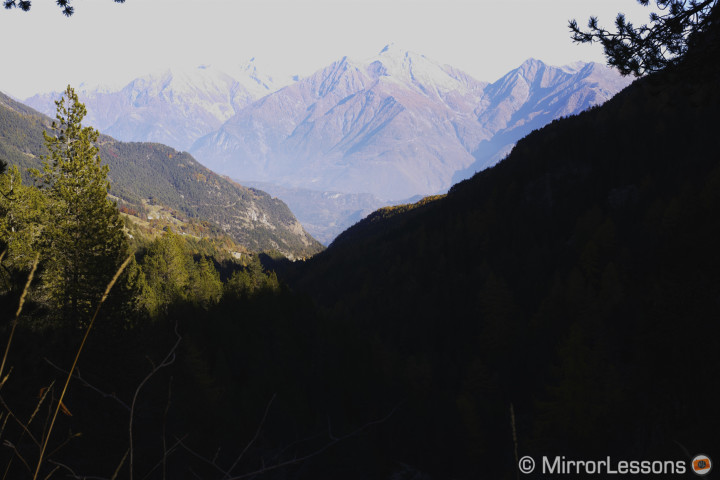
Highlights are also a weak point of the new Foveon sensor. You don’t want to overexpose too much with the Quattro because you won’t recover enough detail. The example below shows it very well: in my original shot, the mountains are overexposed but still visible. With most APS-C cameras I could recover all the details without too much difficulty, while with the Quattro all the sky and part of the mountains remained clipped. So with the Quattro it is recommended that you correctly expose for the brighter area of the image.
The camera also includes an overexposure correction option: the camera will reduce the amount of overexposure areas without changing the camera settings. However this function is applied via software and there isn’t a lot of difference between it and the standard exposure.
The only way to enlarge the latitude of our shot is to use Ev bracketing and combine the exposures into an HDR shot. The function is limited to three shots and you will have to press the shutter button three times because the camera doesn’t take three shots in a row automatically. The Sigma software doesn’t have any HDR option and the X3F files aren’t compatible with software such as Lightroom or Photoshop so you will have to export them as Tiff files at 16bit and merge them using HDR Pro in Photoshop for example.
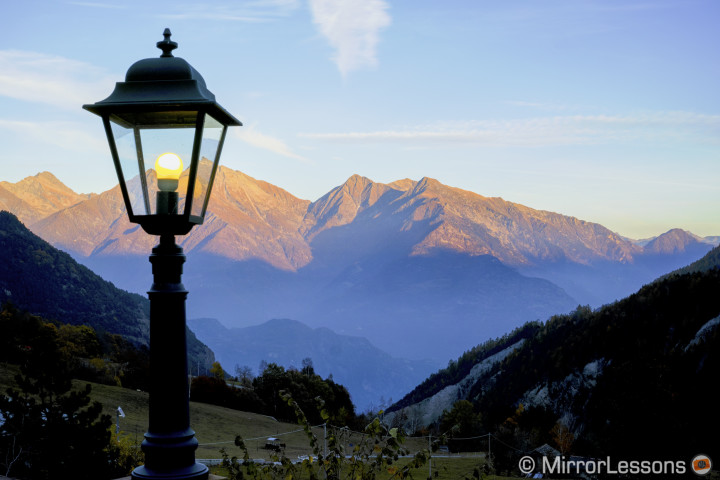
Image Quality, part III: the 30mm lens, monochrome capabilities and low-light performance
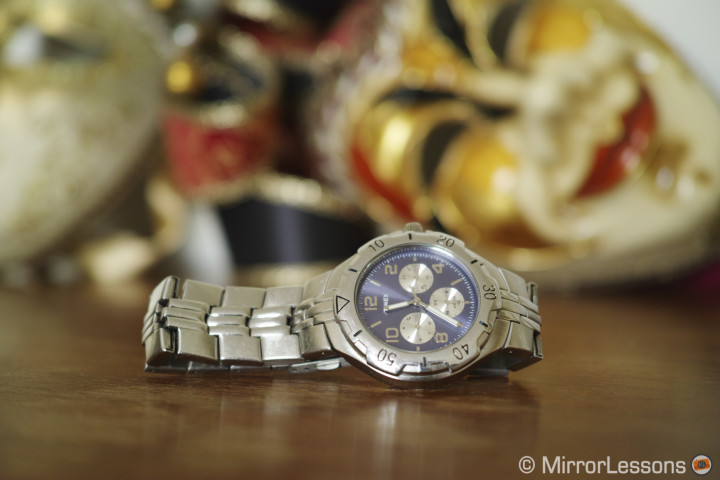
One of the other strengths of the Sigma DP system is the fixed lenses which has been specifically designed for the sensors and is capable of capturing such fine detail and colour. The maximum aperture of 2.8 can give a pleasant bokeh especially if you focus close to your subject. It is certainly not a bokeh dreamer lens but can be enough for most situations.
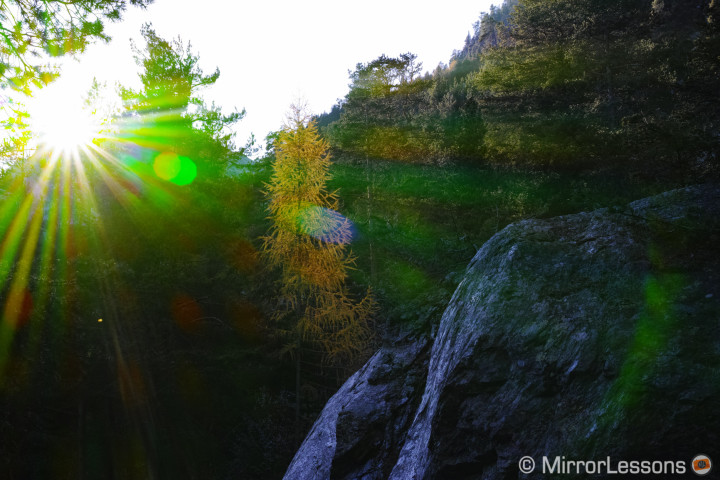
The lens doesn’t have any distortion, vignetting or serious chromatic aberration issues. The Sigma Photo Pro software also has a dedicated tool to correct CA. The 30mm has a minimum focus distance of 28cm so you don’t have macro capabilities but with an object as big as a watch you can still get a nice composition. The only limit is with flares which can be invasive. The camera I was supplied didn’t have a lens hood–if you consider buying this camera, I advise you to buy one as it isn’t supplied with the camera.
The 30mm focal length on APS-C gives an equivalent of 45mm on full frame (or 35mm) format which is close to the standard focal length. I must say that it isn’t the most exciting angle of view for this camera. I would have preferred to work with the DP1 and its 28mm equivalent lens or the DP3 with its 90mm equivalent. Both could suit my landscape work better–with the 45mm I always felt a little bit too close or too far.
Here comes another advantage or disadvantage about the DP system depending on how you look at it. The lenses are not interchangeable so if you want to work with more than one focal length, you will have to buy two DP cameras. The advantage in this might be that given the limited battery power, having two cameras with two supplied batteries each for a total of 4 batteries will give you more power and more versatility overall. Certainly the price to pay for this is high. Personally I would love to see a DP system with interchangeable lenses and perhaps a shorter wide angle like a 21mm equivalent.
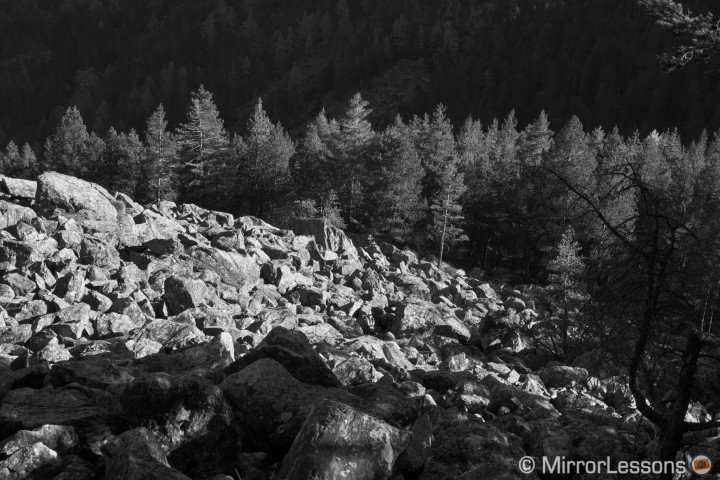
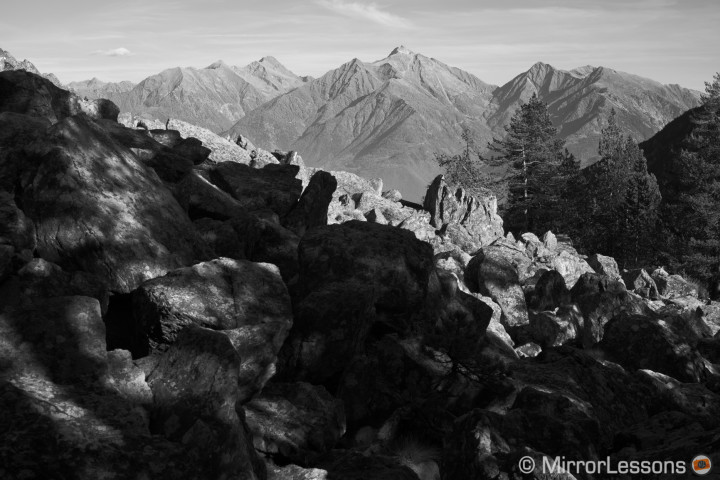
The last great characteristic of the DP2 Quattro concerning image quality is its monochrome capabilities.
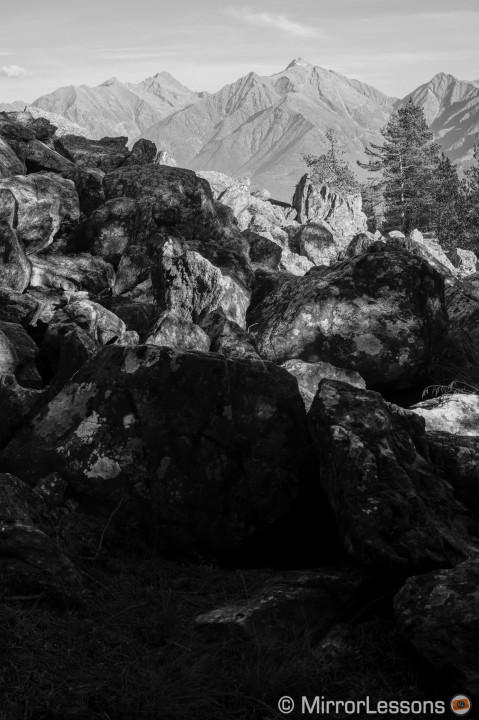
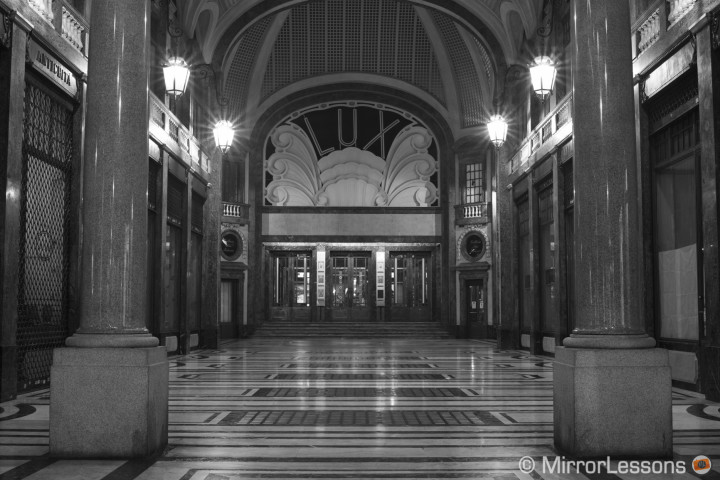
Since the sensor doesn’t need any interpolation process, you can achieve great Black and White results using the Proprietary Sigma PhotoPro software in the monochrome setting. The software will read all the luminance data coming from the three layers of pixels and exclude the chrominance data. The application doesn’t differ too much from the Leica Monochrome which also lacks a Bayer interpolation process. This gives you a unique rendering in terms of tonal transition and dynamic range.
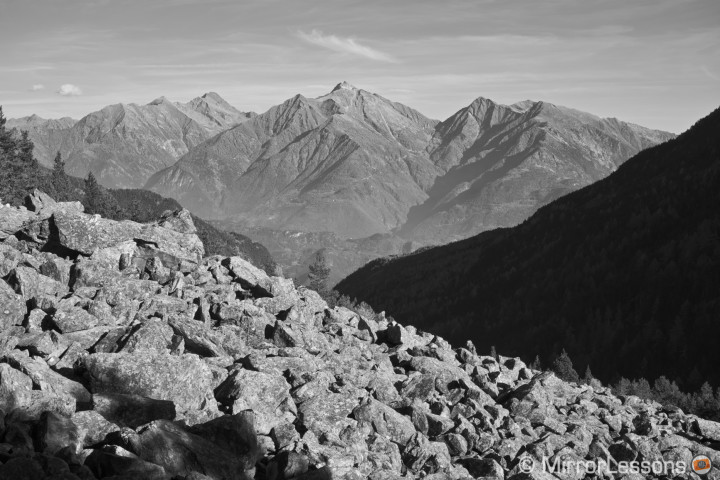
One of the strengths of Sigma’s previous generation of sensor, the Merrill, was that you could obtain great results with black and white also at high ISO up to 1600. However this advantage seems to have disappeared with the Quattro due to the diverse architecture of the sensor. As explained before, the three layers of pixels on the Quattro don’t have the same megapixel count as opposed to the Merrill sensor. In my testing, I managed to achieve good results up to 800 ISO but the sharpness and details aren’t the same. The Sigma software allows you to add a pleasant grain that looks organic and filmic and perhaps gives the image a little bit of a film look.
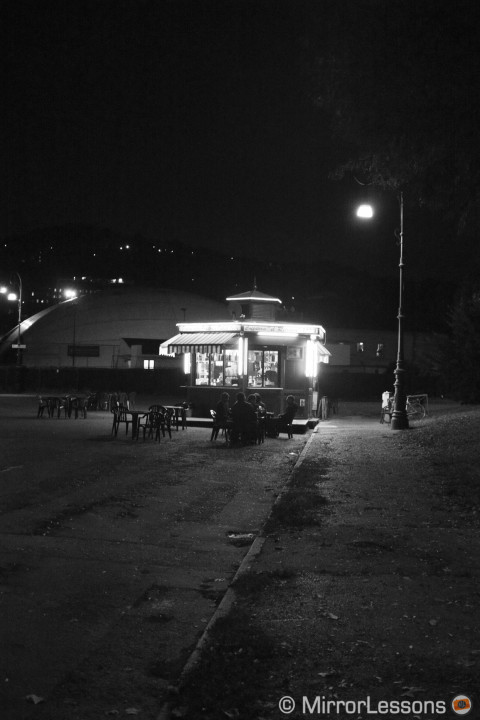
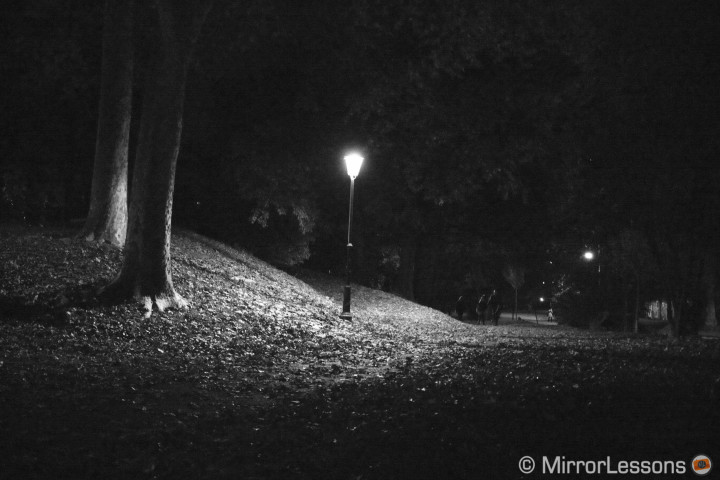
Now we come to the weakest point of the camera and that is high ISO performance. Foveon sensors aren’t famous for their low light capabilities and the previous generation of sensors would give good results up to ISO 400. With the DP2 Quattro, I found good results up to ISO 800 so I guess we can talk about 1 Ev of improvement. Up to that level the camera retains enough sharpness and detail without too much noise. This can also be partially reduced with the ProPhoto software.
Past 800 ISO, the amount of noise, lack of detail and colour tones become very visible. Moreover if you try to post process the X3F file in any way banding becomes a problem and the only way to get rid of it is to apply too much noise reduction, which results in a mushy and soft image. Basically you lose all the greatness of the sensor.
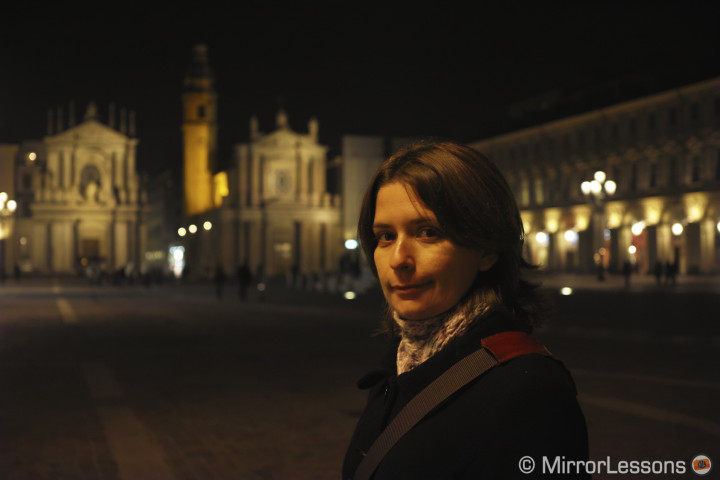
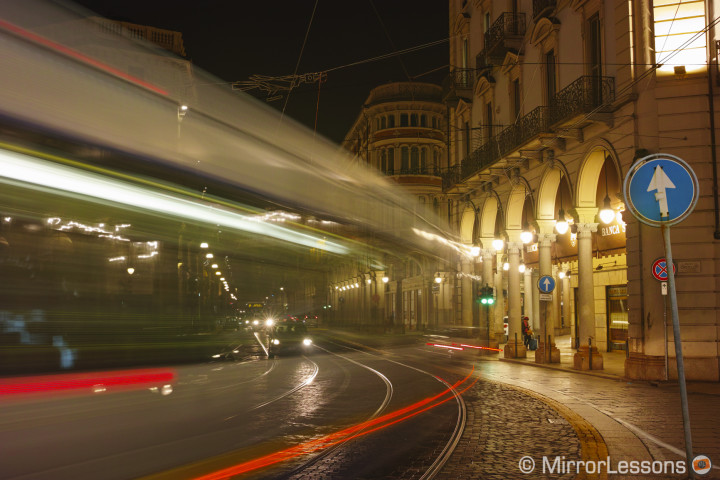
The DP2 Quattro isn’t a high ISO camera but can be a good “low-light” camera as long as you use a tripod and keep your ISO levels down. There you will once again find all the details and richness in colour you appreciate in the daylight, or turn the photos into wonderful black and white images.
Image Quality, part IV: printing
If there is one reason to buy this camera, it is to print your work.
This rule should apply to any camera but it is even more critical with the DP Quattro or any of the other Foveon cameras. The images simply must be finalised in a good print. Not only will keeping the files on your computer or sharing them on social networks not do the Foveon sensor justice, but more importantly you will miss out on the most pleasant part–seeing the results with your eyes on paper.
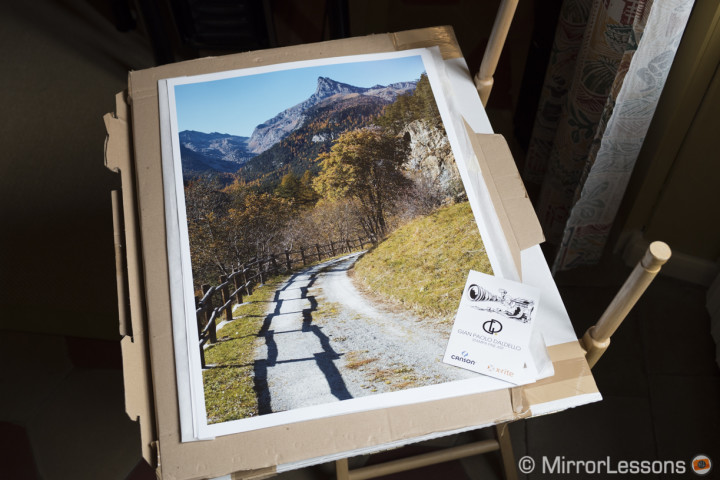
The details and colour rendering are something you can appreciate better with a large print. To see what the Quattro is capable of, I decided to use the service of Italian fine art photographer Gian Paolo Daldello and his GD Fine Art Print lab. Gian Paolo knows the Foveon sensor intimately. He started using this technology on the first Sigma DSLR and has much experience printing Foveon files. He made four A2 prints (two monochrome and two coloured photographs). The results are simply stunning especially when you consider the sharpness, detail and colour.
While talking with him and listening to his experience, Gian Paolo told me that the Quattro’s resolution and detail are indeed impressive but he prefers the colour rendition and monochrome capabilities of the previous Foveon generation sensor, the Merrill. According to him, colours are more accurate and the three-dimensional feel is more present. As I said earlier I have no experience with the Merrill personally and the Quattro already looks great to my eyes. Perhaps the Merrill can still be a good alternative if you are interested in entering the Foveon world. Sigma seems to have slightly sacrified colour rendition in favour of better ISO performance and resolution.
Egonomics & Functionality
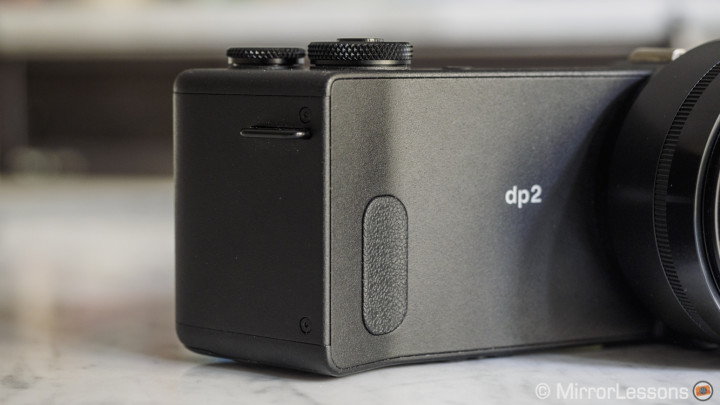
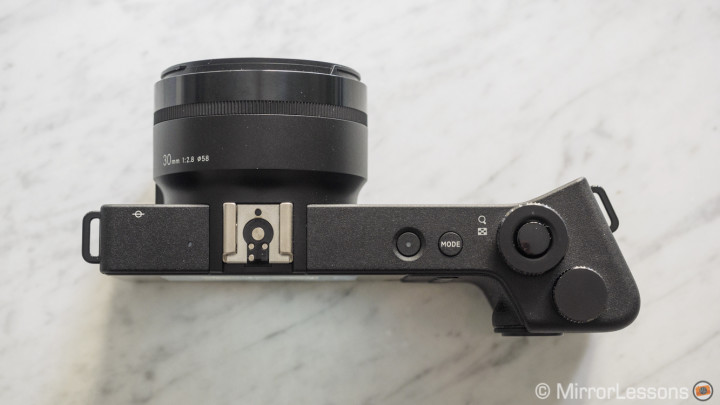
Now that we have deeply analysed what the DP2 Quattro is capable of in terms of image quality, let’s talk about the ergonomics and functionalities of the camera. I’ll be straight– these are two points that could make you think twice before purchasing it. Many people have pointed out its awkward and uncomfortable shape but I didn’t find it that bad. It is true that the grip is uncomfortable because it doesn’t have a rounded design on the front. The reason it exists in the first place is to house the big battery required by the Quattro processor.
I also don’t like the feel of the weird thumb rest on the rear. It is perpendicular to the camera with the protuberance near the focus pad. When you aren’t shooting, the easiest way to carry the camera if you are not using a strap is to grab it along the length of the body. However this can results in you accidentally pressing the on/off or mode button. The DP2 Quattro is definitely not comfortable to use hand-held. However in my opinion this is a camera that needs to be used on a tripod like any good landscape photographer would. When you use slower apertures you might end up with a slow shutter speed and you want to avoid any micro shakes. As for the pure aesthetics of its design, it is question of taste. I don’t mind it personally.
On top of the grip, there is a front dial and a rear dial to control aperture and shutter speed respectively. You can reach them easily and they are smooth and precise. You can also switch their functions and configure them for each of the four photo modes. The Mode button on top lets you choose between Manual, Aperture priority, Shutter Speed priority and Program. There are also three custom modes where you can save personalised shooting settings. On the rear, there is a QS button that brings up the most important settings such as ISO, drive mode etc. It displays eight settings but you can switch some of them with other settings. The Display button is often used to set extra options. The overall menu is simple and easy to use. You can navigate with either the focus pad or the two dials on top. Regarding the focus pad (whose purpose is to select one of the 9 focus points), it is a shame that you cannot assign other functions to it as well. Overall I found the dials and buttons comfortable to use.
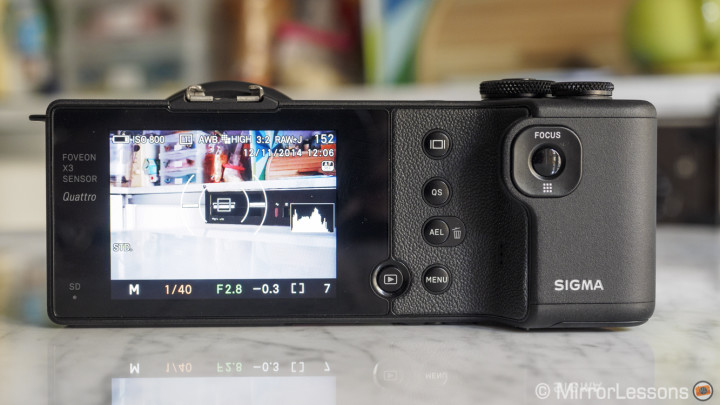
The DP2 Quattro doesn’t have an integrated viewfinder nor an external EVF option. You can get an optional optical viewfinder but you won’t get any AF point indication or parallax correction. It is just a basic optical VF. You can also buy a dedicated loop for the LCD. The screen is not the best I’ve seen concerning detail and resolution. Brightness and colours are good but it is difficult to use outdoors even with the brightness set to its maximum value. Also the LCD screen is not articulated.
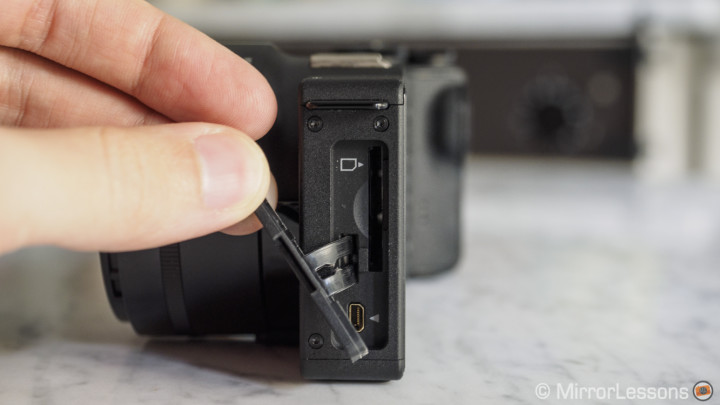
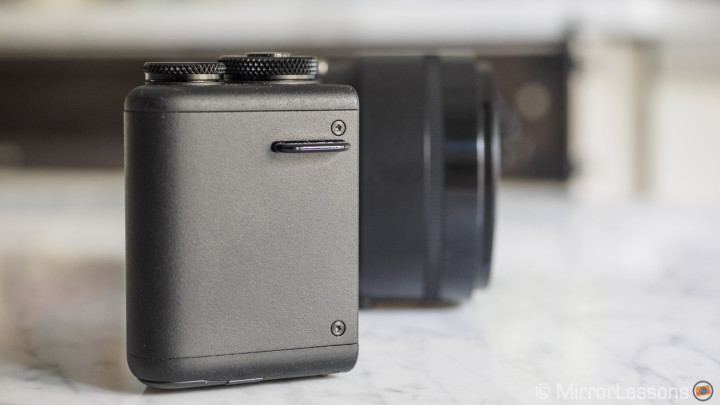
On the lens you have only one ring for manual focusing and I didn’t find it very smooth. The SD card and USB slot are on the side and protected by a door made of rubber.
Autofocus and general performance
The autofocus system of the Quattro is very basic like the previous generation. The camera has a contrast detection system with 9 points. There aren’t any continuous AF or tracking options. In daylight the AF responsiveness is good enough. It isn’t the fastest contrast detection AF but it works. In low light, the performance inevitably decreases and the camera can confirm that the AF is locked while in reality it isn’t. In the menu there is an option called Speed Priority AF that will make the camera lock focus more rapidly. What this function does is freeze the live view on the LCD screen in order to lock the AF faster. This can be annoying depending on what you are shooting. Personally I didn’t find a substantial improvement so I left it off. In low light it doesn’t make a difference. You can hear that the lens elements are moving faster but the results are the same.
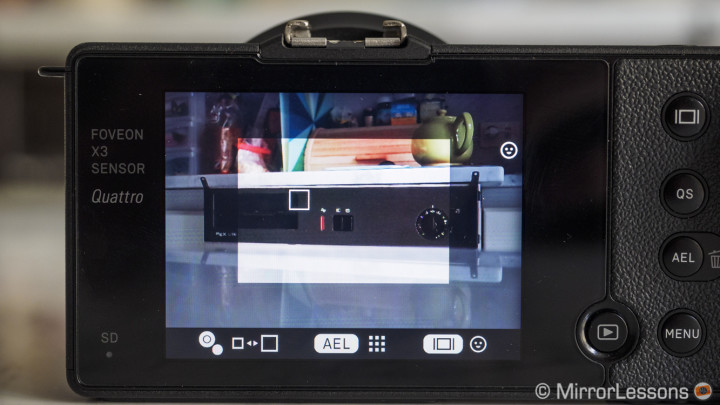
The AF points are adjustable to three different sizes. The smallest size is helpful when focusing close to a subject and when you want to be more precise with the focus point. The AF point can also be moved more precisely inside the focus area by pressing the AEL button. There is a face detection mode that works well and doesn’t slow down the AF in good lighting. The Quattro also has an AF Limit mode (4 options) that allows you to set a limit on the focusing distance. This helps a little regarding AF performance. You can quickly switch to manual focus with the dedicated focus button. Instead of peaking options, it has just magnification that activates automatically when using the focus ring.
The Quattro has continuous shooting capabilities of 3.7 fps at the highest resolution and 4.5 fps at the lowest resolution but the maximum number of frames is limited to 7 and 14 respectively (JPGs). But I figure that at this point you already know that this is not an action camera of any kind. That said, this function can sometimes be useful because in single shooting mode, the process of writing the RAW files is quite long (at least 3 seconds) before you can take another shot. The camera also has an interval timer that can be set from 15 seconds to 60 minutes. The number of exposures you can take can be set between 2 and 99 or unlimited. However once finished the processing time can be quite long. Also you can’t choose a slower speed than 8s due to processing capabilities.
There aren’t any other options on the camera. No HDR, no panorama, no wifi capabilities or any other option you can think of. There is a sound memo option that lets you record a quick voice note for 30 seconds maximum. Curiously, you can only use it when shooting in either JPG or RAW only. The camera has a leaf shutter which makes it very quiet. However this limits the fastest shutter speed to 1/2000s. There isn’t any built-in or optical stabilisation either.
The Sigma DP series is also known for its very short battery life.
The Quattro should improve this as it has a bigger battery and two units supplied with the camera. During my time with the camera, one battery lasted from noon until approximately 4pm while walking in the mountains. I was turning the camera off when not using it for more than 10 minutes (there is also a standby mode). When the battery icon displays empty, you will still have some power left to take a couple more pictures. There is also an Eco mode that reduces the brightness and frame rate of the LCD monitor when the camera is not in use for more than 10 seconds.
I tested the camera with the firmware version 1.02. There is a more recent firmware (1.03) that fixes a few bugs that I didn’t experience during my time with the camera (like the camera freezing when playing back JPGs) and adds the possibility to develop RAW files on the camera.
The Sigma Photo Pro Software
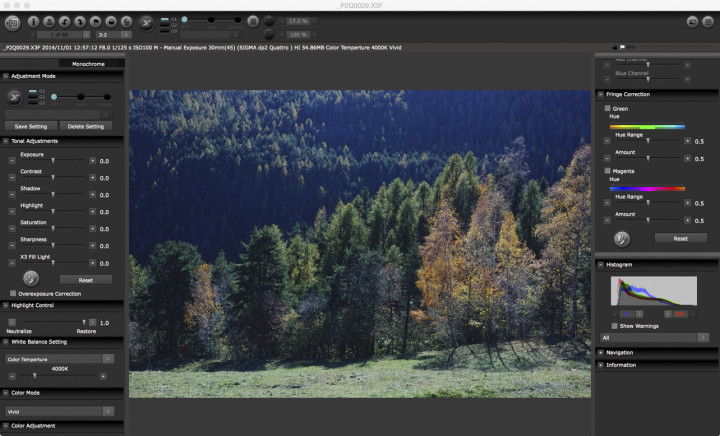
Another weak aspect pointed out in many reviews is the Sigma Photo Pro software which is required to develop the XF3 raw files. They aren’t compatible with popular software such as Adobe Camera RAW and Lightroom. Iridient Developer can also open X3F files (but not the Quattro files yet) but it is only available for Mac platforms.
I worked with the Photo Pro version 6.0.6 and didn’t find it all that horrible to work with on my MacBook Pro Retina.
Yes, it is slow compared to other RAW developers and can occasionally crash. It takes about 25 seconds to export a single file into TIFF or JPG. When adjusting the settings on the RAW files, it also takes a long time to preview any other changes you apply and the resolution decreases considerably. Another limitation is that every time you post-process one photo and then go to the next, the software will automatically apply the setting used in the previous picture. You have to manually save your settings on each photo every time if you want to be able to reopen the photo as you left it during a new session. What’s more, there isn’t the possibility to merge three bracketing shots into HDR.
Conclusion: slowing down
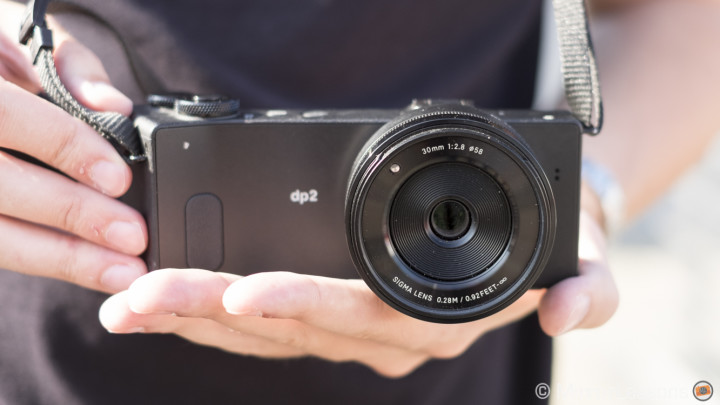
These days I often read about photographers who want to slow down. In order to do that, they feel they need to find the right camera that will somehow give them the impetus to operate differently. It is psychological more than anything else but it is true that a camera can have this kind of effect on you. For those who choose film, the slower process is related to the characteristics of the support itself. With digital, it can be related to the design and functionality of the camera. Slowing down has been mentioned lately with regards to Fujifilm X cameras for example but it is also a characteristic that Leica users have always appreciated with the M series.
The DP2 Quattro is another digital camera that can make you slow down and a very good one actually. Its slow in-camera processing, its slow proprietary software, its limited battery life and other minor aspects are all points that will make you think twice before taking a picture. You don’t want to bring home too many RAW files that slow your post-processing, and you also don’t want to take too many photos and have no battery life left when you could end up taking your best shot at sunset for example. You have to think more and decide if what you see is worth taking or passing on. You will need a tripod because of the amount of detail and the limited stabilisation capabilities of the camera.
Yes, this is definitely a “slowing down” kind of camera, and this is also why many photographers have a love-hate relationship with it. It may be less appealing or inspirational than the “call” of a film camera or a camera with a vintage design but if you use all these limitations to your advantage and take the time to print your results and hang them on the wall, you probably won’t have any doubts about its worth.
 What I like about the Sigma DP2 Quattro
- Stunning details and colour rendering
- Great monochrome capabilities
- Very nice lens
- The best comes when printing
 What I don’t like about the Sigma DP2 Quattro
- Quality decreases beyond ISO 800
- Slow processing both with the camera and when developing X3F RAW files
- The design and ergonomics is a love/hate thing.
We thank Gian Paolo Daldello once again for his counselling and time. We highly suggest you pay a visit his GD Fine Art Print website!
