Update: the second part of my review is now online!
The OM-D E-M5 was considered by many to be one of the first serious Micro Four Thirds cameras for advanced amateurs and even professional photographers. It was the camera that took the system to a new level. If you aren’t new to reading my articles on MirrorLessons, you’ll probably remember that the E-M5 was also the camera that convinced me to leave my Nikon DSLR. Then came the E-M1, which set the standard for professional photographers even higher, followed by the E-M10, which despite being officially ranked at the bottom of the OM-D food chain, included many improvements over the original E-M5.
There were a number of aspects that Olympus had the possibility to improve on the successor to the first OM-D camera, and as you’ll see, the company didn’t hesitate to make substantial changes.
The OM-D E-M5 Mark II is not a minor upgrade and can compete in many ways with the flagship E-M1.

Note: Below you can watch a general presentation of the camera where I discuss its design and new functionalities. You can read further for more details and an in-depth analysis.
[toc heading_levels=”3″]
Olympus OM-D E-M5 mark II Main Specs
- Sensor: 16 megapixel Micro Four Thirds Live Mos
- Lens system: micro four thirds
- Weatherproof: Yes (Splash, dust and freeze proof down to -10°C)
- Internal Stabilisation: Yes (5-axis)
- Autofocus: Contrast detection AF with 81 autofocus areas
- Continuous shooting: 10 fps (AF-S), 5 fps (AF-C)
- ISO Sensitivity: 200 – 25600 ISO (extended 100)
- Shutter Speeds: 1/8000s to 60 seconds, 1/16000s with electronic shutter
- Viewfinder: XGA OLED electronic viewfinder with 2,360k dots, approx. 100% FOV coverage and 1.48x magnification
- LCD Screen: flipping/rotating 3″ LCD monitor (1037k dots) with touch controls
- Movie recording: ALL-I and IPB compressions up to 77mbps, 24fps to 60fps, slow motion, Movie Clips
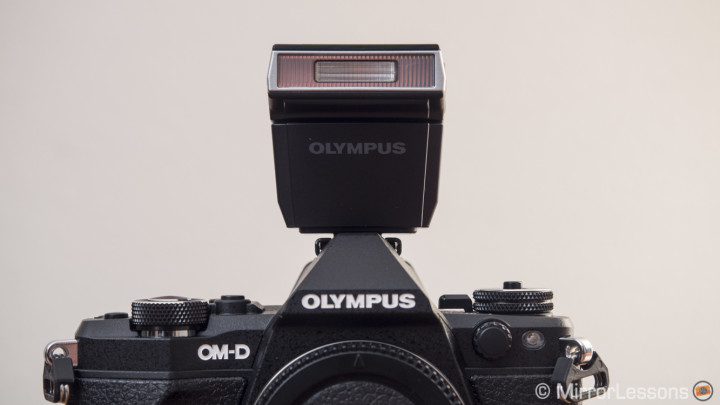
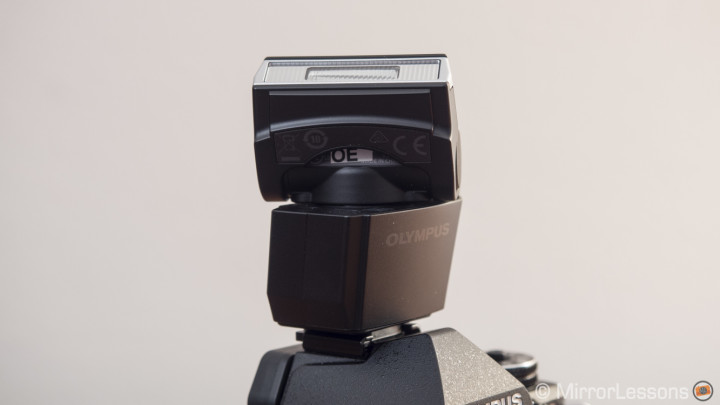
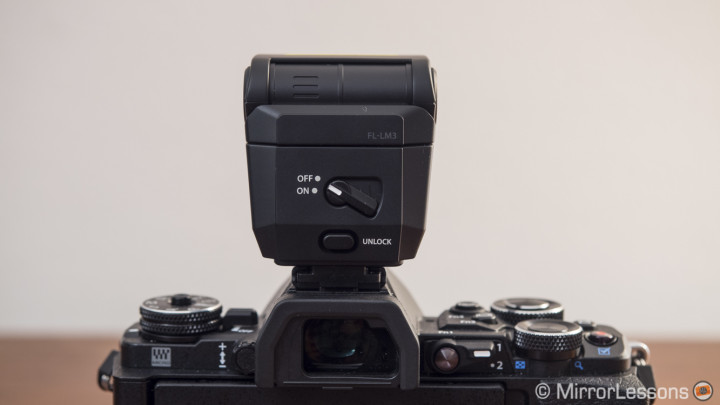
- Built-in Flash: No (external FL-LM3 included)
- Extra Features: High Res Shot, Timelapse, HDR, Multiple exposure, Wifi
- Dimensions: 123.7 x 85 x 38mm
- Weight: 496g (including battery and memory card)
Ergonomics & Design
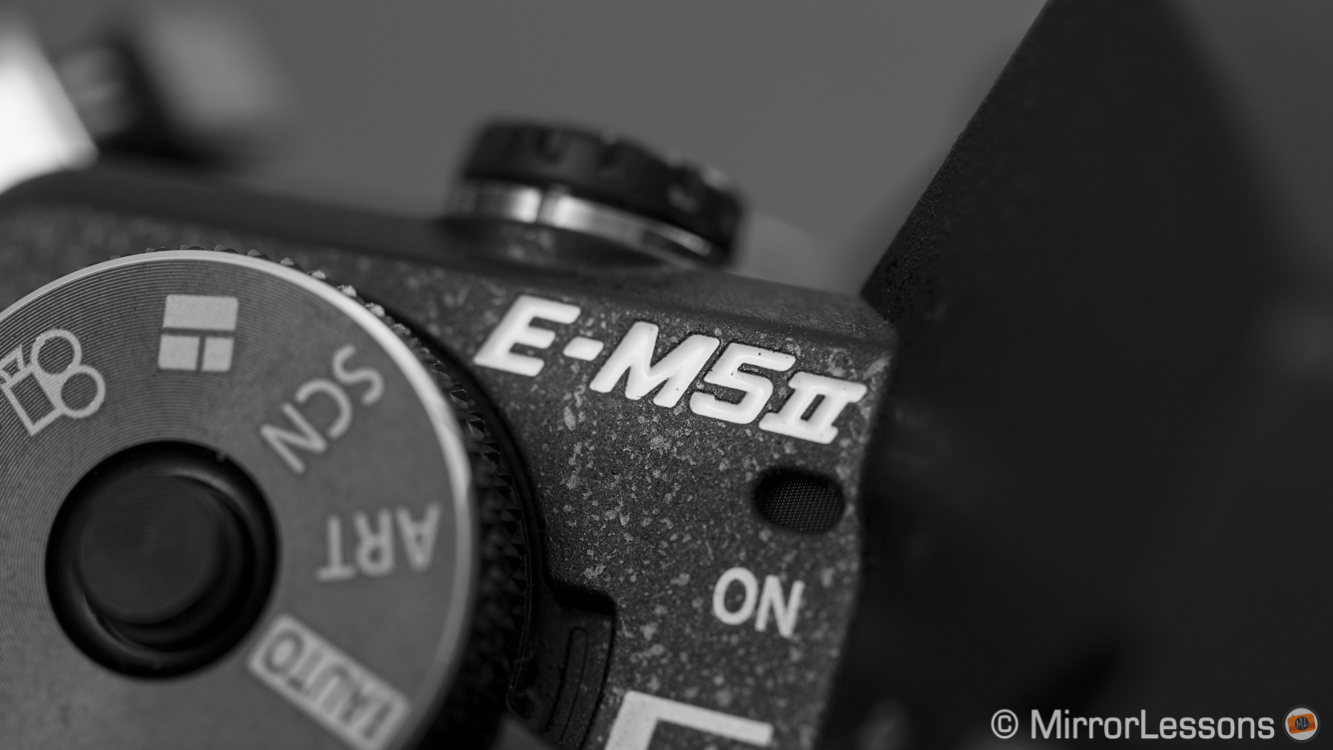
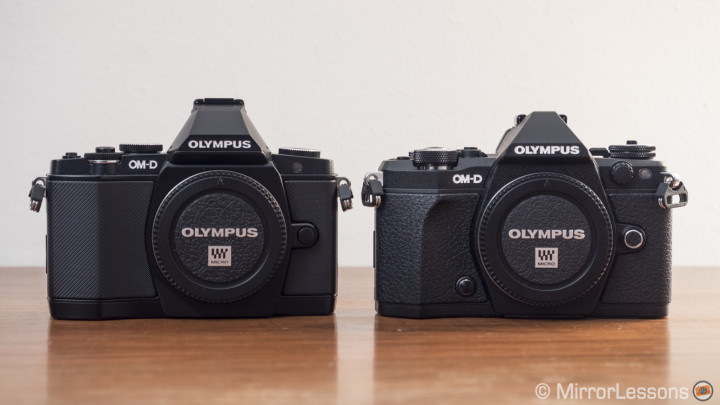
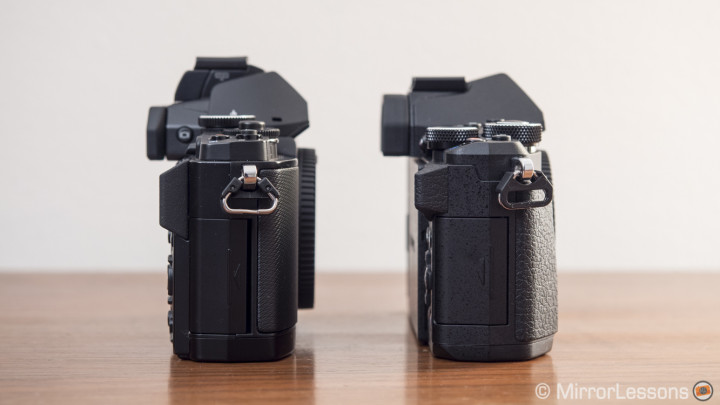
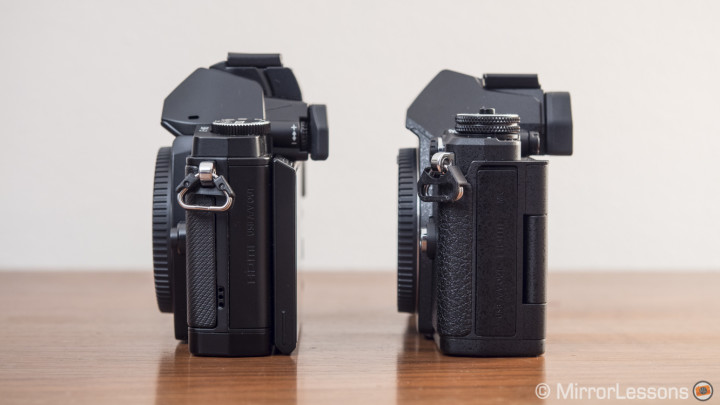
The E-M5 mark II inherits some of the great improvements introduced on the E-M1. This successor maintains the same design that was inspired by the original OM SLRs (film cameras). It is made of magnesium alloy and is weather sealed against water, dust and cold temperatures down to -10°C. The grip has been slightly improved thanks to an updated design on the front (slightly more prominent) and the thumb grip on the rear that has been lengthened. Holding the E-M5 II is comfortable overall, even for someone who has relatively big hands like me.
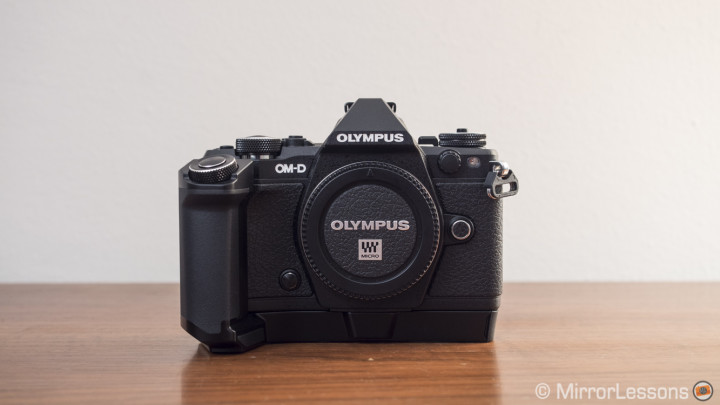
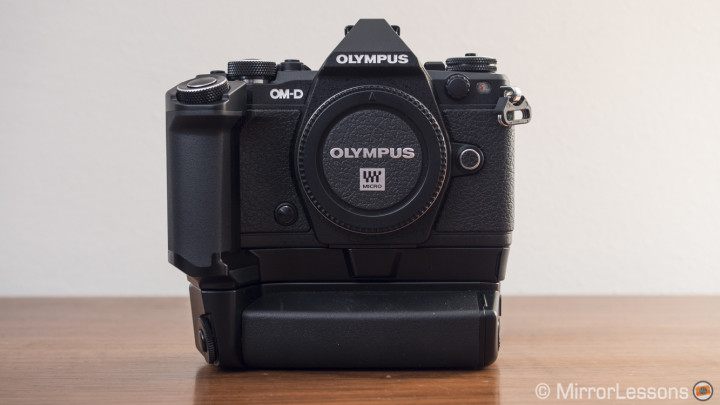
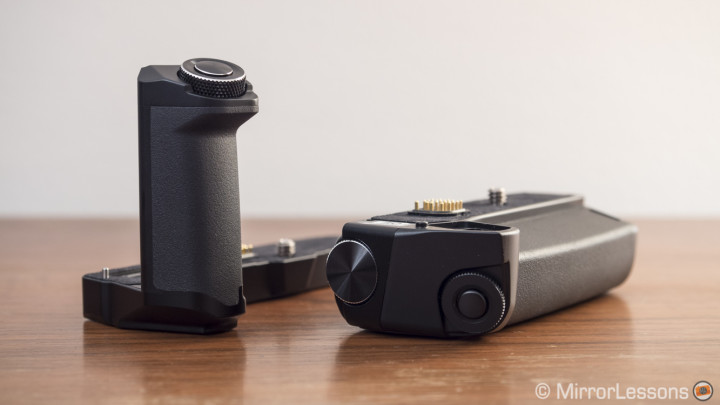
The grip on the camera becomes perfect with the optional landscape grip. However concerning the latter there is something important to highlight. Back in 2013. I used the HDL-6 grip a lot with my E-M5. It was composed of two pieces: the horizontal (or landscape) grip and the vertical (or battery) grip. I tended to use the landscape grip more to keep the size of the camera smaller, and the battery grip only when I needed more battery power.
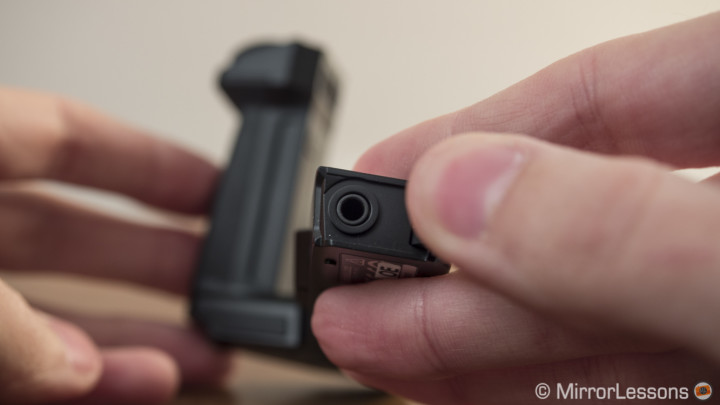
For the E-M5 mark II, Olympus released a new version of the horizontal grip called HDL-8G. The main difference is that the latter incorporates a headphone output. Unfortunately the old and new horizontal grips aren’t compatible with both cameras. The new HDL-8G grip can’t be mounted on the original E-M5 and the old HDL-6 horizontal grip can’t be used with the E-M5 mark II. The battery grip however remains the same for both cameras. This means that if you own the original HDL-6 grip for the E-M5, you will have to buy the new HDL-8G separately in order to use the complete grip package. It is a shame that the old one is not fully compatible with the new camera. Also, when using the new horizontal grip, you have to unmount it to remove the battery just like on the old grip. I wish Olympus could have found a solution like the dedicated grip for the OM-D E-M10.
Ease of use
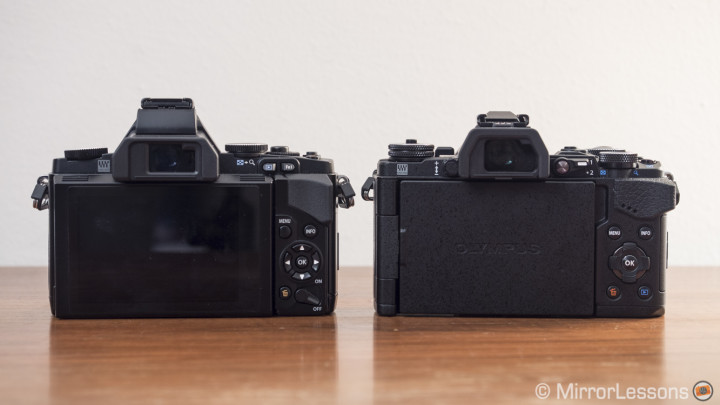
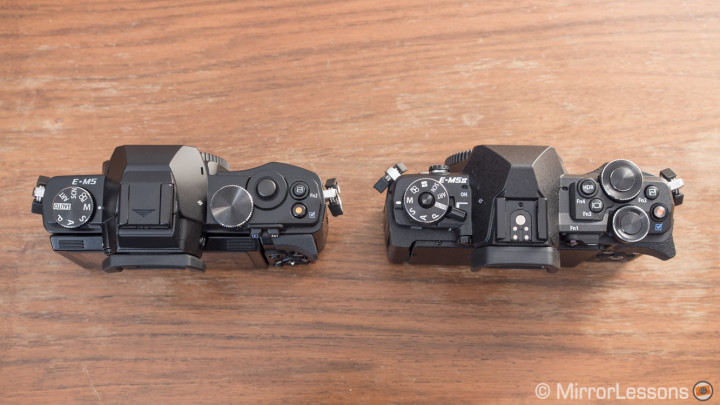
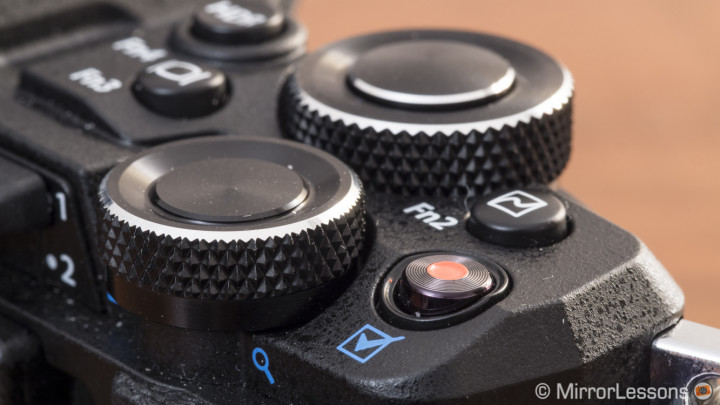
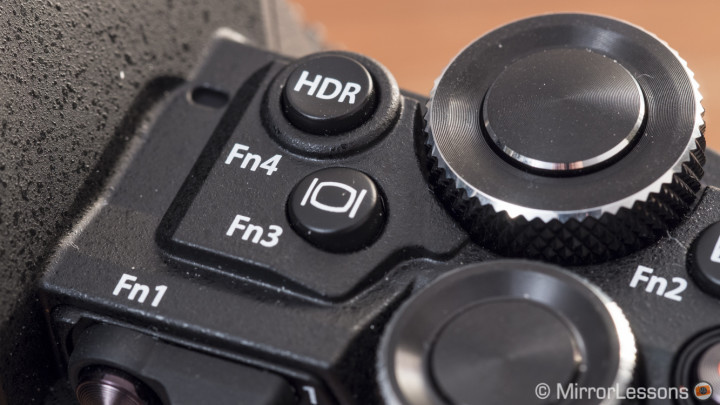
Olympus re-designed the button and dial layout. The first thing you’ll notice is the presence of more function buttons (6 in total + the arrow pad). The first four Fn buttons come with a pre-selected function represented by the symbol marked upon them but they can be customised with 26 different functionalities. There are three on top and one on the rear on the function lever. Additionally you can customise the movie recording Button and the depth-of-field preview button located on the front next to the lens mount. Overall all the buttons are easy to access. The dials are strong, smooth and precise. They are also thicker which makes them easy to use. The mode dial on the top left can also be locked with the central button.
The E-M5 II also has the same Fn lever on the rear as the E-M1 and E-P5. It can switch the functions of the two main dials. In position 1 it changes the aperture and shutter speed while in position 2 it changes ISO and White Balance for example. This is one of my most frequently used buttons on the E-M1. However in the case of the E-M5 mark II it is one of the few complains I have: the lever is harder to switch up and down which often makes it uncomfortable to use. I do wonder if this issue might be related to my particular sample since I received one of the very first E-M5 IIs available.
Another very small complaint is that the LV (Live View) button is now also a function button. I use it all the time on my E-M1 so I would have preferred to have a dedicated button on the side of the viewfinder and use the Fn3 button for something else.
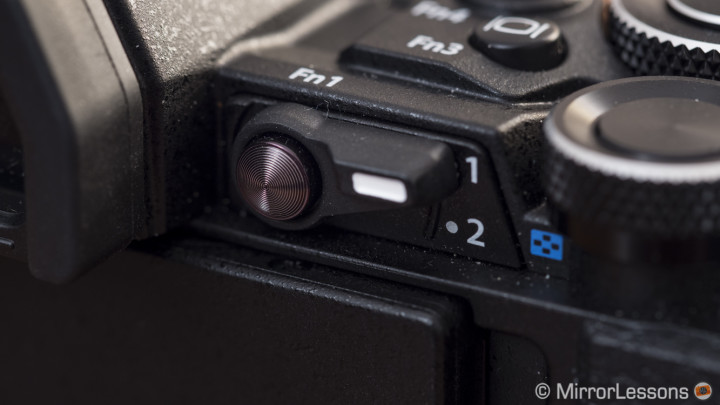
Finally if you use an M.Zuiko lens with an L-Fn button such as the 12-40mm f/2.8 and the battery grip you get three additional Function buttons.
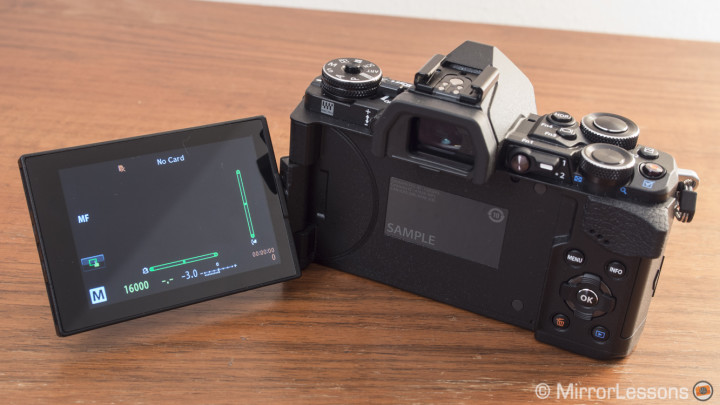
The E-M5 mark II has the same electronic viewfinder as the OM-D E-M1, which is currently one of the best on the market. It also has the same time lag of 16ms which was brought to the E-M1 via firmware update. As for the LCD screen, it has the same resolution as the E-M1 monitor but can be flipped on the side and rotated by 180°. This last improvement is also relates to the new video functionalities introduced with this camera that I will describe later on in this article. The camera also added more option for the Live View boost (prioritize smoothness or visibility in dark conditions) depending on the shooting mode (manual, live bulb or live composite, other). Finally, you might also have noticed a flash sync socket on the front like the E-M1.
Image Quality: High Res Shot
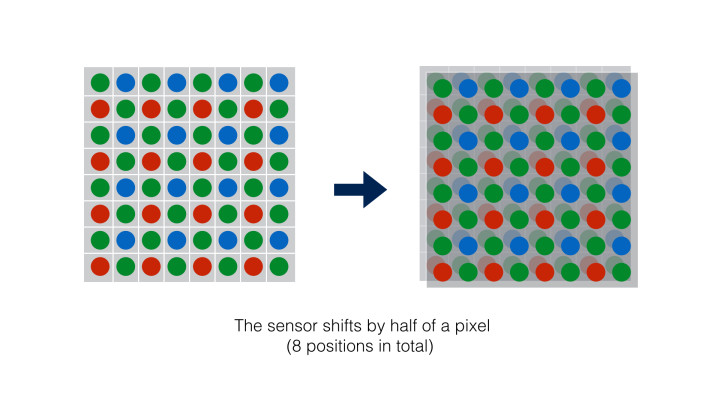
The main new feature that Olympus has introduced on the E-M5 Mark II is called High Res Shot and its purpose is to deliver a picture with a higher resolution than the native 16mp of the sensor. How does it work? The camera uses shifting sensor technology (the same that serves the internal stabilisation) and takes 8 shots while slightly moving the sensor position between one shot and another. The displacement occurs by a mere half a pixel. This allows the camera to collect details from the sensor photosites in different positions and thus cover micro areas between pixels that would usually be lost. Then by merging the 8 shots together you obtain an high resolution photograph of 40mp with the JPG file (around 19mb) and 64mp with the Raw file (more than 100mb). The camera also creates a 16mp ORI file that represents the first of the eight shots taken. It will be editable in the updated version of Olympus Viewer which will be released alongside the camera.

At the time of publishing this post the RAW files weren’t yet compatible with popular Raw development software programs. I was provided with a beta version of a Photoshop plugin that allowed me to open the HRS Raw file and do some basic corrections. It is nothing like Adobe Camera Raw. In fact, I wonder if this plugin was even able to reveal the full potential of the Raw file. I will reserve judgment until I can process the photos in the way I usually do (using Lightroom). Below you can see some 64MP JPGs exported from Raw files.

A very similar pixel shifting technology already exists on the Hasselblad H4D-200MS (medium format camera). It creates a 200MP file from the original 50MP on the sensor. Nikon DSLR users were also able to create something similar by manually using the Jumbo MultiBigShoot support compatible with Nikon tilt-shift lenses.
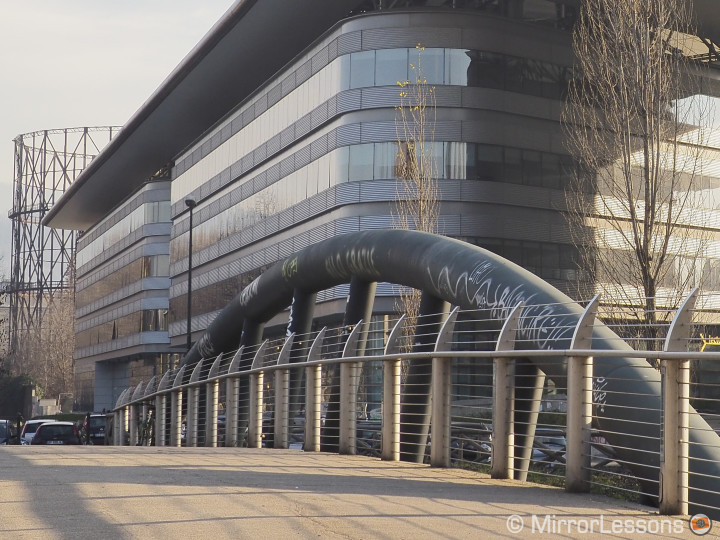
Due to the pixels slightly changing position 8 times, the camera also collects more colour information data since each point on the image is captured by each of the blue, red and green pixels that compose the standard Bayer sensor. It should also reduce if not eliminate any moiré effect. Below you can see a quick example of the same composition shot at 64mp and 16mp. I resampled the High Res Shot to 16MP to match the same resolution. The two images below are 100% crops. While you can certainly detect more details and sharpness in the second one, which is the High Res resampled shot, you can also notice better colour accuracy. Of course this might be more noticeable when printing.
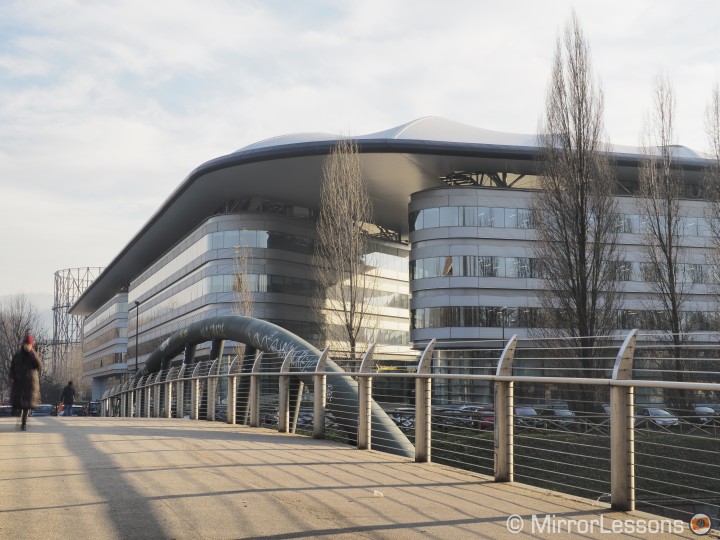
Below are two 100% Crop versions of the HRS shot and 16mp shot (the HRS shot has been resampled to 16mp to match the same resolution). Move your mouse over to reveal the HRS version with better details and colours.
Of course there is a catch as you might have already guessed. By combining 8 different shots into one, this function is limited to the camera being completely still on a tripod. The 5 axis stabilisation is of course disabled since the shifting technology is already being used for the High Res Shot function, so forget handheld shots. Even if you use a very fast shutter speed, the shifting pixels won’t give you a sharp result if the camera moves even a few millimetres.


When using the tripod, you can delay the shutter release when pressing the shutter release button to avoid any accidental micro shake. You can activate this setting in Shooting Menu 2.
This also means that the function cannot be used with moving subjects such as a car or bike passing by. Even the smallest element can create problems like in the third picture below of the river Pò in Turin. If I zoom in at 100% you will notice the “multiplied” car on the bridge and some very small artefacts in the waves (very small grid/stripes). This is of course a “pixel peeping” example but it shows you how even the littlest details can be affected.

I also tried longer exposures with the help of the Seven5 Little Stopper filter. A slower shutter speed can reduce the issue but it doesn’t completely solve the problem. This is also due to the fact that the slowest shutter speed is limited to 8s with the HRS function enabled.
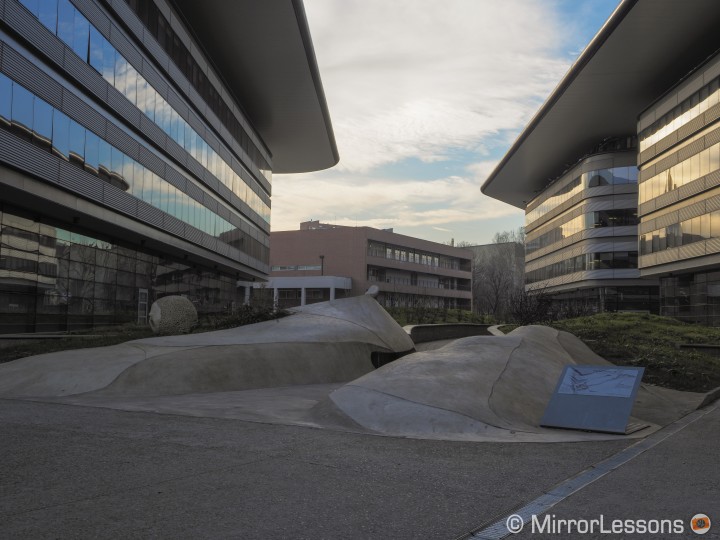
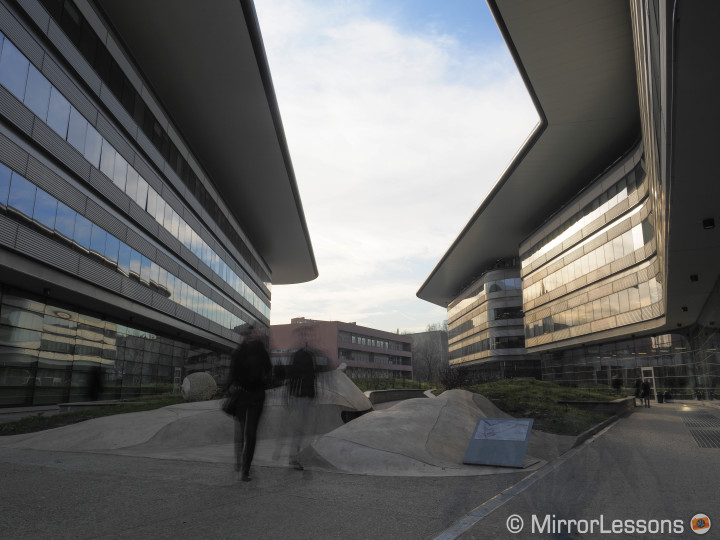
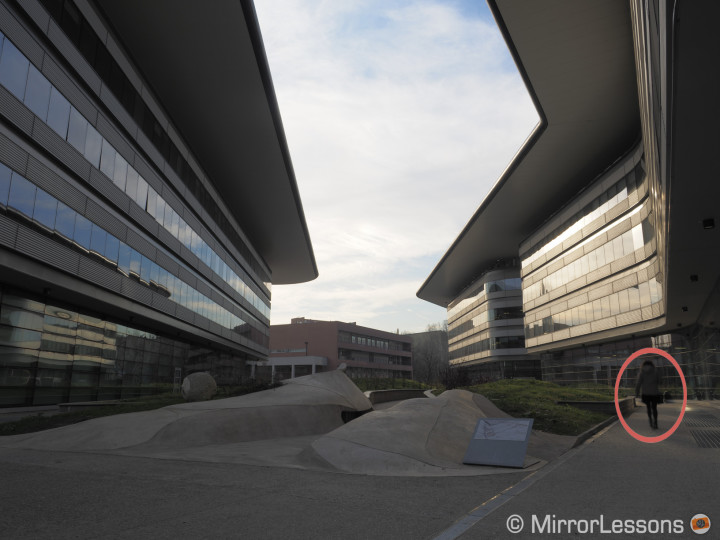
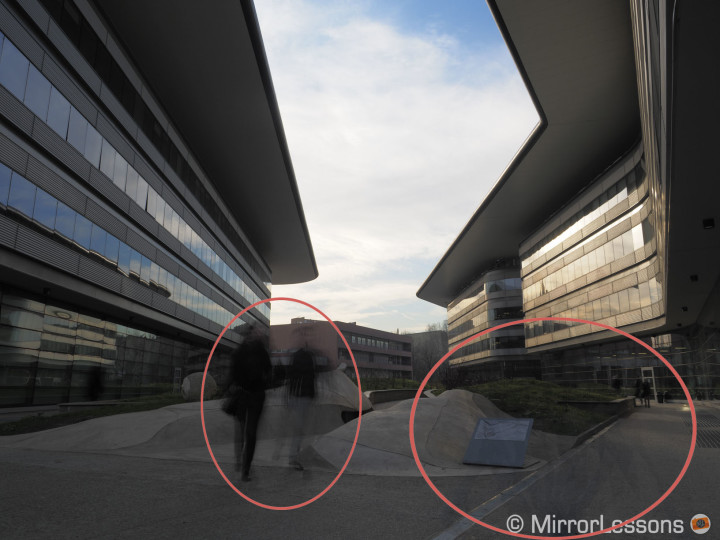
With other kinds of moving elements like people, another tip can be to take multiple high res shots and combine them by using the Statistics script in Adobe Photoshop. This technique is often used to remove tourists from a picture of a popular location and it can work with the high res shot too. You can follow this excellent tutorial by Ugo Cei on the F Stop Lounge Youtube channel. Below is an example showing the normal pictures and the stacked result. Of course it might be more difficult to obtain if the location is really crowded.
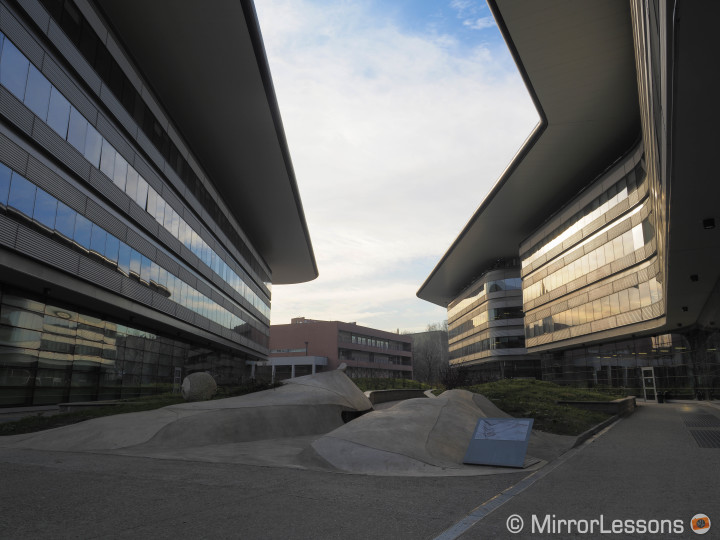
The High Res Shot function also has some limitations. As I mentioned earlier the slowest shutter speed is 8s. The aperture too is limited to f/8 and the maximum ISO sensitivity is 1600. For the aperture I guess the reason is that with most Micro Four Thirds lenses, the best performance is achieved at f/8. For ISO sensitivity I assume that past the value of 1600, noise becomes too visible. As for the shutter speed, the reason is less clear to me. But since the camera takes 8 different shots with 8s of exposure, it takes 64s in total, plus the time it takes to process the 8 pictures together (which by the way is very fast). So perhaps it is a limit related to the processor engine.
The High Res Shot function is certainly limited to certain applications.
You have to think of the E-M5 mark II not as a 40MP camera but as a 16MP camera than has the option of 40MP output.
I can think of architectural shots, landscape shots if there isn’t any wind, still life shots and macro shots. The latter would require the use of flash that is fully functional with this feature engaged. You can manually set a specific time between the multiple pictures to allow the flash to recharge. It is however not necessary with Olympus flashes since the camera will automatically wait for the flash to recharge before it takes the next shot. Below is a quick homemade example using the Fl-600r and the Nissin i40 in RC mode, controlled with the new FL-LM3.
Overall I find this function very interesting. Despite its limitations it gives OM-D shooters the possibility to have a higher resolution output when they need to have a better result than what the 16MP sensor can provide. There are many details and the result is certainly beautiful. It expands the applications of Micro Four Thirds cameras and this is certainly welcome. I will wait to work properly with the Raw files and also make a couple of large prints before I come to a final conclusion about the image quality.
Image Quality: 5 axis stabilisation improved
The recent release of the Sony A7 mark II, the first full-frame mirrorless camera with sensor shifting technology, put an end to Olympus’ monopoly over its most beloved feature. I have yet to test the new A7 II camera so I cannot comment on how effective the Sony IBIS is but from what I have read so far, it isn’t as good as the IBIS of the Olympus cameras. There is a good reason for this – it is that a full-frame sensor is larger than a MFT sensor and thus it is more difficult to move.
With the OM-D E-M5 mark II, Olympus pushes the boundaries even further. The 5-axis stabilisation of the new camera is an updated version that gives an extra 1Ev of improvement (5Ev in total versus 4Ev on the OM-D E-M1).
Simply translated in concrete results, with the E-M5 mark II, one second of exposure hand-held becomes the standard (if you are still enough).
Below you can see different examples taken at 1s of shutter speed, handheld, with the 12-40mm both at the shortest and longest focal length. If this kind of slow shutter speed was obtained more by chance than anything else on the E-M1 (I managed a couple of times), on the E-M5 II the possibility to succeed is much higher.
To get good results you need to be as still as you can. Don’t hesitate to lean on a wall, use the viewfinder so that the camera is close to your face and make many attempts.
I also tried to push the 5-axis stabilisation as far as I could and my best result was 2 seconds as seen in the examples below.
Now you might think that these extreme examples are nice but are only useful as a marketing strategy. This couldn’t be further from the truth – I’ve often found the stabilisation of OM-D cameras very useful for my work. It won’t replace a tripod for proper long exposure shots like landscapes or even urban photography (especially if you use filters) but you can definitely start to leave your tripod home more often if you just want to snap a couple of nice shots of a city you are visiting. One second of exposure is definitely doable with the E-M5 mark II. This means that you can keep your ISO down (200 or 400) and have a relatively closed aperture (f/4 or f/5.6). Or if you prefer to be cautious, shoot at a half a second, and you will still get a nice file to work with. I wonder how far Olympus will manage to push this technology.
The internal stabilisation is also enhanced in video mode. The most important aspect is that the E-M5 mark II uses 5-axis when recording video and not just 3 axes like the original E-M5, the E-P5 and the E-M1.
There are two different settings available for video:
- M-IS 1: uses both the sensor shift and digital stabilisation
- M-IS 2: uses sensor shift only
Both settings can work really well as long as is there something happening in your scene. This could mean following a subject for example. Some portions of my footage almost remind me of Steadicam shots. However neither option is perfect and can create some small issues depending on the type of movement you want to film.
The first aspect to consider is that IBIS can create a warping (or jello) effect. For fixed shots like filming a statue handheld, both options work equally well. When you pan or tilt to follow a subject, the M-IS 1 option is advised. It will give you smoother and more precise results at the beginning and end of the pan or tilt movement.
The second issue is what I call a sudden sideways shift. When you film a more complex action and you move forward, then pan left or right, there can be something that looks like a shock, suggesting that you either moved too quickly or too abruptly. I think that this is the sensor shift over-reacting to a movement or a change in direction. However if you make various attempts for the same shot and movement, you can achieve good results.
Below you can watch an in-depth video about the 5-axis stabilisation of the E-M5 mark II in video mode where I highlight its strong points and the small issues mentioned above.
Overall the 5-axis stabilisation can produce terrific results for handheld video shots, and there is no question that the E-M5 II can become a very interesting tool for filmmakers because of the various improvements in video quality. Keep in mind that there are also many accessories on the market designed to reduce camera shake that you could use in tandem with this camera.
Video mode: Olympus is finally catching up
This is the paragraph that I am sure many readers have been waiting for. Olympus has finally decided to improve the video capabilities of its cameras that up until now were limited to a not-so-great compression, a low bit rate and the absence of many options like multiple frame rates.
The OM-D E-M5 Mark II can shoot Full HD Video (no 4k) from 24fps up to 60fps. But that’s not all. We get better compression:
- All-I: the highest quality. Can shoot up to 30fps with an average bit/rate of 77mbps
- Super Fine: up to 52fps, 24mbps slow and fast motion possible
- Fine: up to 60fps, 30mbps, slow and fast motion possible
- Normal: up to 60fps, 18mbps slow and fast motion possible
The differences between All-I and the other quality settings aren’t immediately visible on the screen. There isn’t a huge difference regarding sharpness, colour or dynamic range. All-Intra (or intraframe), as opposed to the traditional IPB (interframe), means that each frame is compressed individually. Therefore, an All-I compression should give better results and the files should also be easier to edit in a non-linear editing software because the computer doesn’t need to interpolate data between each frame. It also should consume less processor power. An improved compression and interpolating process will give better results especially if you move the camera around a lot or when there is a lot of movement in the scene.
The E-M5 II can also record in slow or fast motion. Slow motion is available down to 0.4x in 24fps which is equivalent more or less to 60fps. The difference between choosing the slow motion option or shooting at native 60fps is that with the first option you will get the slow motion result right away while with the second option you will have to do it with an editing software.
There is also a new function called Movie Clips. You can shoot short clips up to 8s, rearrange their order in the camera and export them as a single movie. Basically, you can do some very basic video editing in-camera. You can also choose to add transitions, effects and a music track when exporting the final edit.
Among the welcome movie settings, there is a timecode generator, more advanced audio controls that include recording volume that can be adjusted in 10 steps up or down, Phantom Power and audio meters on screen.
As for the overall image quality of the video mode, in good light conditions the improvement in image quality might not be that easy to detect. In critical conditions like low light situations, the E-m5 mark II has an extra Ev step in ISO sensitivity (up to 6400 instead of 3200 only). With the new settings and additions, I definitely see an improvement over the previous Olympus cameras. Another nice implementation is the clean HDMI output that allows you to record less compressed video files with 4:2:2 colour sampling via an external recorder.
I wish there were more advanced picture profiles designed exclusively for video. I would like to be able to adjust master pedestal and have cine-like or log curve. The picture profiles are barely customisable. Some artefacts are still present however such as rolling shutter and moiré.
Below you can watch a third video that shows you the overall IQ of the E-M5 mark II for video. Most of the shots were done handheld.
The flipping screen is definitely a welcome implementation for video shooting. I find the movie recording button slightly uncomfortable to reach but you can choose to assign that function to the shutter release button when you are in Movie Mode. Note that as a consequence you won’t be able to take a picture when recording a movie.
The only aspect that didn’t convince me is the autofocus, especially the continuous autofocus mode. It works better with the smallest AF points but can lose focus and hunt back and forth, even in good light conditions. If you use manual focus, peaking works well even if it gives you a darker preview than your actual exposure (but that can be changed in the menu settings). Also keep in mind that using peaking disable the high frame rate for the EVF.
Performance: electronic shutter
Another nice addition (or should I say finally) is the electronic shutter, something that was missing on the OM-D series while it is now the standard on Olympus’ competitor Panasonic Lumix. In addition to the electronic front curtain shutter (called anti-shock), there is a new silent mode that makes the camera almost 100% silent (you can still hear a little noise).
https://instagram.com/p/ytbcfgQeCl/
With the electronic shutter, the shutter speed goes up to 1/16000s which can be interesting when using fast apertures lenses in bright sunlight.

As usual, the use of an electronic shutter can create some rolling shutter issues and can also produce banding problems under certain types of artificial light (fluorescent mainly). Usually an electronic shutter can also enhance the continuous shooting capabilities of the camera but in this case the improvement is minimal (11fps instead of 10fps). There is also the option to delay the shutter release when your press the shutter button with both the anti-shock and silent mode.
Both options can be quickly selected in the quick menu in the drive mode section. There are new options to quickly select anti-shock or silent mode for single, continuous shooting, self timer and interval shooting. The diamond simply refers to anti-shock while the heart symbol refers to silent mode.
First conclusion
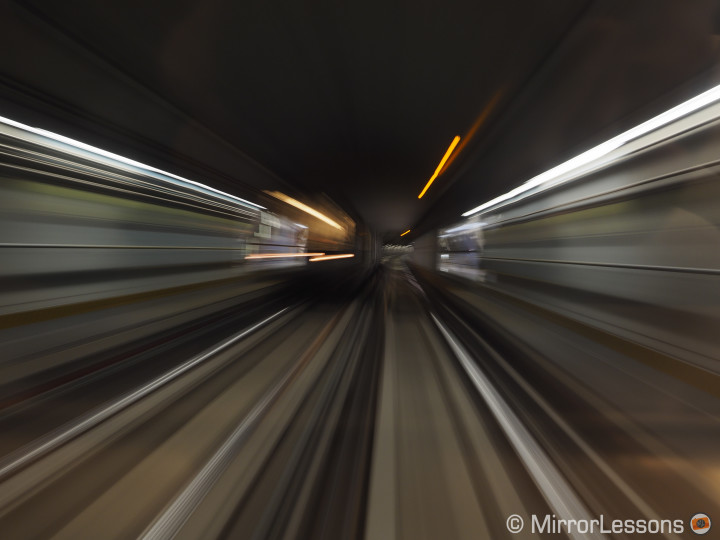
So that’s all for our first chapter of the Olympus OM-D E-M5 mark II review. You might wonder if there are other “hidden” improvements such as overall image quality and autofocus performance for stills. Olympus couldn’t confirm to me if the sensor is the same. To me it looks like it has the same sensor as the E-M10: same sensitivity (200-25600), same contrast detection AF system with 81 points (instead of 35 on the original E-M5). Continuous shooting can go up to 10fps (in AF-S) instead of 9fps. Regarding image quality you get the same nice colour rendition of Olympus cameras. There is a slightly improved detail rendering at high ISOs thanks to the new TruePic VII Processor. It is the same improvement seen on the E-M1 and E-M10. The autofocus behaves the same: fast in good conditions with a decrease of performance in low light (it suffers from specular highlights especially). You can check the second part of my review concerning autofocus and other aspects.
The E-M5 mark II also has many of the functionalities of the other OM-D cameras: keystone composite, live composite, live time, wifi, tethering, art filters, photo story. It is actually the most complete and advanced OM-D camera. The only real thing it lacks is phase detection autofocus, probably one of the few aspects where the E-M1 still reigns superior.
Battery life is similar to the original E-M5 or E-M1. If used extensively you will need an additional battery to finish the day.
Update: the second part of my review is now online!
 What I like so far about the OM-D E-M5 mark II:
- can easily take handheld shots at 1s of exposure thanks to the improved IBIS
- finally a more serious Olympus camera for video (and the 5-axis stabilisation can be terrific)
- silent mode
- flipping/rotating LCD screen
 What can be debated about the OM-D E-M5 mark II:
- the High Res Shot function delivers beautiful results with richer details but it is limited to certain applications and despite being a first in the Micro Four Thirds system, it might interest only a small number of users
- While I don’t consider 4K essential yet for filmakers, it shows that Olympus is still behind its main MFT competitor Panasonic when it comes to video.
 What I don’t like so far about the OM-D E-M5 mark II:
- Moiré, aliasing and lack of more advanced picture profiles for video
- requires the new HDL-8G landscape grip in order to use the older HDL-6 battery grip
- no headphone output directly on the camera (you need the HDL-8G grip)
If you already own the E-M5, do you think you will upgrade to the E-M5 II? If not, does this camera and its innovative features interest you? Share your thoughts!
