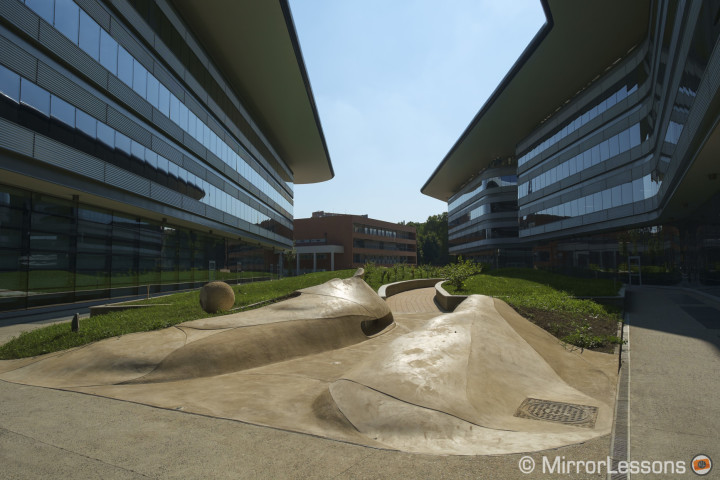
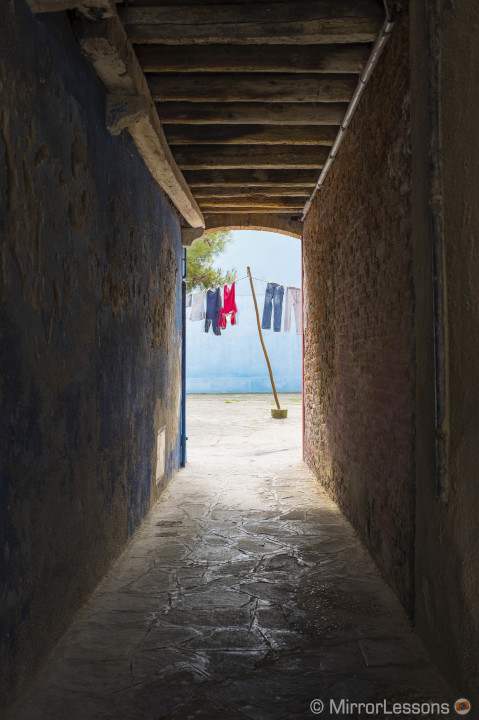
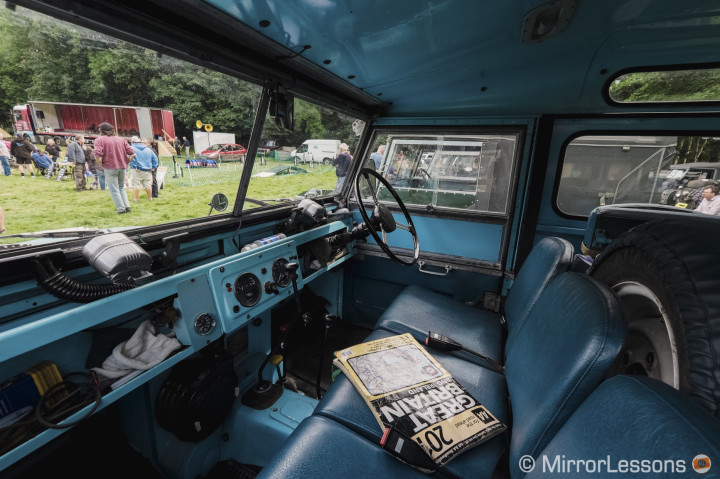
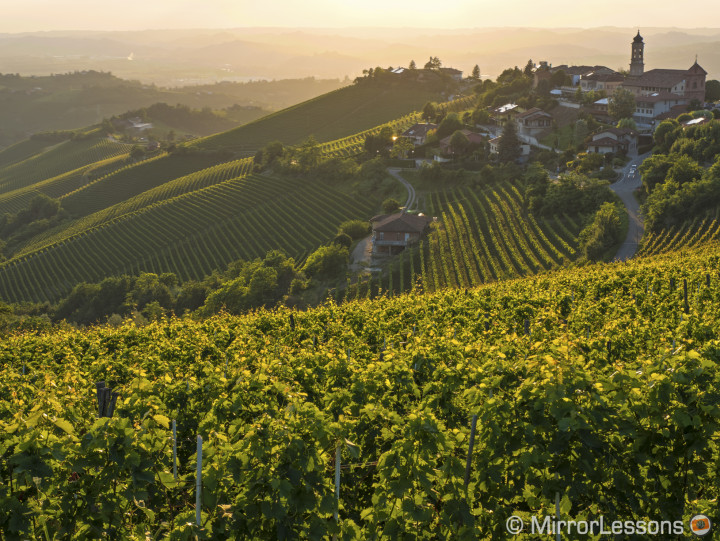
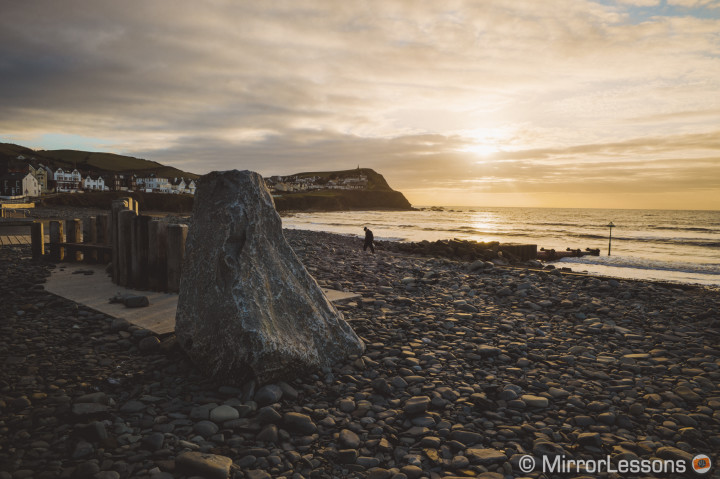
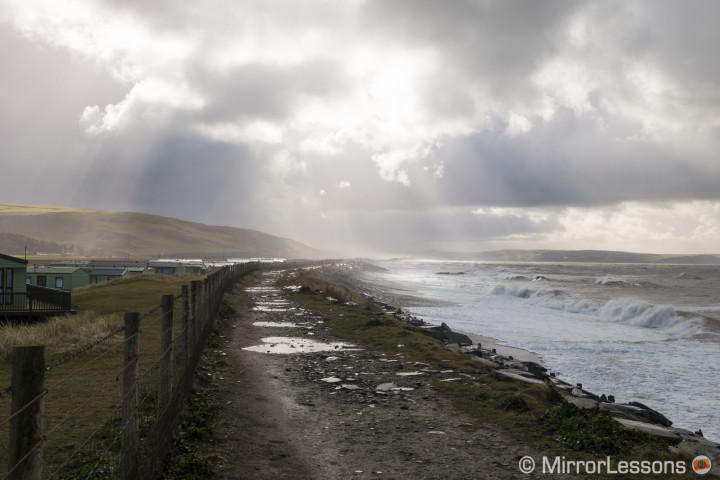
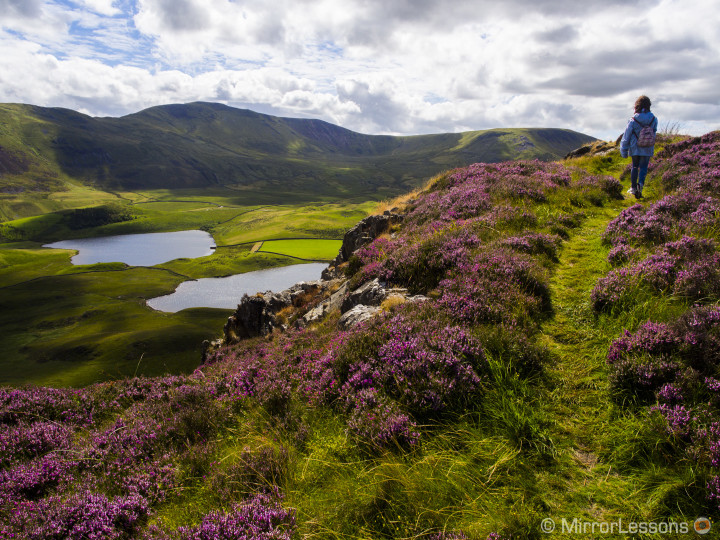
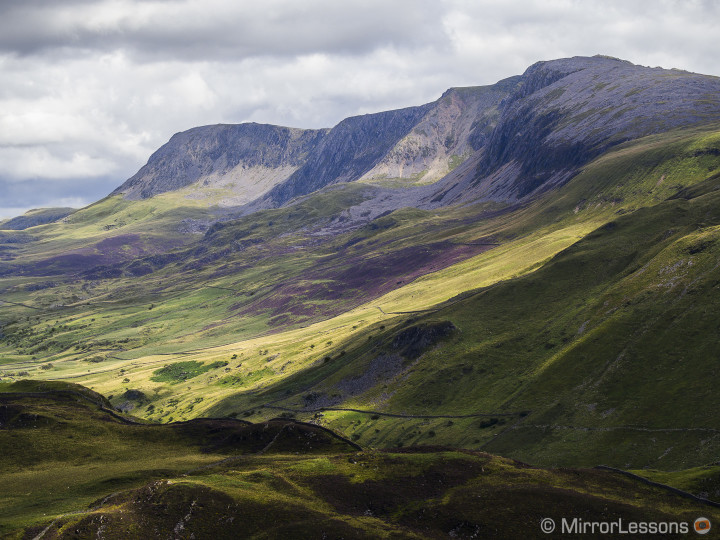
If there is one digital photography technique that is very popular among photographers, it is HDR. It is simple to perform and can deliver results that are extremely visually appealing. However the fact that it is among the most popular techniques also means that it is one of the most abused (if you allow me to use the term), especially now that the internet and social media platforms are part of our daily workflow.
My goal here isn’t to write yet another tutorial about how to create HDR images. There are so many articles out there that there isn’t the need to add to the list. Instead I would like to share my personal opinion about HDR photography, list my favourite mirrorless camera for performing HDR, and explain why it can sometimes be unnecessary.
Introduction: what does HDR really do?
HDR stands for High Dynamic Range. Many people think that it actually increases the dynamic range capabilities of your camera but this definition is inaccurate. So let’s start with a brief summary of the basics.
Every sensor has the capability to capture a given amount of information from the brightest and darkest zones in your frame. This is called dynamic range. Depending on the sensor’s characteristics, it will be able to capture a larger or more limited dynamic range. These determining characteristics include sensor size, pixel count and pixel size. Simply put, a full-frame sensor like the one inside the Sony A7/r/s will give you more dynamic range than a Micro Four Thirds sensor, which is two times smaller.
You might naturally think that HDR can amplify the dynamic range capabilities: you take multiple shots with different exposures and combine them into one single photograph. The result is a picture that seems to have more dynamic range because there is more information in the highlights and shadows. However what HDR really does is improve the tonal range of your image, not the dynamic range.
Now, wait a second, what is tonal range? Isn’t it the same as dynamic range?
No, it isn’t. Tonal range is related to the shades of colour in your images or shades of grey in a monochrome picture. The dynamic range is composed of a certain amount of tones. The richer those tones are in information, the more colour accuracy you will have in both the highlights and shadows.
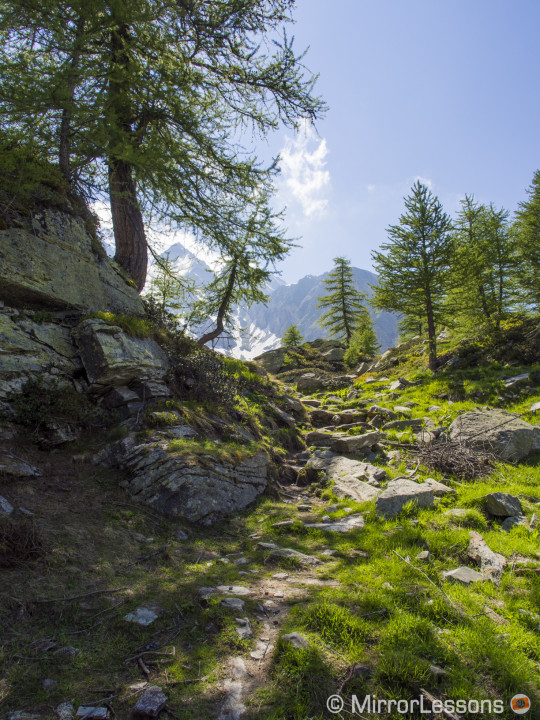
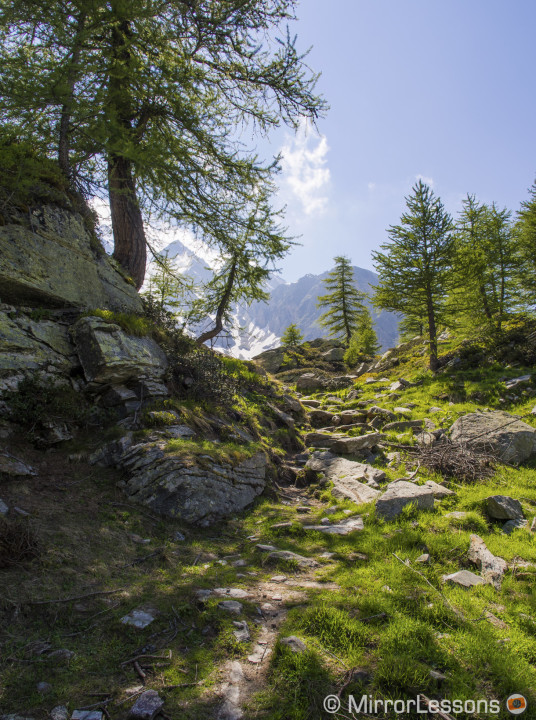
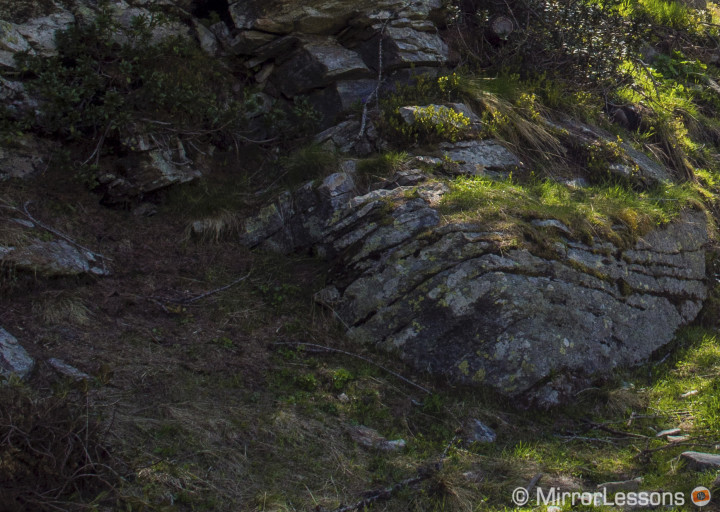
Let me show you a practical example. Below are two versions of an image shot with the Olympus OM-D E-M5. The first is a single post-processed Raw file while the second is an HDR picture created by combining 5 shots with 1Ev of difference. As you can see, both images show a very similar amount of information in the highlights and shadows and the overall look is the same. However if you analyse closer, you will notice that the HDR picture has cleaner details and better colour accuracy especially in the shadows. In the single Raw file, I had to recover a lot of information and that inevitably resulted in a loss of image quality. Having more information in the HDR version allows me to recover more without any loss in quality.
To summarise, HDR makes the information in the highlights and shadows richer and cleaner with a better colour range. But the actual dynamic range capability of your camera remains unchanged.
Chapter 1: the “ugly” HDR
We are often attracted to HDR because it imbues our images with vigour and intensity and helps them stand out from the crowd. It can also make people believe that there is some kind of skill or complex artistic work involved. We often start using it because we see other people posting examples in forums or on social platforms, and we want to try to achieve the same effect.
I was first tempted by HDR when I was still an amateur after seeing a couple of examples on a Nikon forum and reading a tutorial about it online. After a few years of practice, I felt I had a good grasp on the technique. One of the HDR pictures of which I was the most proud is the one below taken in Prague in 2011 with the Nikon D700.
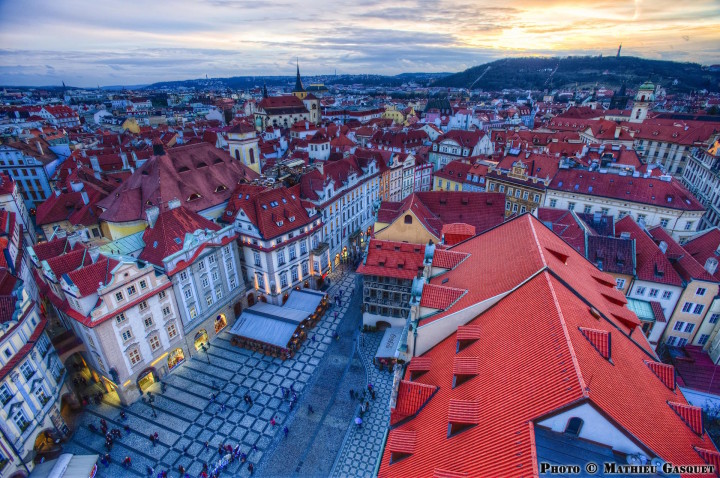
I clearly remember the post-processing moment and how delighted I was with the powerful appearance of the red roofs. The picture is something of a a mix of painting and digital art. I loved it. But if I look at it today, I find it has little to do with HDR.
Why? Well, because if the meaning of HDR is to improve colour accuracy, then I completely missed sight of my goal. The blue tint is unreal as well as the red on the aforementioned roofs. Yes, it is perhaps beautiful from a pure “plastic aesthetics” point of view but it remains unnatural. I would probably be 100 times more proud of this picture if it had been a drawing or painting of mine and not a photograph (off topic: I am a bad painter).
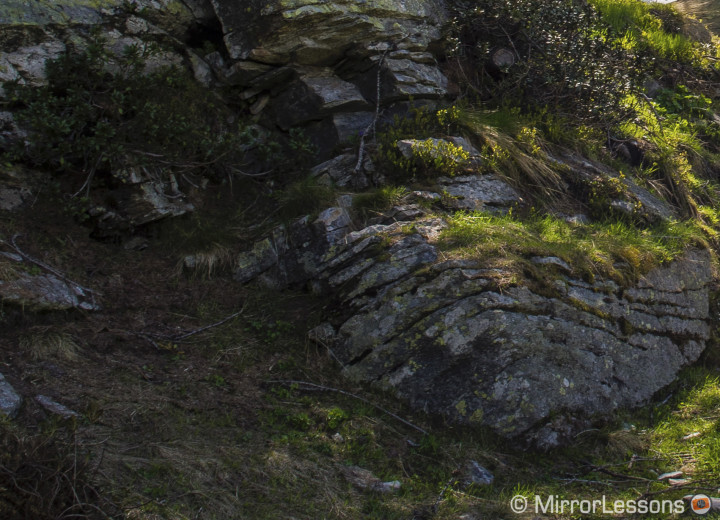
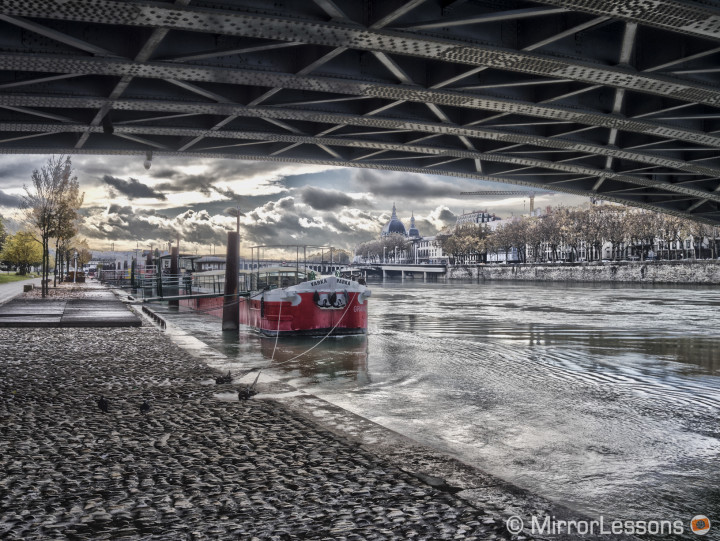
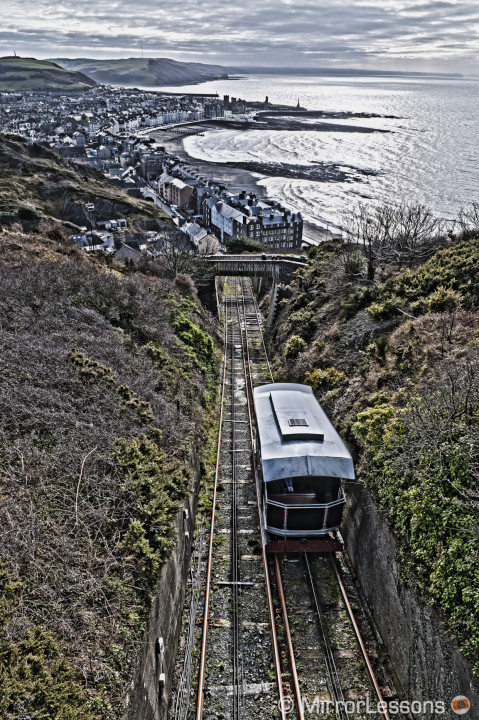
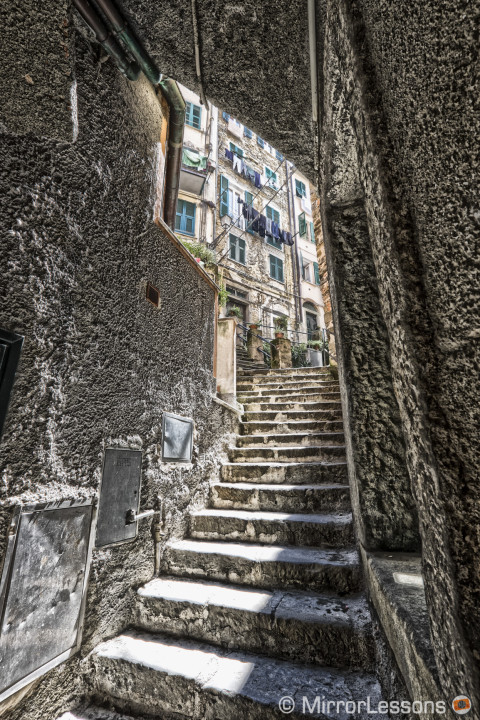
There are other examples that I consider worse than the image above that I call “ugly” HDR. What I mean by “ugly” is that the technique used is too violent in comparison to the content. Often, I see HDR images details and contrast overwhelm the delicate balance between tones. There is too much clarity and too many pumped up details. The colours are also false. I generally don’t like this look because of the excessive processing.
You end up noticing the technique more than the content.
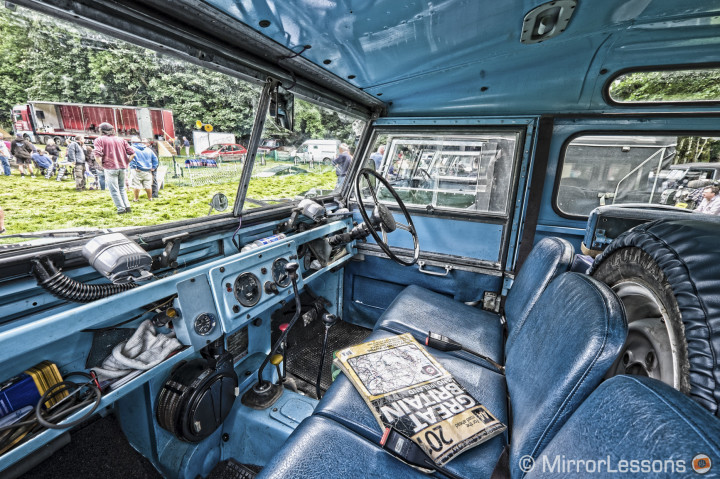
Below is a series of photographs taken with various cameras that I post-processed just for the sake of this example.
Some people like this effect because it gives some sort of “cartoonish” or “comic” look to the images. And it might work for some specific images or stylistic intentions. But there is also a more sophisticated way to achieve this called composite photography. If you want to get a pretty good idea, just check out the amazing work of Adrien Sommeling who creates all his images with the Olympus OM-D E-M1.
Chapter 2: the bad HDR
On my learning path, I started to put some distance between myself and easy HDR effects and began combining the technique with the use of light. One of the most typical situations where HDR is used is a backlit situation, and what could be more classic than a sunset shot? A gorgeous beach scene with the sun setting in the background–no matter how many times a photo like this is uploaded to 500px, we are going to like it.
In this typical situation, an HDR photograph can enhance certain elements of the photo and there is more room for post-production. But the post-processing work should always be done without altering the natural look of the image. And let’s not forget that as long as you are combining different exposures, there will always be some highlighted areas that remain clipped (because you are not increasing the dynamic range, remember?).
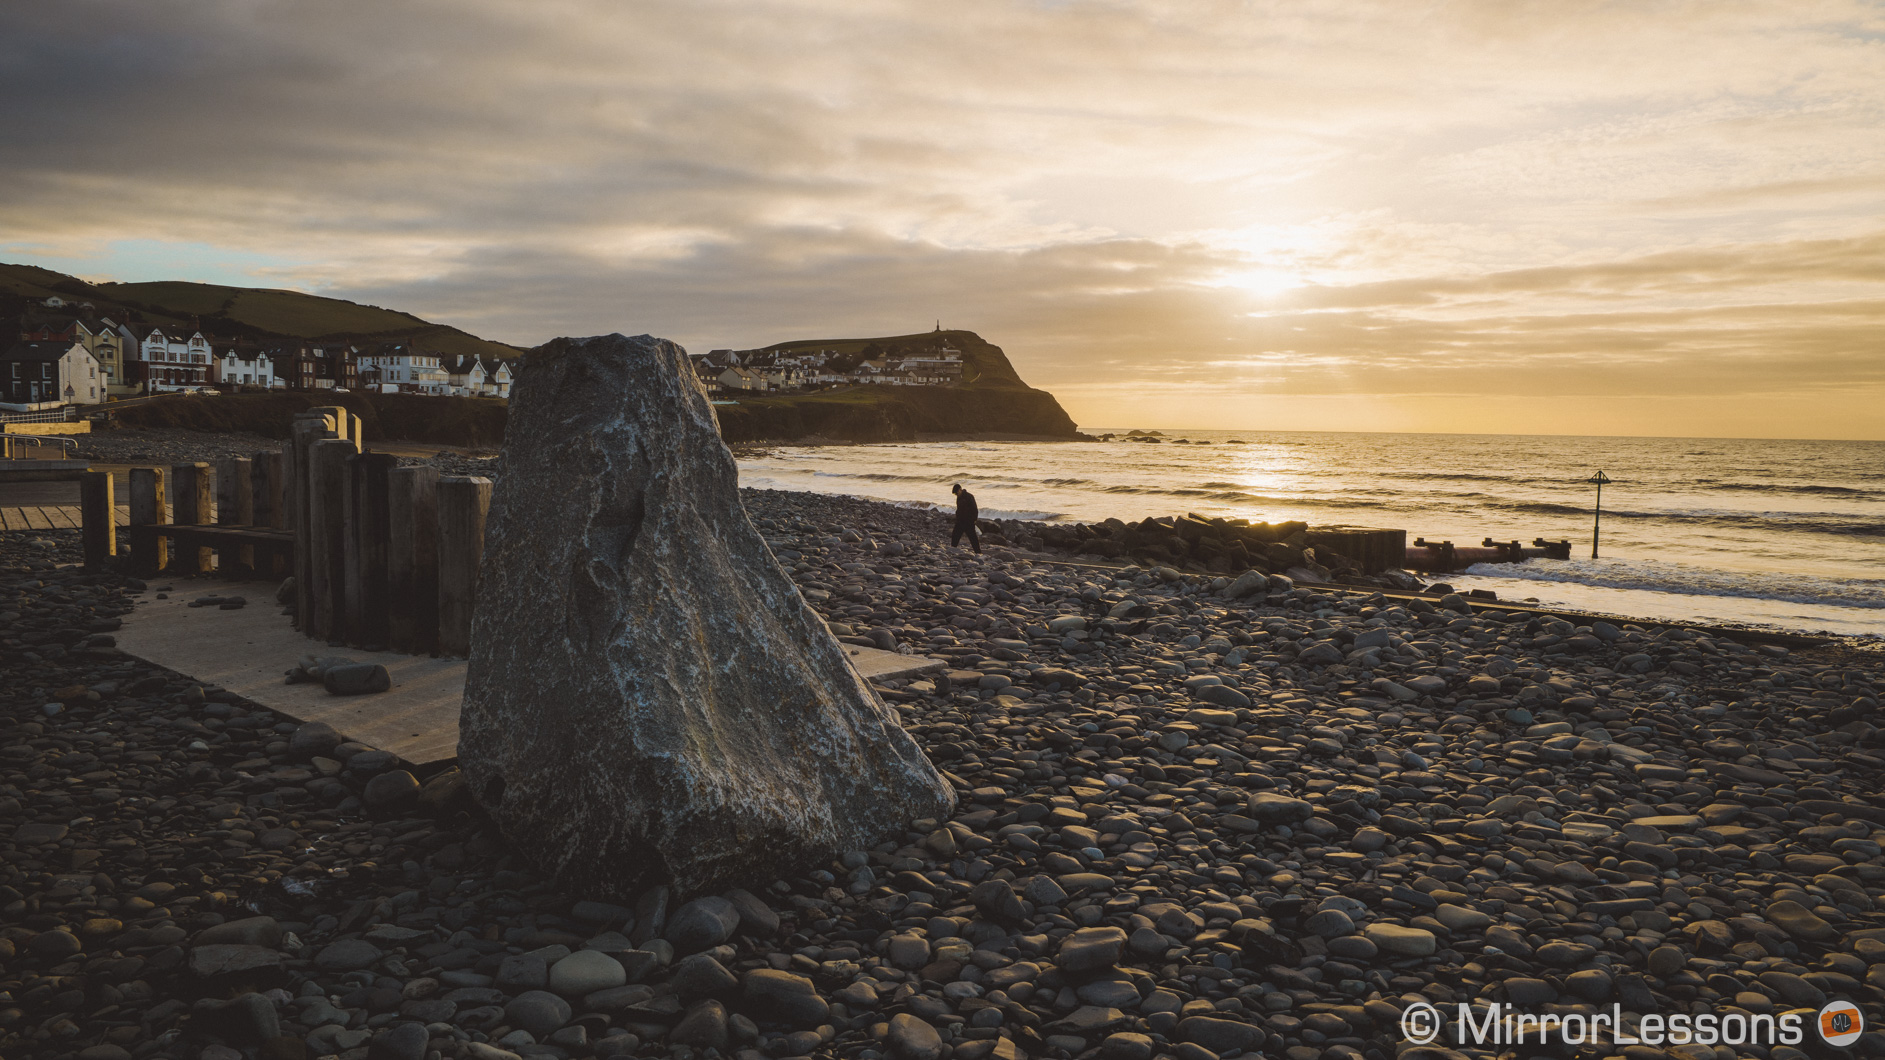
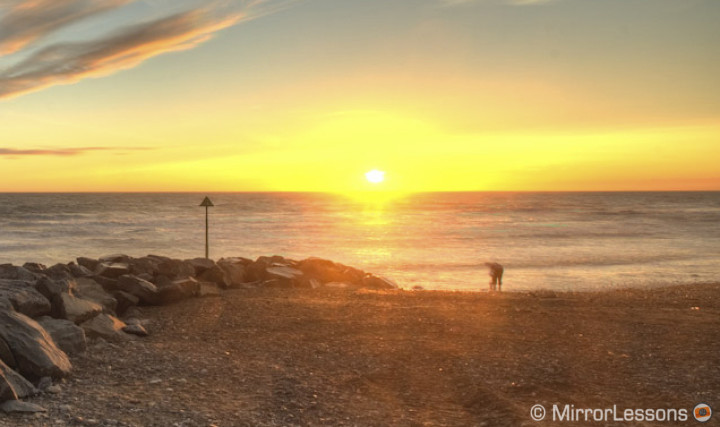
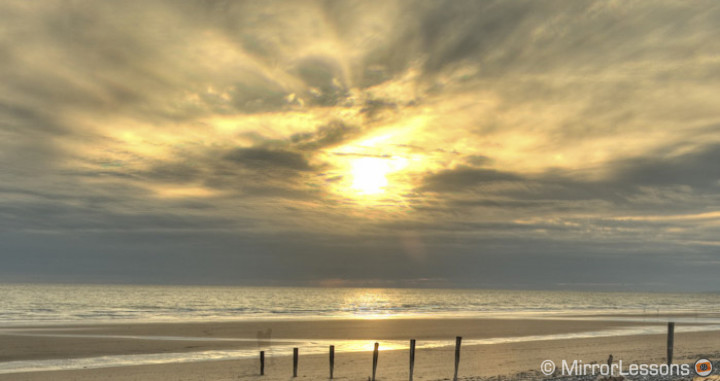
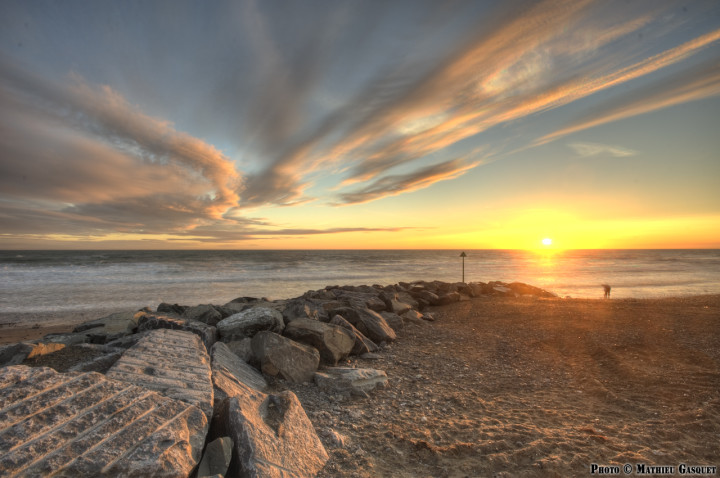
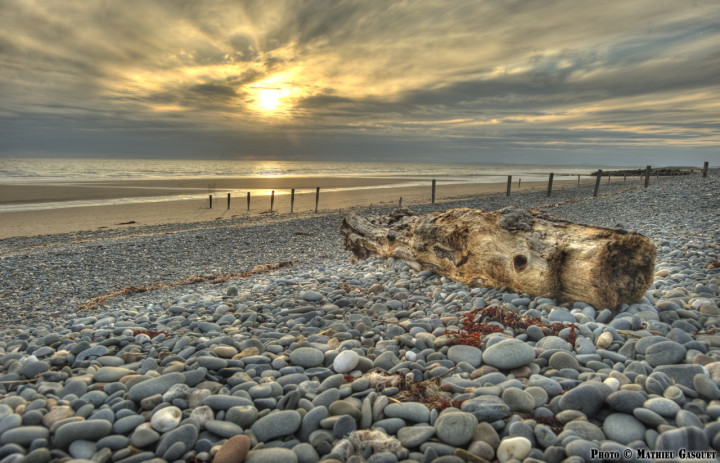
In the example below taken in 2012, you will notice that around the sun there is a clipped yellow area and the natural graduation toward the brighter area (aka the white) of the image is messed up. This is an example of bad HDR because I didn’t care enough about the highlighted zones. What’s more, there is a strange ripple effect along the clouds as well as some ghosting effects near the person in the background (first picture). With Photoshop it can be easily removed during the HDR process.
[stextbox id=”text-box2″]
Even though you’ve merged different exposures, the same rule applies for single shots as for HDR shots. Digital sensors are stronger in the shadows than in the highlights, so even with HDR, I will tend to save more information in the highlights and then recover shadows. This is even truer with smaller sensors like Micro Four Thirds as they are weaker in the highlights than a Fuji APS-C sensor or a Sony A7 full-frame sensor.
[/stextbox]
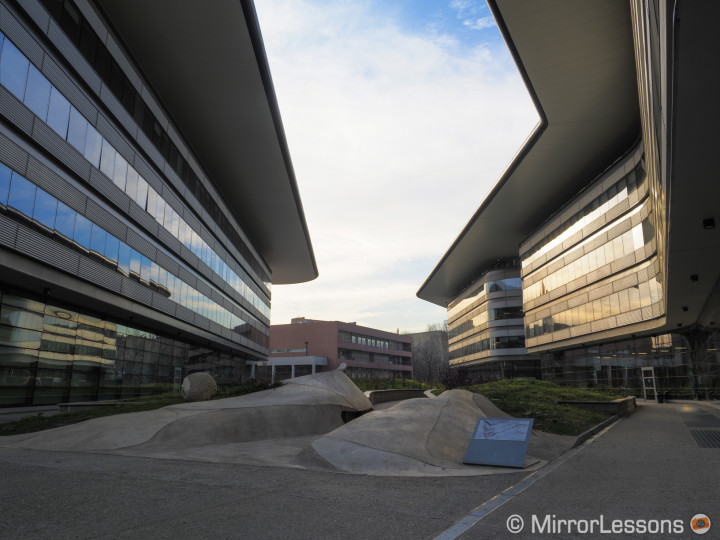
Another error that I made in the past was to think that somehow HDR would transform a bad light situation into a good light situation. It doesn’t, and in actual fact, it can enhance poor light. A typical example is a building shot where the light illuminating it is behind the building instead of in front of it.
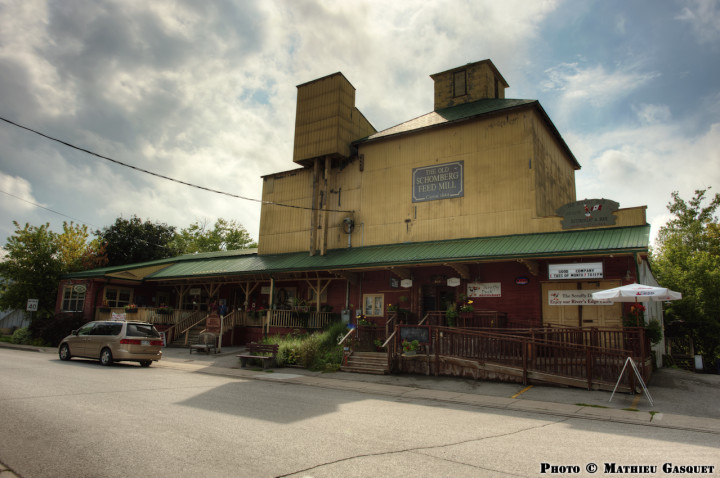
Because of this, you use HDR to give it a stronger effect but it doesn’t change the fact that the light is still in the wrong position and you are not taking advantage of it. The time of day is also important. The light is harder at midday than it is in the early morning or late afternoon.
Chapter 3: the good HDR
In cinema school, they will teach you that the best special effects are the ones you don’t see. After a steep learning curve and several years to reach what I would call my own personal maturity in HDR photography, this what I like to do: to make my photos richer but in a subtle way that produces a natural look.
Now when do I decide to shoot HDR instead of a single shot?
That depends on a number of things. First of all, I like to apply a very simple yet fundamental rule of photography: to look for the right light. If you care enough to look for the right spot, the right composition and see how the light applies to it, you can easily take a single shot to achieve what you want. For example, on a typical day when the sun plays “hide and seek” behind the clouds, you will find that a strong light filtering through the clouds can give you lots of dynamic range to work with in a single shot.
I tend to use or discard HDR depending on the camera I am using as well. With the Sony A7 series, I rarely take any HDR at all. The dynamic range of the Raw files is just that good. Recovering shadows and highlights is more than enough to get the effect I want in most situations. With Micro Four Thirds cameras or cameras with a smaller sensor such as the Fuji X30 for example, I am more tempted to use HDR if the contrast is too high. Moreover, Micro Four Thirds sensors tend to produce some noise even at low ISO settings so using HDR won’t just produce a better tonal range but also cleaner and richer files.
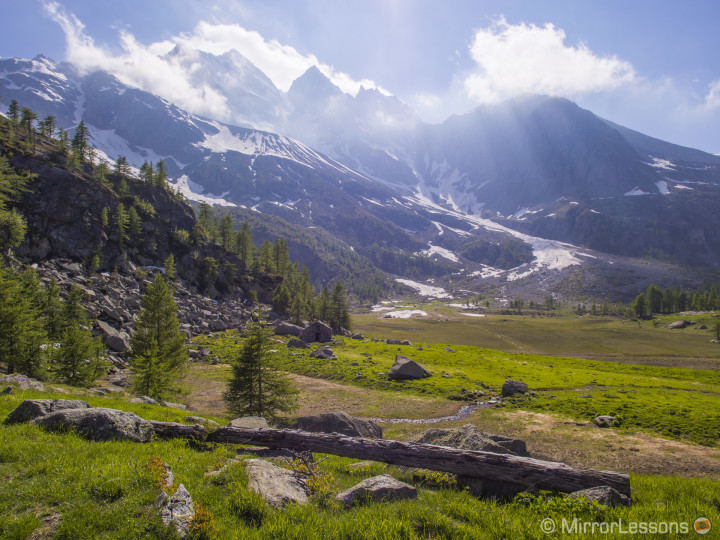
Now this rule is not set in stone. For example the picture below was post-processed from a single Raw file using the Sony RX100 Mark II. The result is quite good considering the camera uses a 1 inch sensor. Knowing the capabilities of your camera can certainly help you make the right decision.
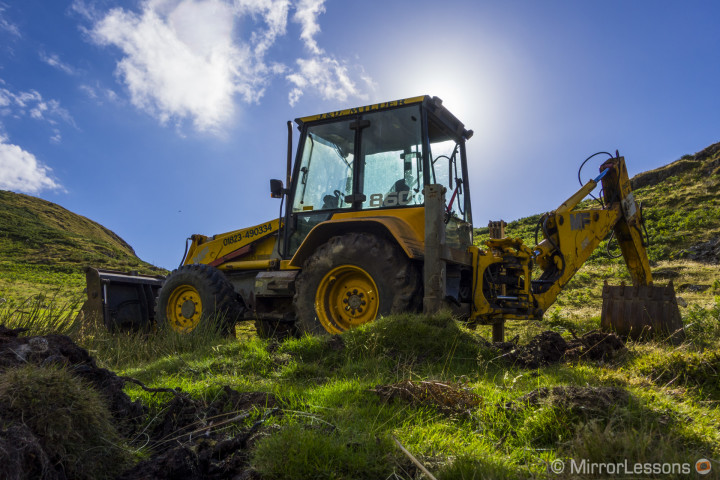
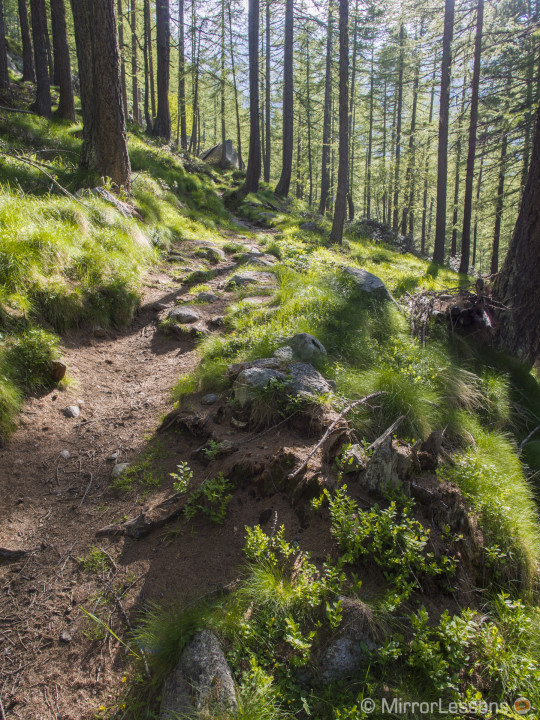
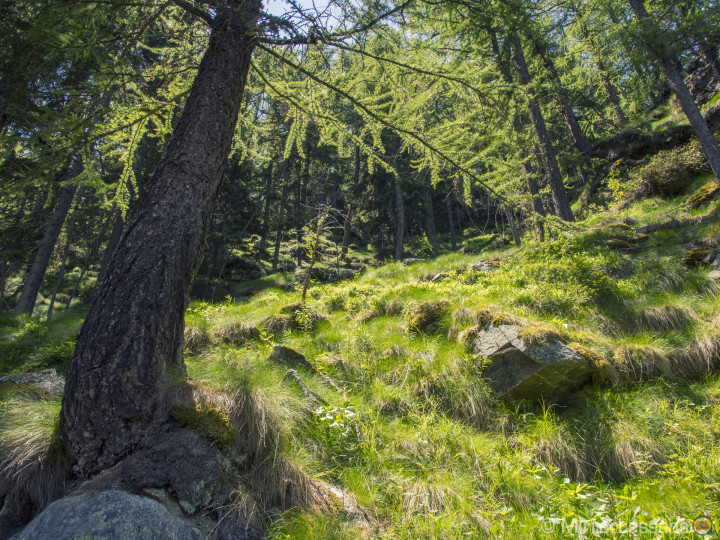
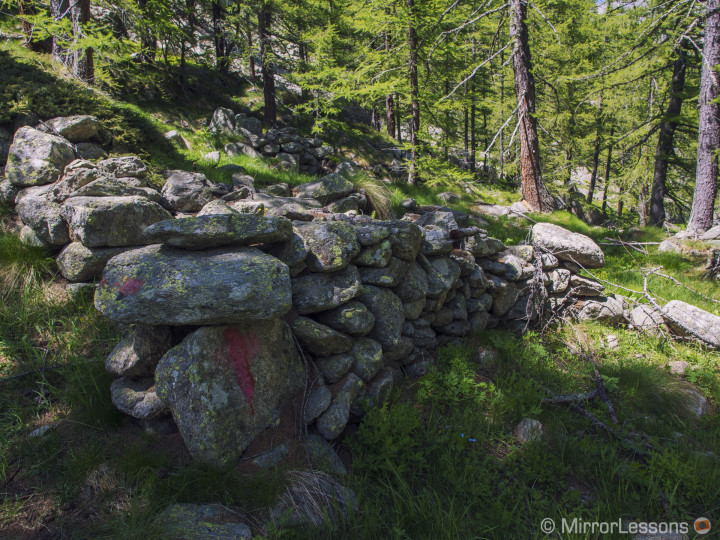
As you might have guessed, I like to use HDR is situations where it can really make a difference. This includes landscape work in the woods for example. When you are shooting under a canopy of trees, there are a lot of multiplied contrast areas and lots of details in the frame. With a single shot, I often find the result kind of flat. HDR helps to increase the tones and gives a more interesting look. I can also push the boundaries when post-processing the shot.
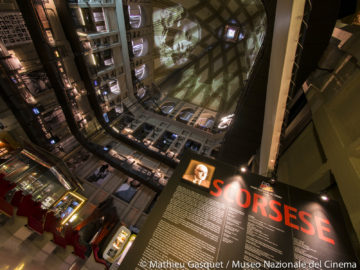
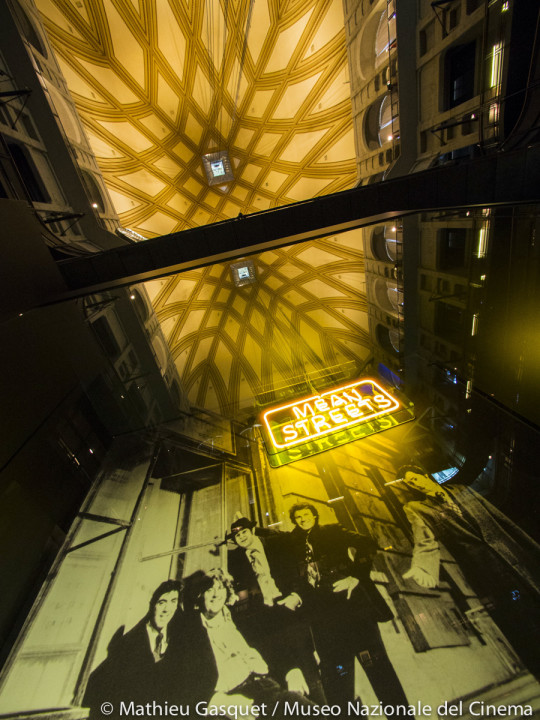
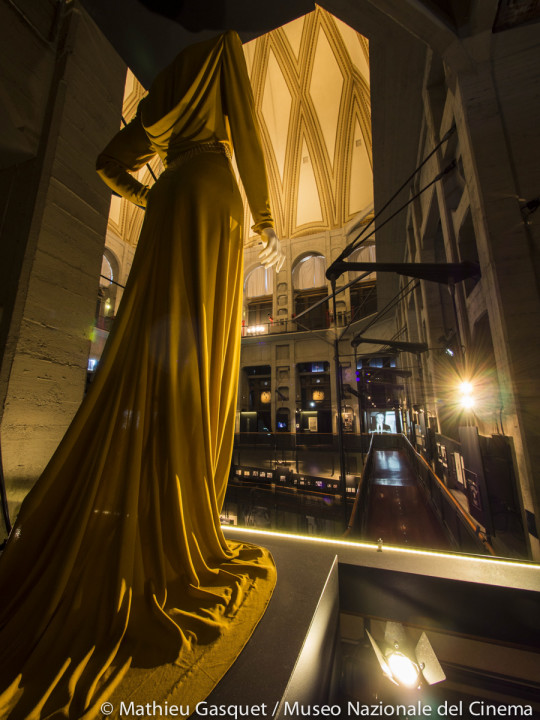
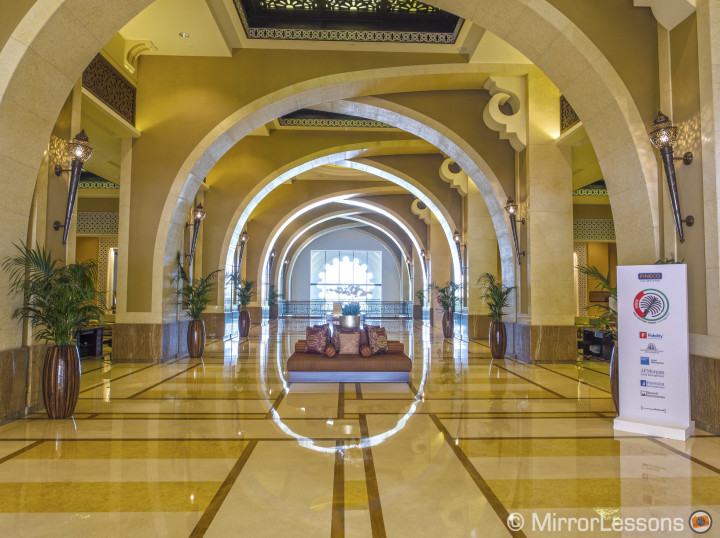
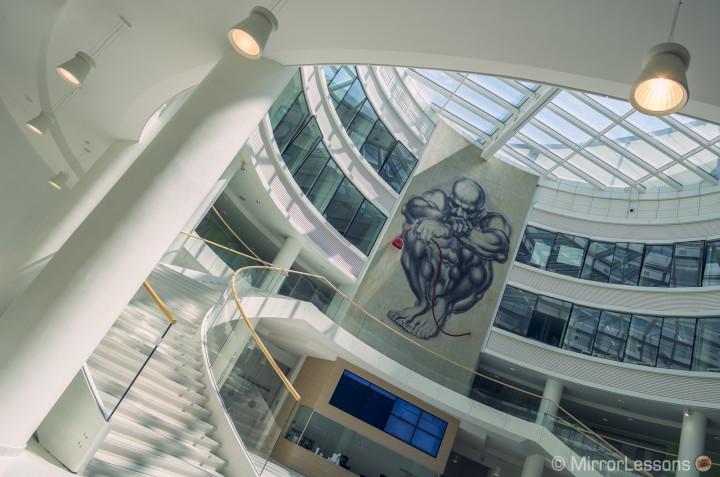
I also use HDR for indoor assignments for one of the reasons explained at the beginning: to have a cleaner “noise-free” image especially in the darker areas. You want to give your client the best quality possible and this is a simple yet very effective tip. I used HDR a lot during my years of work at the Cinema Museum in Turin when I was assigned to photograph new exhibitions for example.
[stextbox id=”text-box”]
Mirrorless cameras and HDR
There aren’t really any specific rules or tips for shooting HDR with mirrorless cameras. However I do like to work with certain cameras more than others because of the options they provide.
For example Fujifilm cameras have a limited bracketing function: they only allow 3 shots with 1Ev step. I generally like to work with 5 shots and sometimes set 2Ev of difference. This is why I like the HDR function of the OM-D E-M1 for example as you have more freedom to choose the number of shots and the difference in exposure. Of course you can always do this manually by changing the shutter speed between each shot but the nice thing about bracketing is that the camera takes the pictures in burst mode. This allows you to work hand-held and automatically align the frames with your favourite HDR software. Most cameras also have a dedicated HDR function that will only work with JPGs but I tend to avoid these functions because they sometimes produce clipping in the highlights and you won’t be able to benefit from the rich tonal range as you would with the Raw files.
[/stextbox]
Conclusion: there isn’t just one dynamic range
Going back to the dynamic range topic described at the beginning, there is one last thing I would like to mention: dynamic range is not just a question of your camera’s performance. It is also a question of where your picture will end up. Will it be printed? Will it be displayed on a digital screen? Because each of these devices has its own dynamic range. I don’t want to go deep into a technical analysis here because I admit that I am not the most qualified person proceed with this discussion. If you are interested however, I suggest that you read the following article on Cambridge in Colours.
What I want to state is that you should always keep in mind where the photograph will be displayed and who will use it, just as you would with any photograph. Of course it is more than fine to experiment and try different things. But over-processing a photo won’t necessarily make it better in print. Actually, the effect could be the exact opposite.
HDR is a question of personal taste. Here I described what I like and what I don’t like but you might disagree with me and actually love what I call “ugly” HDR.
In fact, if this is the case, I would love to hear your opinion. Also, if you have any other good HDR examples or tips, leave a comment below!
