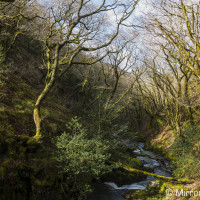
About fifteen-minutes inland from the Welsh shoreline lies a village so small that you can walk from one end to the other in less time than it takes to brew a cup of tea. Small shouldn’t be taken as a synonym for dull, however, for Abergynolwyn, starting from the very sound of its name, is bursting with raw Welsh character. Not only is it composed mainly of Welsh speakers – a rarity these days in Wales – but it is also the terminus for the Talyllyn small-gauge railway line and the doorway to Nant Gwernol, a rocky river gorge whose name and appearance is worthy of a Tolkien novel.
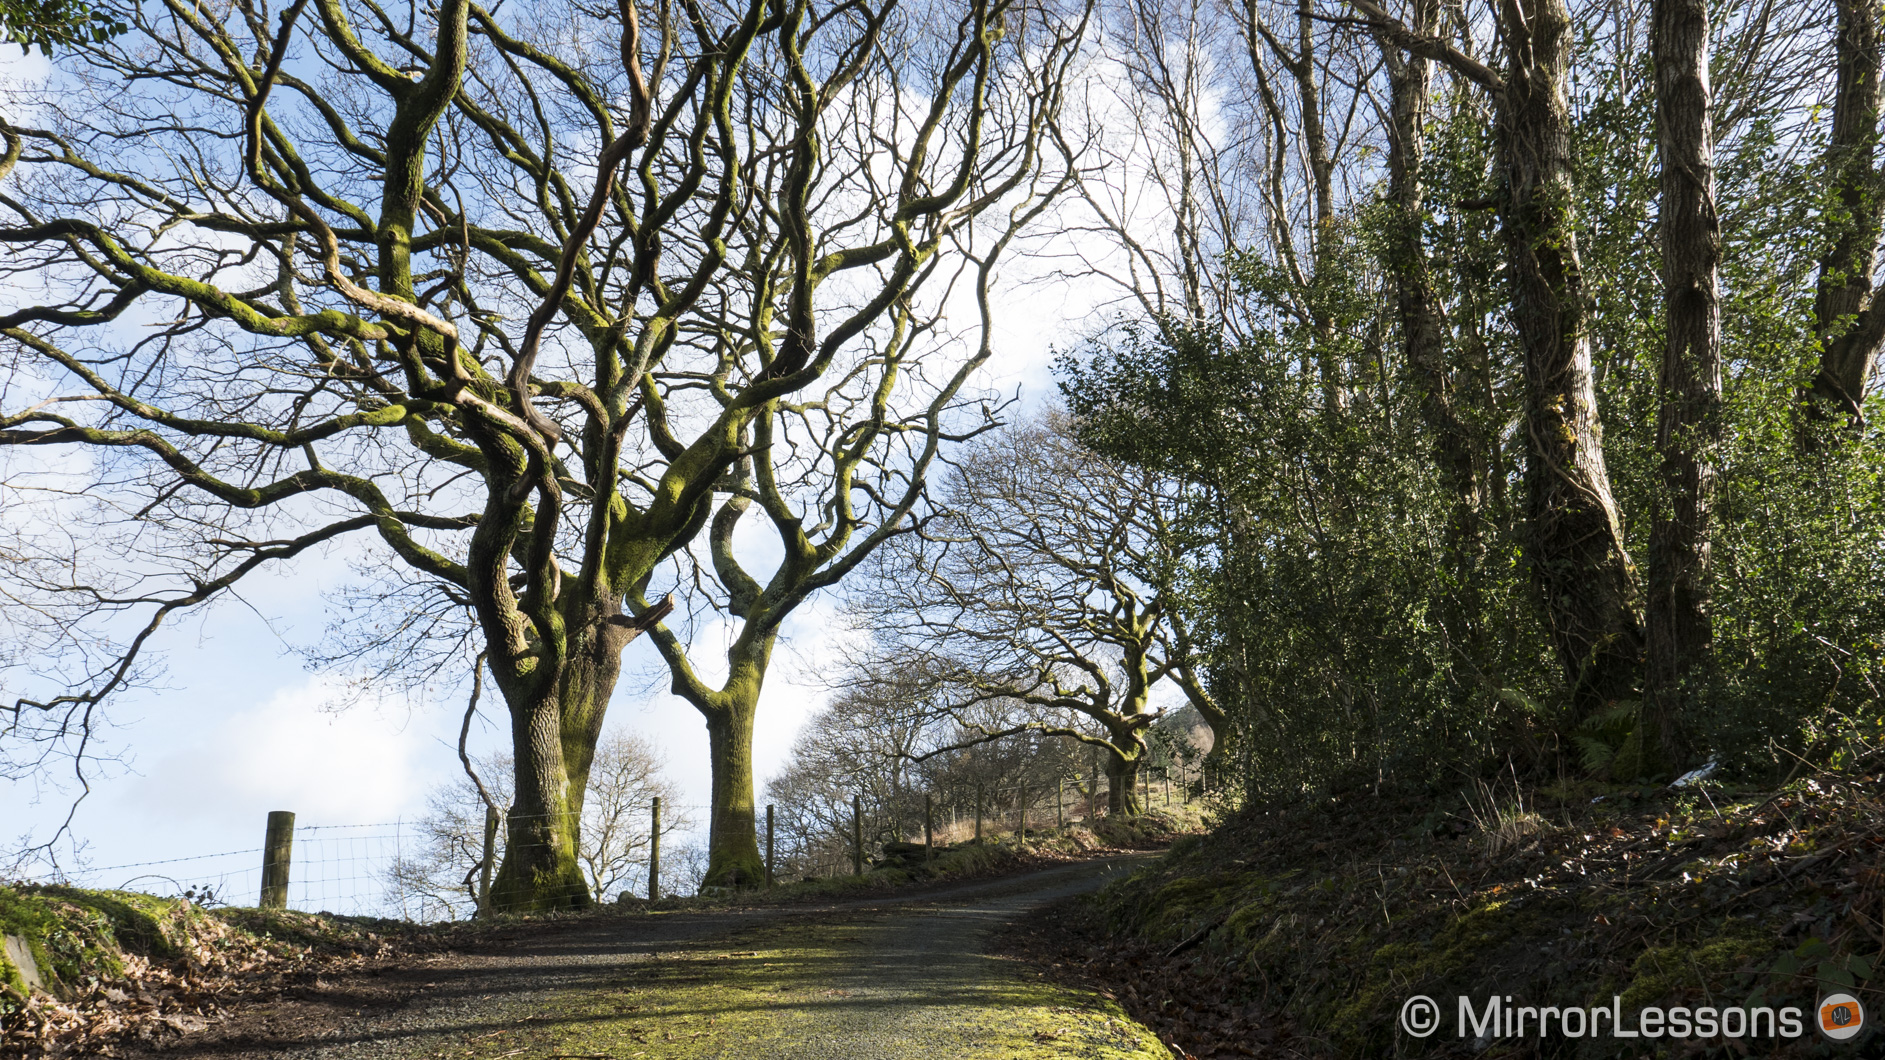
The first thing you’ll noticed about Nant Gwernol besides the rushing river that cuts through its core are the ancient woodlands, an eclectic mix of oakwood, conifers, sycamore and ash. The oldest trees seem to defy the laws of gravity, their gnarled moss-covered branches and spiralled twigs outstretched toward the river bed as if trying to elude the sun.
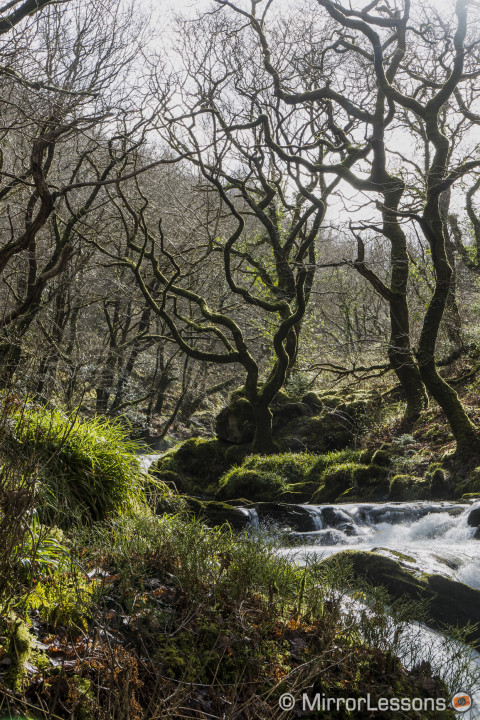
And yet ironically, there isn’t much sun to hide from. An ongoing joke amongst the people in this area is that even when the weather is fair elsewhere, a heavy raincloud remains fixed over Abergynolyn. That the sun was out and filtering through the trees on the day Mathieu and I went to photograph Nant Gwernol – he with the Leica T and I with the Panasonic Lumix LX100 – was nothing short of a miracle.
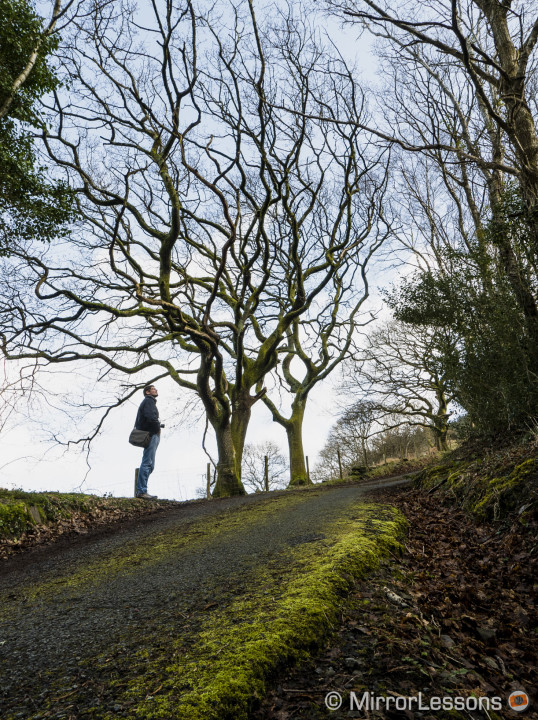
Personally I’ve always found forests and woods amongst the most challenging landscapes to photograph.
Composition is by far the biggest obstacle. To the human eye, nearly any scene in an “enchanted forest” can seem picture-worthy. However the monochromatic nature of the scene (green) along with the sheer number of similar objects (trees) can prove troublesome when trying to decide on a subject or combination of subjects for an image. Many a time I’ve taken a photograph of a scene just to discover that I’ve accidentally included a superfluous object, such as a stray tree branch or trunk that leads the eye away from the focus of the composition.
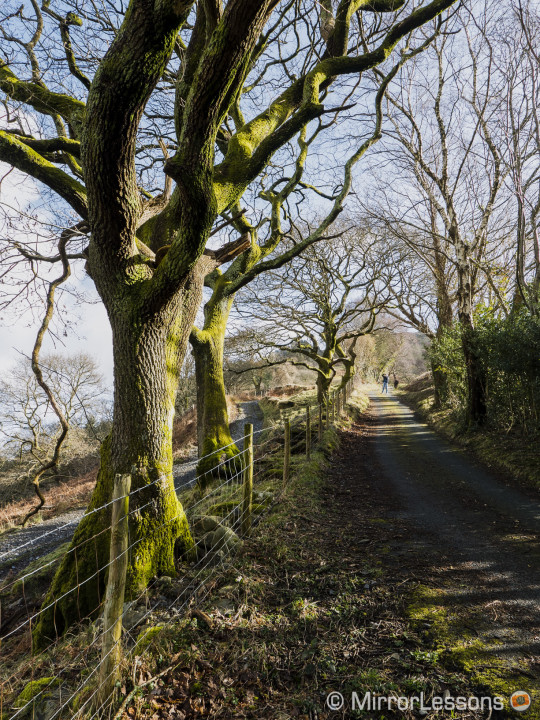
There is the option of removing these elements in Lightroom or Photoshop later on but doing so is laborious and unless you are an expert, the result may not look natural. It is always better to get the composition right in-camera the first time. To do this, it helps to spend time in one spot, taking multiple shots until you take one that satisfies you. Also consider using a tripod, as it will slow you down and help you to concentrate.
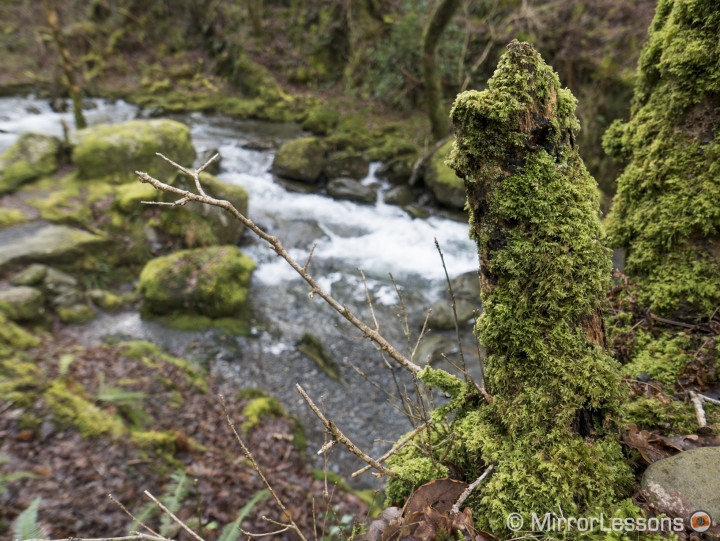
On a sunny day, the massive dynamic range of the scene can also prove problematic. Patches of bright sky clash with the shadowed logs and deep crevasses, sometimes making it difficult to select the correct exposure for a single shot.
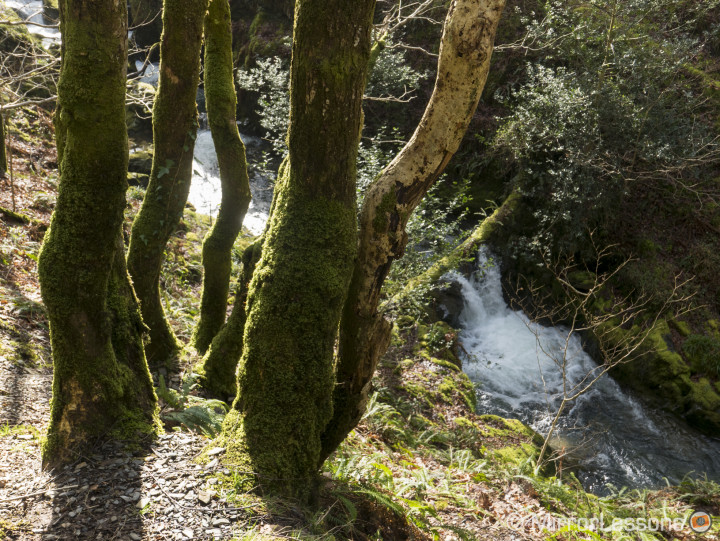
If your mirrorless camera’s sensor has excellent dynamic range, such as the Sony A7r for example, you may not have to worry as much as you’ll be able to recuperate much of the lost detail in the shadows and highlights in post-production. (Landscape photographer Gavin Hardcastle, who uses the A7r for all his work, has even stated that HDR photography may be on the way out because of improving sensor technology.)
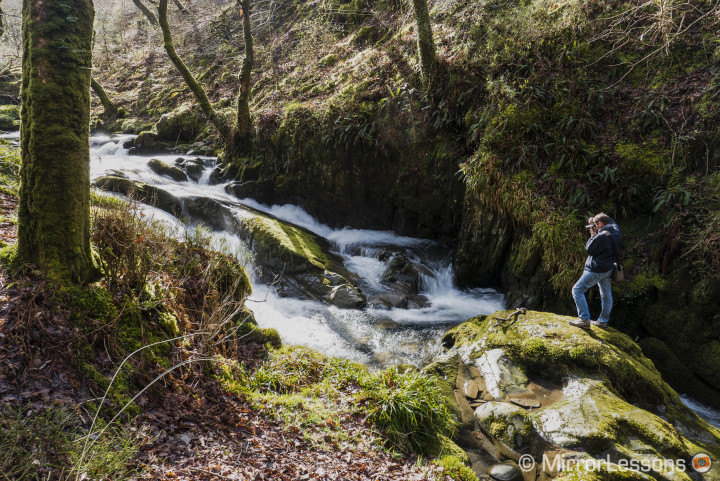
If your camera’s sensor has less dynamic range however, like the Micro Four Thirds sensor of the LX100, bracketing three to five exposures and merging them in post-production is the safest option. Doing so gives you a very flexible file to play with later on. For the set of photos you see in this post, I tended to bracket five exposures, make the basic adjustments to exposure in Photoshop, export the file as a .tif, and make any finer adjustments to clarity, contrast, shadows and highlights in Lightroom before exporting it as a JPG.
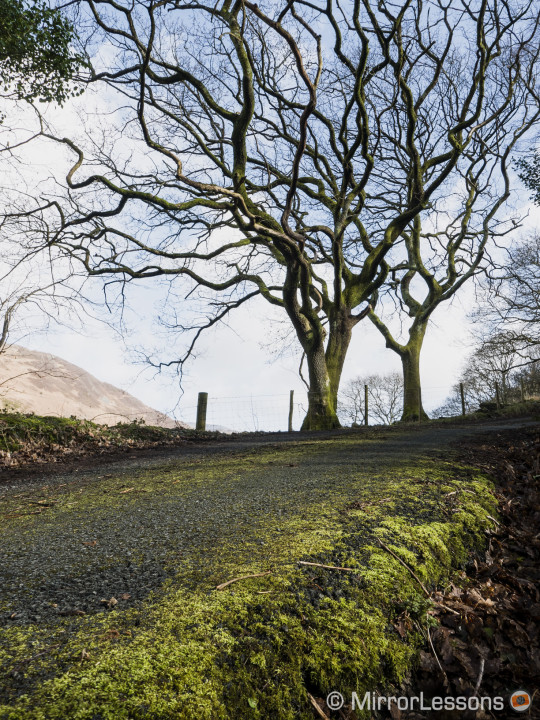
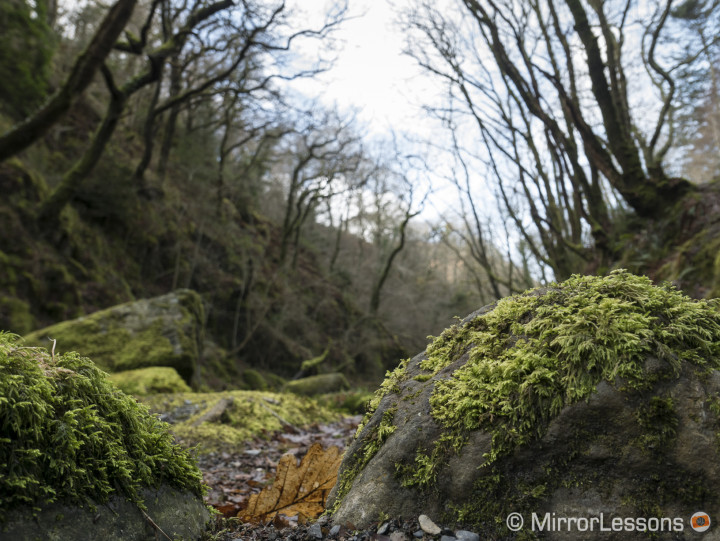
Using the LX100 in the woods also made me realise just how much I appreciate the recent implementation of tilting screens on mirrorless cameras. (The LX100 is the only modern Lumix mirrorless without a tilting LCD.) For the low-angle shot you see below, I had to sacrifice my clean jacket by lying with one arm against the ground to see my composition in the LCD. If I’d had the Lumix GX7 (just to compare apples with apples), I could have simply tilted the screen all the way up and crouched down to compose my shot.
Photographing a forest may not be easy, but it is a therapeutic and educational experience for anyone interested in landscape photography. If there is one in your area, why not explore and try to take some photographs of your own!
Do you have any tips or tricks for photographing a forest? If so, share them in the comments section below!
