Since photography first became accessible to the masses, companies have been looking for innovative ways to make cameras more portable. While traditional camera bags and straps remain the most popular option, a number of new products have sprung up over the years that have changed the way we carry around our cameras, including holsters, belts bags, interchangeable straps and clips.
The most recent solution we’ve been testing on our mirrorless cameras is the Peak Design’s flagship product, the CapturePRO camera clip. Peak Design is one of the main innovators in camera carrying solutions, having developed popular products such as the versatile Anchor Link system, Slide strap and CapturePOV, just to name a few.
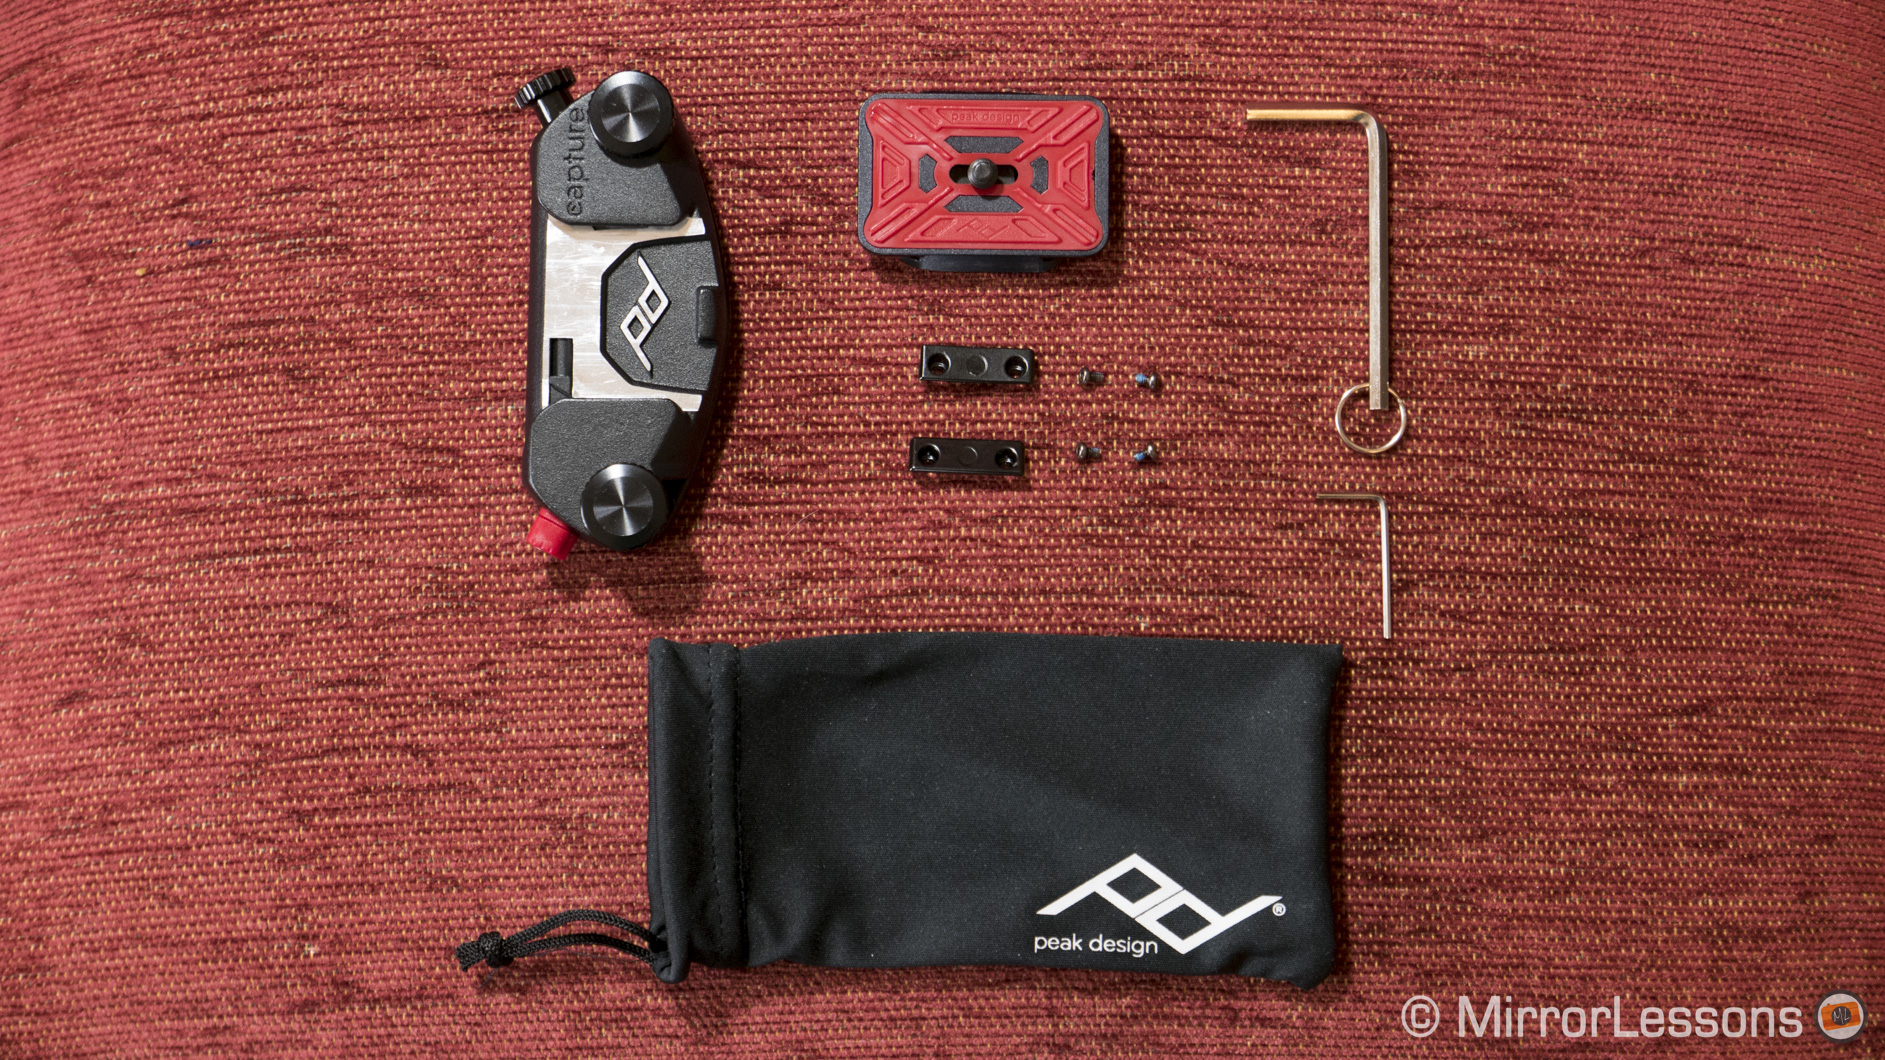
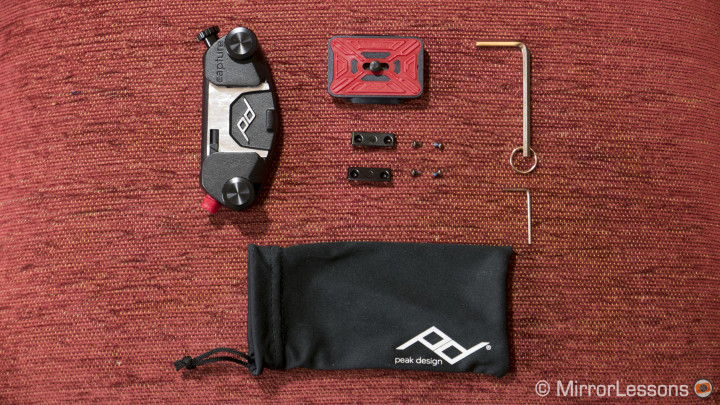
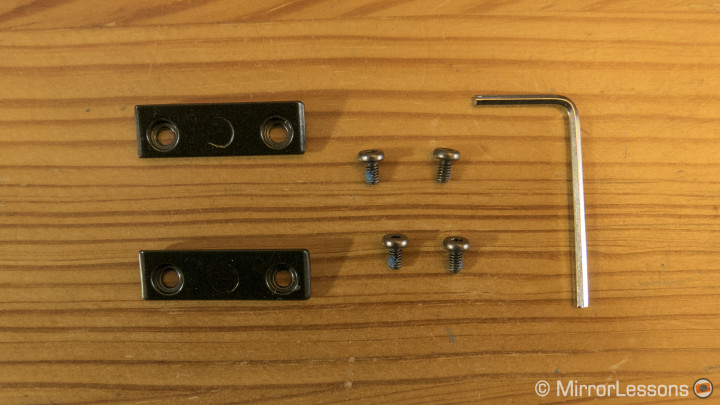
The CapturePRO kit comes with the following items: the all-aluminium Capture clip, PROplate, two adapters for Manfrotto RC-2 tripods with four screws, and a hex key to screw the plate onto the camera.
According to the Peak Design website, the CapturePRO camera clip can withstand up to 200 pounds of force. Though we all like impressive statistics, this one isn’t particularly relevant as you probably won’t want more than 3 pounds hanging from your belt or strap at one time. It is however a testament to its heavy-duty construction.
What you really need to consider are the dimensions of your camera-lens combo. If you attach the clip to your backpack strap, you can comfortably carry around most camera and lens combinations but if you fasten it to your belt or handbag strap, it is best to mount a lens that isn’t too long or bulky so that you are free to move about.
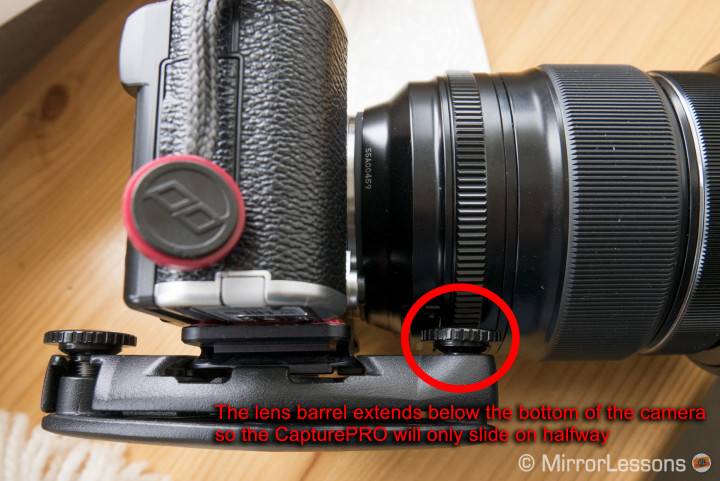
A small thing to note is that if the lens barrel extends below the base of your camera, it is impossible to attach the clip lengthwise. This is demonstrated in the example below featuring the diminutive Fujifilm X-A2 and the fairly bulky 16-55mm f/2.8.
There is a bit of a learning curve to understanding how to attach the clip to your belt but once you’ve got the hang of it, it’s very straightforward. (Keep in mind that the maximum dimensions for the belt or strap to which you attach the clip are 3 inches (7.6 cm) wide and 0.5 inches (1.3 cm) thick.)
- Loosen the two large black screws on the clip until they almost come off.
- Unhook the upper plate by pulling it away from the left-hand screw. This step can be a bit fiddly.
- Slide the clip onto your belt or strap with the red spring facing downward.
- Reconnect the upper and lower plates and tighten the black screws.
Then comes the step of sliding your camera (with PROplate attached) onto the clip:
- Attach the PROplate to the camera with the hex key. Make sure it’s screwed on tightly.
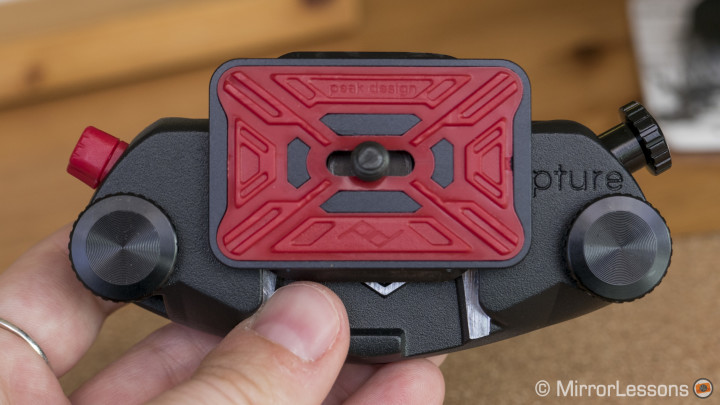
- Rotate the red spring on the clip so that it can be pushed like a button.
- Slide the camera onto the clip with the lens facing downward.
- Rotate the red spring so that it can no longer be pushed. This will lock the camera in place.
The fact that I was using a rented lens probably didn’t help but for the first day I couldn’t muster the courage to release my grip on the camera, even though it was securely attached to my belt. This anxious stage soon passed however as I gained confidence in the system and my ability to use it. I’ve found it especially good for long hikes, where wrist straps are impractical and neck straps swing back and forth, putting your gear at risk. It also eliminates the hassle of dealing with a tangled mess of bag and neck straps if you use more than one body.
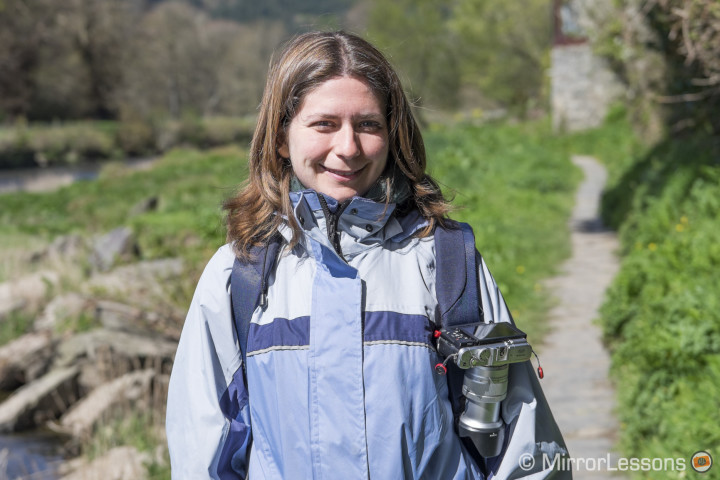
Perhaps the aspect I enjoy the most about the system is that it takes the pressure off my shoulders and back, which after a day of shooting sometimes ache if I use a neck strap. I feel as if the weight of my gear is more evenly distributed across my body. This is true whether I attach it to my belt, handbag strap or backpack.
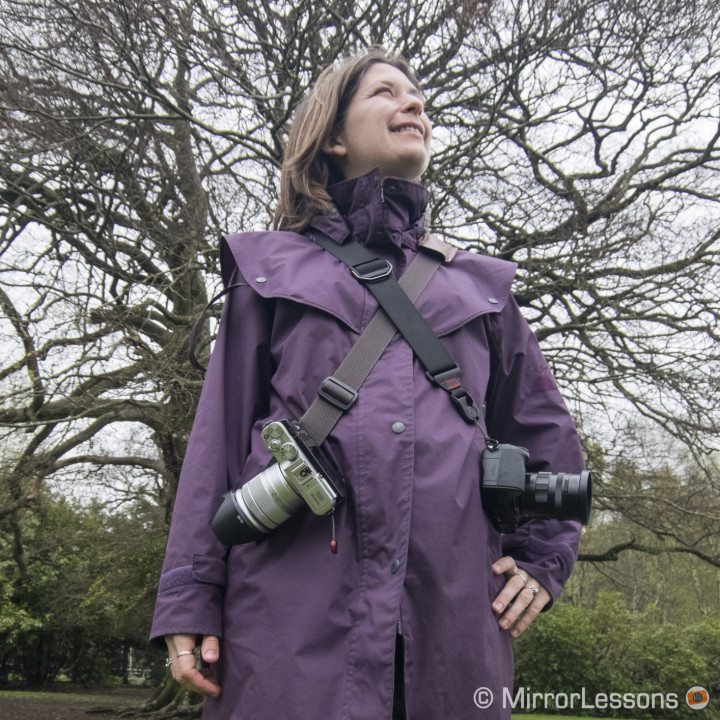
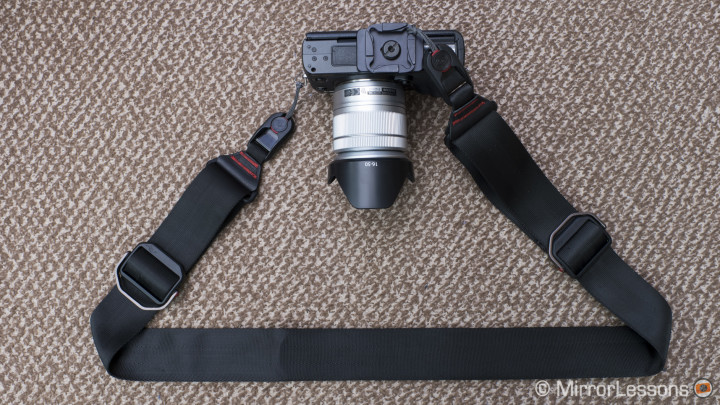
The CapturePro PROplate is also compatible with Peak Design’s proprietary Anchor Link system, which means you can easily switch between using your camera with the CapturePro and any one of Peak Design’s straps. If one thing can be said about Peak Design, it truly has inter-compatibility down to a fine art.
One small limitation is that placing the clip against your hipbone can sometimes hurt. It is a shame as the hip would theoretically be the most ideal position for the clip, being out of the way of your leg but not so far back that you can’t reach your camera. I usually end up attaching it just to the left of my hipbone when I’m out on a casual walk or to my backpack strap when I’m hiking.
The PROplate that comes with the kit can also function as a tripod clamp for certain tripod models. It is compatible with all ARCA-type tripod heads on its own and with the adapters, it will fit most Manfrotto tripod heads with the RC-2 denomination. Unfortunately we own neither so this wasn’t a functionality we were able to test.
 What I like about the CapturePRO:
- An innovative carrying solution for all mirrorless cameras, big and small
- Takes all pressure off of your shoulders and back
- Small, light, durable and portable
- Easy to use once you’ve got the hang of the system
- Can be attached to belts, backpack straps, bag straps, and more
- Can be used as a tripod clamp for certain tripod models
- Is compatible with Peak Design’s anchor link system
 What I don’t like about the CapturePRO:
- Can hurt your hipbone a little if used with a belt
- Not compatible with all tripods
Want to find out more about the CapturePRO and Peak Design’s other innovative products? Then be sure to check out their official website!
