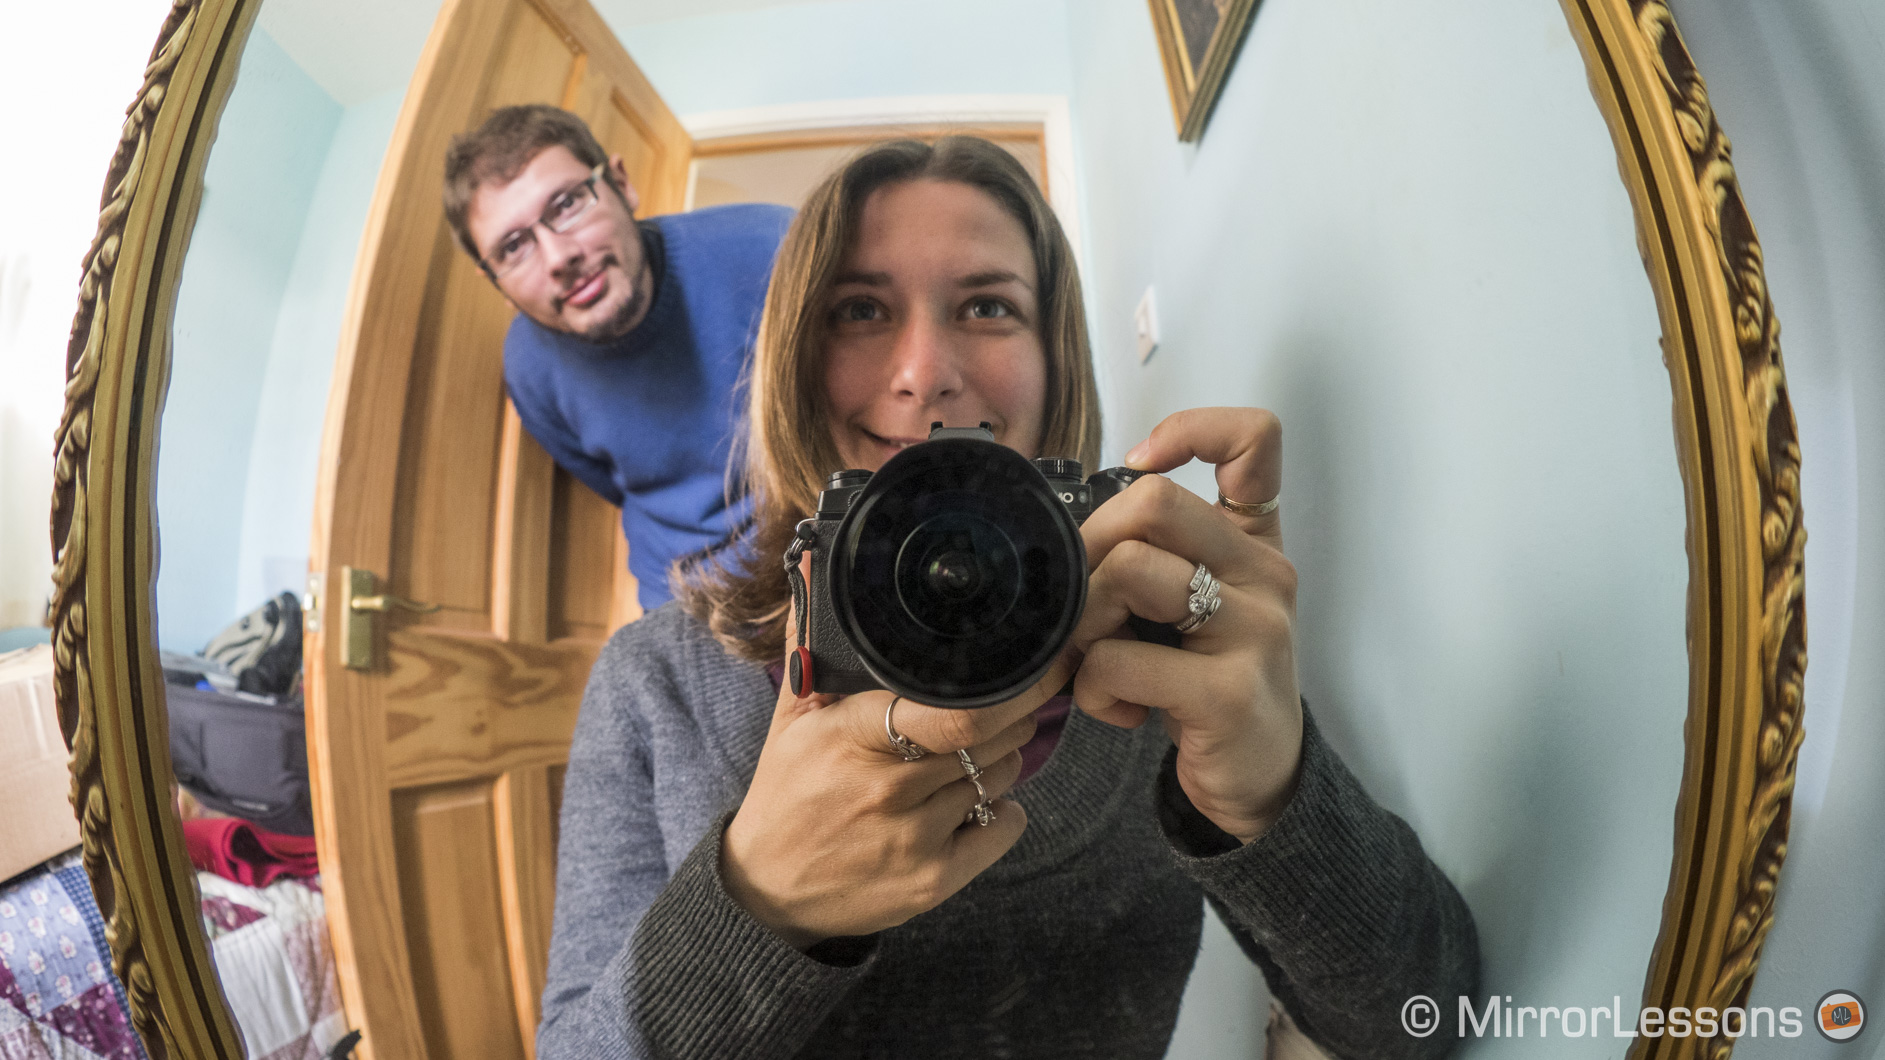
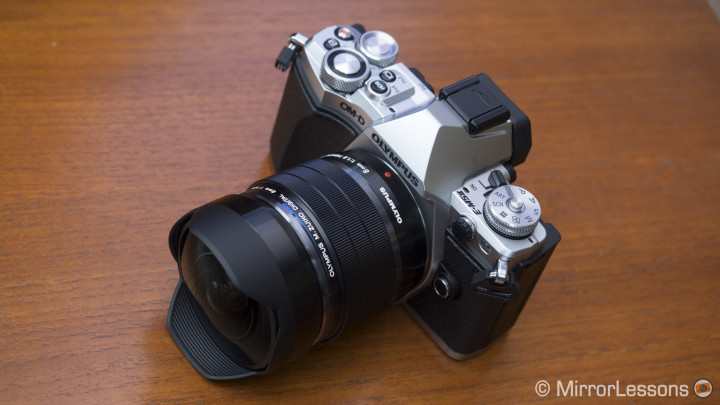
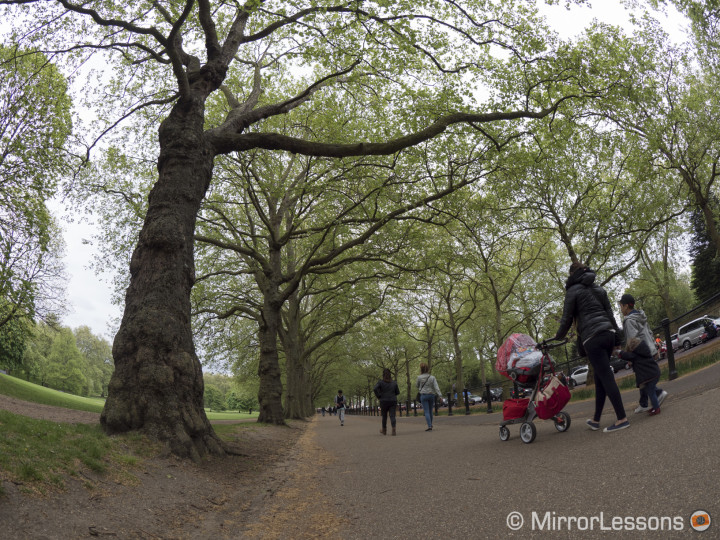
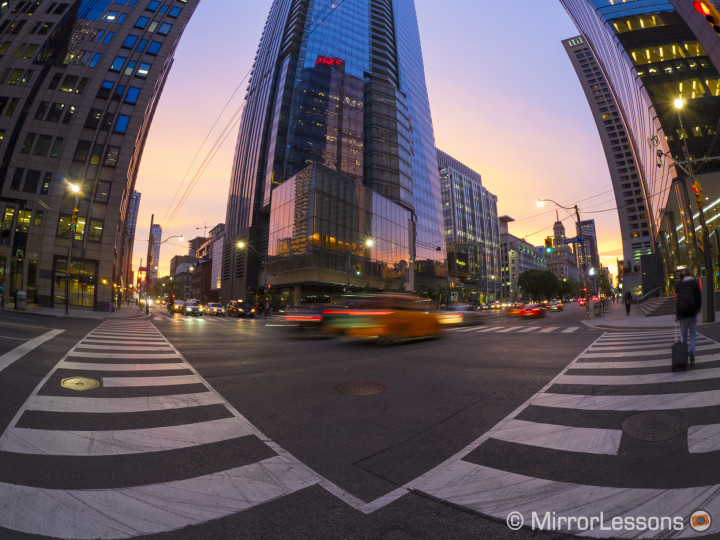
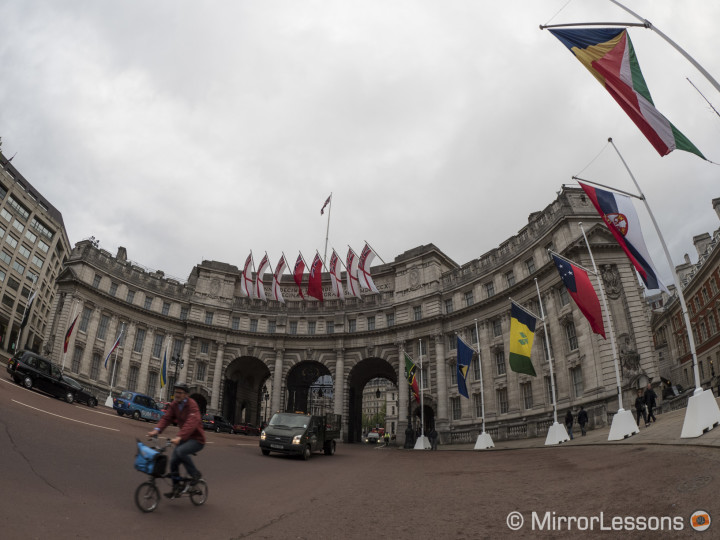
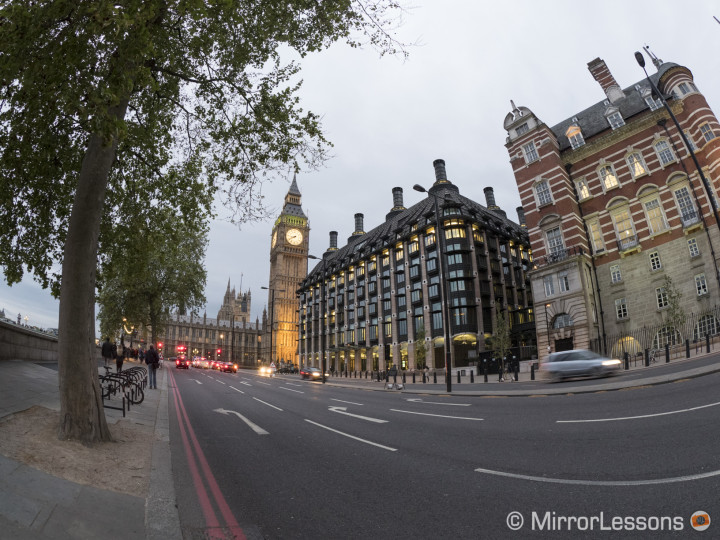
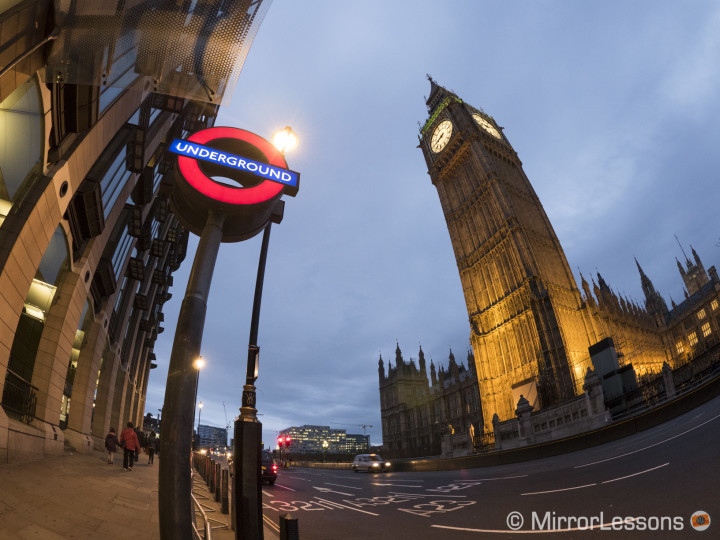
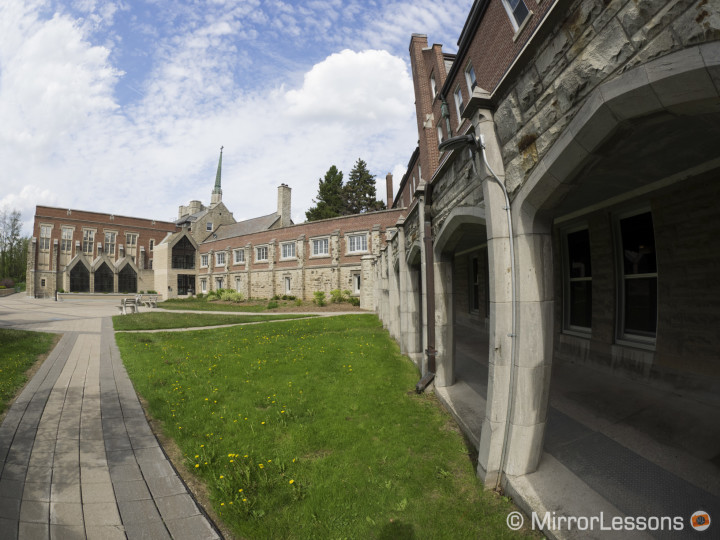
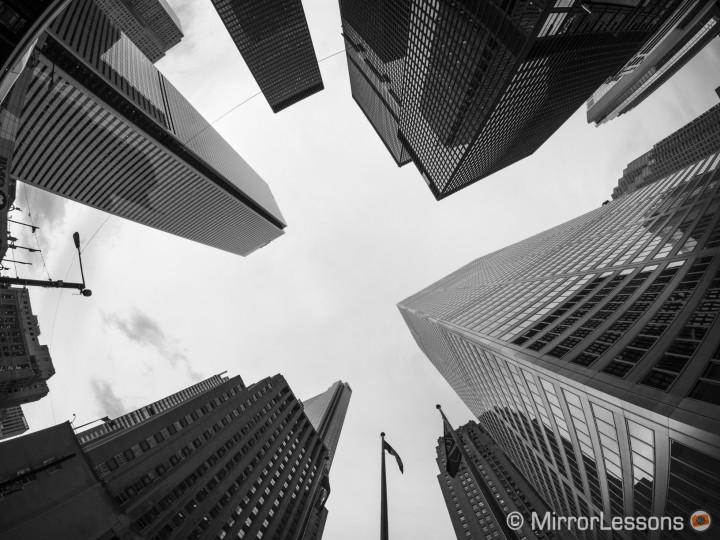
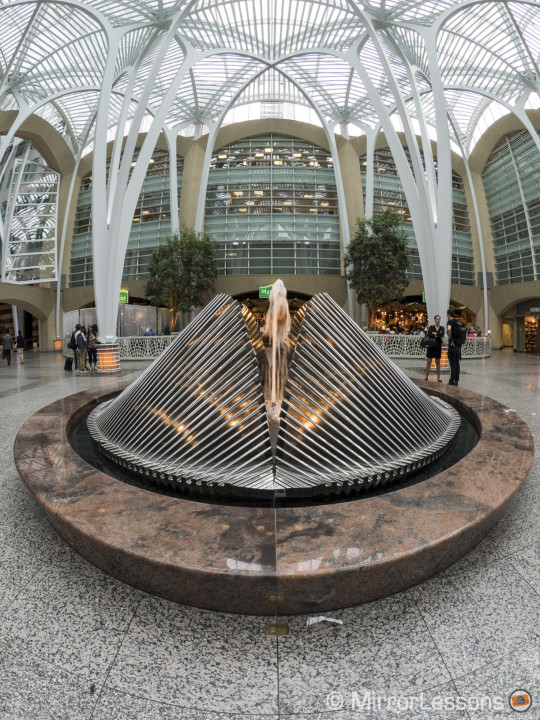
A decade ago, the Micro Four Thirds system was but a twinkle in the eye of Olympus and Panasonic. Now, not only is it a well-recognised format but the lens line-up is inching ever-closer to completion. Not surprisingly, these two manufacturers are now turning their attention to specialty lenses that will appeal to a niche market of users. One of these lenses is the new M.Zuiko 8mm f/1.8 fisheye (16mm on full frame equivalent), the fourth addition to Olympus’ PRO lens line-up.
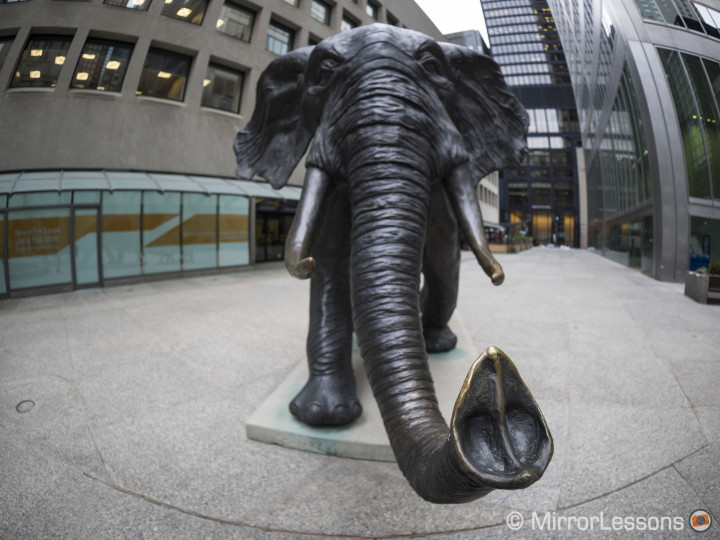
Hearing the word “fisheye” most likely conjures up images of oversized animal snouts and cartoonish portraits, and while these are two fun applications, there is much more to fisheye lenses than just wildly distorted shots of everyday things. They can be used for landscapes, cityscapes, architecture, underwater photography, astrophotography, and close action shots, just to name a few.

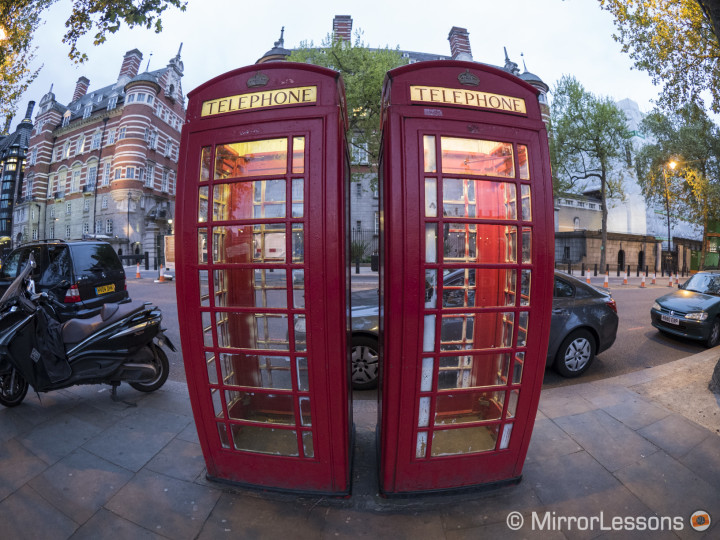
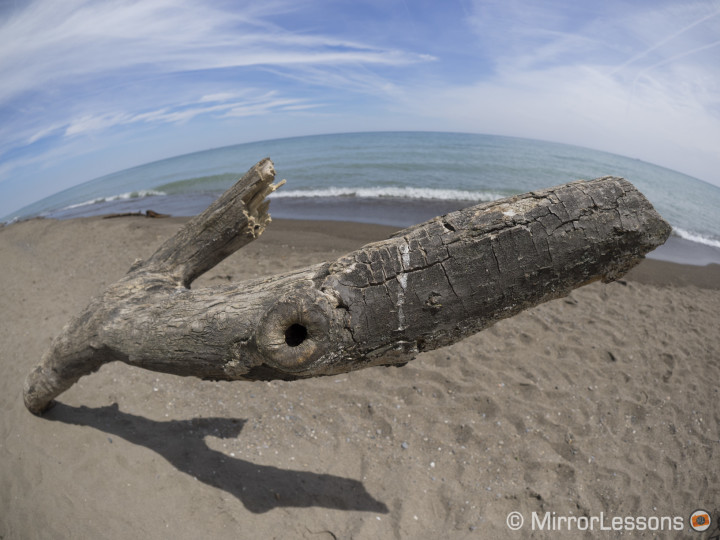
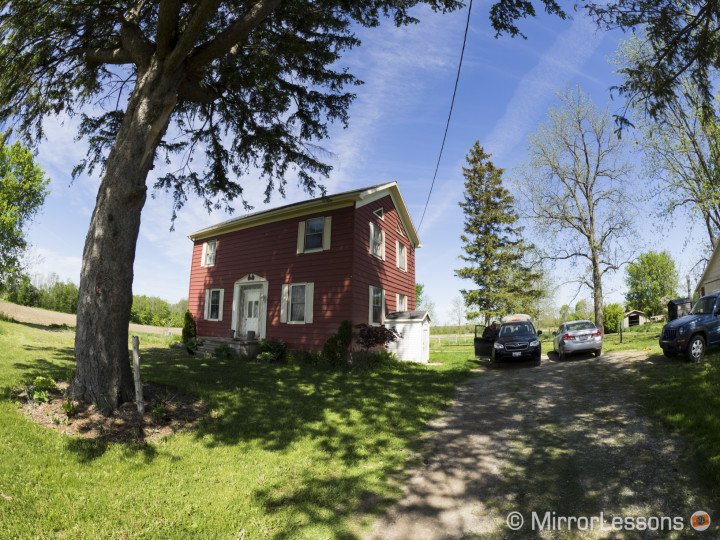
On one hand, we have circular fisheye lenses which take in a 180° angle of view and project this as a circle in the sensor area, leaving the corners of the frame dark. Full-frame fisheye lenses such as the M.Zuiko 8mm f/1.8, on the other hand, are responsible for producing an especially wide angle of view (usually 180°) that covers the entire surface of the sensor. Both foregoe straight lines of perspective, resulting in images with a convex appearance and extreme visual distortion in some cases. For this reason, it can be quite a challenge to effectively use a fisheye, especially since any cropping or angle adjustment in post-production can spoil the fisheye effect.
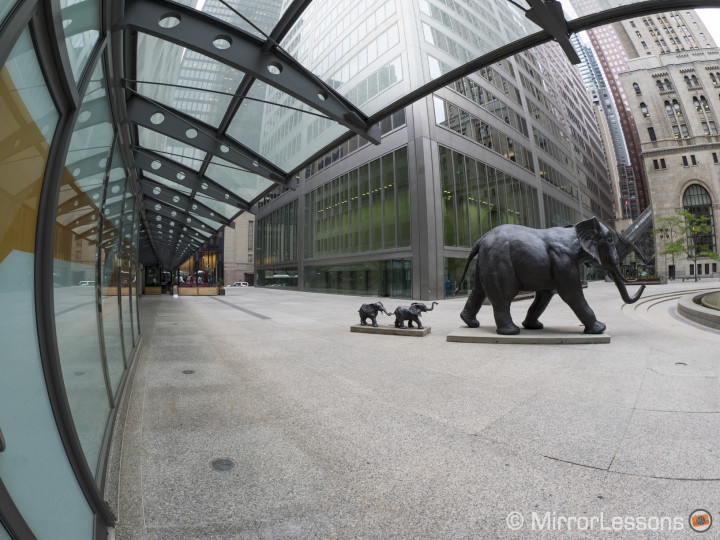
As of 2015, there are a total of four fisheye lenses available for the Micro Four Thirds system but the new 8mm is special for two reasons. First, it has a very fast aperture of 1.8, which makes it the brightest of its type. It is useful for both low-light photography and achieving a shallow depth of field. Second, it can focus very close, producing something akin to a macro image.
Are you curious to know more about M.Zuiko 8mm fisheye? Then let’s get started!
M.Zuiko Digital ED 8mm f/1.8 Fisheye PRO Specs
- Focal length: 8mm
- Focal length (equiv. 35mm): 16mm
- Maximum aperture: 1.8
- Minimum aperture: 22
- Number of aperture blades: 7 (Circular Aperture Diaphragm)
- Angle of view: 180°
- Closest focusing distance: 0.12 m
- Lens configuration: 17 Elements in 15 Groups
- Special elements: 1 aspherical element, 3 Super ED elements, 2 ED elements, 1 Super HR element, and 2 HR elements
- Lens surface coating: Yes (Zero Coating)
- Maximum image magnification: 0.40x
- Optical Image Stabilizer: None
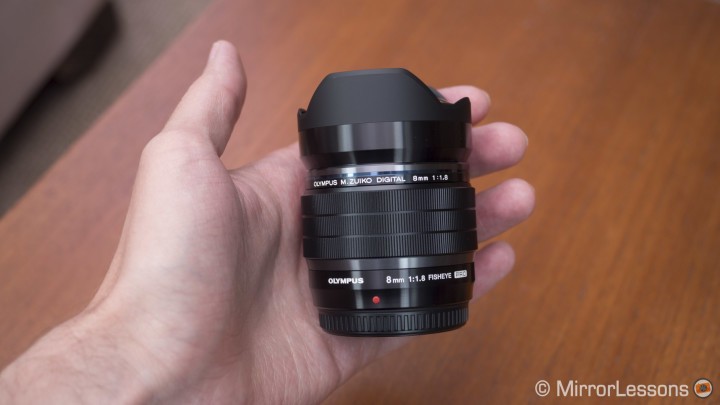
- Dimensions: 62 mm x 80 mm
- Filter diamater: None
- Weight: 315g
[toc heading_levels=”3″]
Build and Design
As solid as a rock is the phrase I’d use to describe the 8mm f/1.8, and all other lenses in the M.Zuiko PRO line-up for that matter. It is dust, splash and freeze proof and features an all-metal build that lives up to the PRO standard.
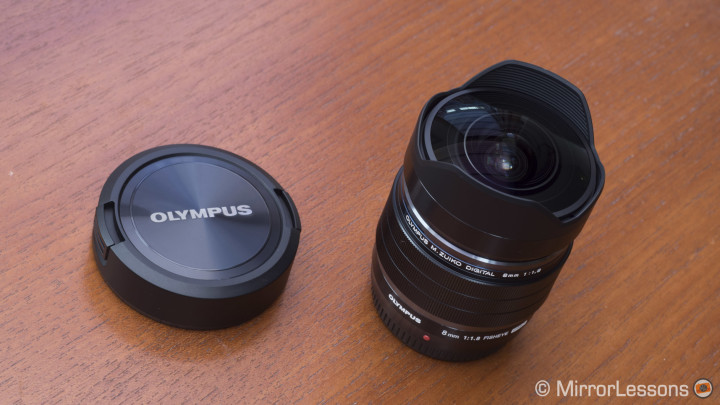
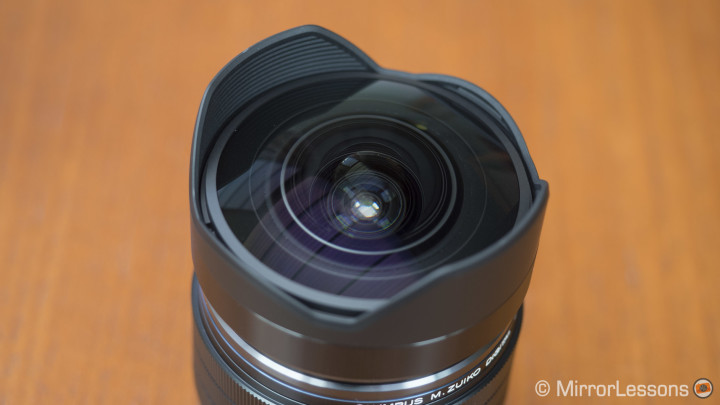
The only plastic elements are the deep clip-on lens cap and the petal-shaped lens hood. The lens hood is welded to the lens body, and cannot be removed. Interestingly, even with the lens cap on, some light still seeps through the gaps between the cap and the lens and hits the sensor. It is dimly visible on your LCD screen if the camera is turned on.
As with any fisheye lens, the front element protrudes quite a lot. The lens hood provides some protection from flare but not objects that might hit the glass, so it is advisable that you cover the front element with the lens cap when you aren’t shooting. Why not make the lens hood longer, you might ask? Well, to make it longer would result in it appearing in the frame of your images because the lens is so wide. It’s a lose-lose situation but one that can be remedied by simply keeping the lens cap handy at all times.
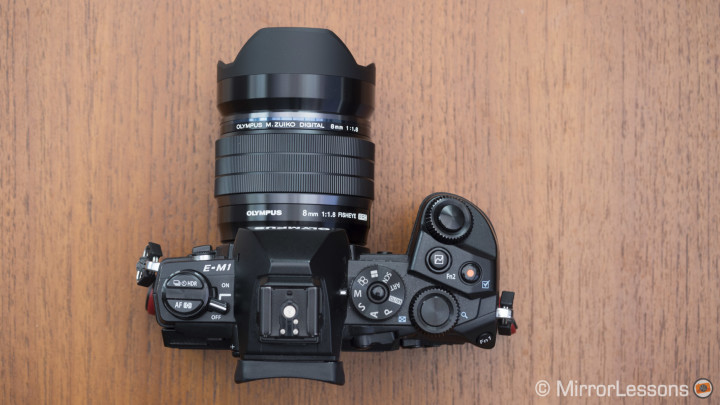
In terms of size, it is just a little smaller than the M.Zuiko 12-40mm f/2.8, which places it in the medium-sized category. It isn’t heavy and balances well on the E-M5 Mark II and E-M1. I can imagine that it would be a good fit for most Olympus Pen and small Lumix cameras as well.
It lacks an aperture ring but has a very smooth ribbed focus ring. The autofocus mechanism is very quiet and accurate on the E-M5 II and E-M1 in good light and performs almost as well in poor light conditions. There was only one occasion when the autofocus struggled, which I will talk about later on in the article.
The lens body doesn’t feature a Fn button like the other PRO lenses, probably due to a lack of space.
Through the lens: Image Quality
The build of the lens isn’t the only characteristic that lives up to the PRO name. Once again Olympus has created a lens capable of delivering the highest optical quality Micro Four Thirds can offer.
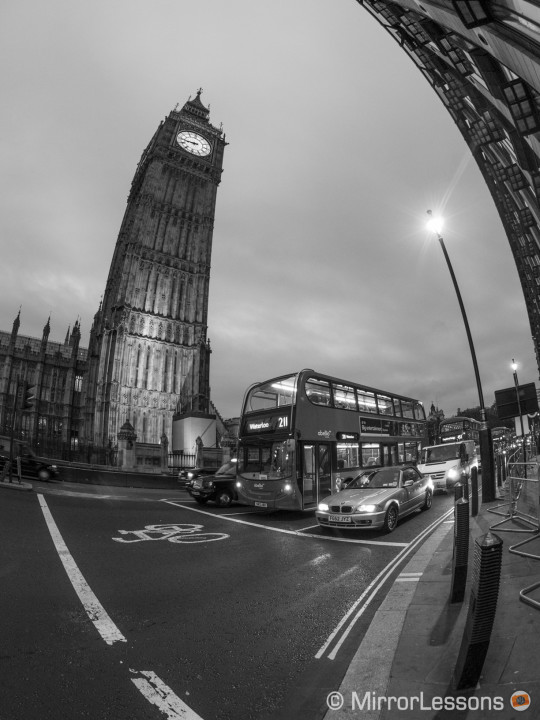
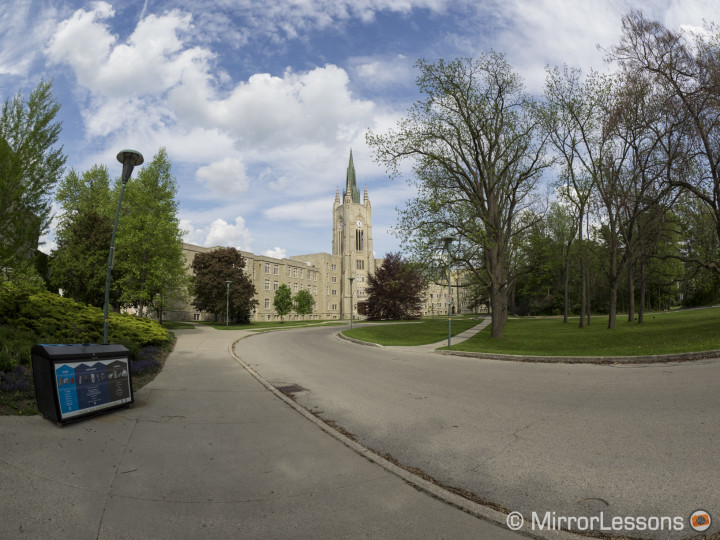
The lens integrates one aspherical element, three Super ED elements, two ED elements, one Super HR element, and two HR elements into its design to minimise distortion, aberrations, distortion, and colour fringing.
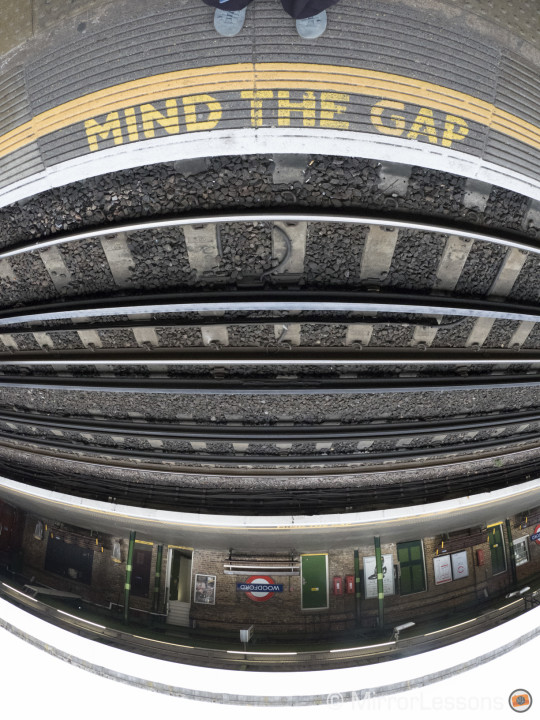
The overall sharpness of this lens is excellent, and is only slightly worse in the centre at 1.8 than it is between f/2.8 and f/11. After f/11, you start to see some diffraction, which is a common occurrence on most lenses. Corner sharpness is also fairly good throughout the apertures considering the extremely wide nature of this lens. Unsurprisingly, optimal sharpness occurs at around f/5.6.
Light fall-off is present up to about f/4 and completely disappears thereafter. A quick shift of the vignetting slider in Lightroom is enough to eliminate all light fall-off from your images. Below you can see an example with some vignetting at f/2 and no vignetting at f/4.
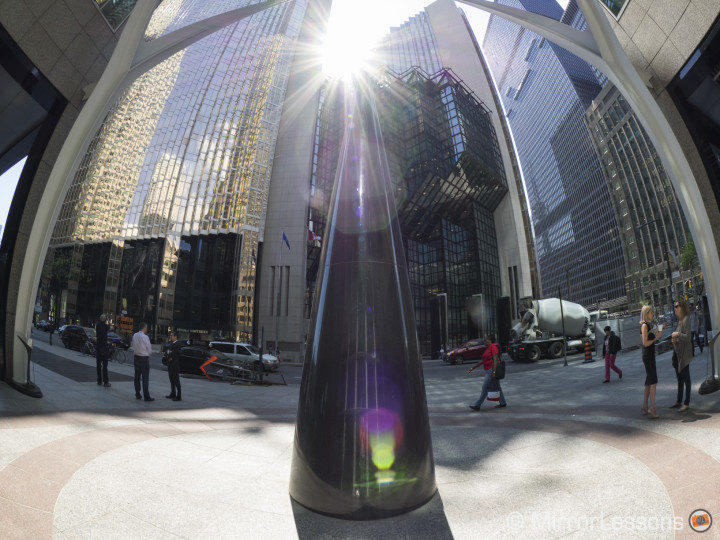
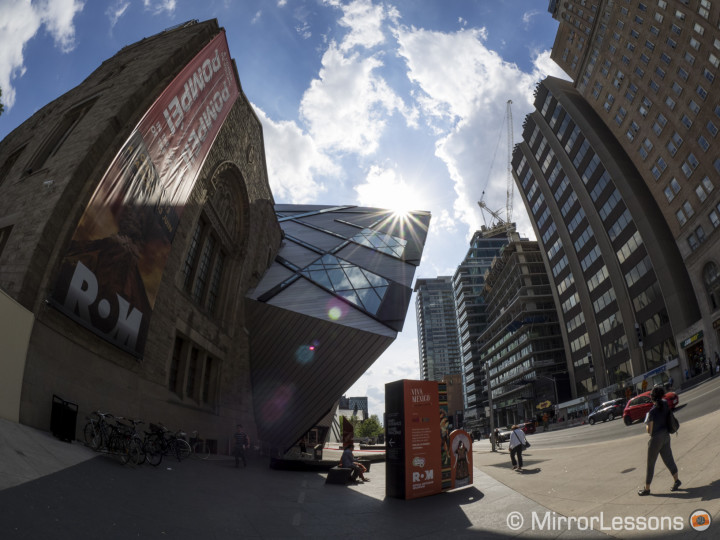
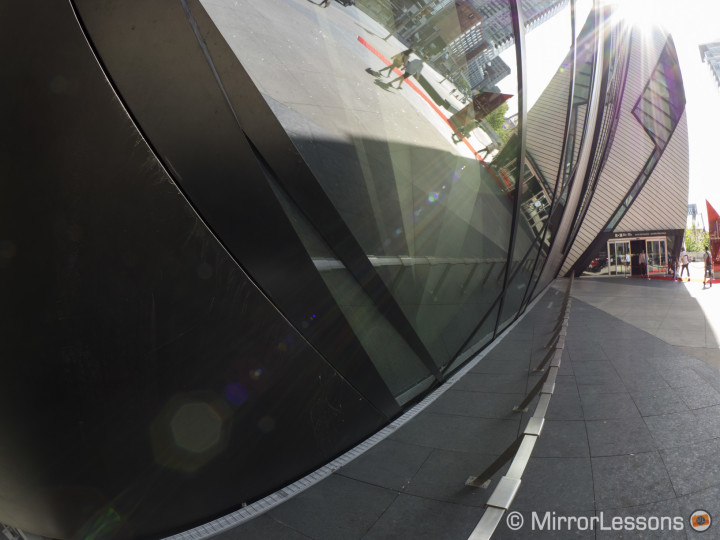
Since we are dealing with an extreme wide angle with very little protection from the lens hood, the appearance of flare is inevitable. What surprised me, however, was how arbitrarily it showed up in my images. Some taken directly into the sun wouldn’t show any signs of flare, whereas others featured it prominently despite the sun’s rays entering the frame from an angle.
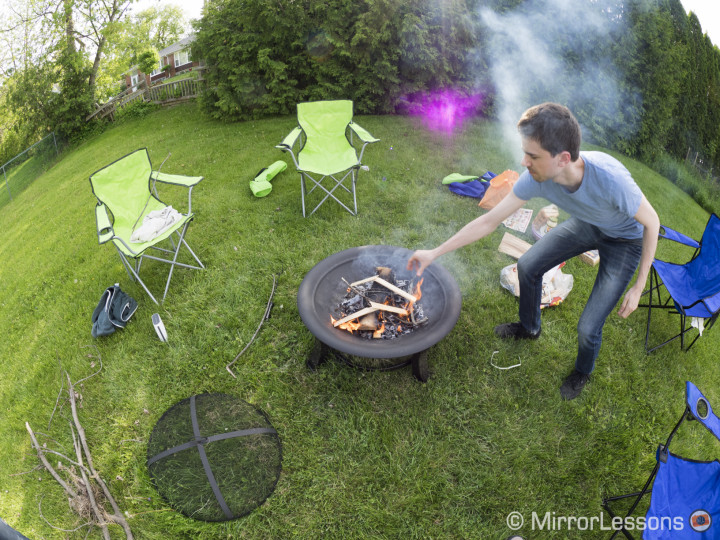
To be fair, flare doesn’t happen all that often but when it does, its appearance ranges from a concentrated scribbling of magenta to a more attractive procession of colourful heptagonal spots. It is partially suppressed by the lens’ ZERO coating but you can try to reduce it even further by blocking the sun with your hand. Just make sure your fingers don’t end up in the frame!
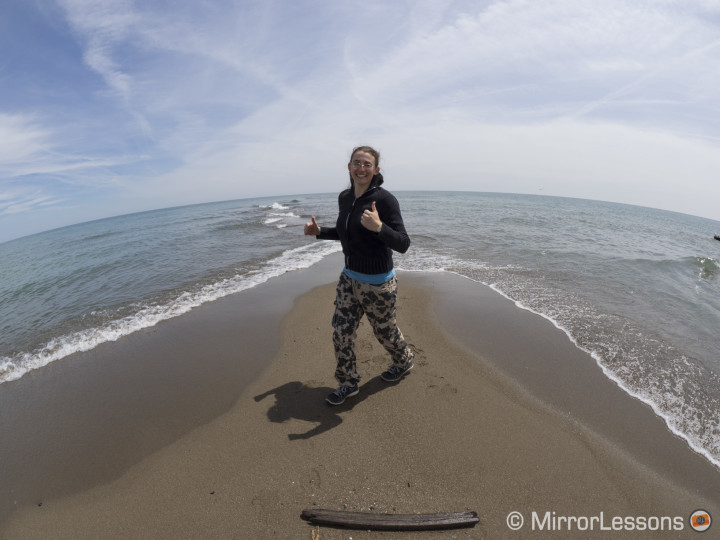
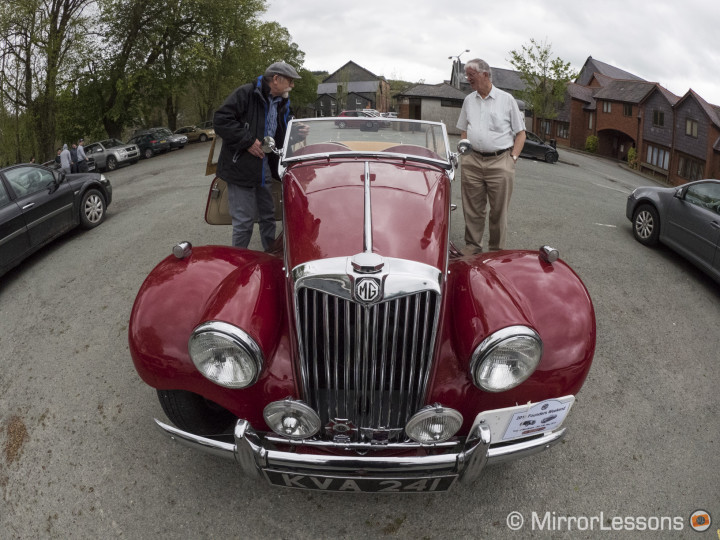
As you can imagine, there is little point in discussing distortion in a review of a lens that is designed to distort perspective! That said, I didn’t come across anything peculiar or unexpected in the way the fisheye distorts the images. When both horizontal and vertical axes are level, the distortion is less noticeable but obviously still present.
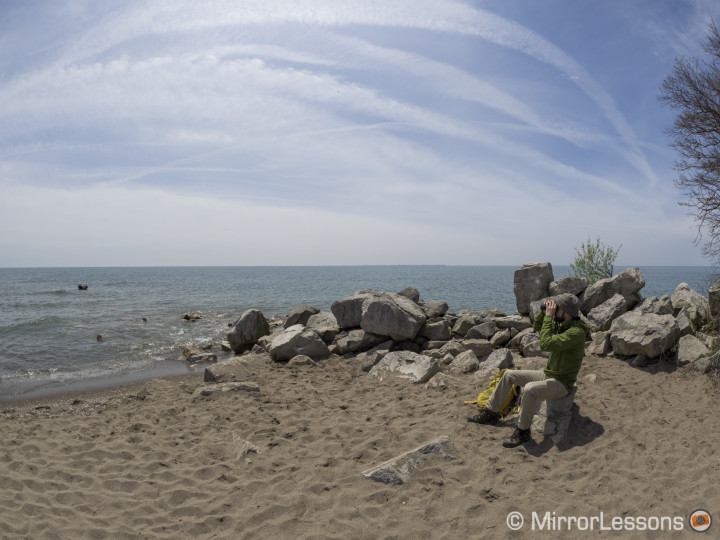
If anything, it is the photographer who needs to keep him/herself in check, as it is far too easy to push the boundaries of distortion beyond the acceptable limit. After all, the last thing a photographer wants is for the fisheye effect itself to take precedence over the subject matter of the photo.
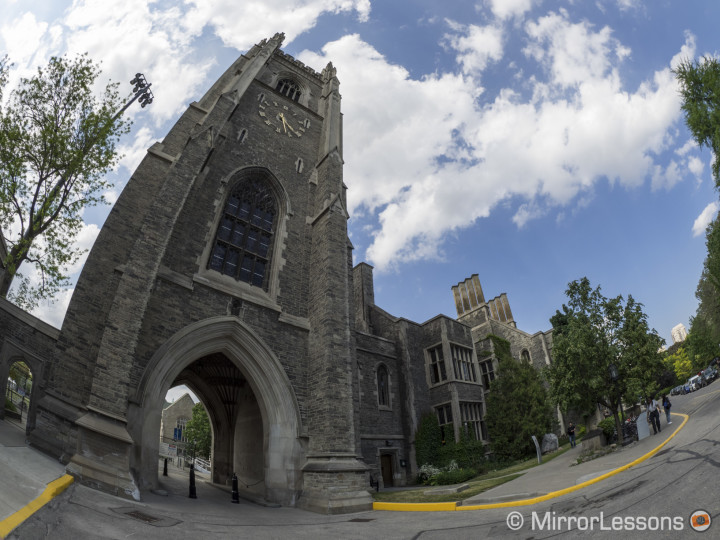
Some small traces of chromatic aberration are present at all apertures, though much of it is automatically corrected on the E-M1 and E-M5 II. I was only able to test the lens on these two most recent Olympus bodies but according to Amateur Photographer, if you use it on an older MFT body that doesn’t apply these corrections, CA is more present. Of course there is always the option of removing the worst of it in post-production.
Autofocus
It should come as no surprise that the autofocus mechanism of the 8mm fisheye is very quick, accurate and silent. This is owing in no small part to the lens’ high-speed imager AF system.
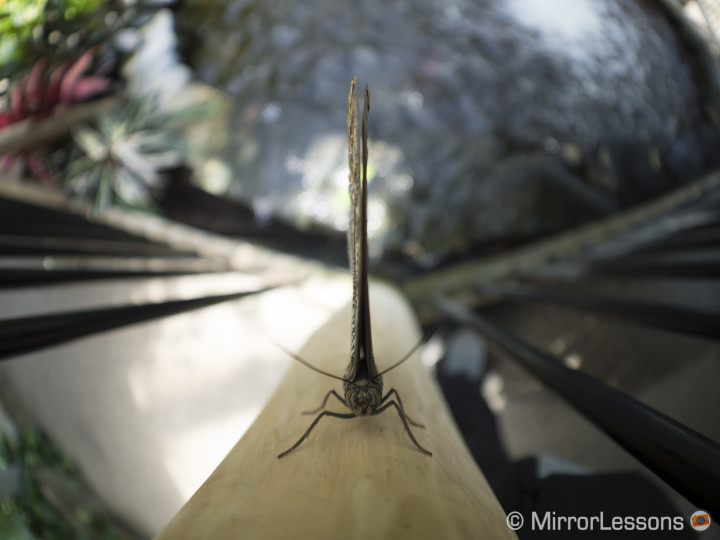
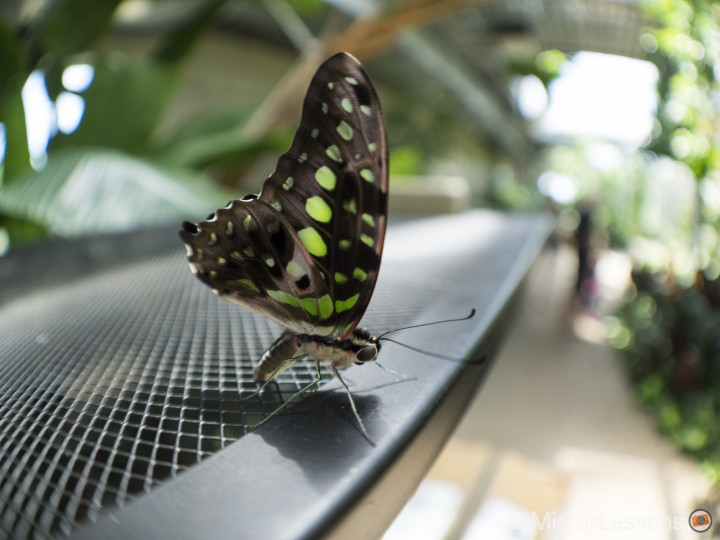
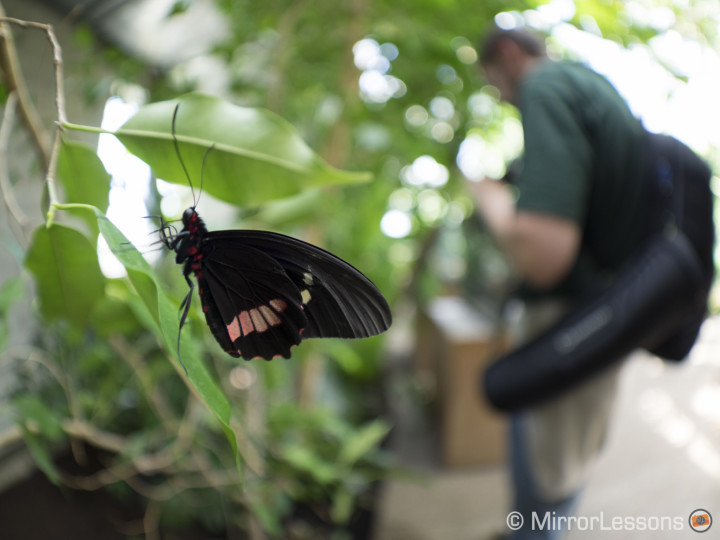
Very rarely did the autofocus struggle to deliver. In fact, the only challenging situation I encountered was at the Cambridge Butterfly Conservatory where the autofocus refused to lock onto a small black butterfly against a brightly lit background. The fact that it is so fast and silent makes it an appealing option for video shooters as well.
Special characteristics
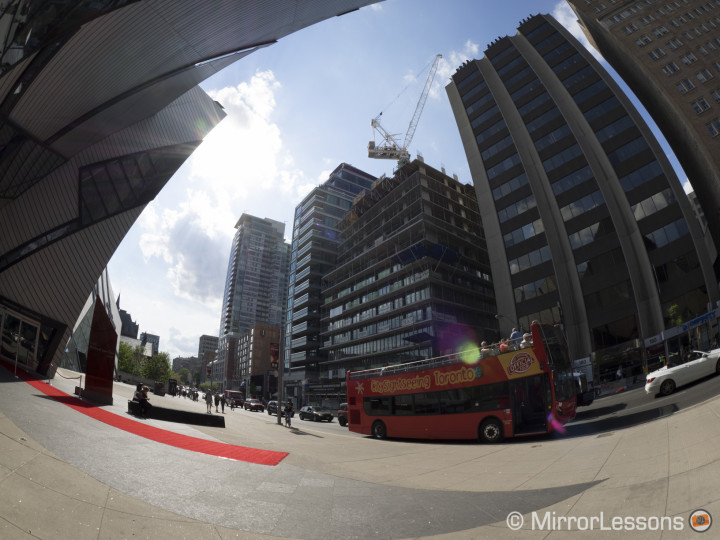
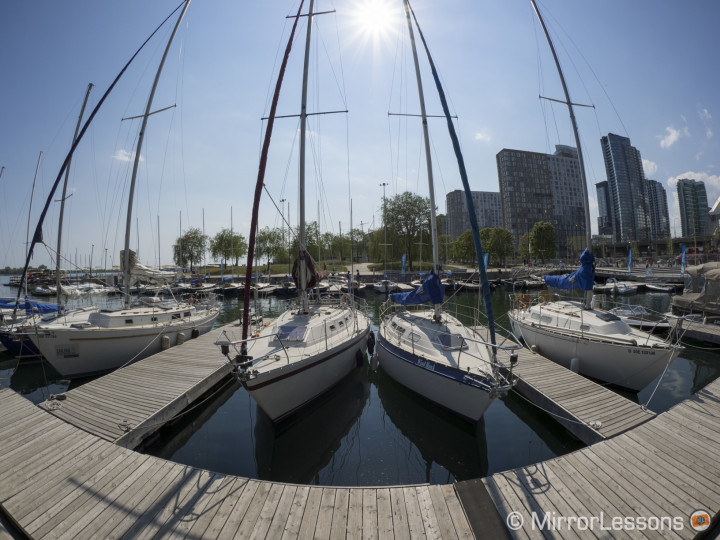
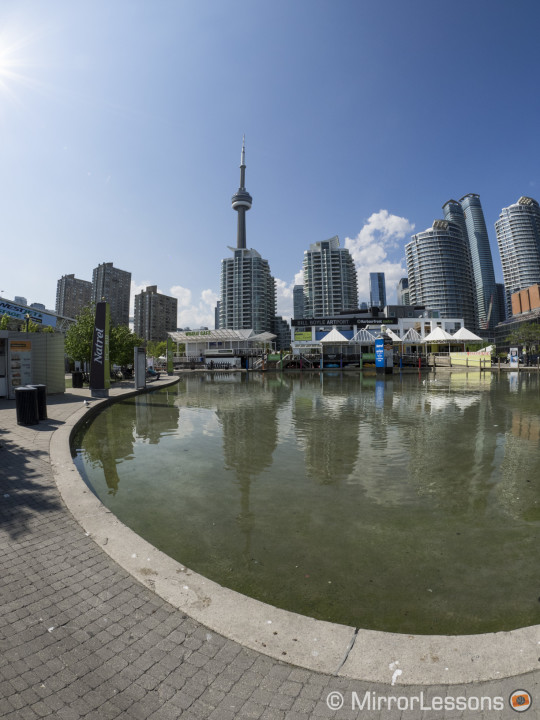
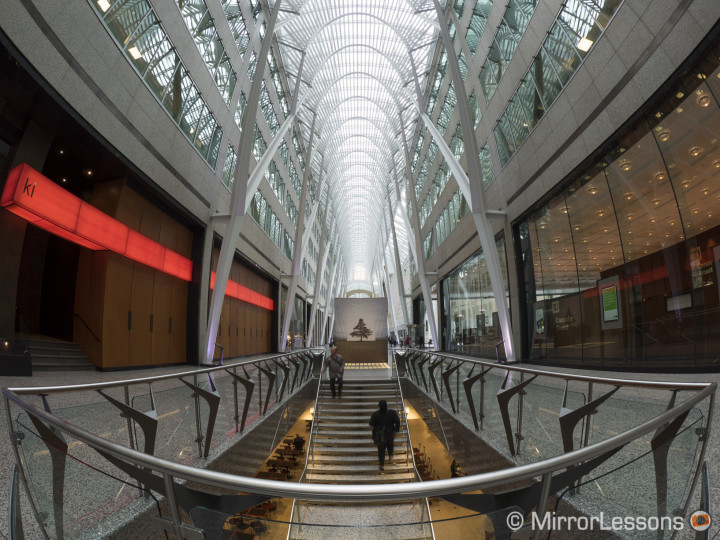
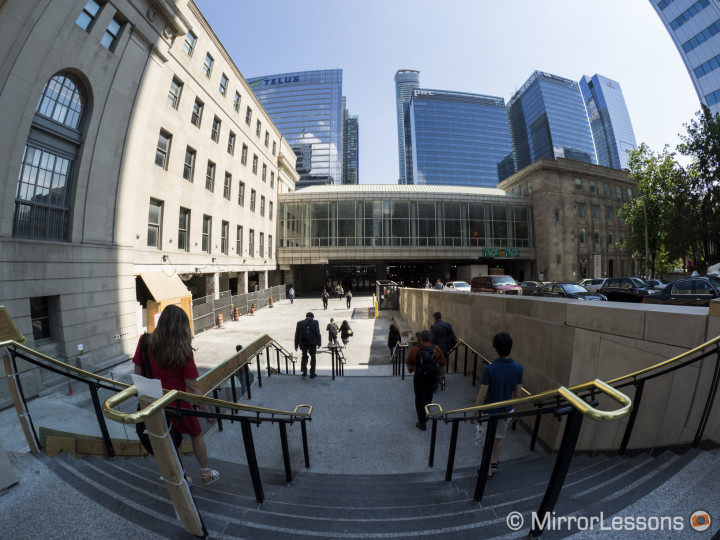
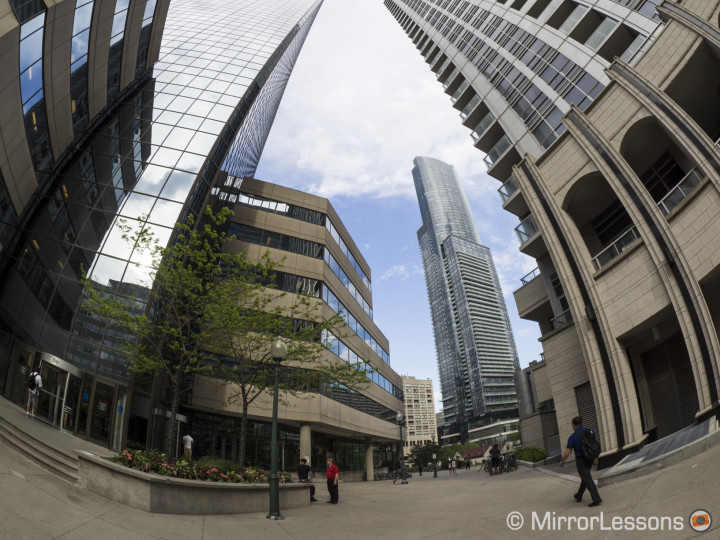
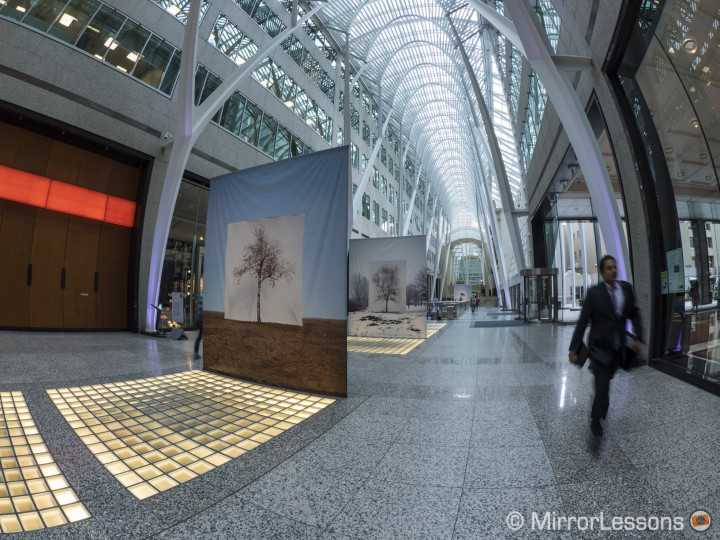
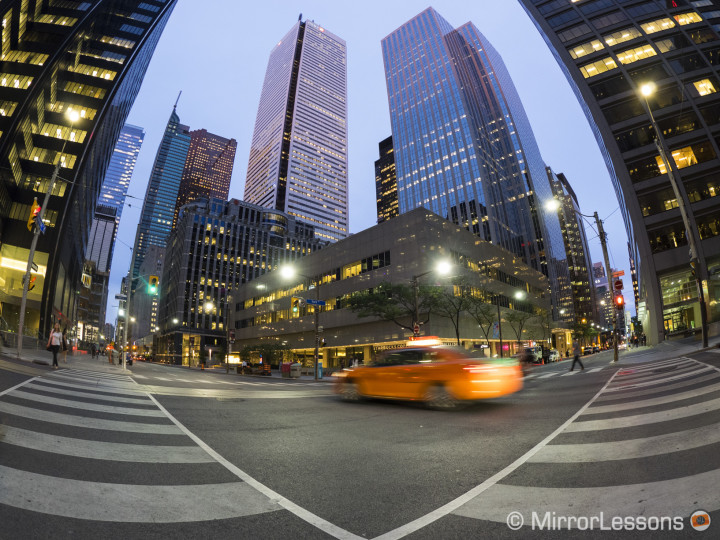
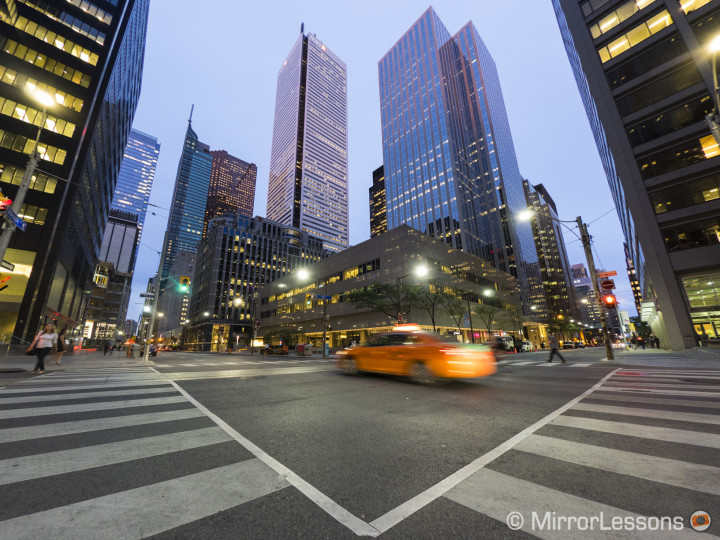
The exaggerated rendering of fisheye lenses make them an exciting option for all genres of photography, but none more than landscapes, cityscape and architecture. The extreme wide angle gives you the possibility to include a vast number of elements in your frame but is deceptively difficult to use, as the accidental inclusion of unnecessary elements can ruin your composition.
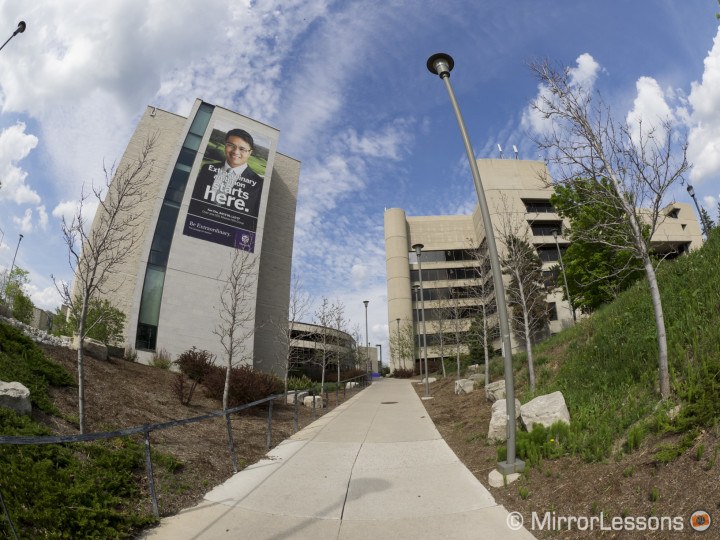
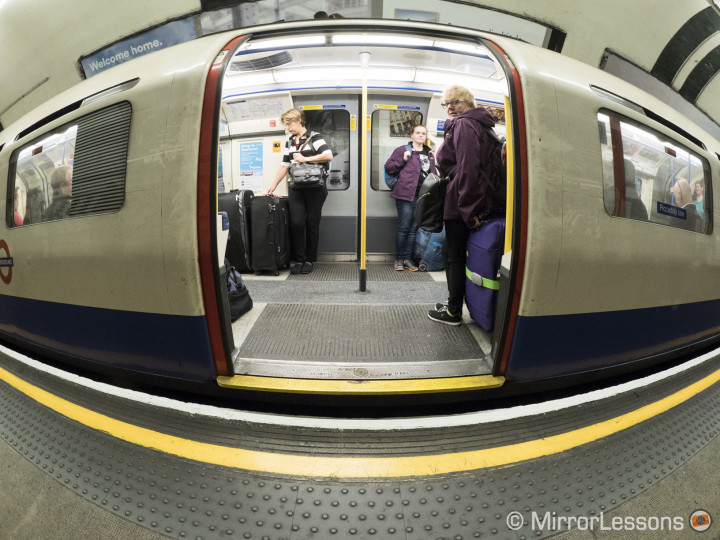
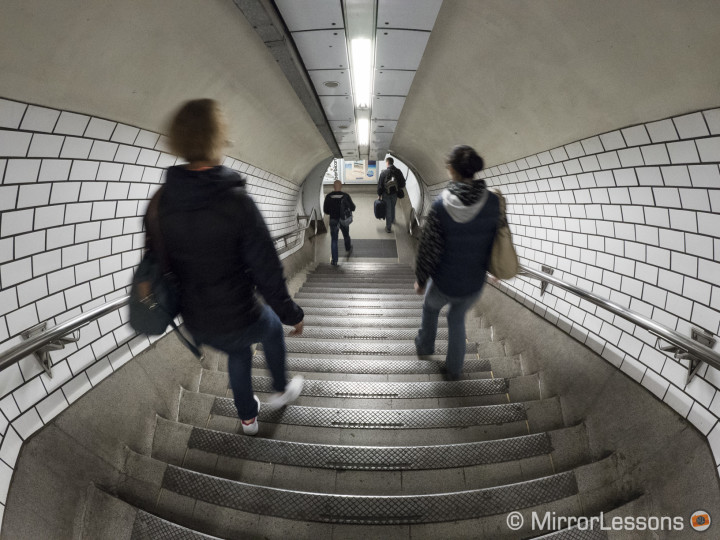
Since much of my time with the fisheye was spent in the two great cities of London and Toronto, I was able to do lots of architectural and cityscape photography. So enamoured was I with this lens that it basically never left the mount of our OM-D E-M1. (And prompted my dad to exclaim, only partly in jest, “I can’t wait until you have to send that crazy lens back!”)
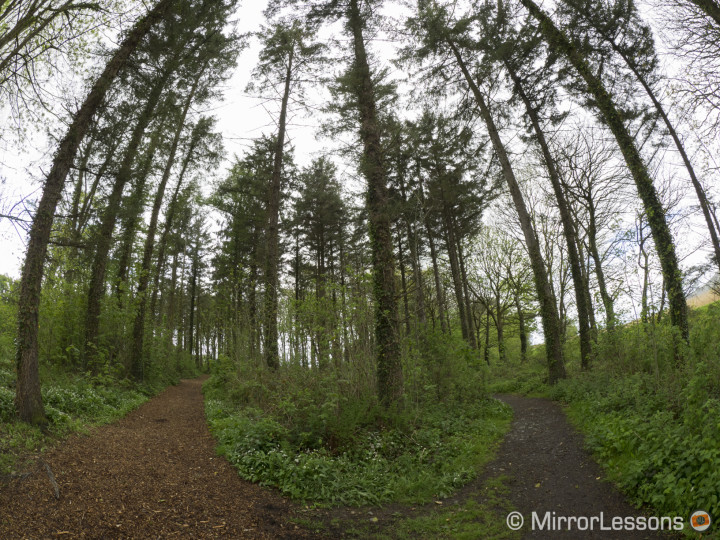
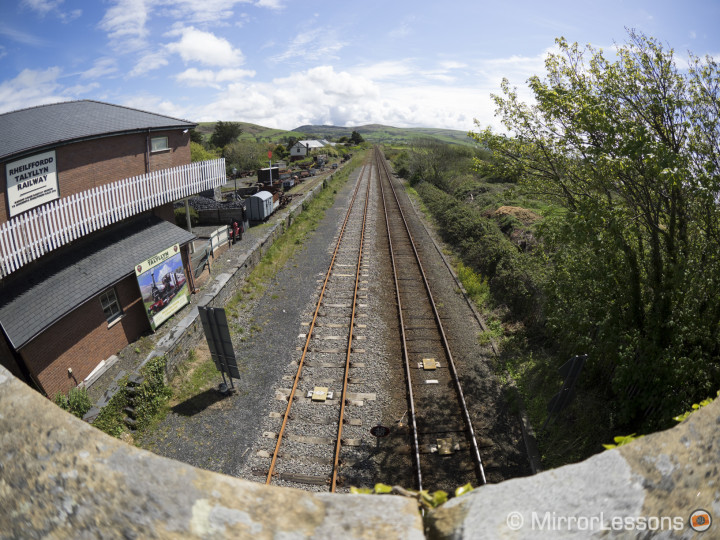
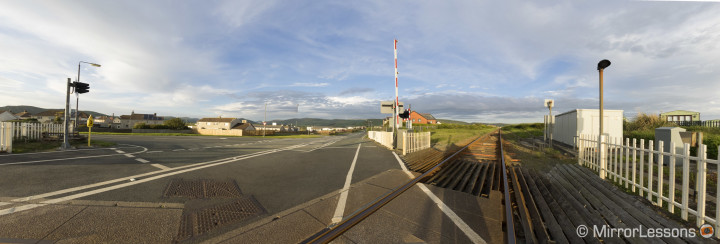
I didn’t do as much landscape photography but the results I did get were just as promising. It is an especially good option for panoramas. (Keep in mind that Olympus cameras don’t have a built-in panorama option, so you’ll have to stitch the images together in post-production.) Having weather sealing for those rainy walks also meant that I didn’t have to worry too much about damaging the lens, though admittedly there was nothing to stop rain drops from getting on the front element!

Now we come to the pressing question: why would you choose the Olympus 8mm fisheye over, say, the smaller, lighter and less expensiveLumix 8mm fisheye or a similar model? Weather sealing aside, it all comes down to the combination of its close focusing abilities and the fast aperture.
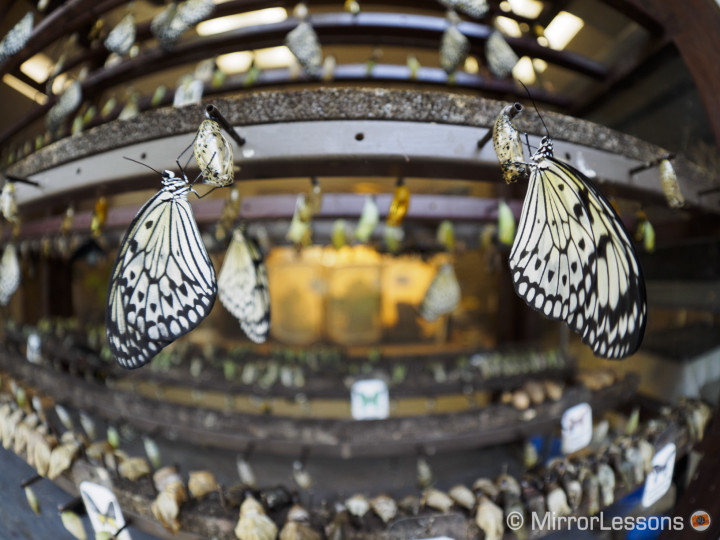
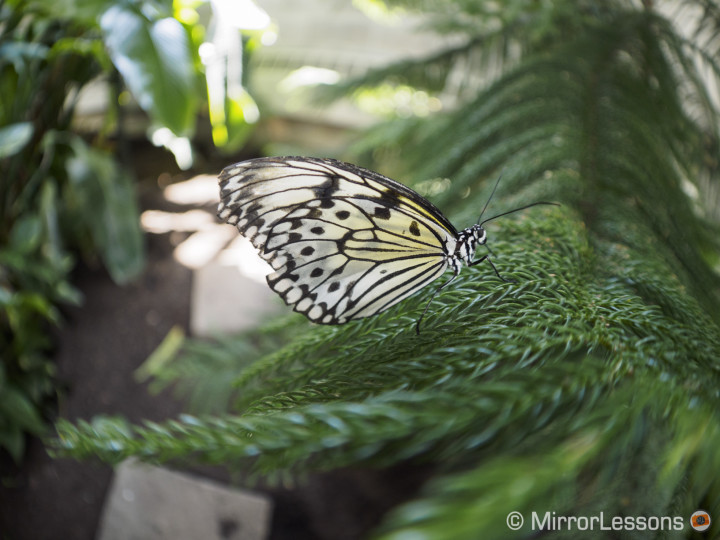
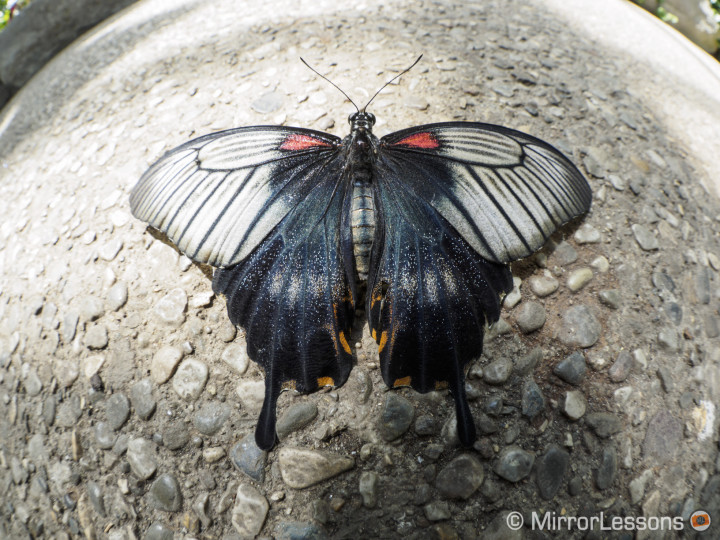
The Olympus 8mm fisheye has the ability to focus as close as 4.7” (11.9 cm) with 0.4x equivalent maximum magnification. This, paired with the fastest apertures, allows you to take semi-macro images with a beautiful out-of-focus rendering and good subject isolation.
I used this lens at the Cambridge Butterfly Conservatory to test out the combination and found that it was very conducive to unconventional macro photography, as long as the subject being photographed was large enough to fill some or most of the frame. This meant that my best shots were those of the largest butterflies. For smaller subjects, you would have to be able to get closer than 11 cm to make good use of the fisheye effect, and even then, your shadow would engulf the entire frame.
Though it isn’t the most beautiful I’ve seen, there is little that can be said against the bokeh of the 8mm. It is attractive and smooth, with round specular highlights at the centre of the image. The closer you get to the edge, the more the specular highlights take on the appearance of a cat’s eye.

As I mentioned above, the results are a little softer at 1.8 but still very good for unconventional close-ups. If you are looking for pin-sharp results, it is simply a matter of stopping down to a slower aperture.

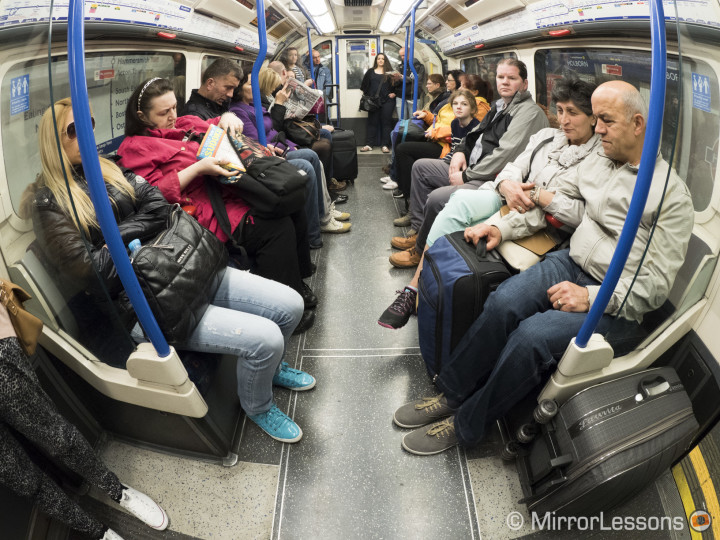
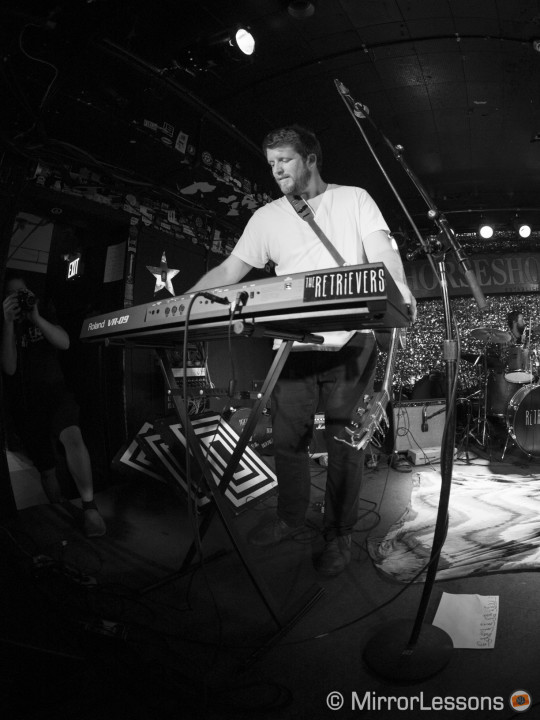
During our trip to Toronto and London, this lens was a mainstay for much of my low-light shooting as well. I used it inside pubs, at evening barbecues, in the Tube and most notably, at a music concert where the ambient light was extremely poor. With this lens, you can keep your ISO values low and your shutter speed fairly high at 1.8. I rarely had to go over ISO 3200, which is about as far as you can push the MFT sensor and retain good image quality.
One genre I would have loved to test with the fisheye was astrophotography – specifically star trails with Olympus’ Live Composite function. This is because the 1.8 aperture gives it great light gathered capabilities. I had planned to take it out while I was visiting the depths of Southern Ontario, where a “town” consists of an intersections and a few small farmhouses, but we experienced nothing but cloud for the four days we were there. The rest of the time was spent near Toronto, but as any good astrophotographer will know, stars and light pollution don’t really mix! If you are interested in astrophotography with this lens, you can see a couple of great examples at Creative Island Photo. I’m glad he had better weather than I did!
De-fishing the Fisheye
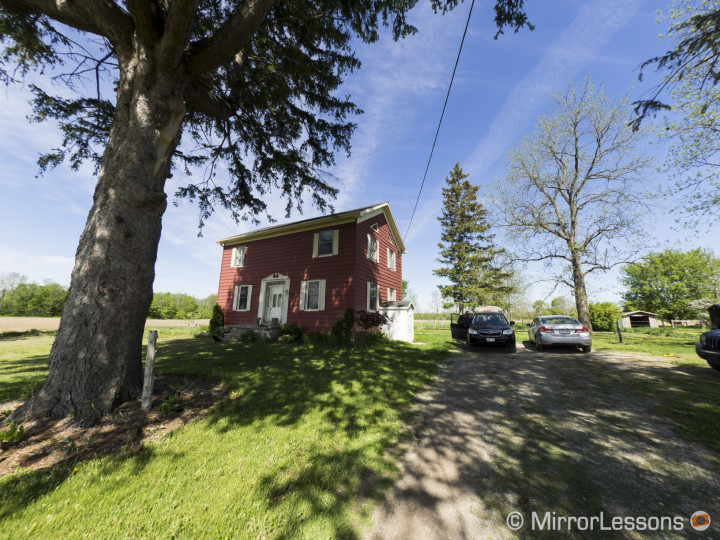
A few readers have asked whether it is possible to de-fish the Olympus 8mm fisheye. Why would you want to de-fish a fisheye, you might ask? Well, it is because a fisheye lenses generally has a corner-to-corner field of view of 180 degrees. If you de-fish an image properly, not only can you retain the entire field of view but you can straighten out the deformed vertical and horizontal lines as well.
Unfortunately, Adobe does not have a lens profile for the 8mm f/1.8, nor are there aren’t any third-party lens profiles available. One workaround is to play around with the various lens profiles available to see if there is one that reduces the fisheye effect. I did this and actually found that the Sigma 8mm f/3.5 Circular Fisheye profile does a very good job of straightening out horizontal and vertical line for architecture and cityscapes. Just be aware that some stretching will occur at the edges and corners, resulting in a deterioration in image quality.
Sadly, it doesn’t work so well for close-ups or people, as you can see in the example of Mathieu checking his phone below.
Another option is to download a plugin called Fisheye-Hemi for Photoshop. It isn’t free but may be worth your while if you do a lot of fisheye photography. It is most effective where the horizon line sits at the centre of your image but can also be manipulated to work for images where the horizon is curved. For a more detailed look at the plugin, I suggest that you consult this article by Ian Norman on Lonely Speck.
Finally, it should be noted that the free Olympus Viewer 3 software has a De-fish option but at the moment, it doesn’t work with the 8mm fisheye. Let’s hope to see an update sometime in the future!
Conclusion
I’d never used a fisheye lens before trying Olympus M.Zuiko 8mm f/1.8 and I admit that it took a few days of experimenting with its extreme wide angle and convex distortion to get a true sense of how a lens like this could be useful out in the field. I found myself using elements in the environment, from simple lines on the street to the edges of buildings, to build weird and wonderful compositions that would amount to nothing special on a standard rectilinear lens.
Would I recommend the 8mm f/1.8 to a Micro Four Thirds photographer? If you are an action, concert, astro or underwater photographer who often encounters low-light situations, the extreme wide angle combined with the very fast aperture and close focussing capabilities could definitely be a great advantage. If you are an architectural, cityscape, or landscape photographer who doesn’t really require a fast aperture or close focussing, or simply someone with a halfhearted interest in fisheye photography, you may be just as satisfied with a cheaper option like the more compact Lumix 8mm f/3.5 or the Rokinon 7.5mm f/3.5. Finally, above all, you have to love the fisheye effect for this lens to be a worthwhile investment. It isn’t by any means cheap, so if you can only see yourself using it on rare occasions for some lighthearted amusement, you’d be better off picking up a more economical alternative.
 What I like about the Olympus 8mm f/1.8 PRO fisheye:
- Excellent construction
- Small and light
- Excellent sharpness across the frame even at f/1.8
- Nice close focusing capabilities with pleasant bokeh
 What I don’t like about the Olympus 8mm f/1.8 PRO fisheye:
- The magenta “scribble-like” flare in some images where the sun hits the lens at an angle
- Small amounts of chromatic aberration appears at all apertures but is well controlled
What are your thoughts about the Olympus 8mm fisheye? Is it the kind of lens you’d be interested in?
