Packing for a journey can often be a nightmare when, on one hand, you have your photography gear to think about, and on the other, your personal items. Even if it is just one night, you’ll want to bring the essentials like clothes and cosmetics, just as you’ll want to be sure to have everything you need for your photo shoot, including not only the camera but your laptop and various accessories as well. The moral of the story is that you can easily wind up carrying two separate bags.
The ThinkTank Perception 15 is an interesting backpack, not only because it allows you to fit most things, but also because it is light and very easy to carry around even when fully loaded. Granted, you will have to carefully select what to bring as there isn’t much spare room for last minute items. But if you don’t overpack, it can become a very handy backpack that can hold your mirrorless camera, a few lenses, a 15” laptop, an 10” tablet and many essential personal items. I used this backpack during my recent 3 week trip to Canada. If you are like me and want to carry around as little as possible, then I invite you to keep reading.
ThinkTank Perception 15 Main Specs
- Exterior Dimensions: 11” W x 17.5” H x 6.7” D (28 x 44.5 x 17 cm)
- Main Camera Pouch: 5.9” W x 5.9” H x 3.9” D (15 x 15 x 10 cm)
- Lens Pouch: 4.3” W x 3.9” H x 2.4” D (11 x 10 x 6 cm)
- Laptop Compartment: 9.8” W x 16.9” H x 1.2” D (25 x 43 x 3 cm)
- Tablet Compartment: 8.7” W x 10.6” H x 0.6” D (22 x 27 x 1.5 cm)
- Front pockets: 6.3” W x 4.7” H x 1.6” D (16 x 12 x 4 cm
- Weight with all accessories: 2.2 lbs (1.0 kg)
- Exterior materials:For superior water-resistance, all exterior fabric has a durable water-repellent (DWR) coating, plus the underside of the fabric has a polyurethane coating. It is also constructed with 600D twill, YKK® RC zippers, 320g dry-flow air mesh, nylon webbing, and 3-ply bonded nylon thread.
- Interior materials: Removable closed cell foam dividers, polyurethane backed liner & dividers, 200D polyester, laminated non-woven backed nylex liner, 2x polyurethane coated nylon 190T seam-sealed rain cover, and 3-ply bonded nylon thread.
[toc heading_levels=”3″]
Design and build quality
The Perception 15 is part of the lightest and smallest series of backpacks available from the brand. The series has been designed specifically for mirrorless cameras, and the 15 model is the medium sized version. There is also the tablet version, which can host a device as large as 10” such the iPad, and the Pro version, which is slightly larger and can fit more lenses. Two colours are available: black or taupe.
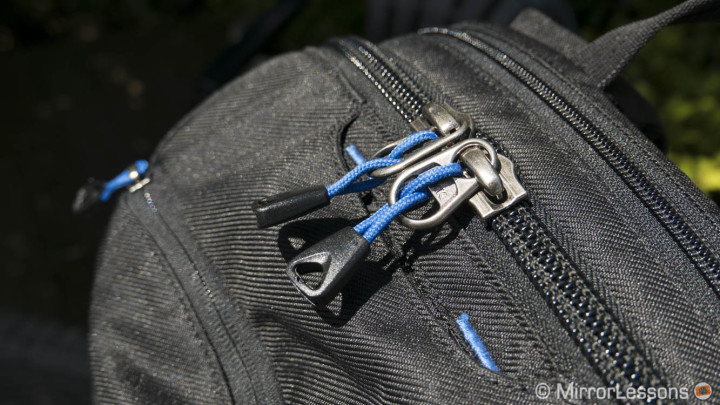
The design is simple and minimalistic. The only splashes of colours you will find are some little blue elements like the cords linked to the external pocket zippers. For me, it’s ideal: I like my bags to be as discreet as possible and the Perception is perfect in this regard. The bag is made of polyurethane and is also water resistant thanks to the water-repellent (DWR) coating. For heavy rain, a separate cover is provided. You can unfold it easily and fit it around the bag with the help of an elastic edge. I would have preferred to have it incorporated into the bag itself like on the Lowepro backpacks. Being separated, it takes up some valuable space and I always think I’m going to forget it the day I need it.
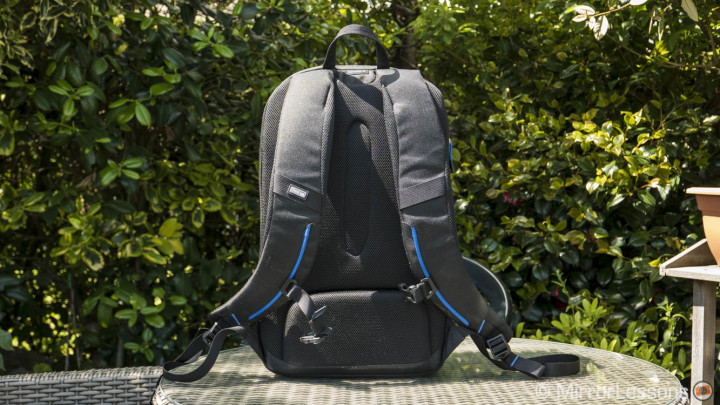
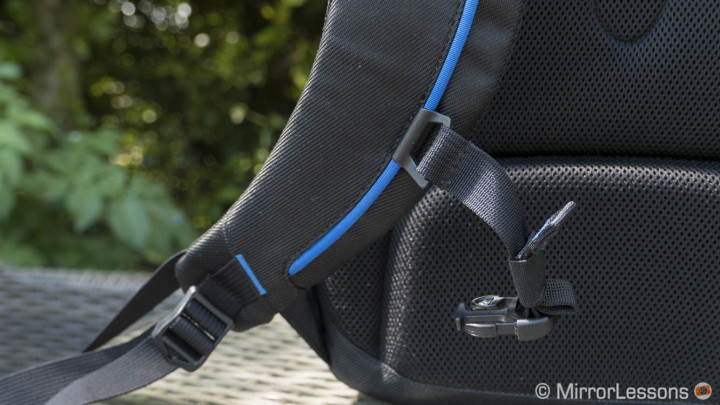
The harness straps are thick enough to rest comfortably on your shoulders. They also include a sternum strap that can be adjusted, which is ideal for long walks. The rear of the bag is reinforced at the bottom to sit more easily against your back. The zippers are all very well constructed and very smooth to open/close even with one hand. The zippers of the bottom front pocket can also be hidden underneath the fabric.
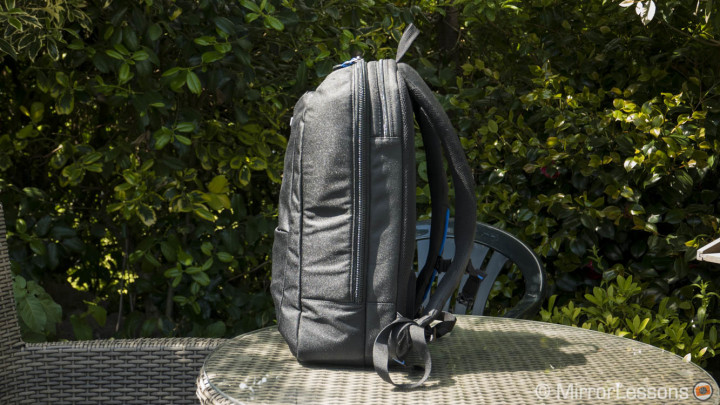
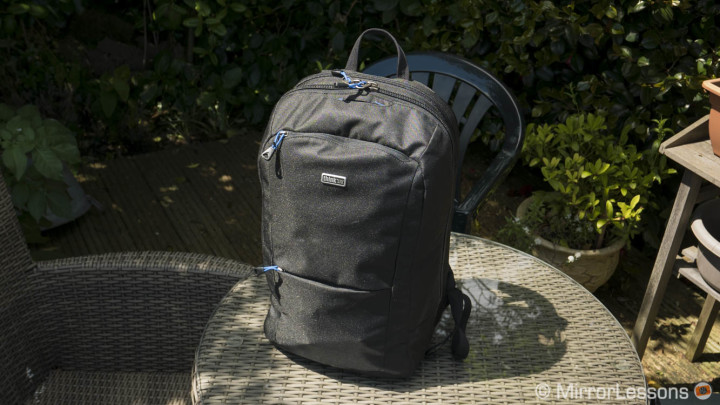
The most appealing aspect of the Perception 15’s design is that it stands up perfectly by itself.
A detail that not only shows how well balanced it is even when fully loaded, but is also useful when packing or unpacking stuff.
Ease of use: fitting photo gear and personal items
The ease of use of a bag is something I always test very carefully. I hate carrying around something that doesn’t have an appropriate space for an extra battery or with a pocket that doesn’t close well or with items I can’t access easily. The Perception 15 is well designed but there is something that you need to be aware of right away. As I suggested in the intro, it is perfect as long as you precisely fill every space it has to offer.
If you try to overfill it even slightly, you can easily end up frustrated.
The way it has been designed doesn’t allow for much extra room. But let’s analyse this step by step.
The main compartment can be opened with the main zipper at the centre. While it is a full-length zip, the backpack itself cannot be opened that wide. There are two internal flaps on the sides that prevent this from happening. In a way this is a positive thing because zipping your bag open on the streets or outside to access something can be risky. You know that your stuff is always secure even with the main zipper fully unzipped (unless you turn your backpack upside down of course). On the other hand, this makes it more difficult to reach items that are at the bottom. I wish that I could open it by 45° at least. When the backpack is empty, it opens wide enough to be convenient. However when it is fully packed, the various items inside make it more rigid and therefore it is more difficult to insert or pull out items from the bottom. Also when fully packed, the side flaps often get in the way of the main zip when you are trying to close it.
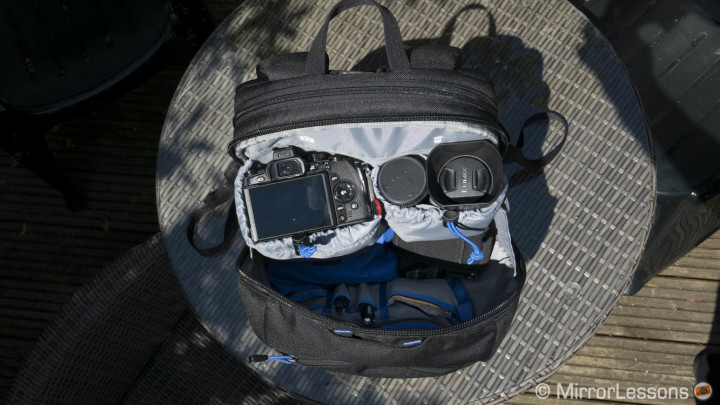
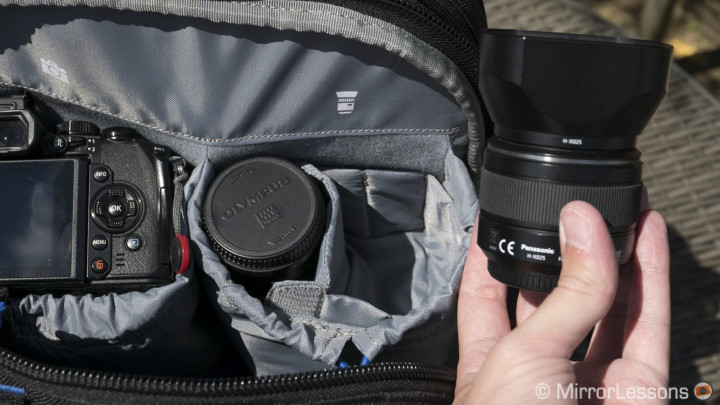
Right on the top of the main compartment, you will find two non-removable pouches: this is where you can put your camera and lenses. They include an adjustable elastic to make sure your gear is secure and tight inside. There are even two icons that suggest where to put the camera and the lenses. The “camera” pouch is deeper and can accommodate a mirrorless camera with a lens mounted. During my trip to Canada, I put the Olympus OM-D E-M5 mark II with the 7-14mm f/2.8 inside, which is one of the largest wide angle lenses for Micro Four Thirds. I could also easily fit an X-T10 with the kit lens.

If you are wondering what the camera/lens size limit is, I would say a Samsung NX1 with the 16-50mm f/2-2.8.
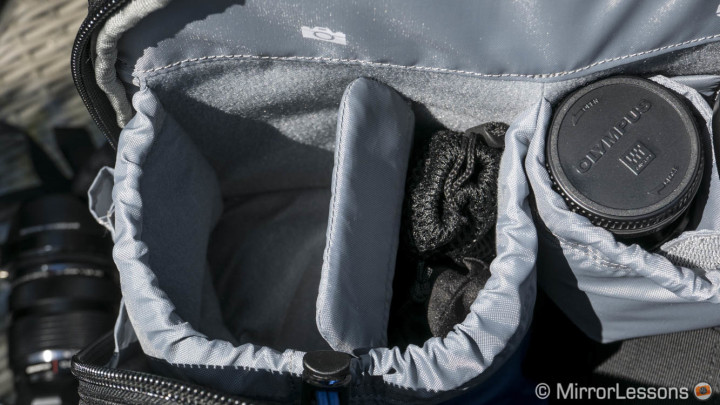
Each pouch contains one removable divider. Inside the camera pouch you will find a classic flat divider with a foldable top. It can be useful to hold some small accessories like a card holder or mobile charger such as the Anker Mini. The lens pouch has a more interesting divider that is actually a removable pocket. You can easily adjust its size and it is perfect to house a small lens. If you need more space, you can remove it. An additional flat divider like the one in the camera pouch to substitute the pocket divider would have also been a nice option.
All the remaining space in the main compartment (below the pouches) can be used for personal stuff: some clothes or a hat and a small rain jacket. There isn’t a lot of space but it’s enough to fit some essential clothes and cleaning tools to survive until the following day.
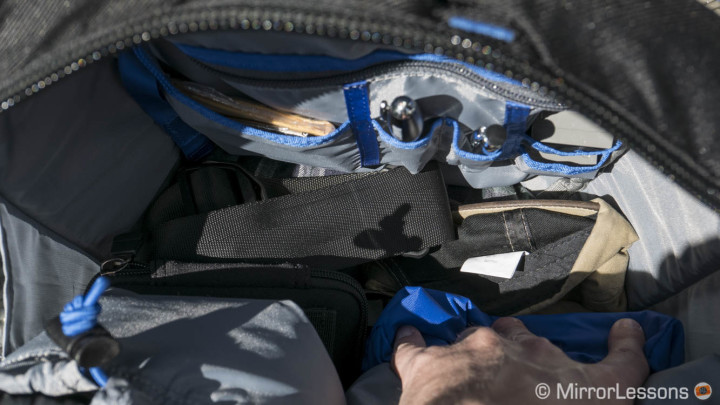
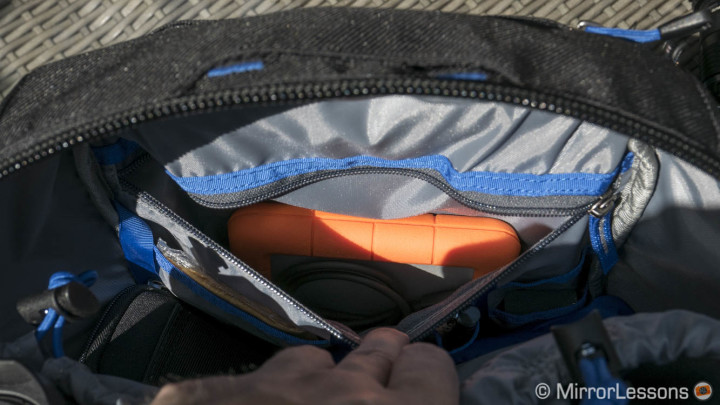
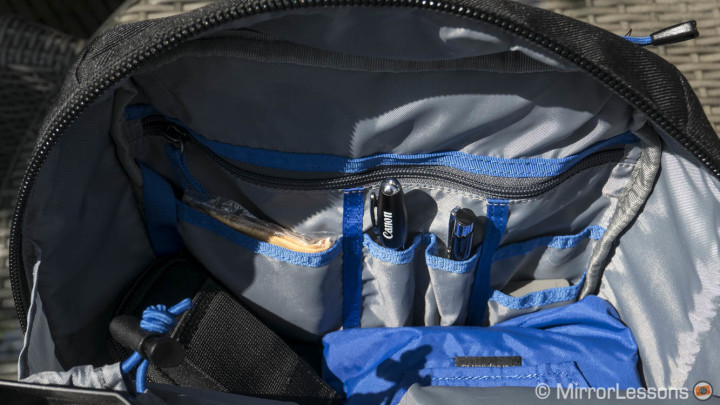
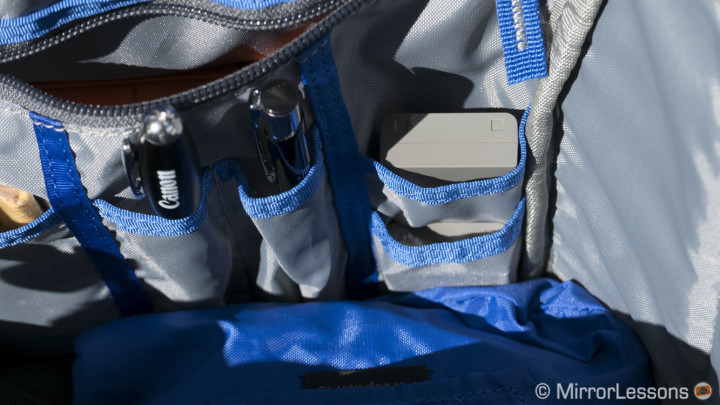
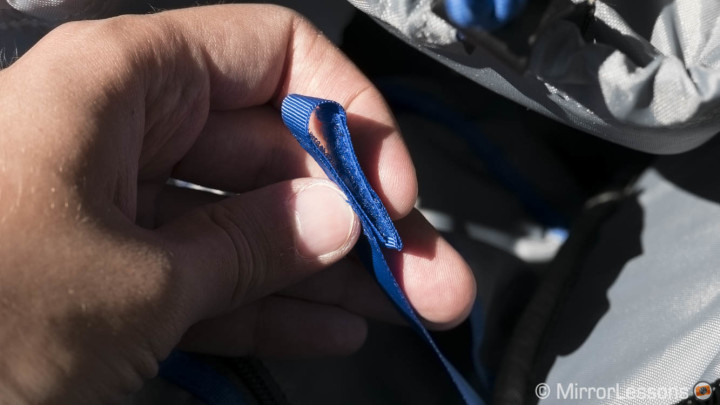
In the main compartment you can also find one large zip pocket and a few smaller pockets. In the zip pocket I could fit my Lacie Rugged hard drive with its thunderbolt cable. In the smaller pockets I found space for two spare batteries, two pens, a cleaning cloth and a business card holder. There is also a blue cord to which you can attach keys or something else.
Ease of use: laptop/tablet compartment
The second compartment is located on the back side and is accessible with the second zipper on top. Here you can insert a 15” laptop in the main pocket and a 10” Tablet in the smaller pocket.
This is a section of the backpack that I really like because it is independent so accessing your computer is really quick and easy. The best example of its usefulness? The security check at the airport.
I can easily pull my laptop and iPad out in a few painless seconds. The compartment is also the best place to put important documents like a printed version of your travel insurance and your boarding pass/tickets.
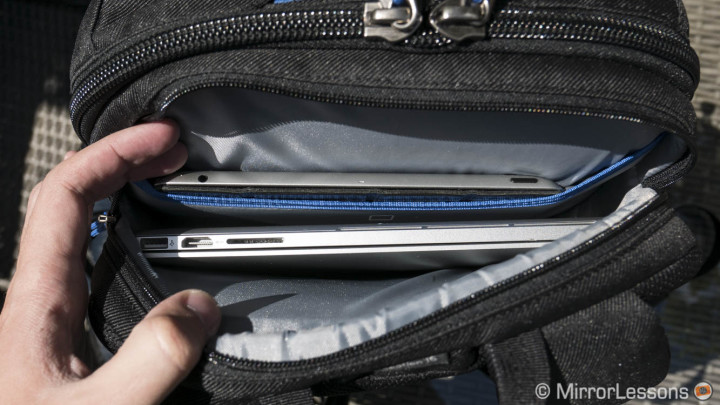
Once the laptop and iPad are inside, there is not a lot of space left. You can sneak in something flat but that’s about it. Also, I would have loved some extra pockets for small items like a pen as found in the main compartment. The laptop area is more easy to access for these things.
Ease of use: external pockets
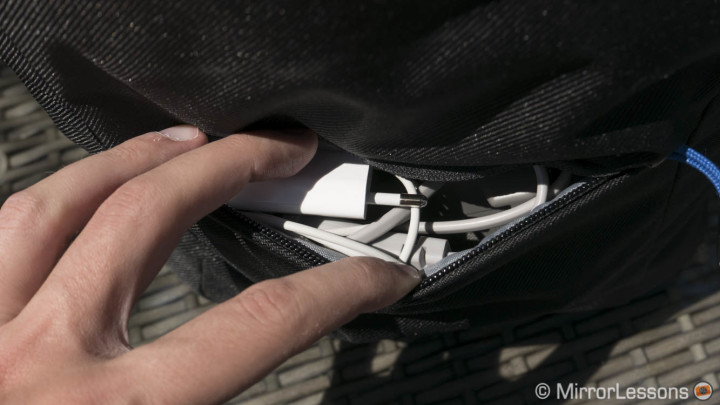
On the front of the bag on the outside, there are two zip pockets. I was able to fit my Sony headphones in the top pocket and our Lav+ microphone, iPhone and battery chargers in the second one. They work well for a series of small things that don’t take up too much space and can bit squashed a bit. My headphones fit just fine in the top pocket. If they were slightly larger, I probably would not have been able to close the zipper.
The bottom pocket can also be used for the tripod in combination with the hidden strap on top of the bag. This solution doesn’t stop you from opening the main compartment. It works better with smaller tripods.
The only thing that this backpack lacks is a pocket or two on the side where you can place a small bottle of water for example.
How much gear can I carry? A practical example
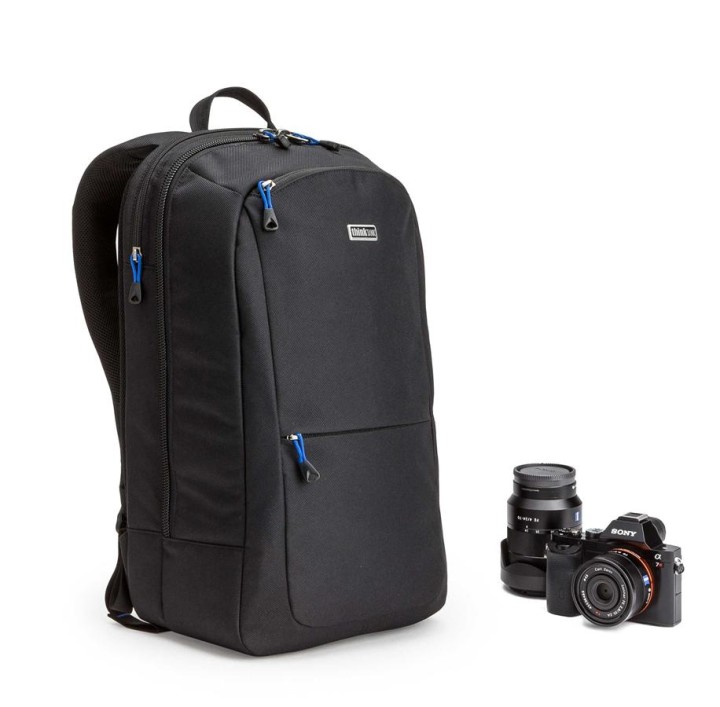
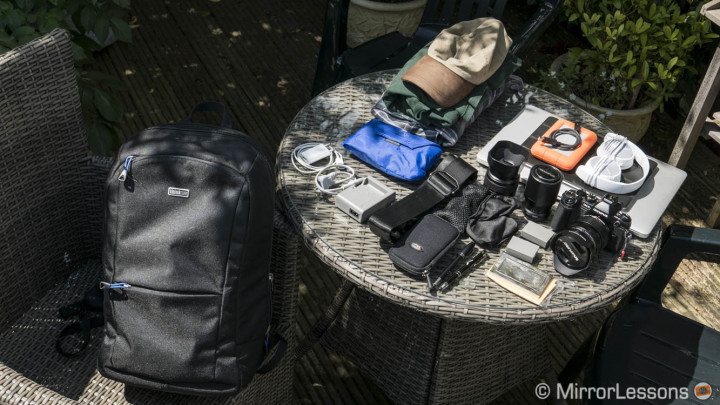
In the picture below, you can see the bag and on the side, all the stuff that I can fit inside.
Note: after taking the shot, I realised that I had forgotten to include the MacBook charger, which would have found its place inside the main compartment.
For further comprehension, here is the full written list of these items:
Main Compartment / Camera Pouch:
- Olympus OM-D E-M1 and M.Zuiko 12-40mm
- Anker Mini mobile USB charger
- Peak Design anchor links / arca swiss plate
Main Compartment / Lens Pouch:
- Panasonic 25mm f/1.4
- M.Zuiko 60mm f/2.8 macro
Main Compartment:
- Light pyjamas
- Spare underwear/socks
- Macbook Pro charger
- Peak Design Slide strap
- MacBook Pro charger (not included in the photo above)
Main Compartment / Pockets:
- Lacie Rugged SSD 500GB portable hard drive and thunderbolt cord
- Lens cleaning cloth
- Business card holder
- Pens (x2)
- Spare batteries (x 2)
External front pockets:
- Battery charger
- iPhone charger
- Sony Headphones (second pocket on top)
Laptop compartment:
- Macbook Pro 15” Retina
- iPad Retina (3rd)
Of course there is an infinite number of configurations. For example I could easily fit an X100T and X-T1 with the 18-55mm in the two pouches instead of the Micro Four Thirds gear. The same applies to other mirrorless cameras as well.
Perspective 15 or Perspective Pro?
The difference with the tablet version is more clear, but what about the differences between the 15 and the Pro bag? Both can house a 15” laptop and a tablet. The Pro version is slightly taller and deeper but there are also a few other differences.
- It has three front pockets instead of two
- It has five pouches in the main compartment instead of two
- In the main compartment, there are two additional pockets on the front side
- It has two side external pockets for a bottle of water or something similar
The Pro version is interesting if you want to carry more photography gear and less personal stuff. However I have found an alternative solution that can make the Perception 15 more similar to the Pro, at least in terms of efficiently housing photography gear.
If you have a small photography bag or some interiors/dividers that you are not using anymore, they might fit inside the backpack just fine. I managed to slide a Cosyspeed Camslinder 160 to the bottom for example but that was more for convenience’s sake during our trip to Canada. If you want to be able to access your gear quickly, you can use some internal dividers. The one below is from my old shoulder bag (a Cullman Atlanta). They are slightly too tall but they are the perfect width. So if you are willing to be a little inventive, you can certainly come up with a similar solution.
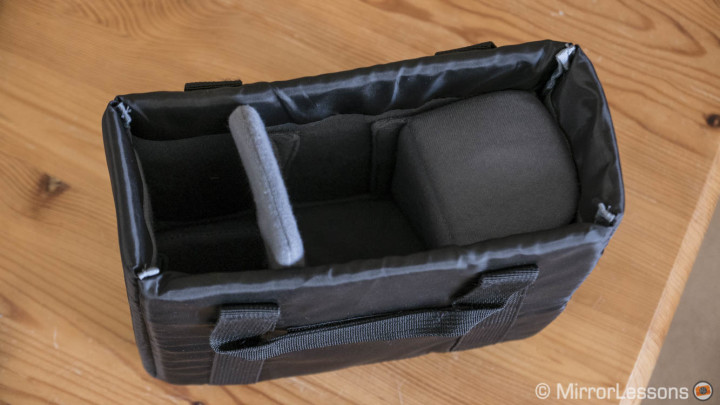
This way, you can sneak an extra camera body or lens into the bag. Perhaps this is a solution Think Tank could consider for the next generation of Perception backpacks.
Conclusion
I used this backpack for my entire trip to Canada. For the main flight to/from Europe, it proved useful to carry around all the gear I didn’t want to put inside my case. For the short trips in between, I used it to carry around my camera and a few personal items, and it worked very well. I’ll be staying in London tomorrow night and the Perception 15 is the only bag I’ll carry with me. It is all about optimising space and weight, a concept that perfectly embraces the ethos behind mirrorless cameras. I can walk all day with the Perception 15 fully packed and I don’t feel tired at the end of the day, which is exactly how I feel with my mirrorless cameras.
It isn’t perfect and there are a couple of things missing, but I must say that things have dramatically improved from the days when I used to carry around my old Lowepro backpack, which certainly housed more photo gear but didn’t even have a proper compartment for a small laptop, let alone a 15″ MacBook.
 What I like about the Thinktank Perception 15:
- Minimalistic and simple design
- Small and light yet capable of housing a 15” laptop
- Stands up by itself
- The different pockets and compartments allow for precise organisation of your items
- The laptop/tablet compartment is separate and independent from the rest of the bag
 What I don’t like about the Thinktank Perception 15:
- It doesn’t offer much flexibility if you need to sneak a few extra items inside. Once it’s full, it’s full.
- When closing the main zipper, the side flaps often get in the way when the bag is full
- No side pockets for a bottle or something similar

