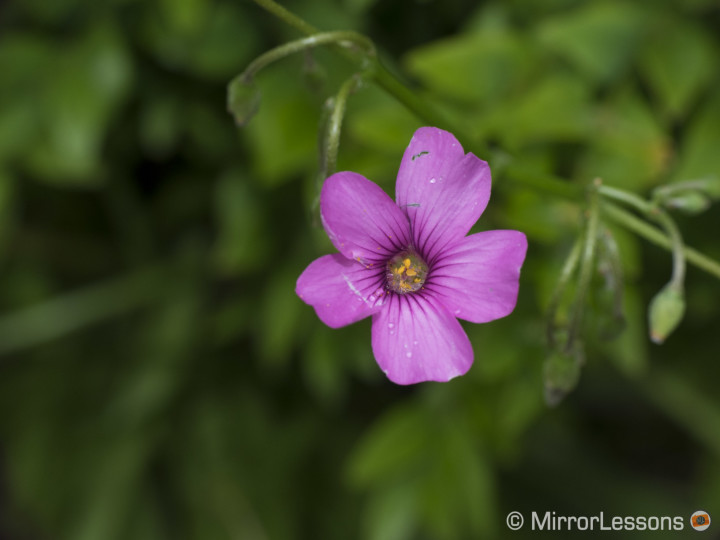
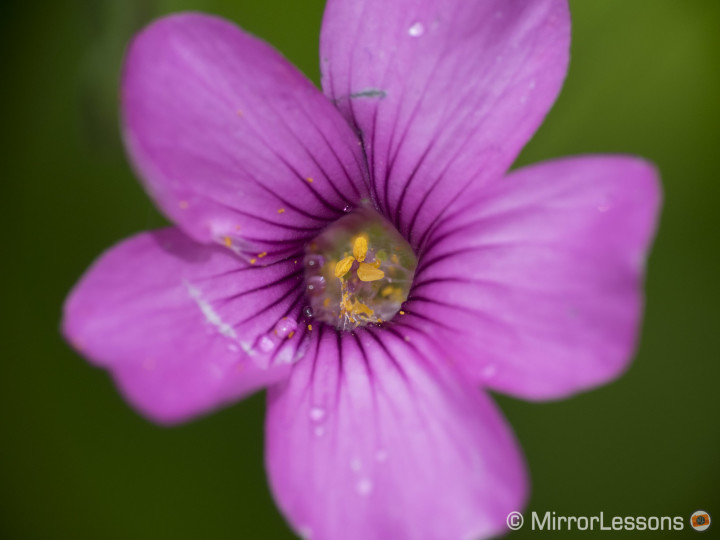
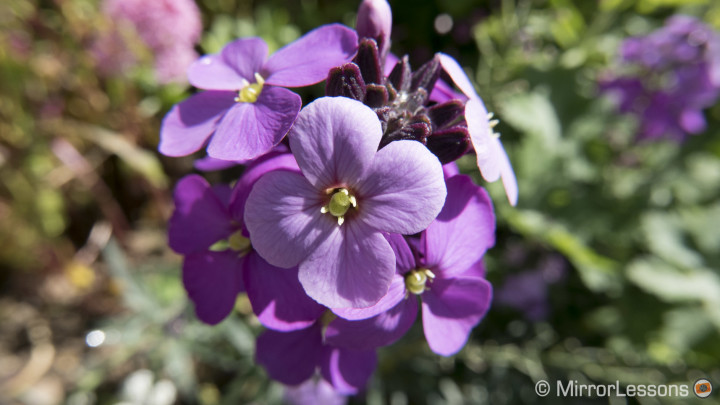
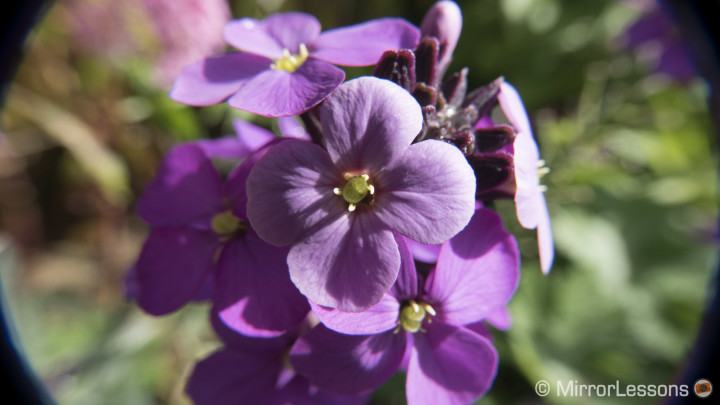
I recently came across a bargain I couldn’t refuse. The Raynox DCR-250, a macro conversion lens that I’ve been eyeing ever since reading a positive review on Eyes Unclouded, was available for about 1/4th of the original price. Needless to say, I snapped it up faster than plucky seagulls do ice cream!
Now, I already own a macro lens – the wonderful M.Zuiko 60mm f/2.8 – and it is a mainstay in our collection. However, being a lover of the genre, I also felt the need for a secondary macro solution that I could use with any lens in our collection regardless of the brand. After all, there is nothing worse for a macro enthusiast than to come across a rare insect or flower in the field and not have the right lens for the job!
The DCR-250 is one of five macro converters from Raynox, a well-respected Japanese producer of conversion lenses of all sorts. According to the website, it has been designed for the experienced macro photographer. This is because it offers a much shallower depth of field than other converters in the collection, making it more challenging to achieve perfect focus.
Now that I’ve been using it for just over two weeks, I feel I can deliver a pretty fair verdict about this alternative macro solution. Curious to know more? Then let’s keep reading!
Design and Build Quality
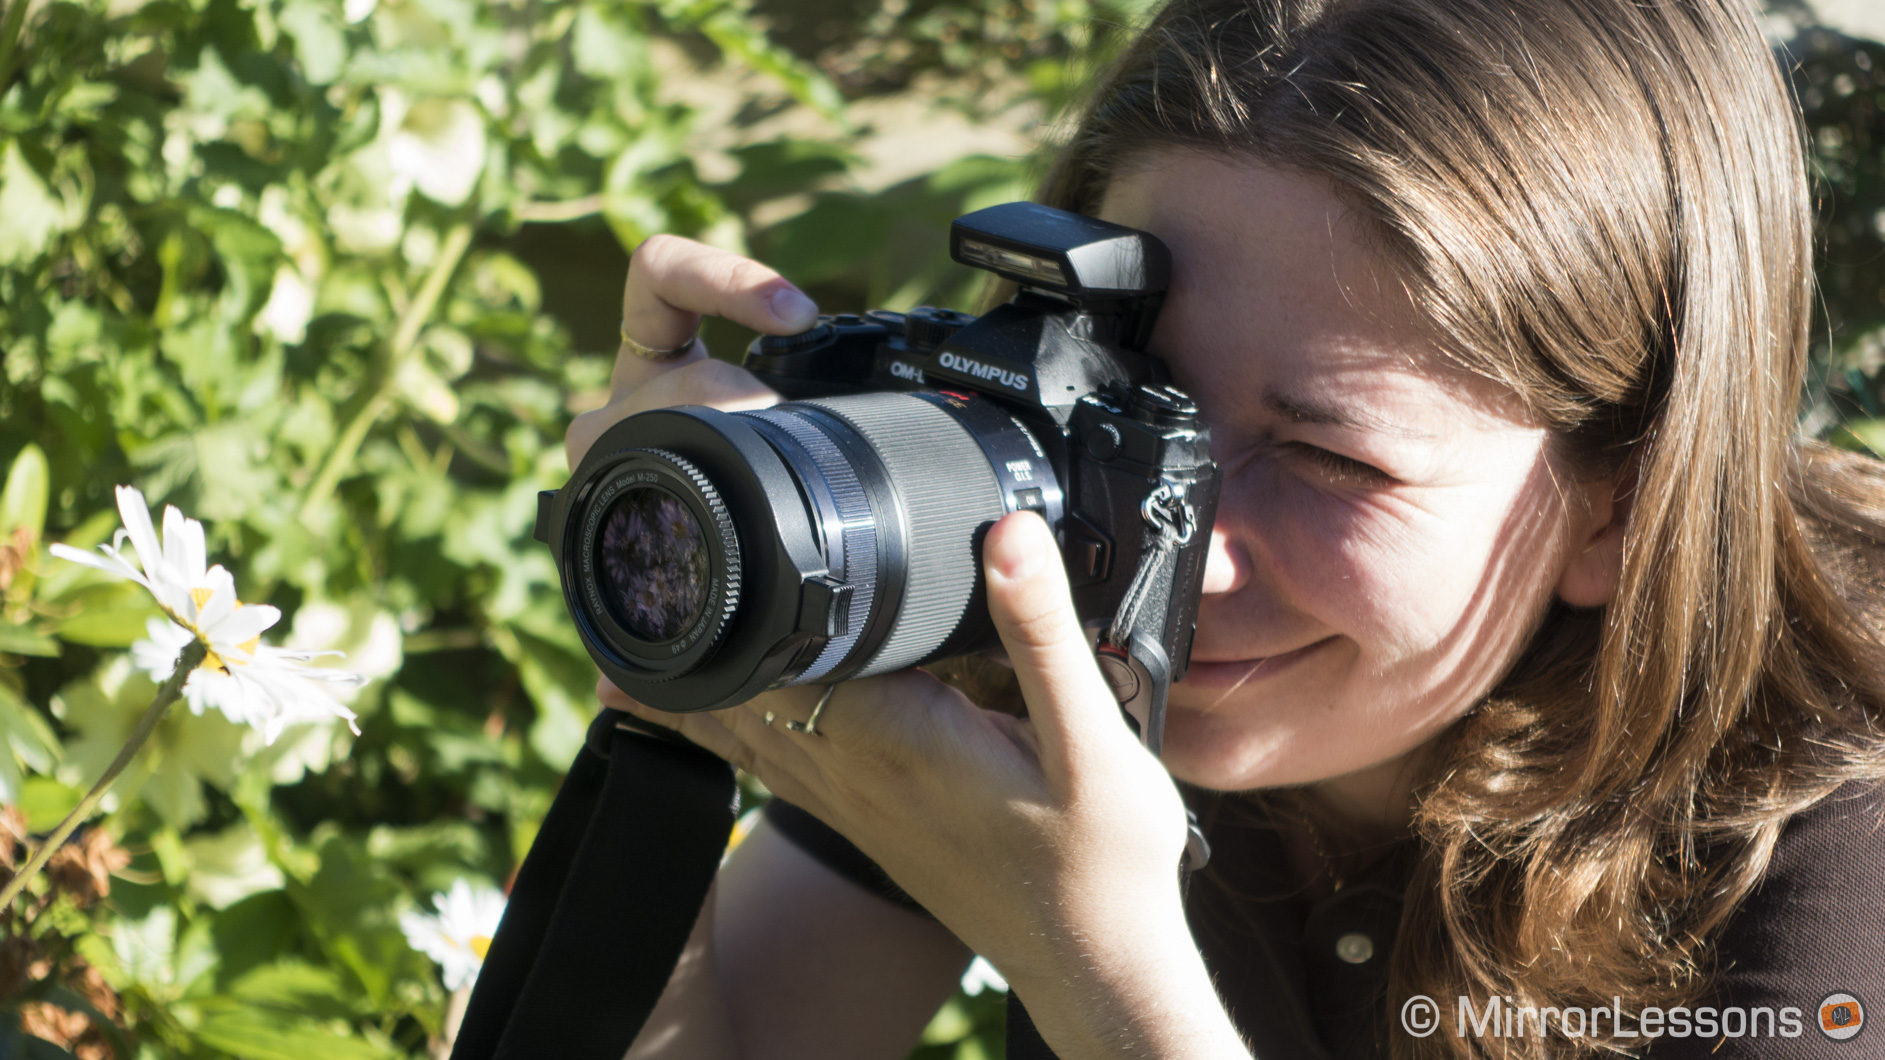
The Raynox 250 consists of two main parts: a clip-on mount that will fit any thread size between 52mm and 67mm, and a lens made of 3 high index optical glass elements in 2 groups. The lens comes with a plastic lens cap and rear cap for protection. In practice, it can be used with any focal length but vignetting becomes an issue below 75mm (35mm equivalent).
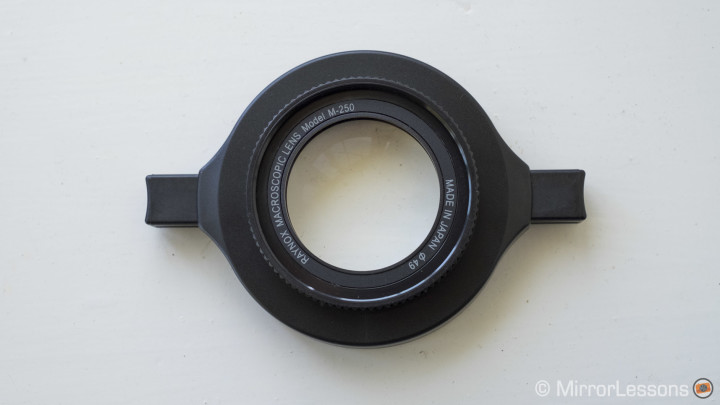
In most cases, you have to screw the lens onto the mount and clip the combo onto the thread of your camera’s lens. However, it can also be used on its own with any lens that has a 43mm filter thread. For lenses that are smaller or larger than the parameters of the mount, the only option is to buy a step-up or down adapter, most of which are very affordable.
The build quality of the DCR-250 is of a very high standard. The mount is made of durable plastic with two loaded springs on either side that allow it to clip onto a lens. So securely does it latch onto the filter thread that I’ve never worried about it falling off. Screwing the lens onto the mount is also a breeze. The only part I find somewhat fiddly is the lens cap, as it isn’t very easy to remove from the lens.
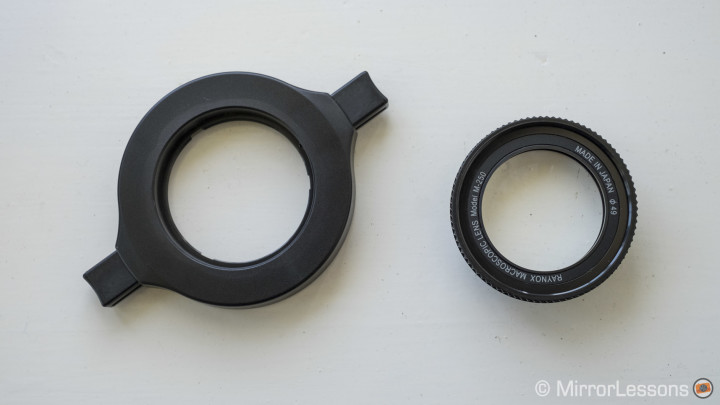
The kit comes inside a very nice transparent plastic box that has plenty of room not only for the adapter and lens but also any extra step-up or step-down adapters you might purchase.
Ease of Use
Being very used to the M.Zuiko 60mm f/2.8 macro lens, I found the transition to the Raynox 250 quite smooth. Focussing is easy as long as you are at the right working distance, which will vary from lens to lens. (I will cover this topic more below.) The best results can be achieved by using a slow aperture (between f/8 and f/16 is ideal) along with a flash and a sturdy tripod.
Though I tested the Raynox 250 for this review, there is also a second conversion lens available from Raynox called the Raynox 150. It has been rated more beginner-friendly due to its more forgiving depth of field.
Out in the field: Three Case Studies
Since the Raynox 250 conversion lens can be attached to nearly any lens via a flexible mount, I wanted to try it on a variety of lenses in our mirrorless collection to see how well it suited each one. I started out with two telephoto primes, moved onto one telephoto zoom, and finished off with a premium fixed zoom compact that has a macro mode.
1. Telephoto primes: The FE 55mm f/1.8 and M.Zuiko 75mm f/1.8
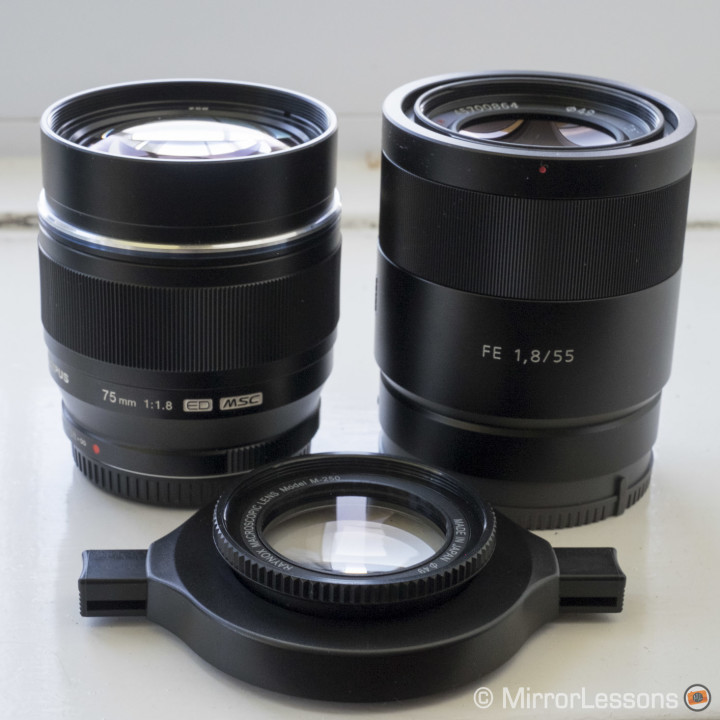
For my first experiment, I used two fixed telephoto lenses: the full-frame FE 55mm f/1.8 on the Sony a6000 (APS-C), which yielded a field of view of roughly 88mm, followed by the M.Zuiko 75mm f/1.8 on the Olympus OM-D E-M1.
What I immediately noticed when using these two lenses was the limited working distance. With the 55mm, for example, you can focus at a distance of about 9cm when the lens is set to its native minimum focus distance, and around 12cm when the focus distance of the lens is set to infinity. To achieve the correct working distance, it is best to get into the habit of moving your body back and forth than relying on the lens’ focus ring or the camera’s autofocus.
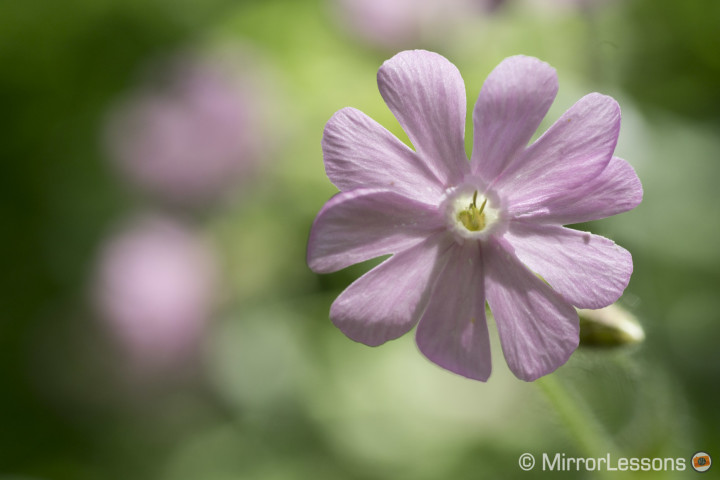
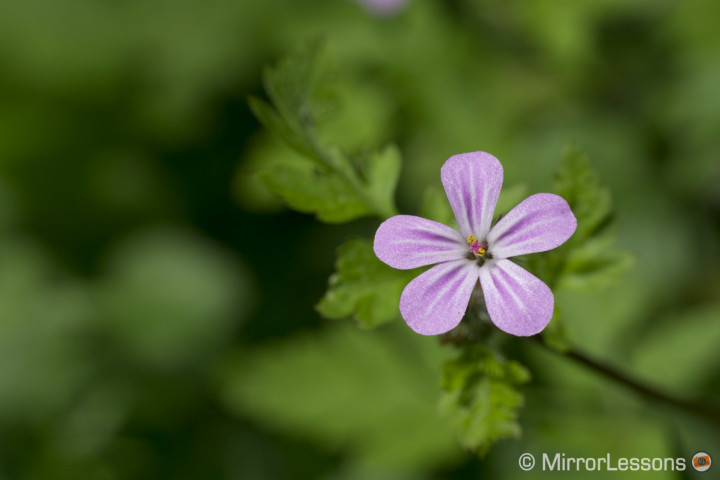
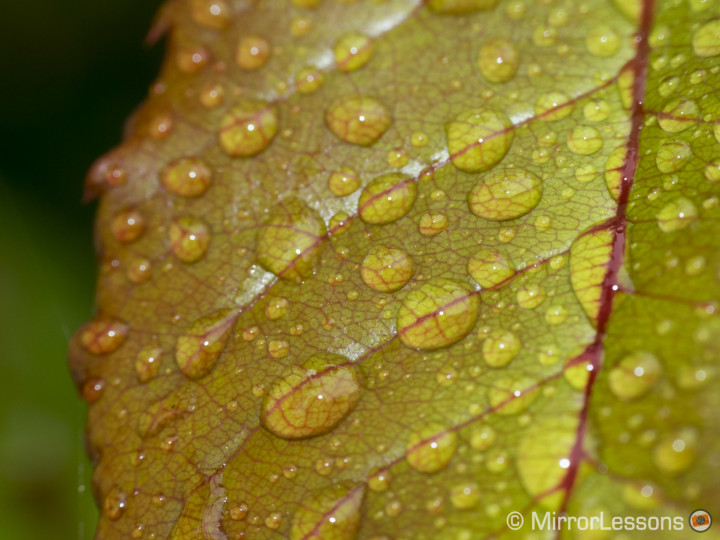
Another point to consider is that, given the limited focus distance, it is best to choose subjects that a) aren’t so small that you won’t be able to get close enough, and b) aren’t so big that their size extends beyond the limits of the frame. With the 55mm and 75mm, I found that the perfect size was around the equivalent of a 25 cent coin – any smaller or bigger and I couldn’t make the composition work. The only exception was if I wanted to capture a small object within its surrounding environment (i.e. a spider in its web) or focus in on a specific area of large object (i.e. the stigma of a flower).

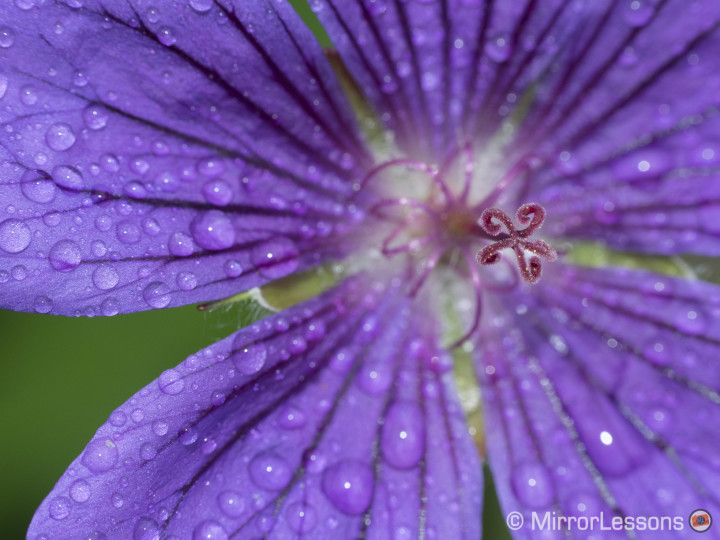
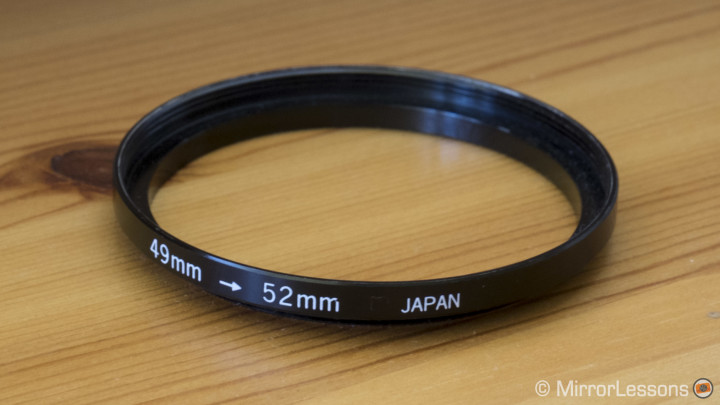
While the mount was the perfect fit for the 75mm, whose filter thread is 58mm, I had to buy an step-up adapter ring for the 55mm, which turned the filter thread from a 49mm into a 52mm. Adapter rings are very cheap, so it is worth picking one up if there is a specific lens you’d like to use with the Raynox.
2. Telephoto zoom: Lumix 35-100mm f/2.8
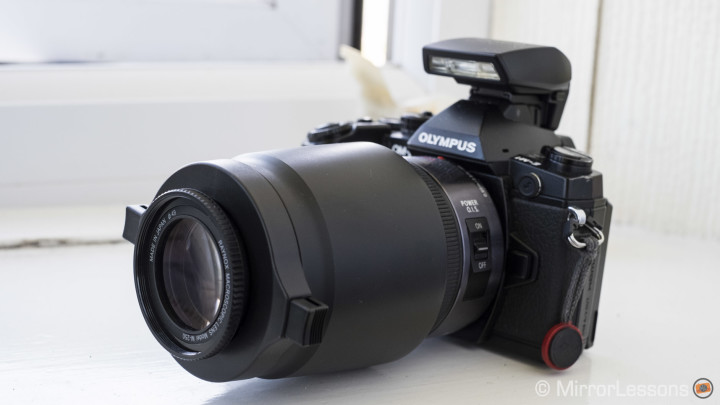
The second experiment was carried out with the Olympus OM-D E-M1 and the Lumix 35-100mm f/2.8, a telephoto zoom for Micro Four Thirds. The great advantage of using a telephoto zoom with the Raynox 250 is that you can change the magnification simply by zooming in and out. The more you zoom in, the higher the magnification.
The minimum focus distance of the 35-100mm at 100mm is a rather piteous 2.8 feet (or 85cm), so using the Raynox made all the difference. For instance, I was able to take the following stacked macro image of a miniature car at a distance of only around 10cm.
When people embark on their photography journey, they usually start out with a basic kit zoom, only adding more lenses to their collection once they become more serious about the hobby. The Raynox 250 is a great solution for these people, as it allows them to dabble in the macro genre without making a huge initial investment.

3. Premium compact with fixed zoom: Lumix LX100
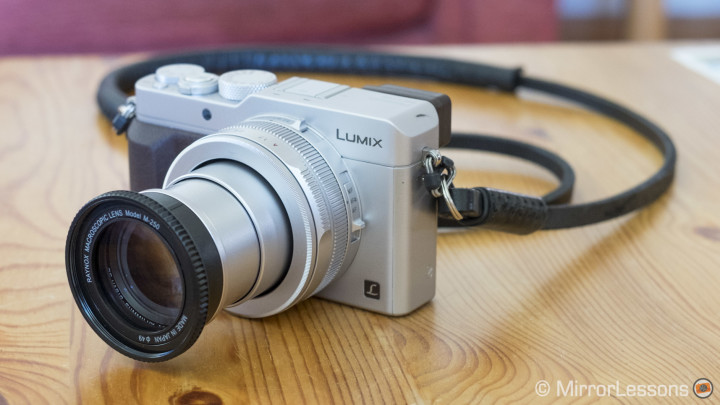
As I mentioned above, the Raynox 250 lens can be used without the mount as long as the lens you adapt it to has a 43mm filter thread. The one lens in our collection with this filter thread size is the fixed zoom of the Panasonic Lumix LX100. Physically speaking, the converter lens almost looks like an extension of the camera, though perhaps more so on the black version than our silver version.
What you may or may not know about the LX100 is that it already has a dedicated macro mode, which you can activate via a switch on the side of the lens. The problem is that it only really works at 24mm, the lens’ shortest focal length. With the Raynox attached, you can take sharp macro shots even at the longest focal lengths.
The difference between this lens and the primes and zoom I tested before is that you can get surprisingly close to your subject. At 24mm, you can get as close as a mere 1cm with the converter lens, about 2cm more than its native performance. Likewise, the minimum focus distance of 30cm at 75mm becomes only 8cm with the converter.
Practically speaking, you’d never really use the Raynox on the LX100 lens at 24mm for two reasons. First, the close working distance of 1cm would result in the lens casting a shadow on your subject. Second, you’d have to crop the borders of the image because of vignetting. However, at 75mm, it becomes every macro photographer’s best friend.
Conclusion
When I first started taking macro photos, I bought the M.Zuiko 60mm f/2.8, thinking that anything less wasn’t worth the investment. However, having used the Raynox 250 out in the field for two weeks, I’ve come to the realisation that dedicated macro lenses aren’t the be-all and end-all of macro photography. Yes, they are more flexible in that there is no real limit on your working distance and can be used for applications beyond just macro, but they are also much more expensive. Not only is the Raynox far more affordable, but it also allows you to test the extent of your interest in the macro genre. Plus, being so compact, you can carry it with you at all times and snap it onto your lens whenever the appropriate occasion arises. In short, with the Raynox, there isn’t any excuse to miss out on a macro opportunity ever again!
 What I like about the Raynox DCR-250:
- light and portable
- very easy to snap onto any lens
- excellent image quality
- can turn any telephoto lens into a convenient macro solution
- very affordable
 What I don’t like about the Raynox DCR-250:
- a little challenging to remove the lens cap from the lens
- limited working distance can be frustrating if you have a specific composition in mind
