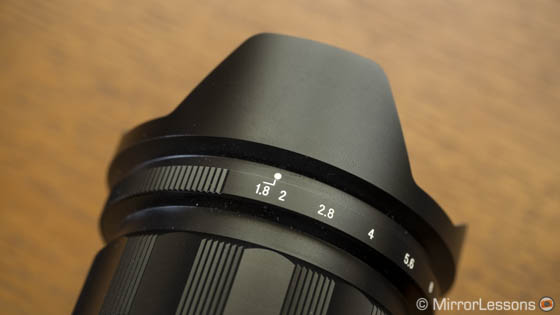
When the original A7 and A7r were released in December 2013, one of the most popular topics was the use of adapted lenses including old SLR, Leica and third party M glass. Adapting M glass to Sony’s full-frame sensor, especially the shorter focal lengths, proved quite challenging. Since Sony’s sensors have a thicker cover glass, the light rays that come from the lens and pass through the cover can produce astigmatism (details on the edges of your image appearing blurred), colour shift and chromatic aberration. The severity of the results depends on the specific lens.
Our Sony A7r II coverage:
- First Impressions (Sony’s press event)
- Lantern Parade (Low-light image gallery)
- Bird Photography (with the Sigma 150-600mm EF mount)
- Zeiss Milvus (Sample images)
- Voigtländer VM lenses (12mm f/5.6 & 21mm f/1.8 – 35mm f/1.7)
- Complete Autofocus Test (FE, A, EF lenses)
- Compressed vs uncompressed RAW
- Complete Image Quality test and final conclusion
When I originally tested some Voigtländer M lenses on the Sony A7, I came across several of the issues mentioned above, in addition to discovering that the wrong adapter could also increase vignetting, among other things. Things weren’t any better on the A7r. Since the sensor inside the A7r II is brand new, I was curious to see if I would get better results with the new flagship full-frame camera.
Why Voigtlander and not Leica M lenses you might ask?
Well, because I find Voigtländer lenses interesting for various reasons including the more affordable price in comparison to Leica lenses. Of course Leica lenses are known to be among the best but they can be very expensive even second-hand. Actually, M lenses are the only lenses that tend to gain value over time instead of losing it.
Voigtländer also has some interesting focal lengths in his catalog including extreme wide angle lenses and very fast primes. M lenses in general also tend to be small and compact which is a nice plus for the A7 bodies.
Update: on October 9th 2015, Voigtländer announced new lenses with the native Sony E-mount. Find out more here.


[toc heading_levels=”3″]
Prelude: Things to know and accept
I always start to use these kinds of products by acknowledging the following: when I adapt a lens that has not been designed for the camera I’m using, I am ready to accept some compromises. The VM lenses are designed for M-mount cameras and actually many of them were designed for film, not digital. Therefore I won’t look for perfect optical quality from these lenses but rather acceptable image quality. The goal is to understand if the investment is worth your while compared to other alternatives on the market.
VM lenses are all made of metal and have classic mechanical rings for the aperture and focusing. They lack electronic contacts so no exif data will be transmitted about the focal length or aperture. What I usually do to remember which aperture I used is to press the movie record button for a few seconds and record it with my voice (make sure to enable the button at all times and not just in movie mode). Later on, I can add that information to the metadata in Lightroom. I also try to keep the same aperture as long as possible for a series of shots or only switch between two values like 1.8 and 8 so that they are easily distinguible.
The second generation of A7 cameras include sensor stabilisation. If you manually input the focal length into the Steadyshot menu, you will get more accurate results. Bear in mind that because of the lack of any electronic communication between the lens and the camera, 3 axis stabilisation will be used instead of 5.
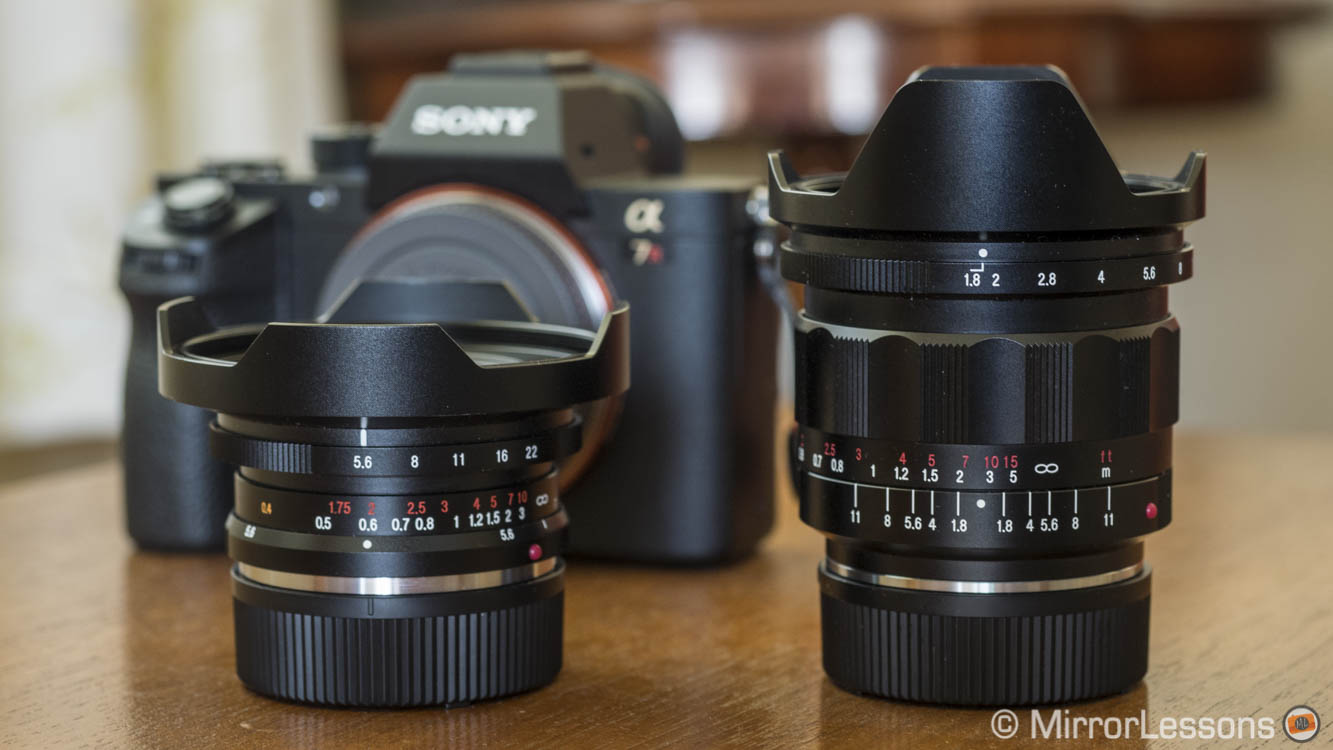
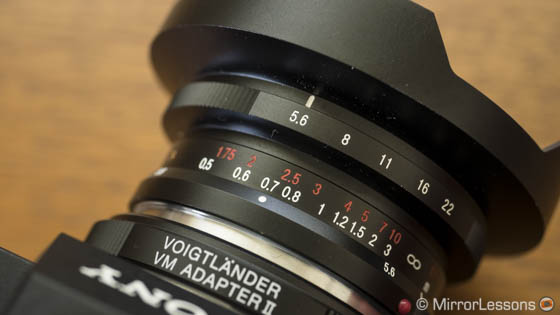
Thanks to the UK distributor Flaghead Photographic Limited, I had the chance to test several of these VM lenses to find out which ones are worth using with the new 42MP sensor. In this first chapter, I tested the 12mm Ultra Wide Heliar and the 21mm f/1.8 Ultron. For both lenses, I used the Voigtländer VM Adapter Version II. This second version was designed to be used with the A7 series and fixes a few issues with specific lenses (you can find the list here).
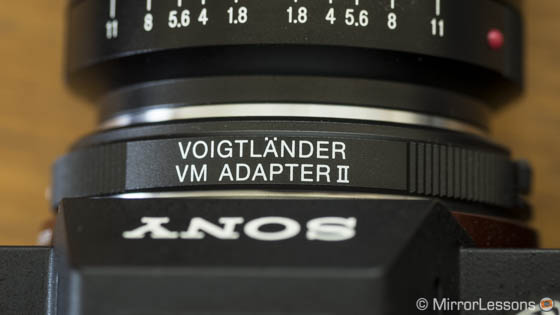
Ultra Wide Heliar 12mm f/5.6 (Version II)
Main Specs
- Focal length: 12mm
- Maximum aperture: 5.6
- Minimum aperture: 22
- Number of aperture blades: 9
- Angle of view: 121°
- Closest focusing distance: 50cm
- Lens configuration:10 elements / 8 groups
- Special elements: 1 Aspherical element
- Optical Image Stabilizer: None
- Dimensions: φ74.6 Ø, 42.5 mm
- Filter diamater: 67mm
- Weight: 230g
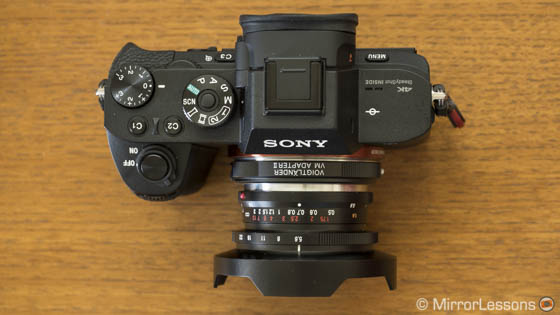
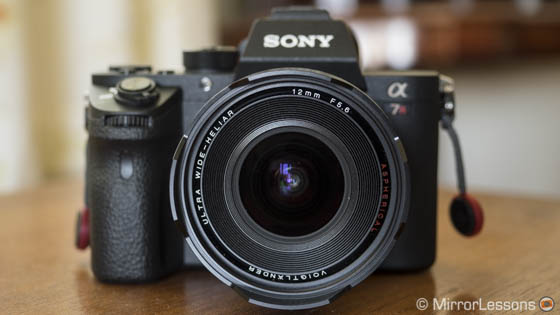
The 12mm f/5.6 is a very compact lens that provides one of the widest angles of view you can find for a full-frame sensor. In fact, only the recent Canon 11-24mm f/4 beats it on the wide end. The lens features 10 elements in 8 groups with an aspherical element on the rear. The aperture ring is found on the front and turns in 1/2 Ev steps. The focus ring is harder to access but you probably won’t need it that often. Given the extreme wide angle and the slow aperture, everything is more or less always in focus. (Indeed, I won’t even mention shallow depth of field here.) Of course it is always better to ensure optimal sharpness by setting the focus ring correctly, either to infinity or by using the distance scale. The only downside from a design point of view is that the metal hood is integrated and not detachable. This can be annoying if you want to use square filters like the Lee Seven5 series.
Before showing you the good and bad sides of this lens, I’d like to start off by saying that it is a difficult focal length to use. Being so wide, I often found it difficult to get the exact composition I wanted because lots of unwanted elements entered the frame at the corners. 12mm also means lots of perspective distortion which is not always pleasant. It is a very specific lens that can work well in some situations but can also be too much in others.

The best sharpness at the centre is found between f/5.6 and f/11 before diffraction starts to appear. At the edges, the performance decreases and the best result is at f/8. Basically this means that you have one aperture (f/8) where you can achieve the best optical performance. At the extreme corners, there is a loss in detail, astigmatism and some chromatic aberration. The latter can be corrected in post-production. Overall I find that the lens performs well at the centre with the A7r II sensor but lacks a little bit of resolution.

Click on the image to open the full res size.

Click on the image to open the full res size.

Click on the image to open the full res size.
Vignetting is also very much present at all apertures. You can minimise it by using the lens profile in Lightroom and then adjusting the percentage (I found 50 or 60 to be ideal). You can also find some slight colour shift (toward the green tints mainly) when trying to eliminate vignetting. The lens also shows some barrel distortion but here again it can be corrected. Below you can see a before/after example shot at f/8.
[twentytwenty]

[/twentytwenty]
Colour rendering is not bad either although I noticed more than once the tendency toward a slightly colder rendering and some blue tint dominance. However in most cases it can be easily adjusted by working with the Raw file.


The lens doesn’t present any particular flare issues – overall they are well-contained. As I mentioned, with the A7 mark II series you can also take advantage of the sensor stabilisation. As you might know already, the shorter your focal length, the more success you’ll have at keeping your image sharp at slow shutter speeds. With the 12mm, I actually managed to get acceptable results down to 1 second (with a few attempts of course).

Ultron 21mm f/1.8
Main Specs
- Focal length: 21mm
- Maximum aperture: 1.8
- Minimum aperture: 22
- Number of aperture blades: 10
- Angle of view: 91°
- Closest focusing distance: 50cm
- Lens configuration: 13 elements / 11 groups
- Special elements: 1 Aspherical element
- Optical Image Stabilizer: None
- Dimensions: φ69 Ø, 78.4 mm
- Filter diamater: 58mm
- Weight: 412g
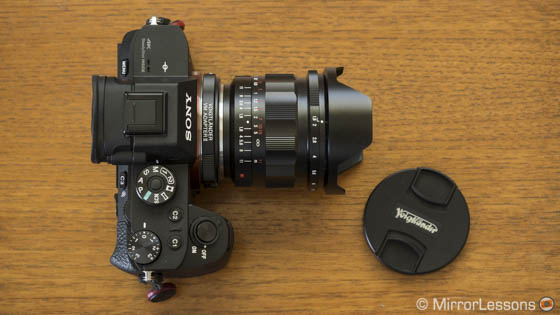
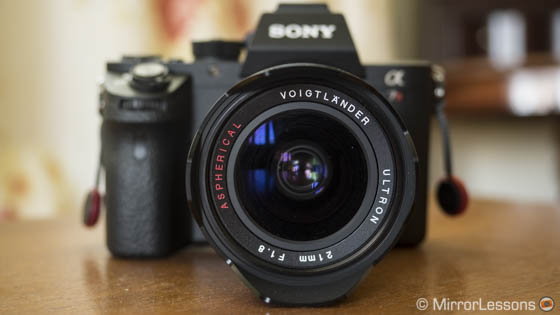
The Ultron 21mm is heavier and larger but given the very fast aperture, it can only be expected. It still balances well on the A7 body and I still consider it a small lens although the weight is noticeable. Like the 12mm, the aperture ring turns in 1/2 Ev steps. The mechanical focus ring is nice and precise to use and the distance scale is accurate. Here as well we have a non-removable metal hood, the only negative point about this lens.
When shooting at the fastest aperture, you might need to take advantage of the MF assist options. I often find focus peaking not precise enough so I tend to use focus magnification more. I wish that you could see only a portion of the screen rather than on the whole frame, like on Panasonic cameras. That way you wouldn’t lose sight of your composition.

The 21mm f/1.8 is a lens that managed to surprised me more than once during my two weeks with it. First of all sharpness is really superb from 1.8. It peaks between f/4 and f/11. Diffraction only really appears at f/22 but the image is still usable. At the corners, the best sharpness is found between f/5.6 and f/11. The extreme corners can show some slight astigmatism and chromatic aberration but overall I find the optical performance really good. There is some barrel distortion here as well but it is very well controlled even without post-production. Vignetting is acceptable and easy to remove.

Click on the image to open the full res version.

Click on the image to open the full res version.

Click on the image to open the full res version.
A fast aperture at that short a focal length also lends itself to some interesting compositions with shallow depth of field. Even at close distances, the sharpness at 1.8 is good at the centre and the bokeh can be pleasant if you focus close. At 1.8 the bokeh will have a slight “swirly” effect while it is more consistent at 2.8.


Click on the image to open the full res version.

Click on the image to open the full res version.
With a person in your frame, the capacity of the lens to separate him or her from the background is not bad as long as you keep the subject close enough. I like the overall contrast, colour, and shallow depth of field rendering this lens can give to your image. It is definitely a little bit soft but it also gives the images a less digital look with softer tones.

Like the 12mm, I found the flare resistance quite surprising. With closed apertures you get the classic star flare but it is not too invasive. At 1.8 you can have some veiling flare.


The most difficult test was when I took the combo out to shoot the Milky Way. 21mm with a 1.8 aperture definitely suits astrophotography on paper and I have to say that overall the lens is excellent for this genre as well. There is some coma aberration in the corners and depending on your tolerance you might find it invasive. Personally I really like the results. The images below are the result of two exposures merged together in Photoshop, one for the foreground and one for the sky.


With the A7r II and internal stabilisation, I managed to get good results down to 1/2s. Considering that the camera is using only 3-axes, I find the performance quite satisfying.

For video use: 4K footage samples
I also took some 4K video shots with the two lenses to see how they would perform on the A7r II. The perspective distortion of the 12mm is definitely more noticeable especially when panning. (After all, we are talking about a lens with an angle of view of 121°.) Vignetting is less severe than with stills but it’s there and a little bit more difficult to get rid of. You can also notice some slight colour shift at the edges. However the 12mm does offer a unique perspective and given its small size you can use it in low and tight corners.
The 21mm definitely delivers for video too. Its fast aperture is once again an interesting aspect and can work well even when shooting in Super 35mm (APS-C) mode. Below you can see a quick video I compiled featuring shots recorded with the two Voigtländer lenses.
Conclusion
I will test more lenses later on so hopefully you will have a complete round-up of how the VM lenses perform on the A7r mark II or more generally, on the second generation of A7 cameras. Regarding the two lenses reviewed in this article, I would definitely consider the 21mm if you are looking for a fast wide angle lens. Sharpness is excellent at the centre and the loss at the edges/corners is acceptable in my opinion. If you can accept some coma aberration, it can be an excellent companion for astrophotography too.
 What I like about the 21mm f/1.8 Ultron
- Excellent sharpness at the centre and at 1.8
- Nice bokeh when focusing close
- Excellent flare resistance
- Minimum distortion
 What I don’t like about the 21mm f/1.8 Ultron
- Sharpness at the corners decreases
- Coma aberration in astro-photographs
- Non-removable hood

The 12mm f/5.6 is a more difficult focal length to handle. I wouldn’t buy it for my personal use mainly because 12mm is too wide for my taste. I do think it passed the A7r II test but it is not perfect. If you are very sensitive to sharpness and details in the corners, this is not the lens for you. I find it suits landscape photography better than architecture, as the amount of distortion and lack of sharpness at the corners is less problematic. I would be more inclined to buy the 15mm, and hopefully that will be the next lens on the list that I can test.
 What I like about the 12mm f/5.6 Ultra Wide Heliar
- Good sharpness at the centre
- Small and compact
- Good resistance to flare
 What I don’t like about the 12mm f/5.6 Super Wide Heliar
- Astigmatism and CA in the corners
- Lots of vignetting
- Non-removable hood

Our Sony A7r II coverage:
- First Impressions (Sony’s press event)
- Lantern Parade (Low-light image gallery)
- Bird Photography (with the Sigma 150-600mm EF mount)
- Zeiss Milvus (Sample images)
- Voigtländer VM lenses (12mm f/5.6 & 21mm f/1.8 – 35mm f/1.7)
- Complete Autofocus Test (FE, A, EF lenses)
- Compressed vs uncompressed RAW
- A7r II vs A7s II comparison (with ergonomics/ease of use)
- Complete Image Quality test and final conclusion
